
Ruby White Tips Batworld Collection – Ethereal and Poppy
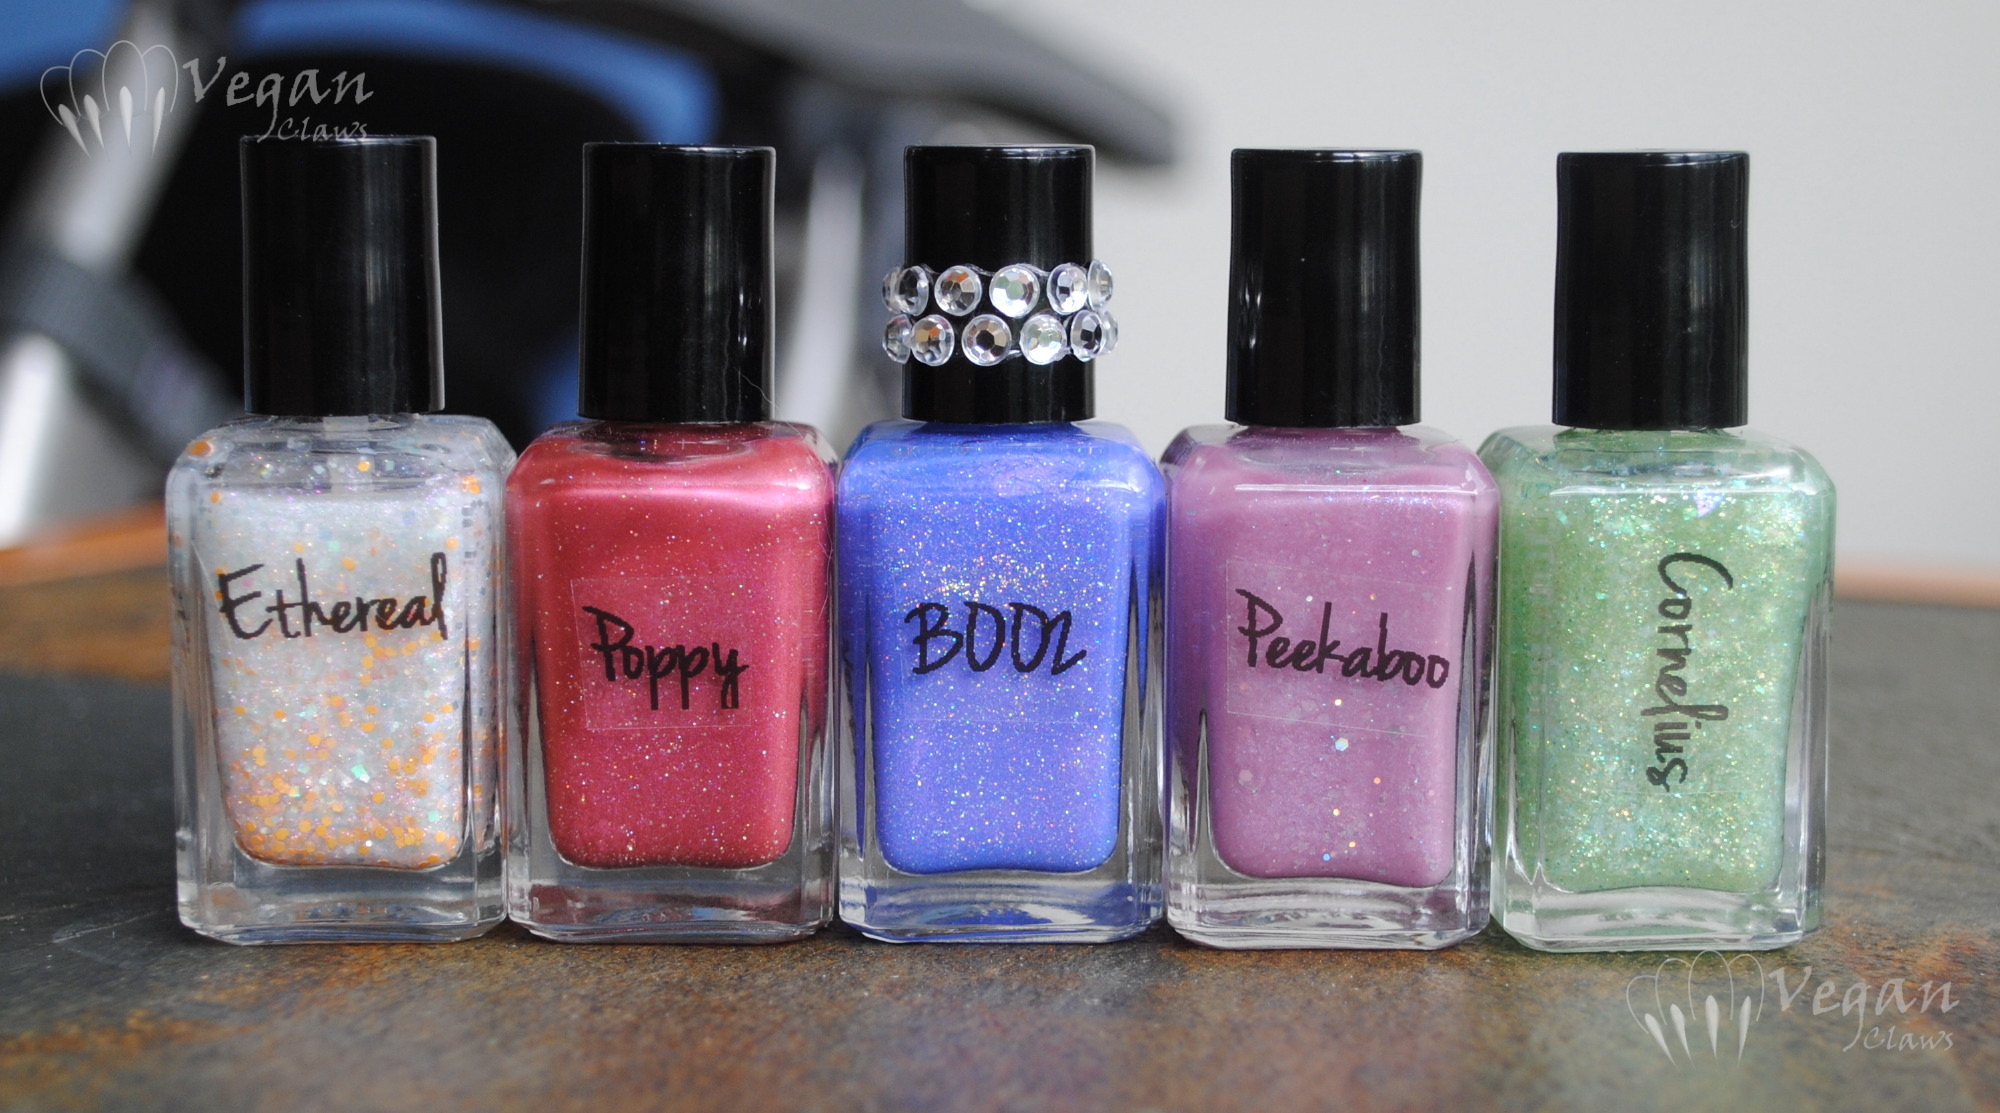
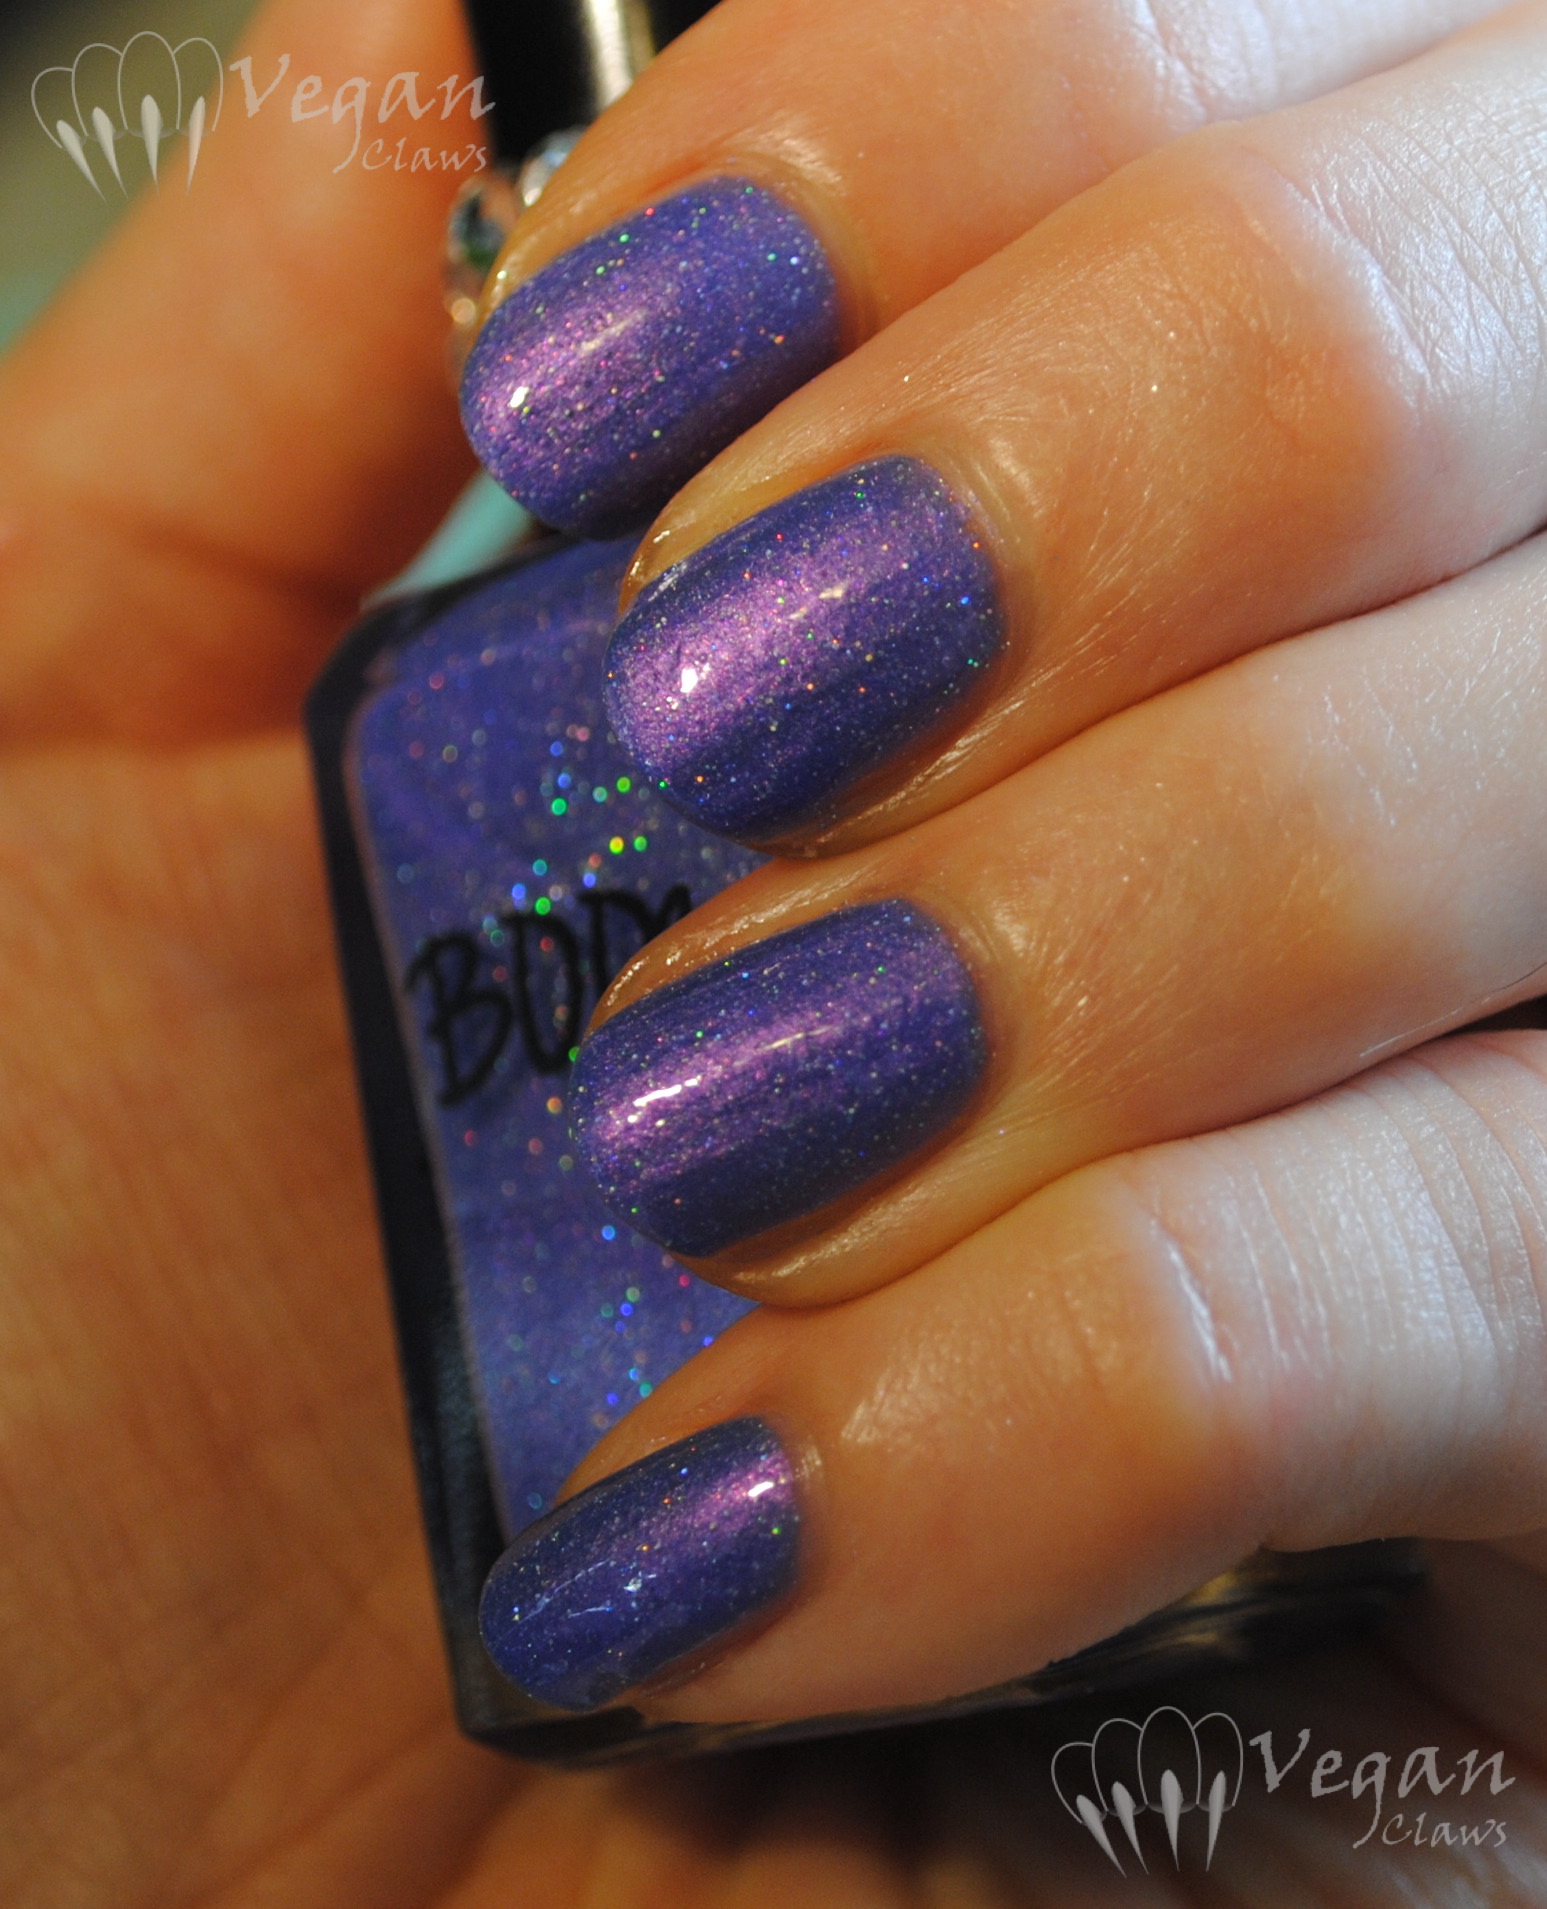
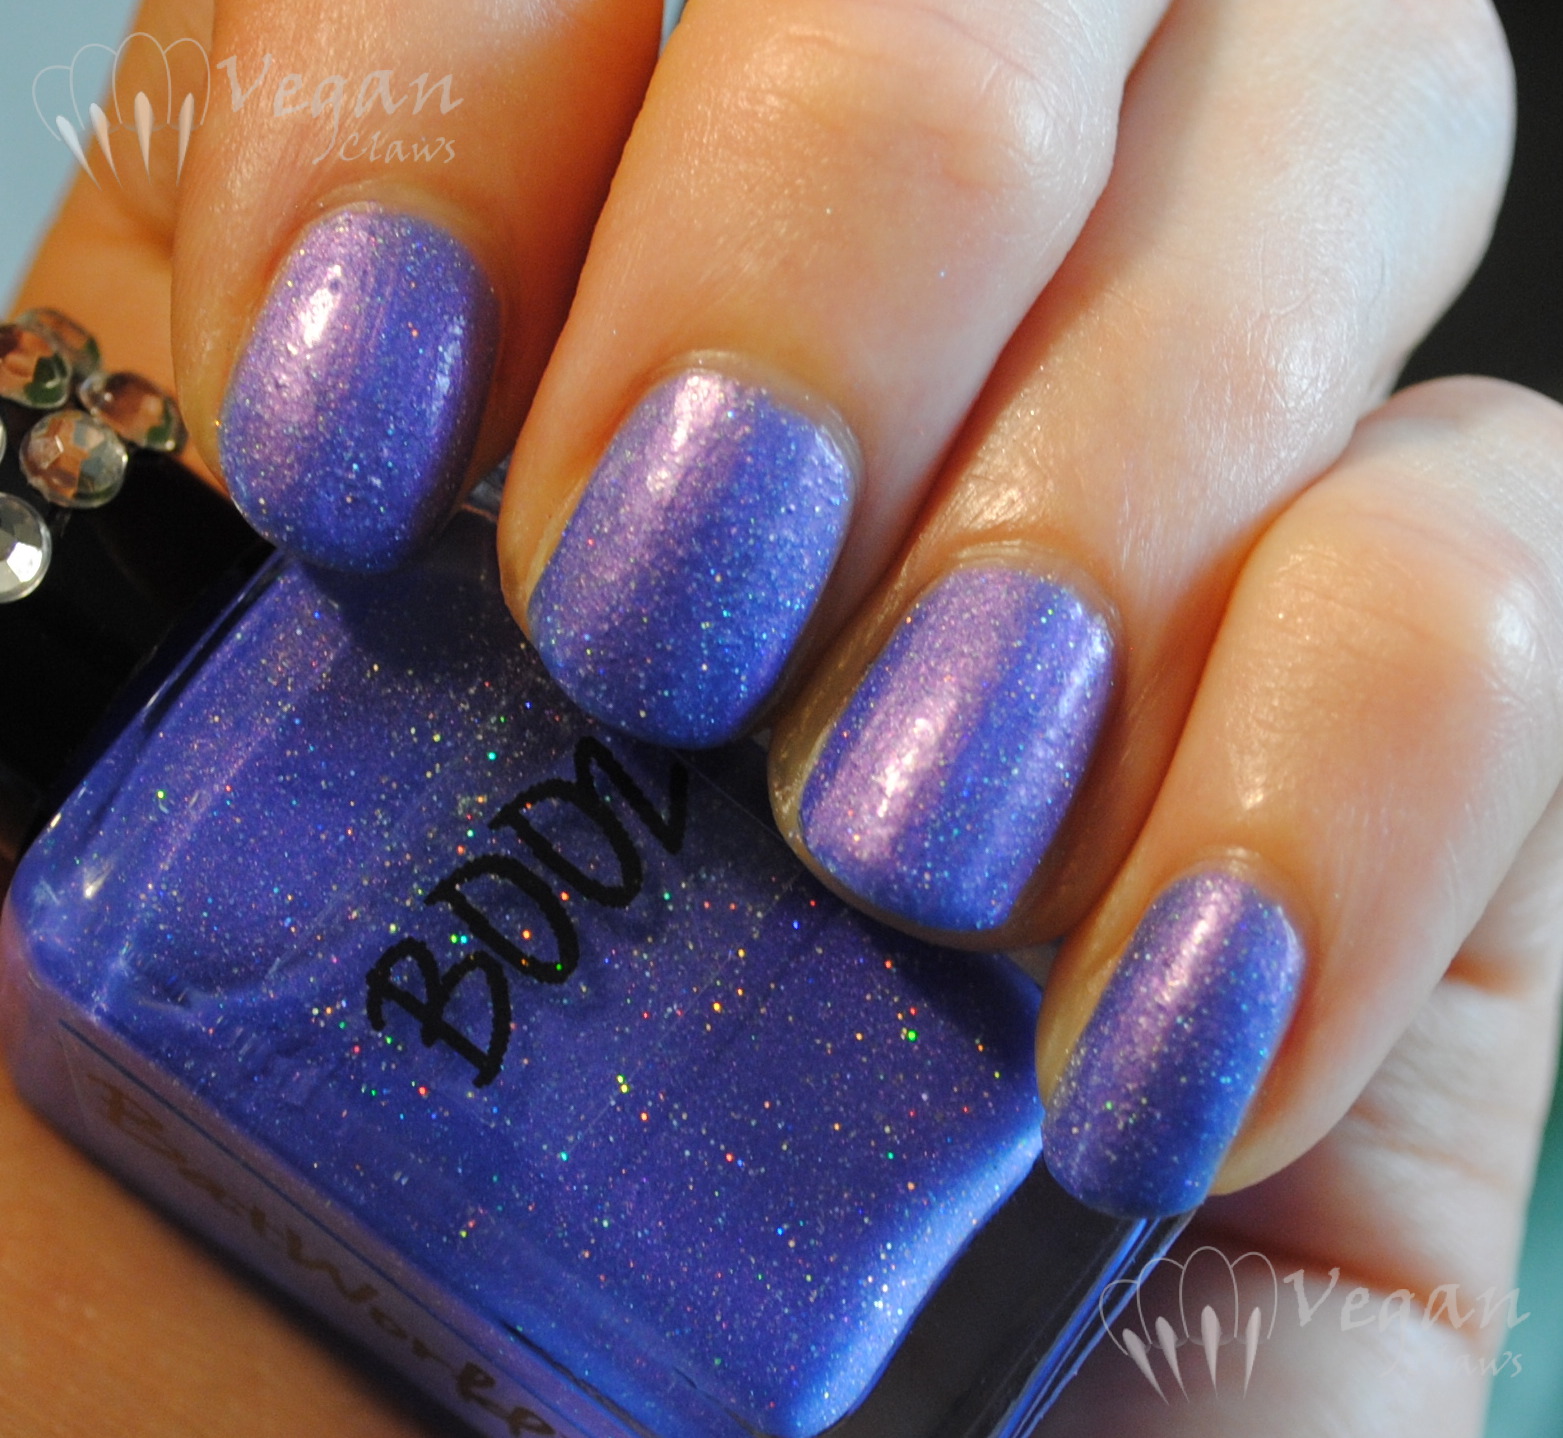
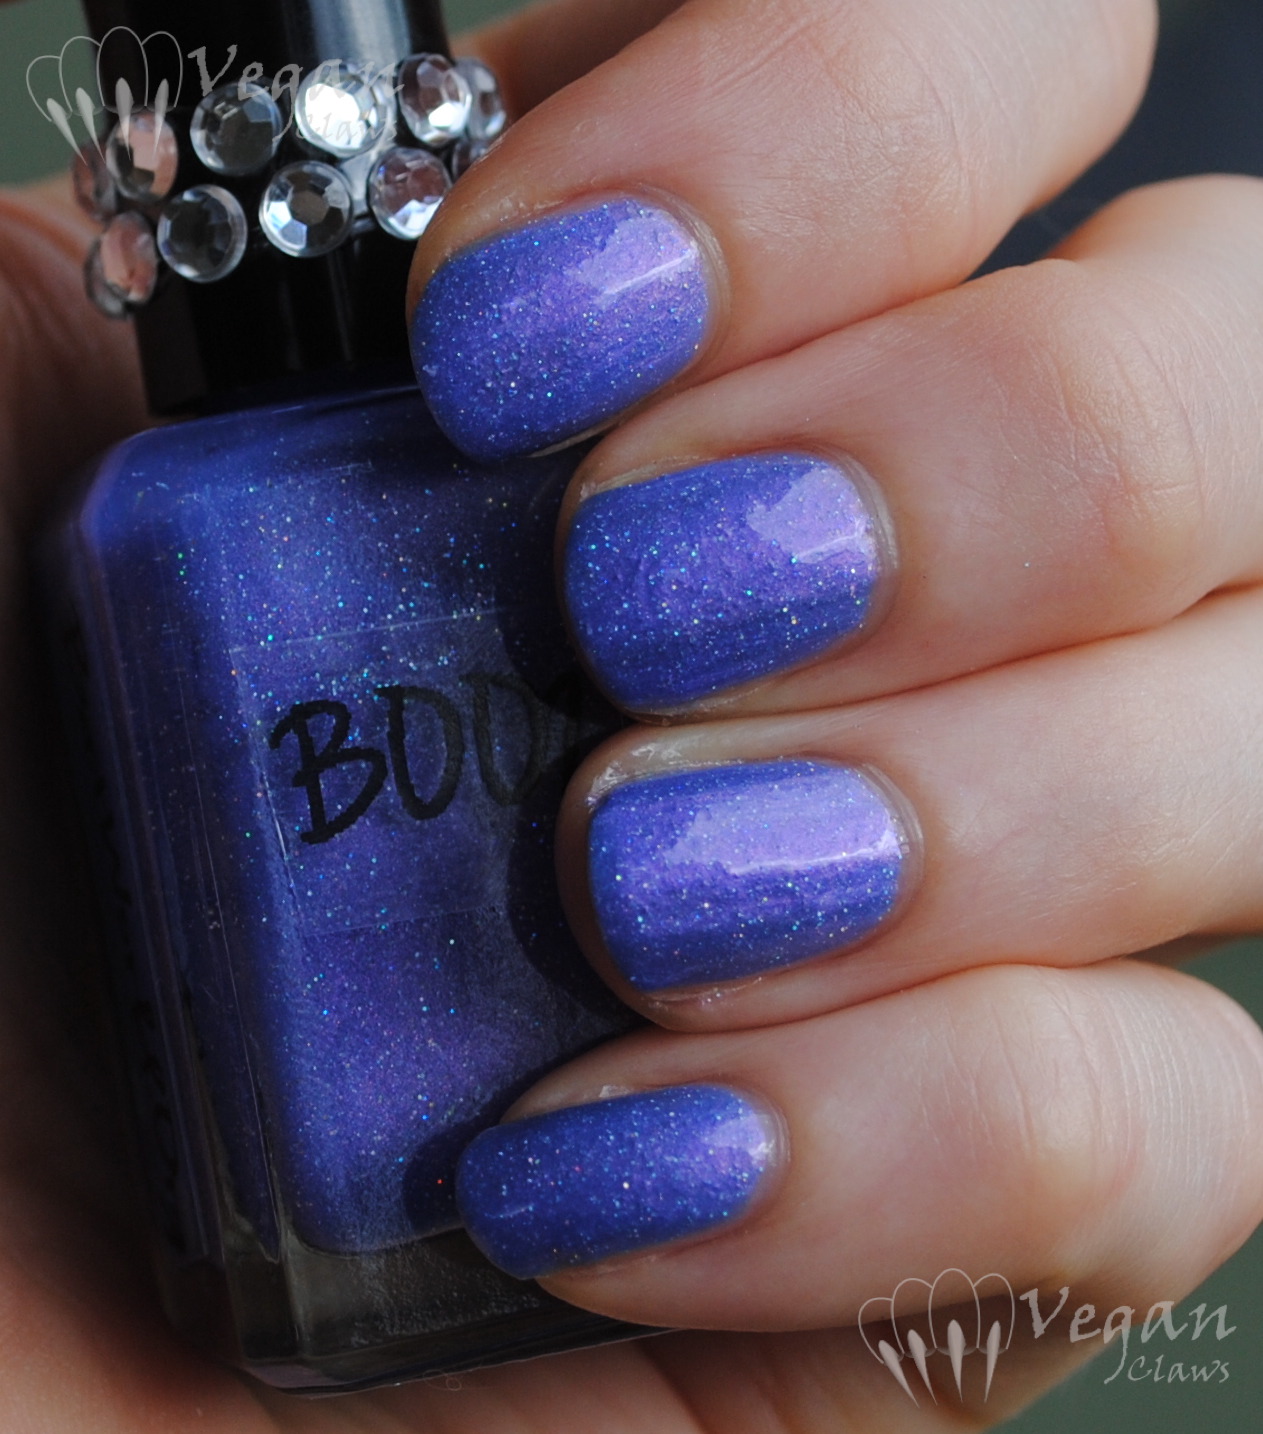
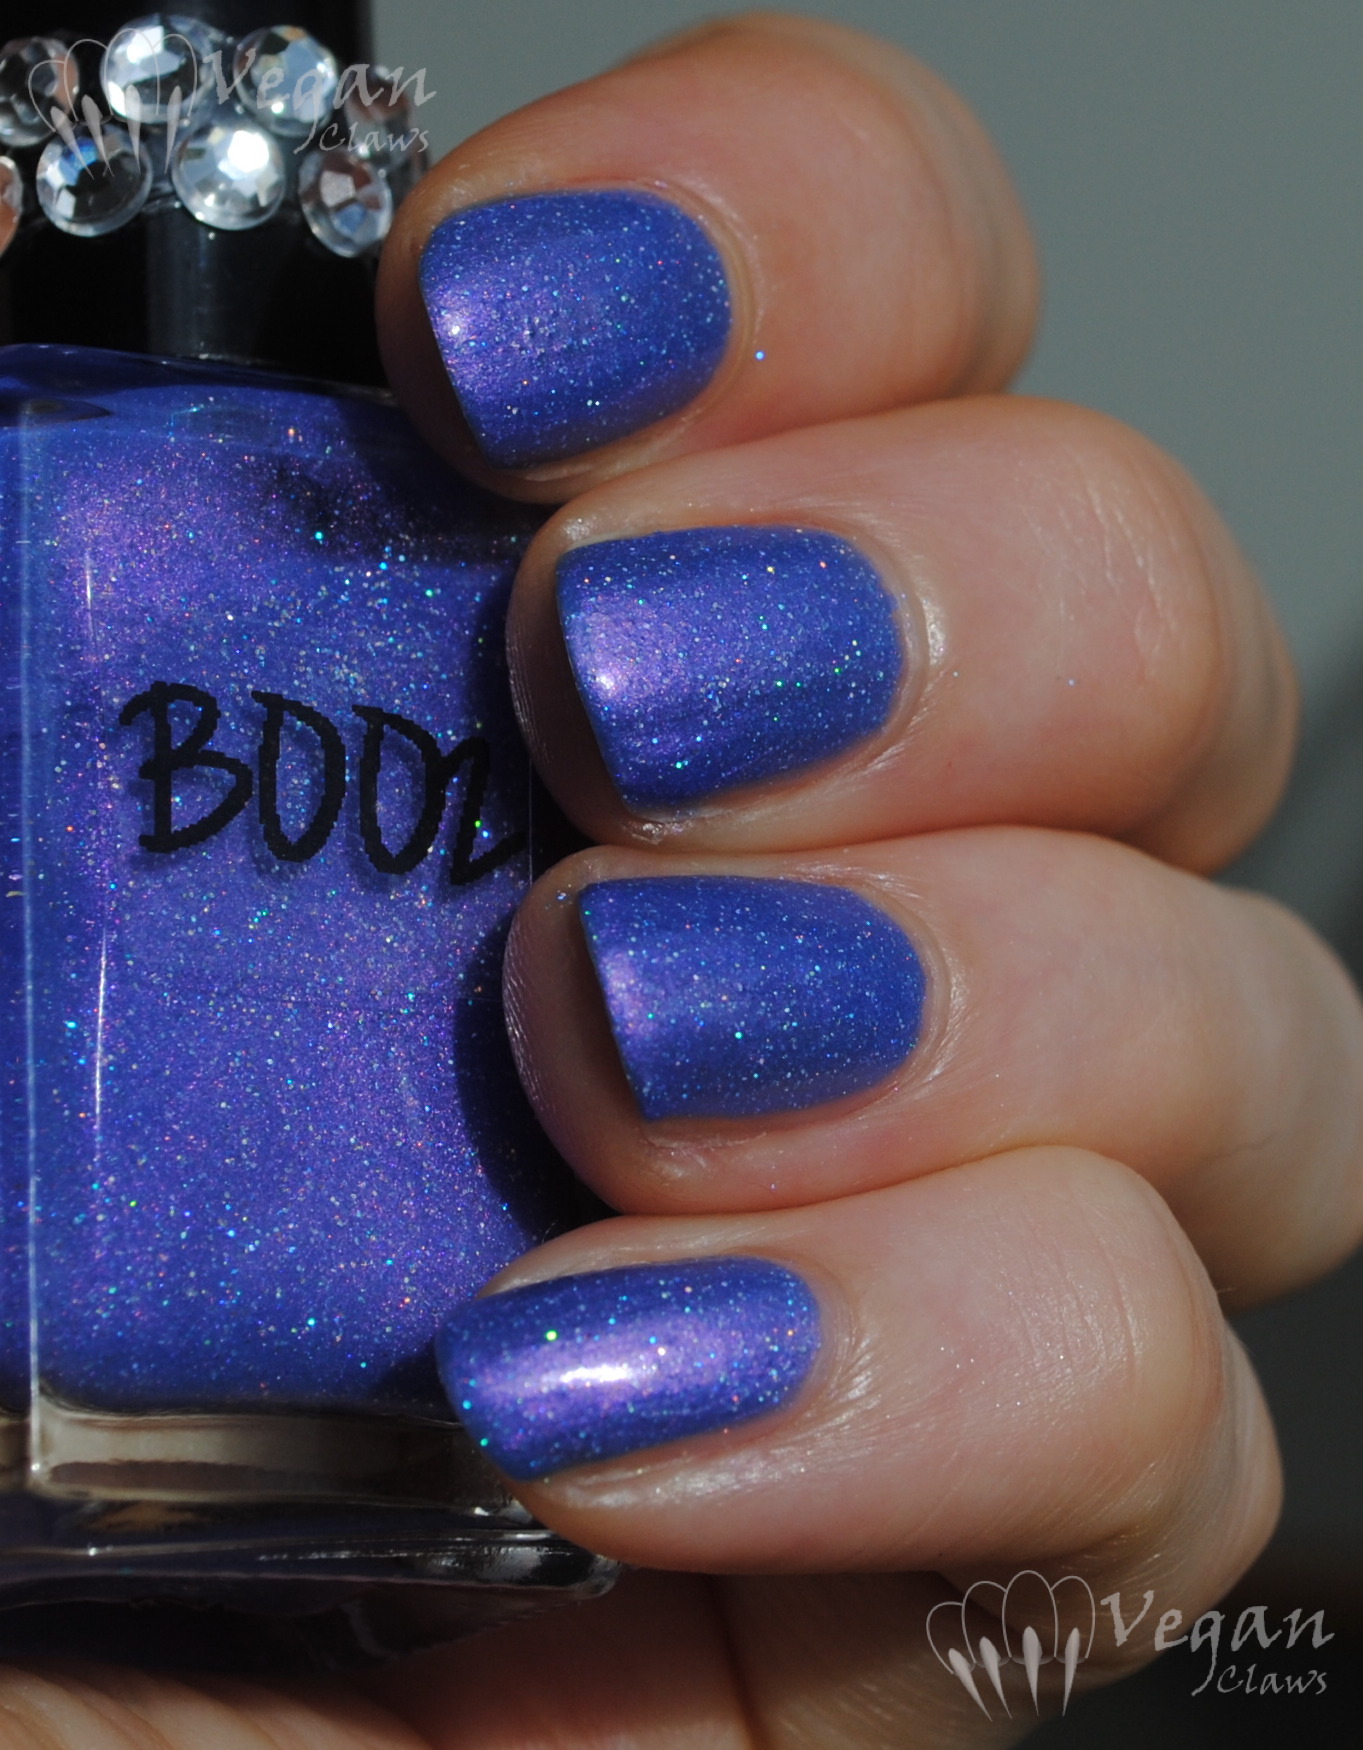
Hi all, I have two more polishes from the Ruby White Tips Batworld collection to show you today! The first two polishes, Boo2 and Peekaboo, were shown in my last post here. As mentioned there, half the proceeds of this collection go to the Batworld sanctuary to help them rescue, rehabilitate and care for orphaned and injured bats.
The first polish I’m showing you today, Ethereal, is probably my very favourite from the collection so far. When I was preparing this post I went to the Batworld.org website to get photos of the rescued bats who inspired these polishes, and I was very sad to learn that Ethereal, the little albino bat, just recently passed away suddenly. You can read her story here. Rest in peace, little one. 😦
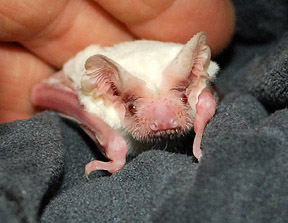
Rest in peace, Ethereal. Photo credit: Batworld.org
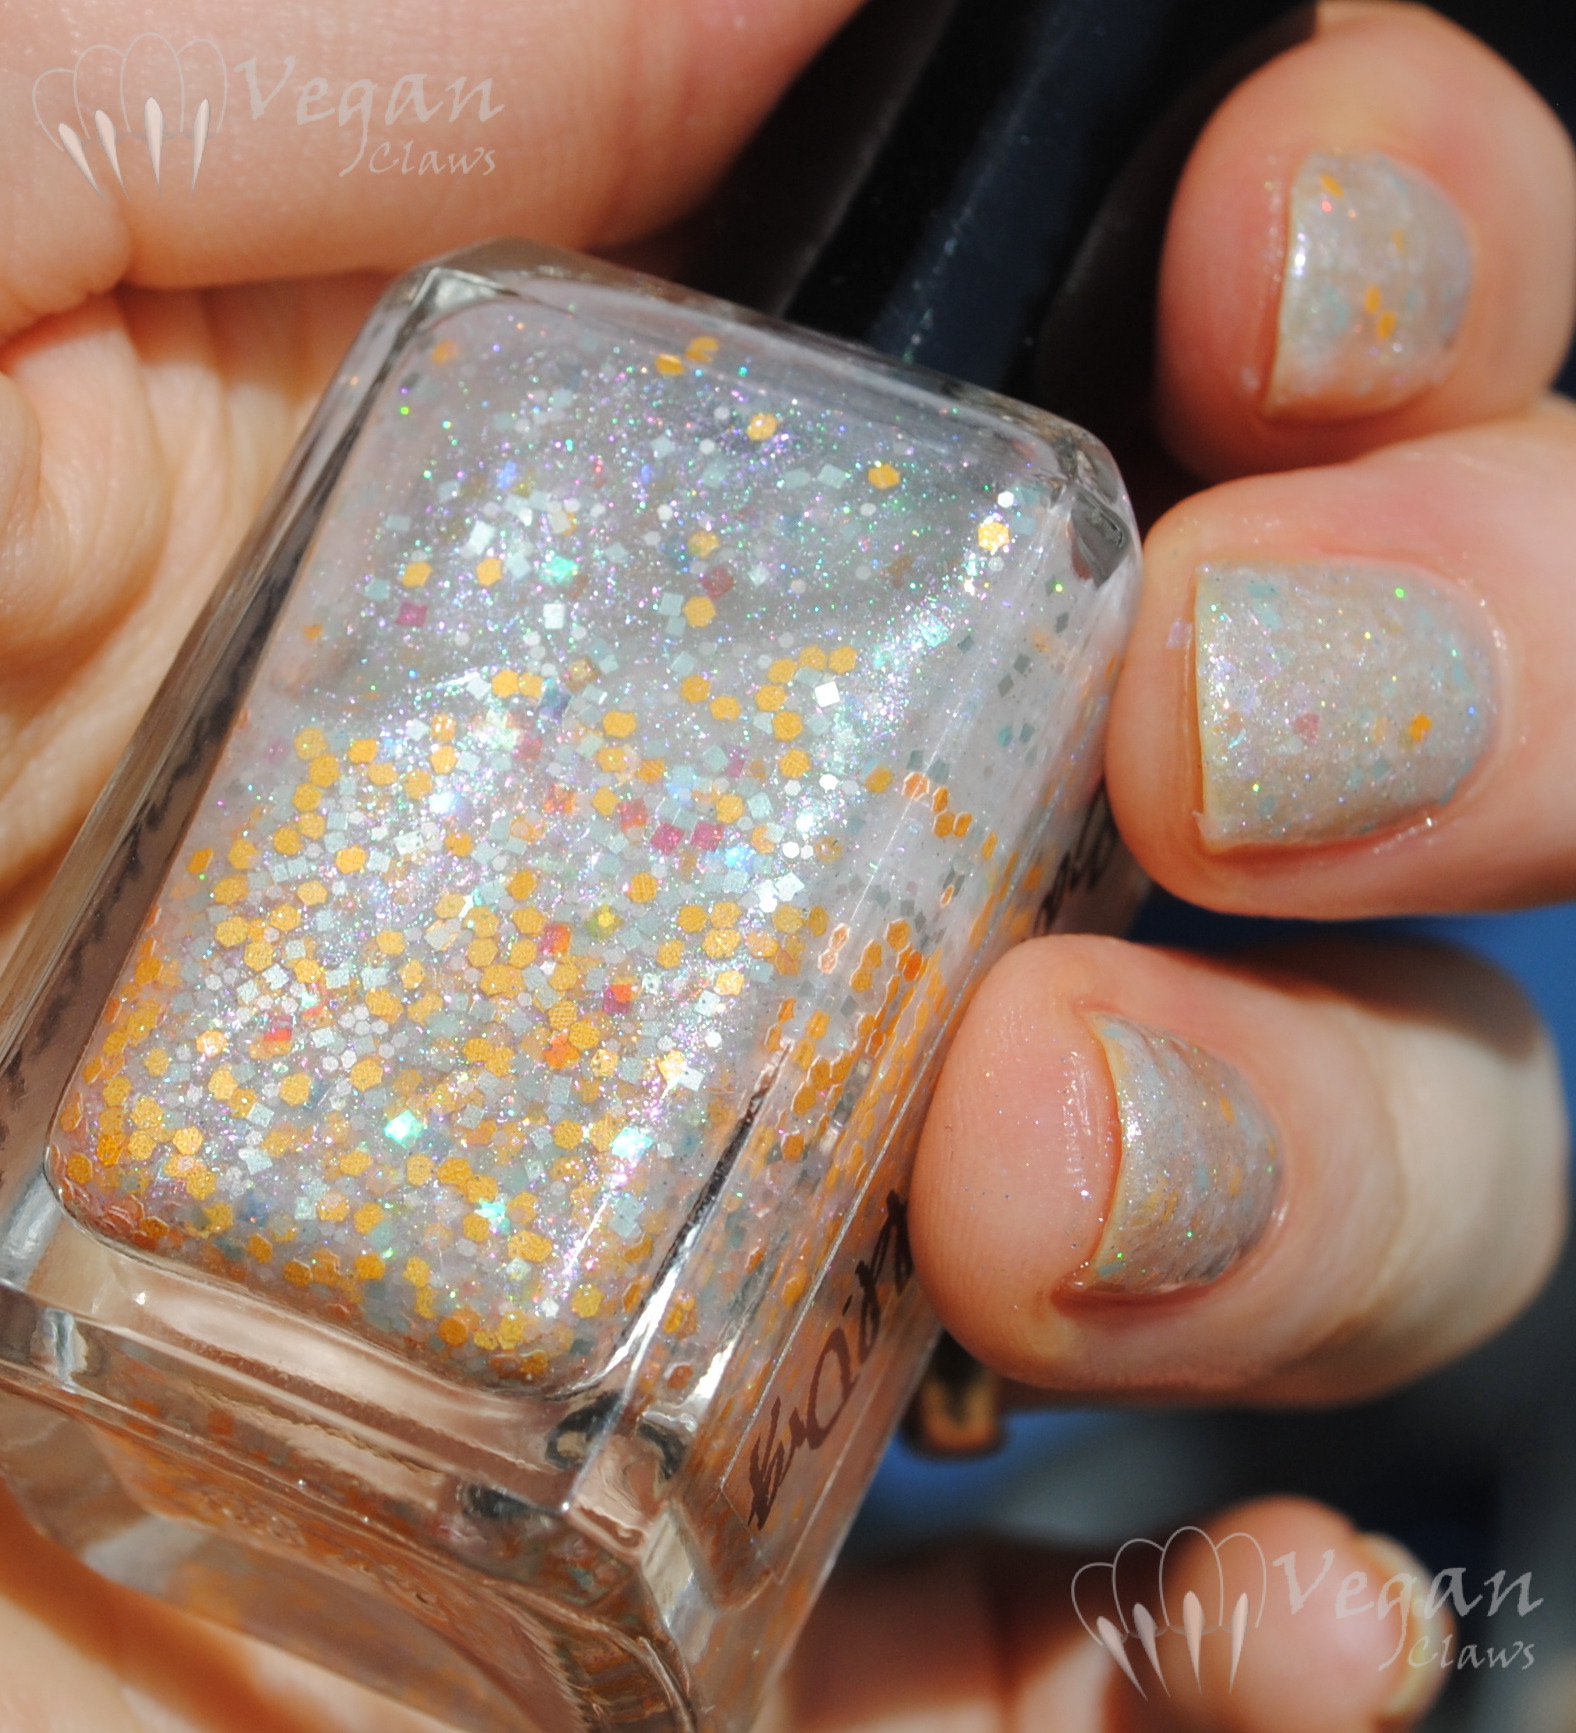
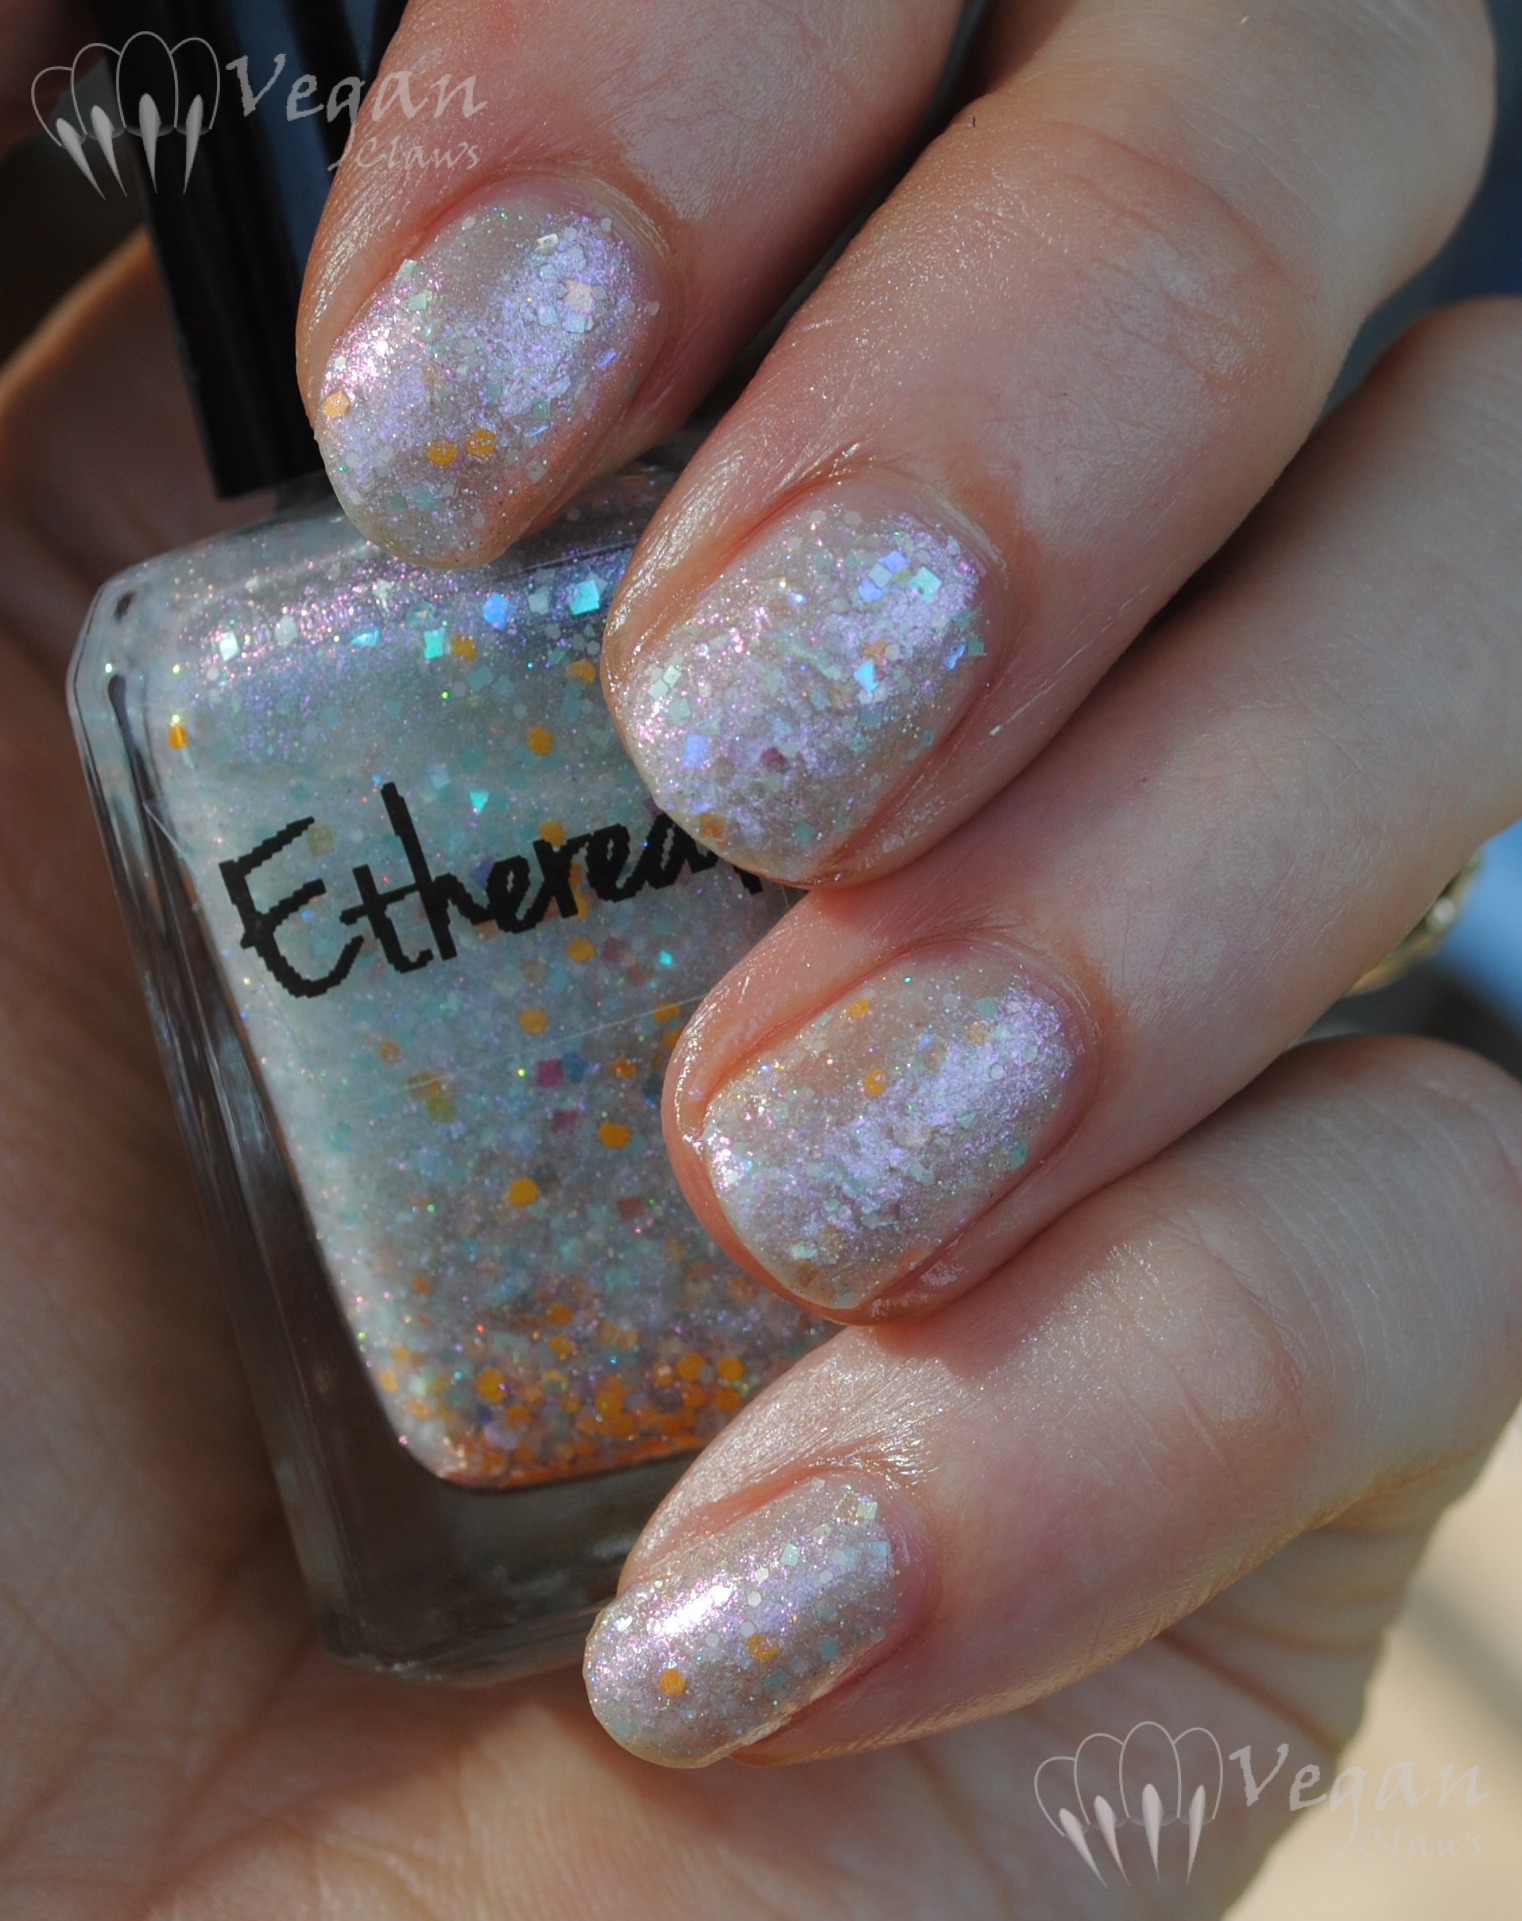
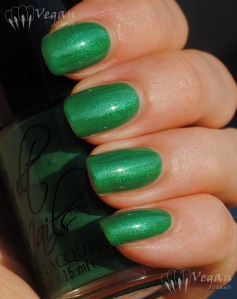
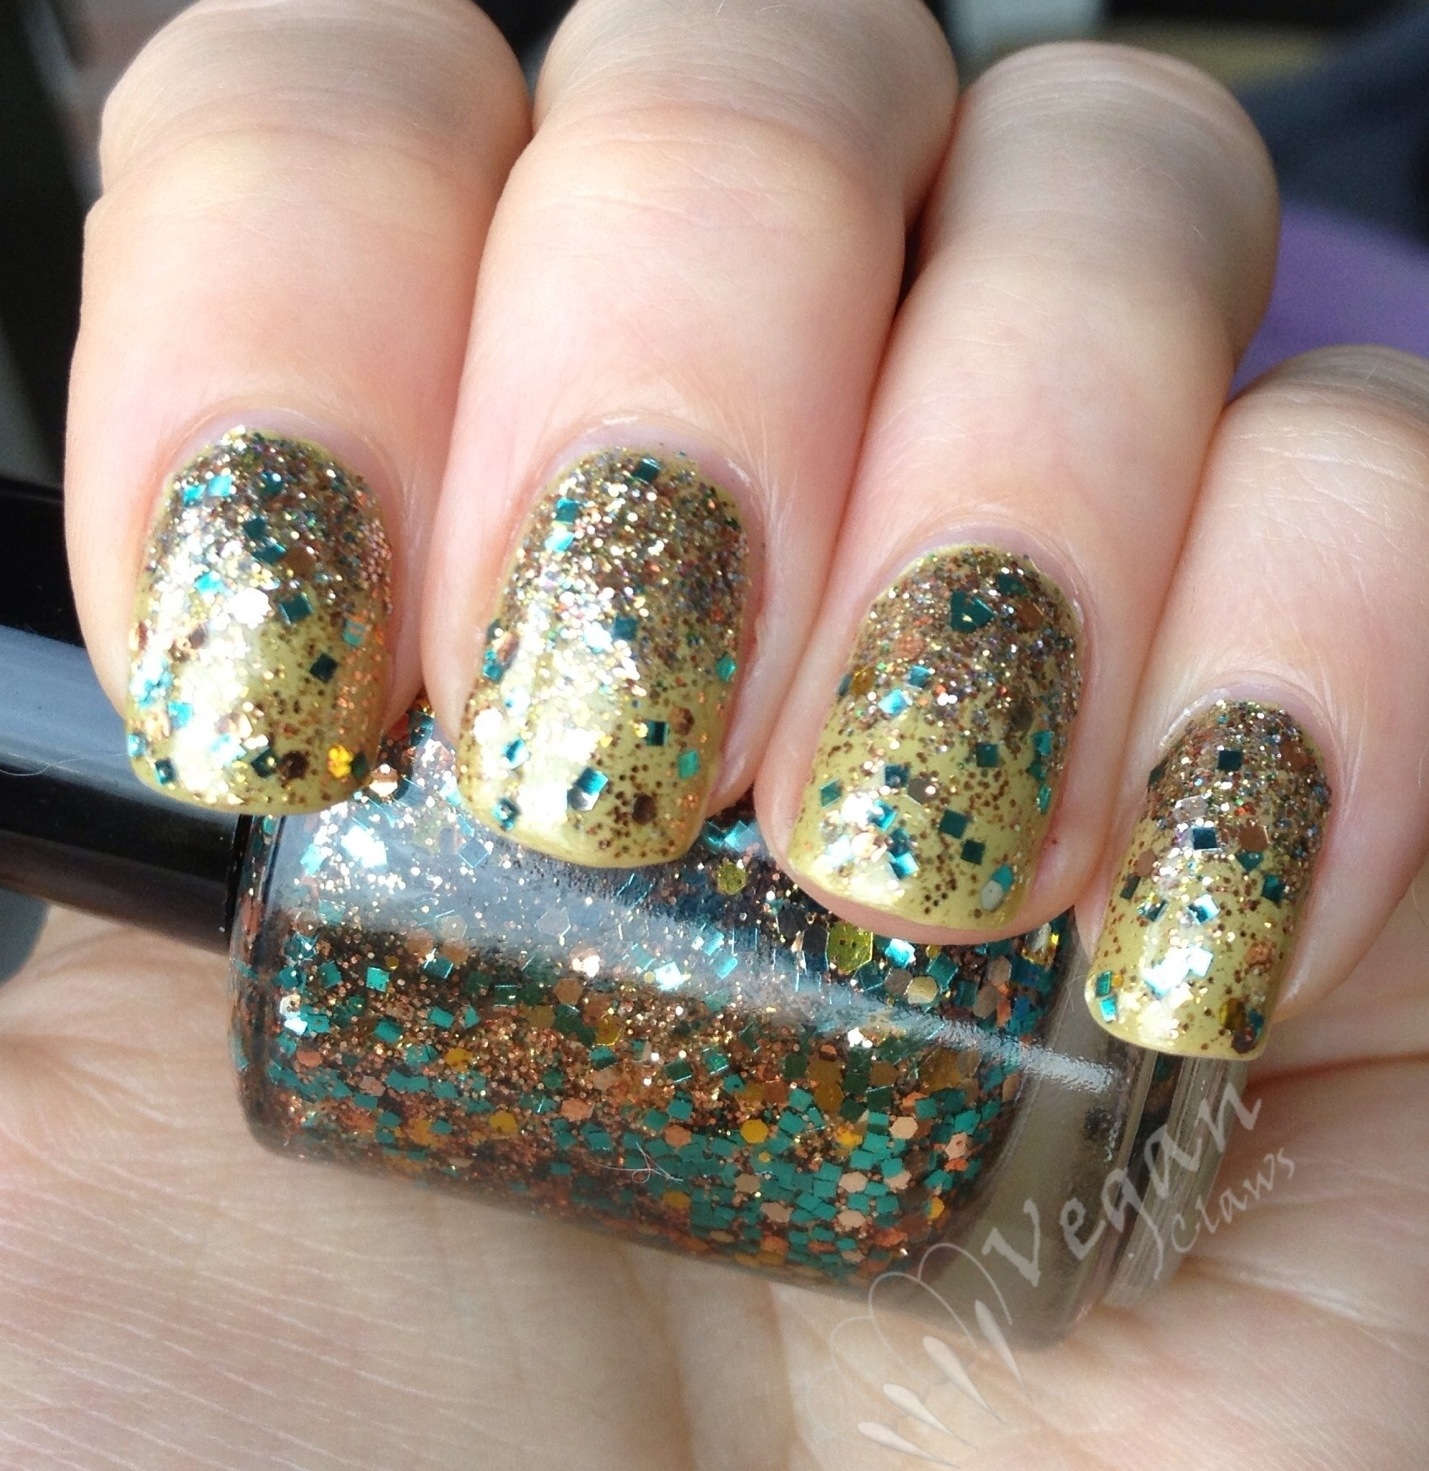
Here is a bottle picture of the lovely polish named for Ethereal. I love the matte peach glitters in this one, they make it so very unique.
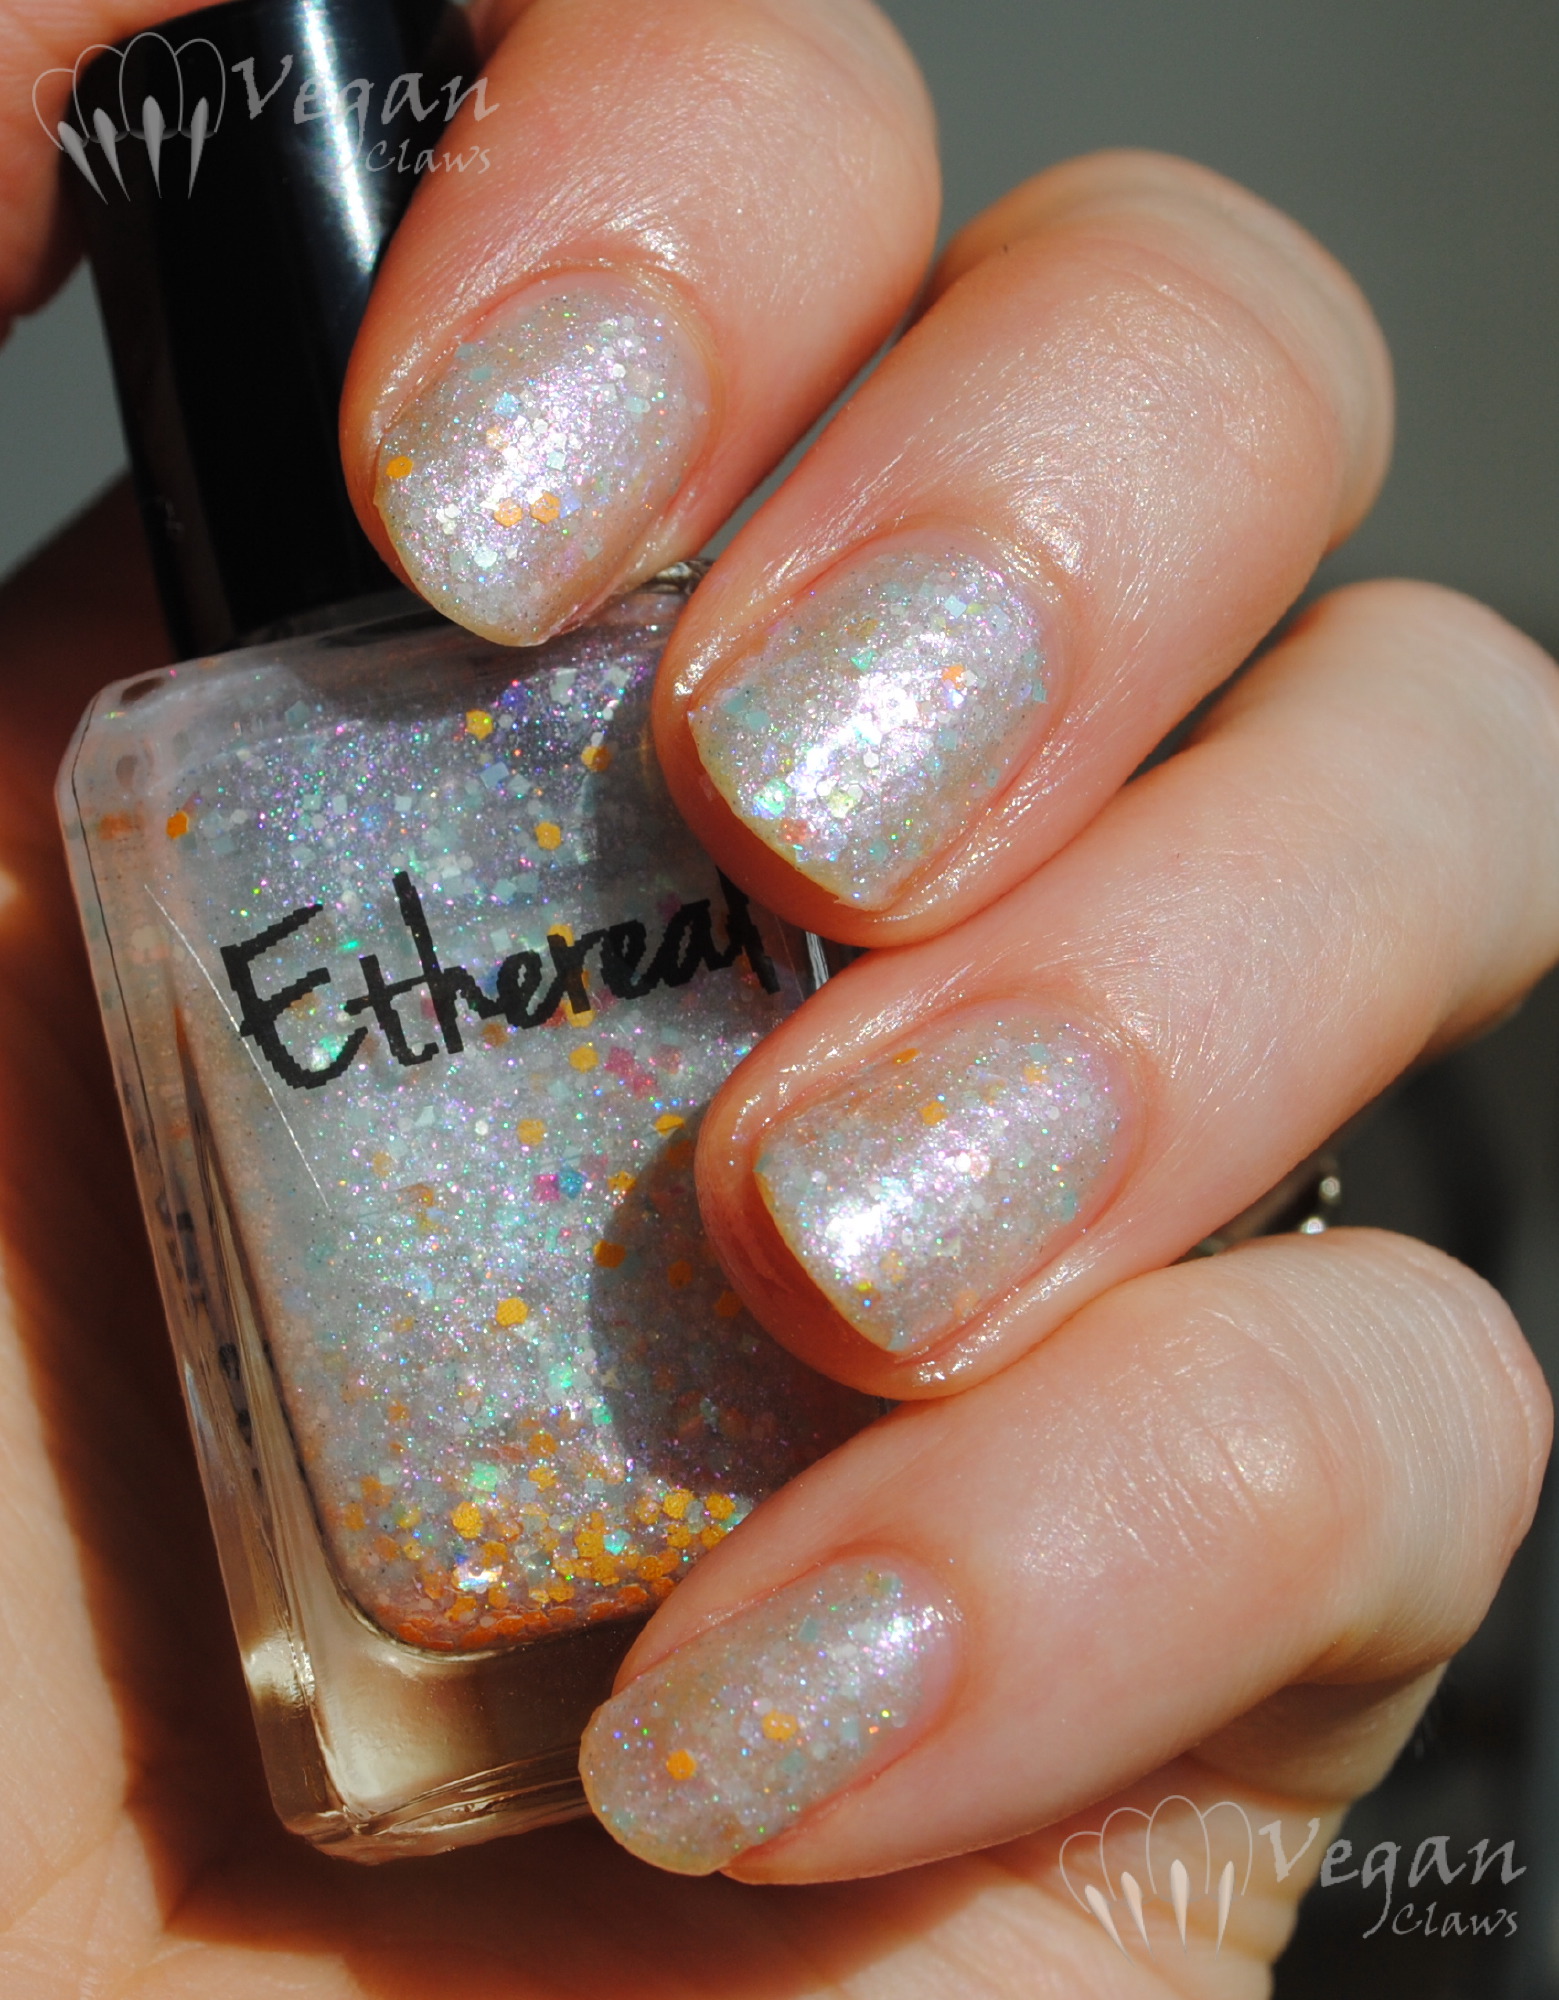
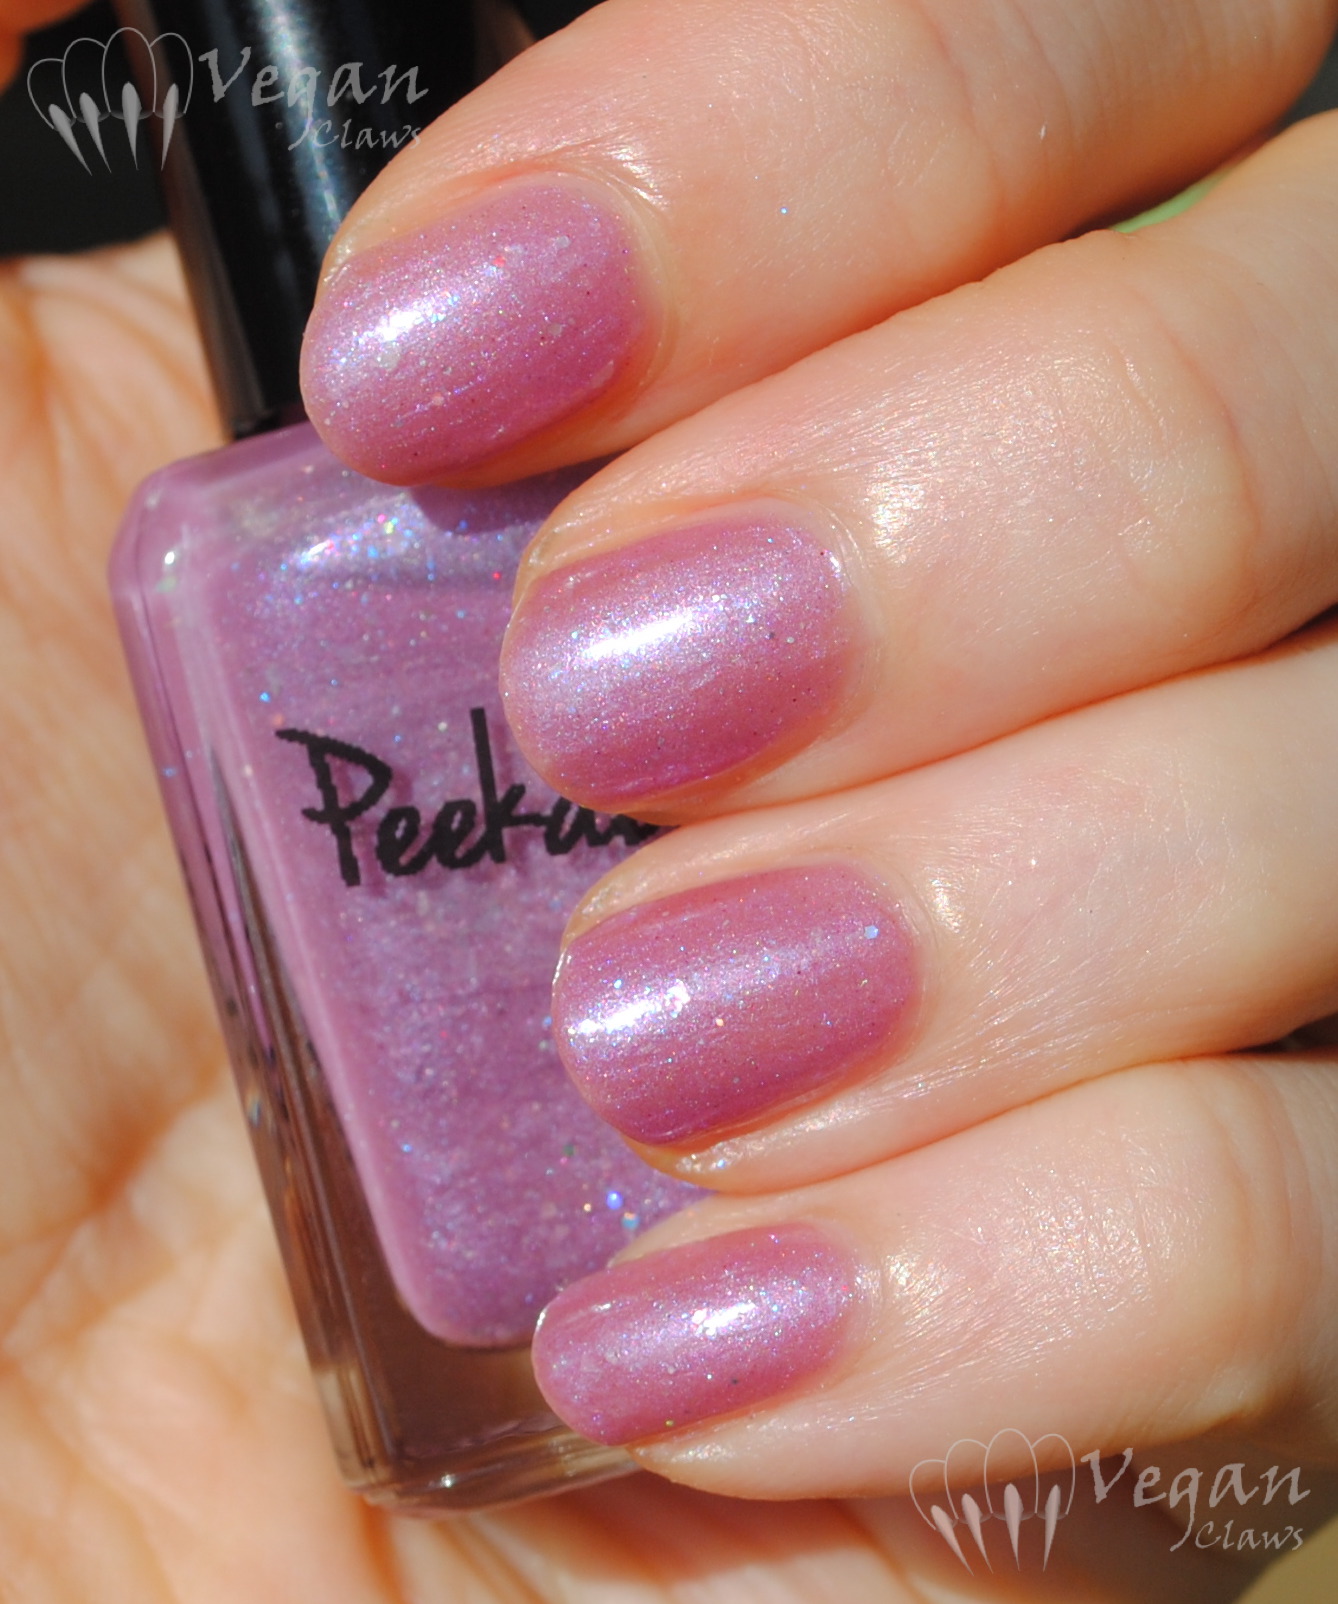
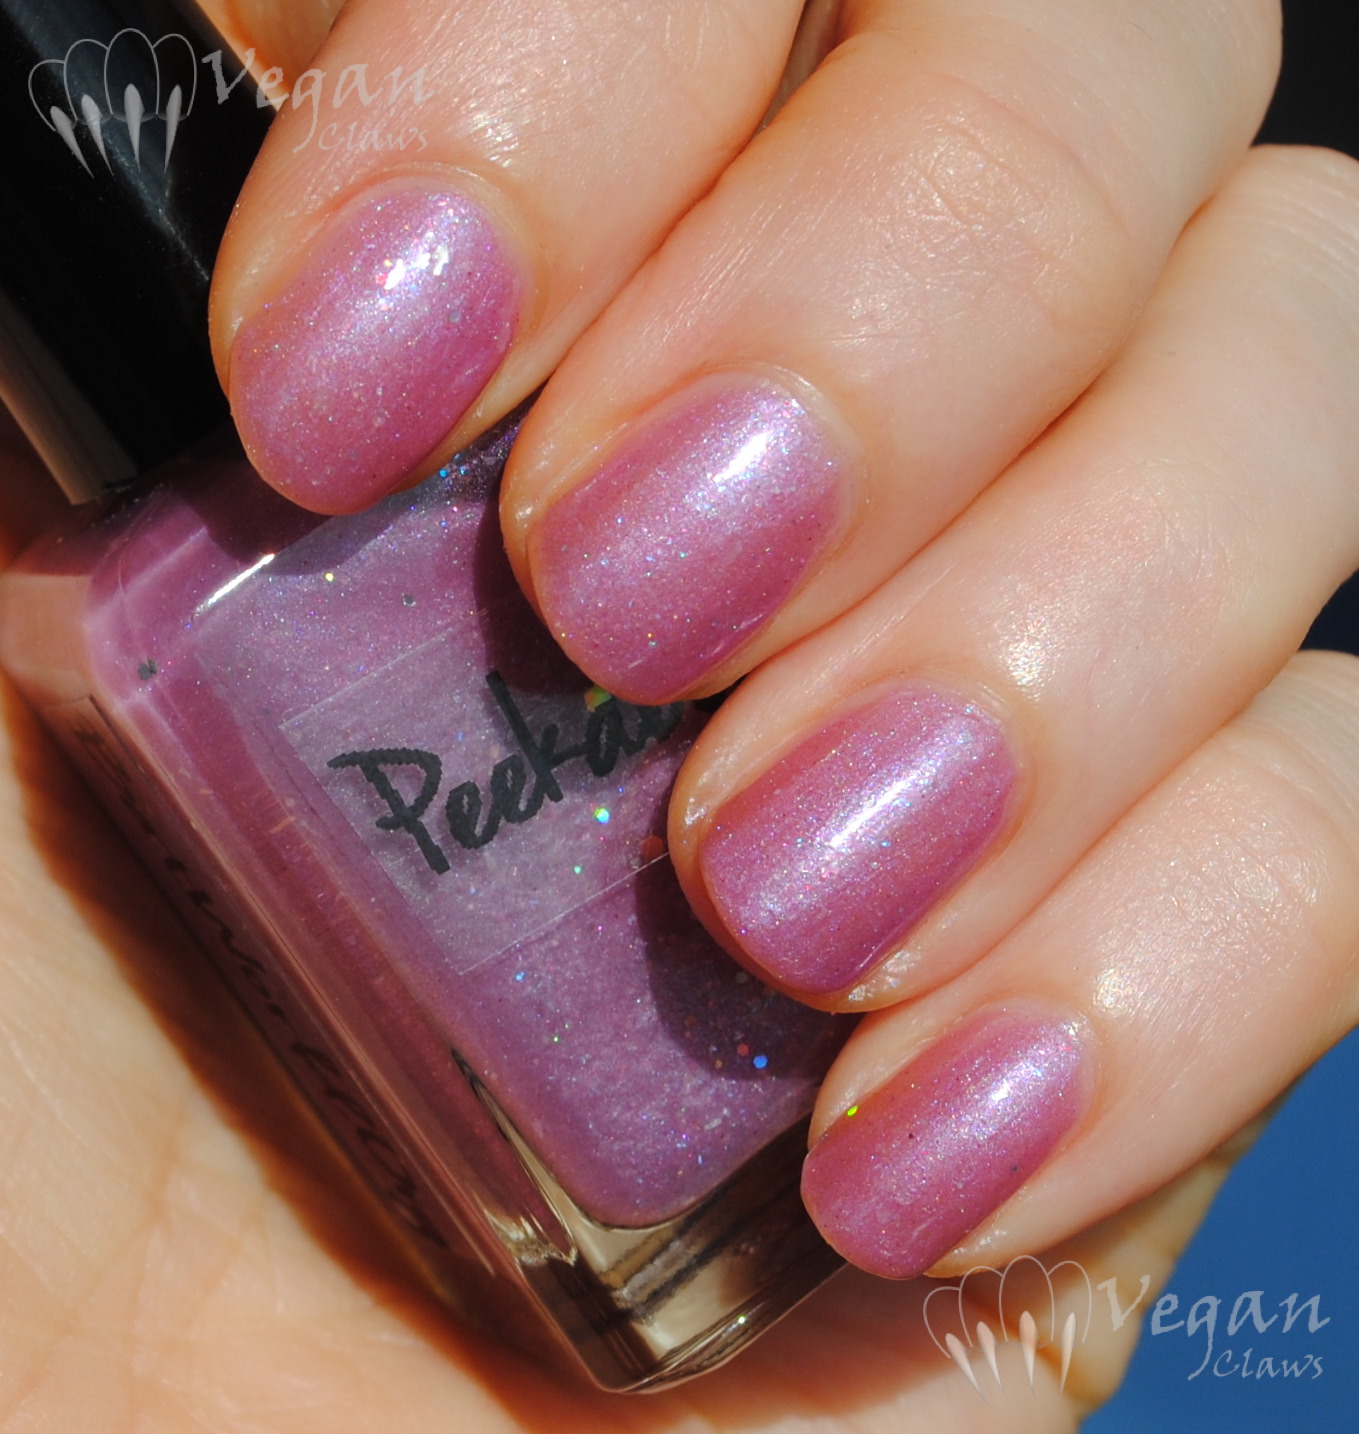
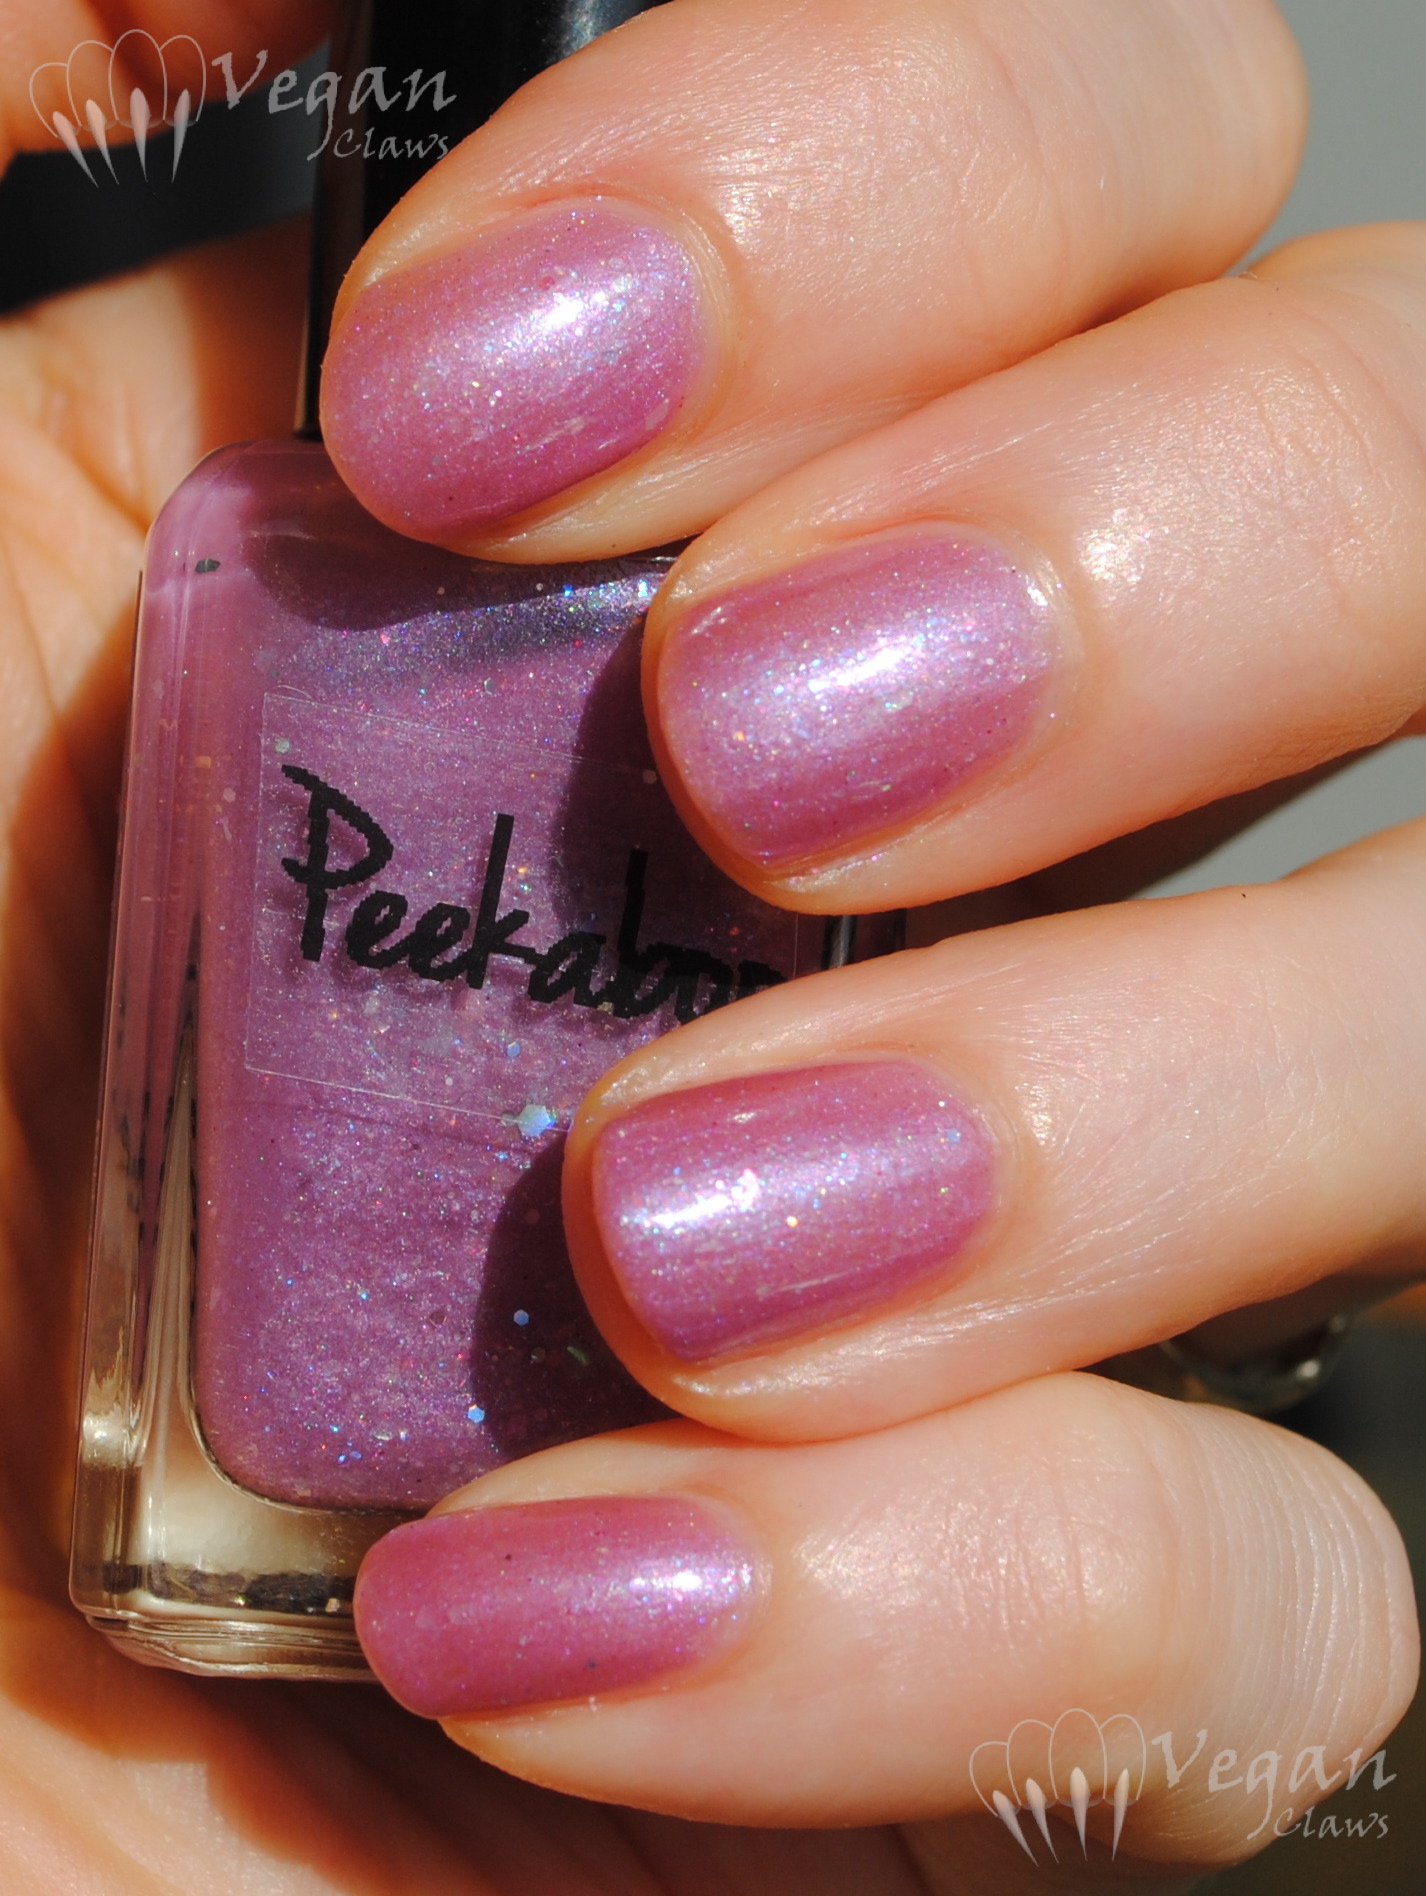
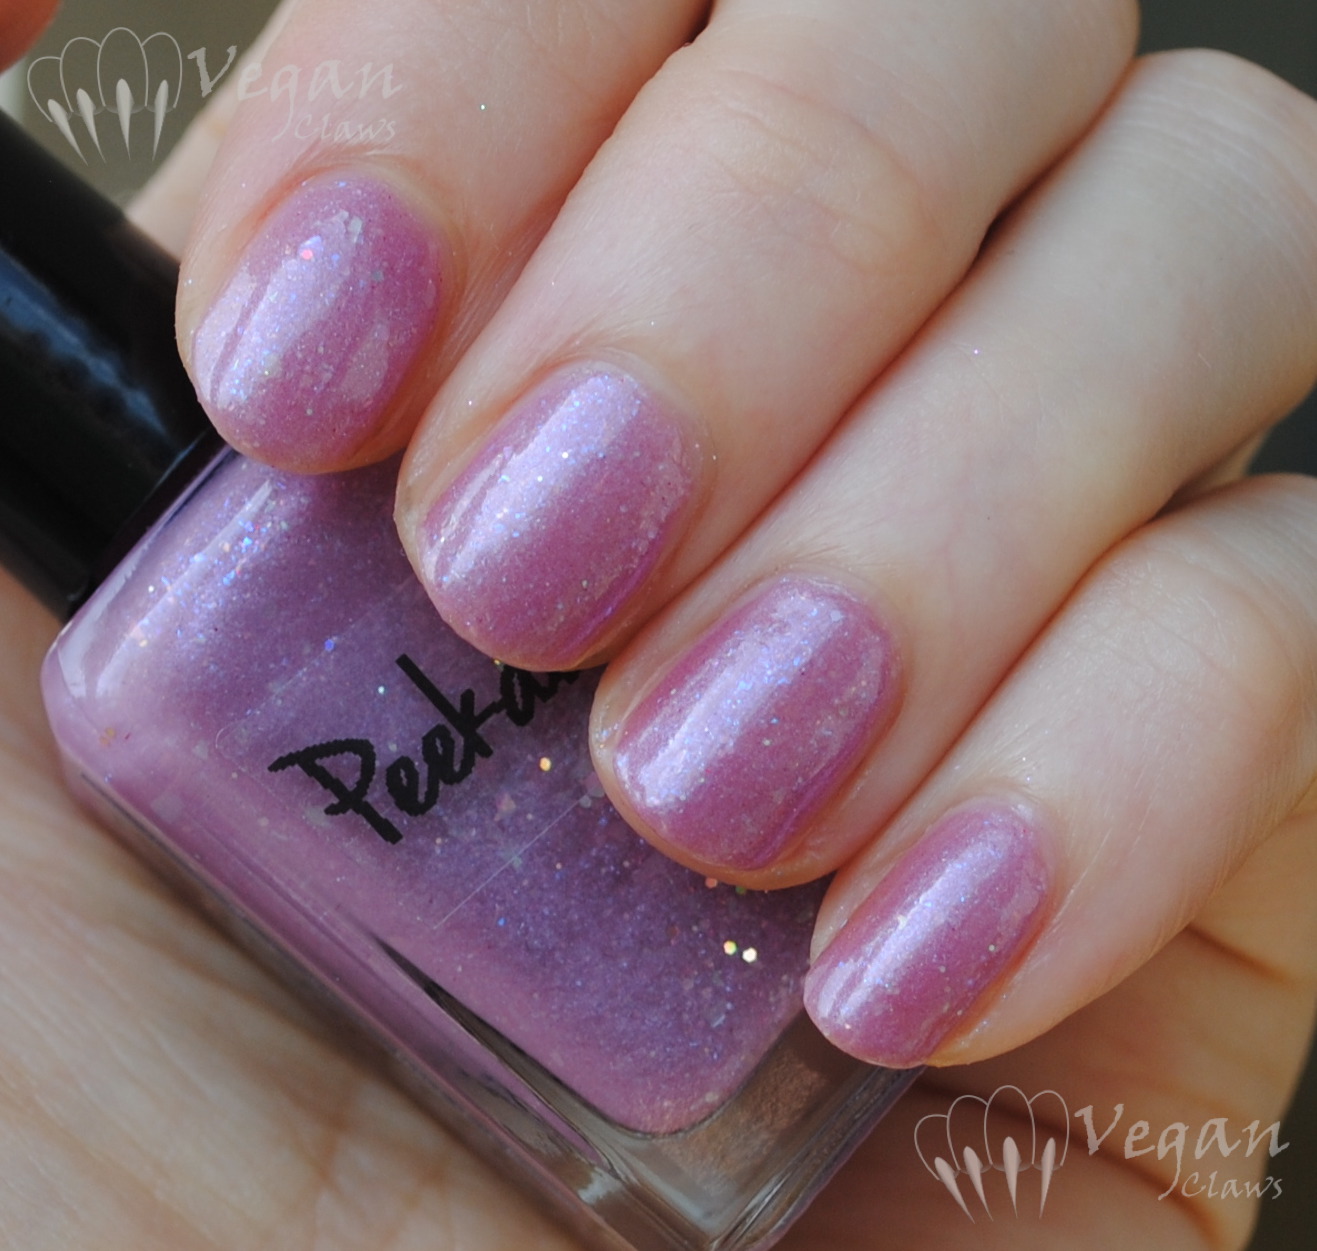
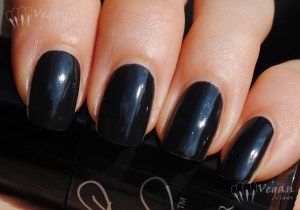
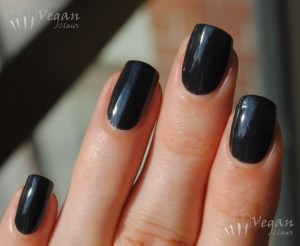
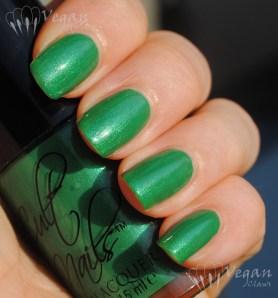
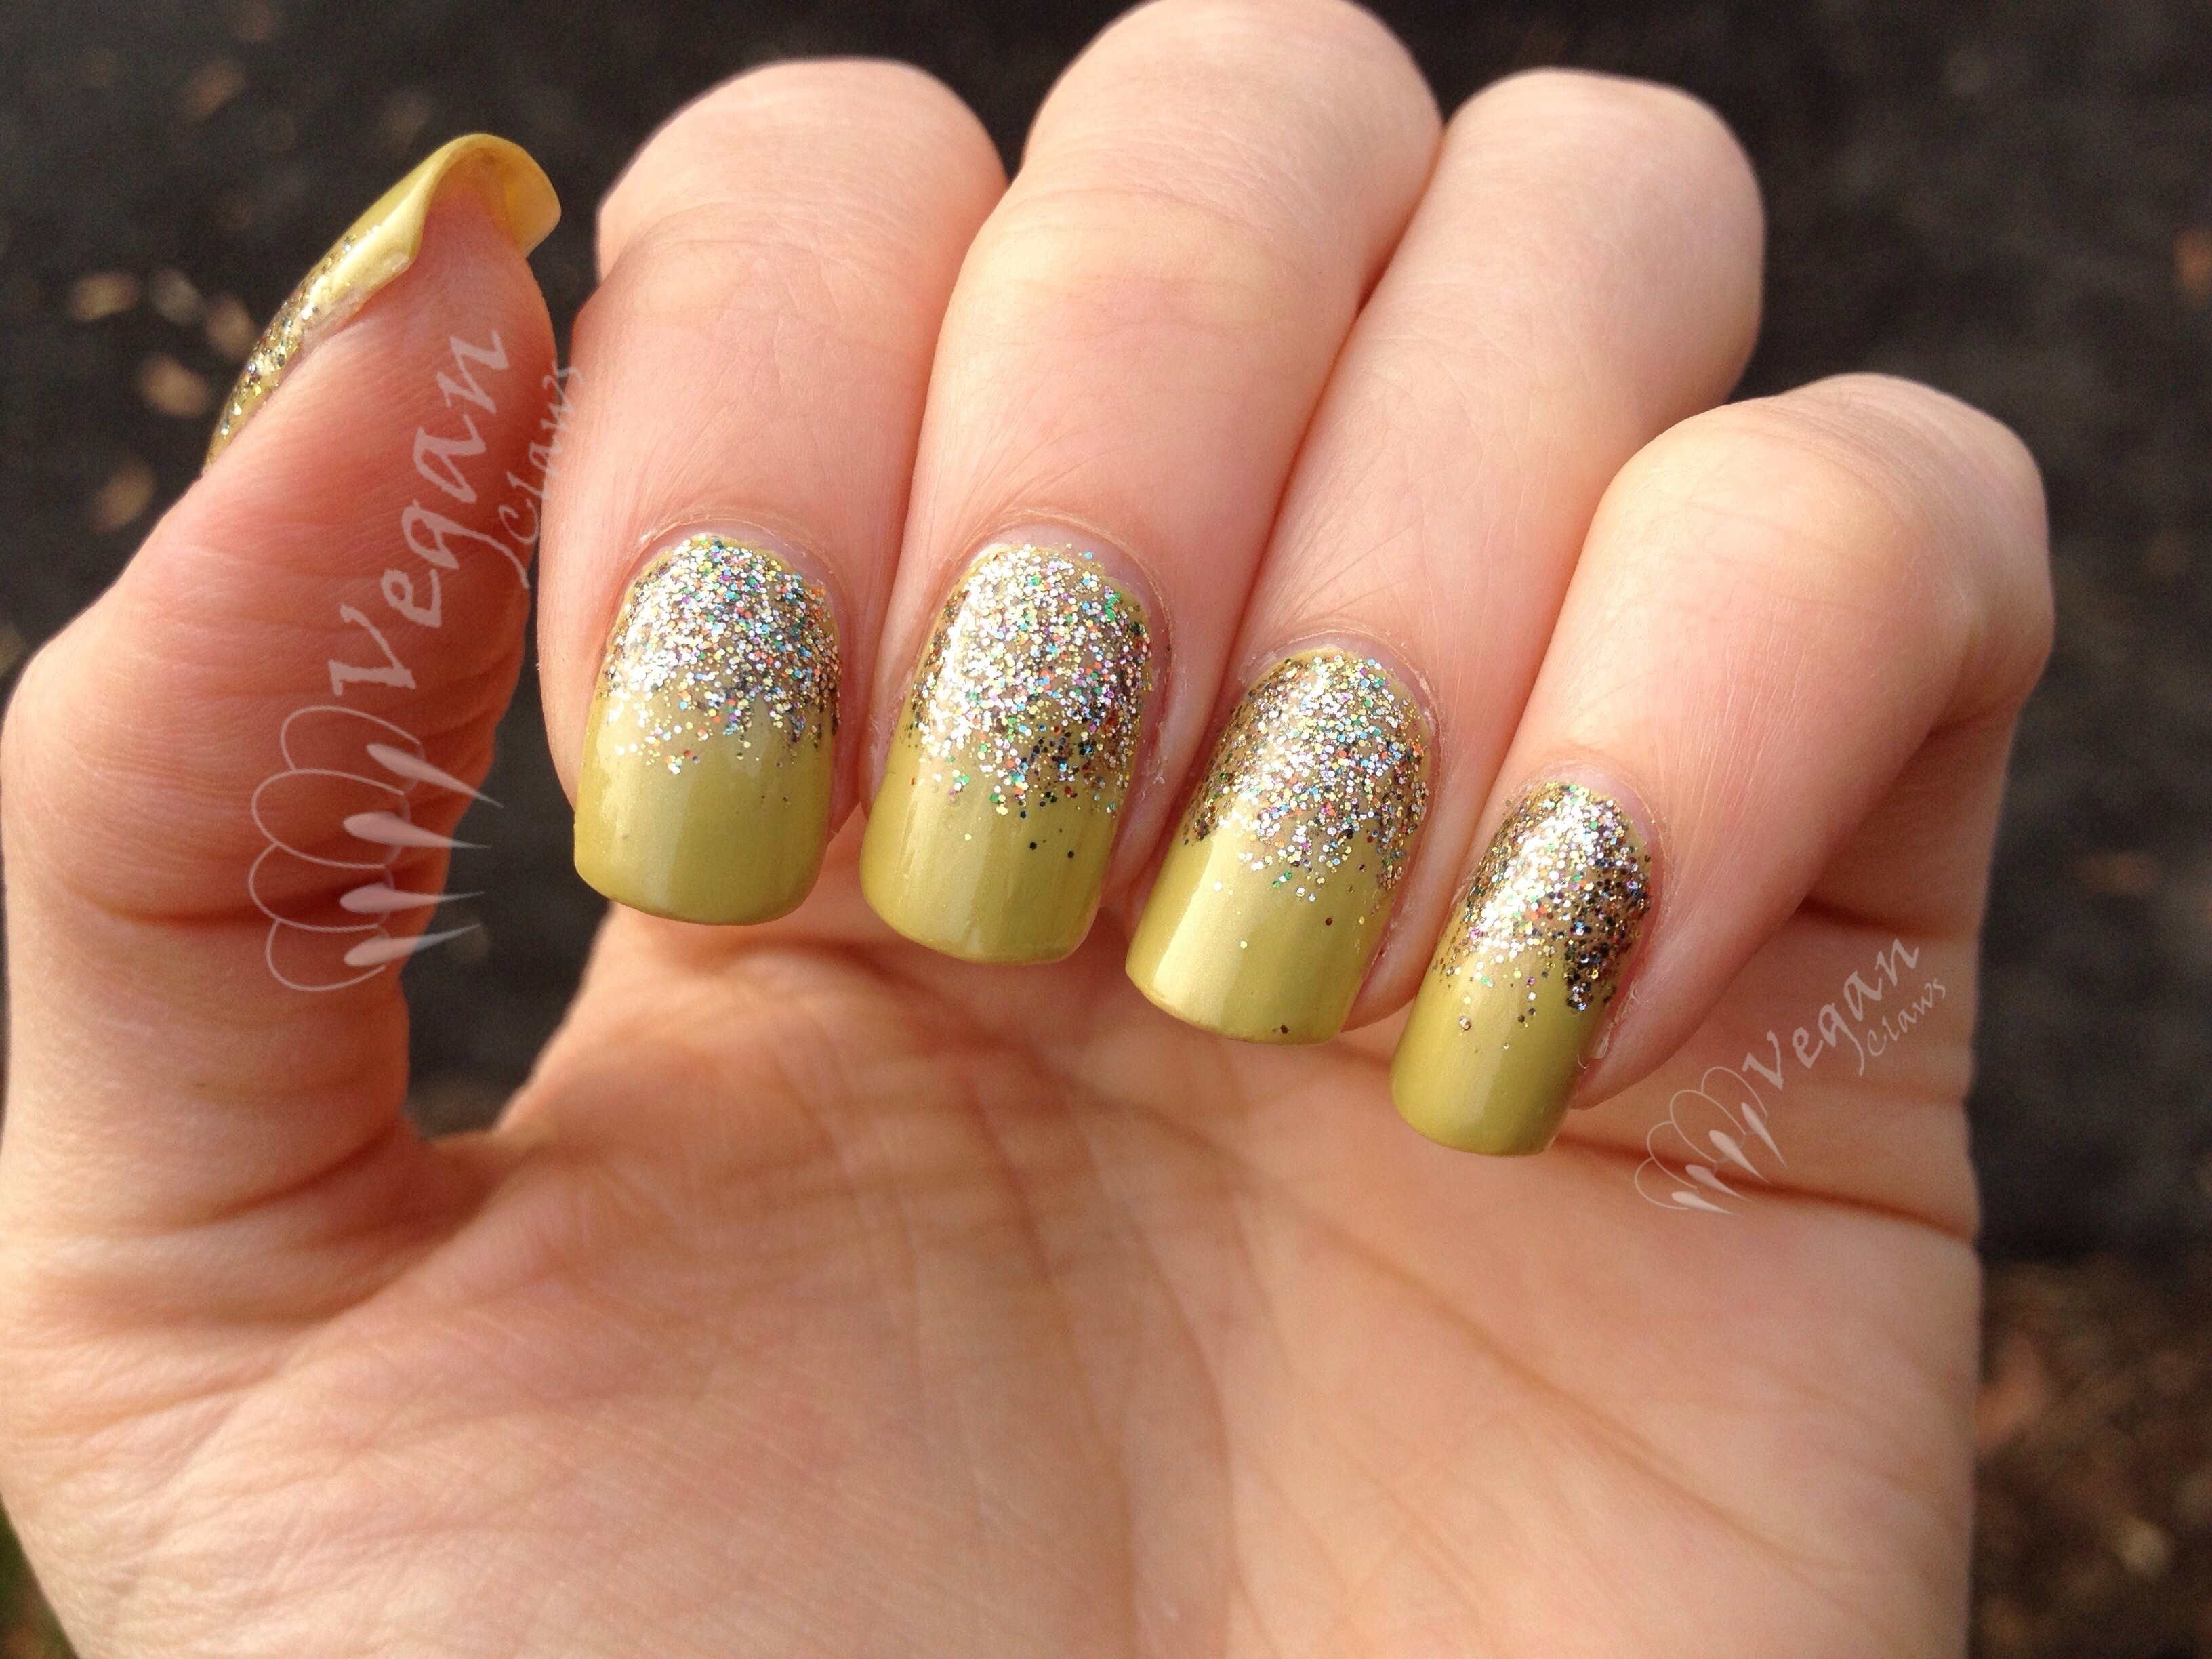
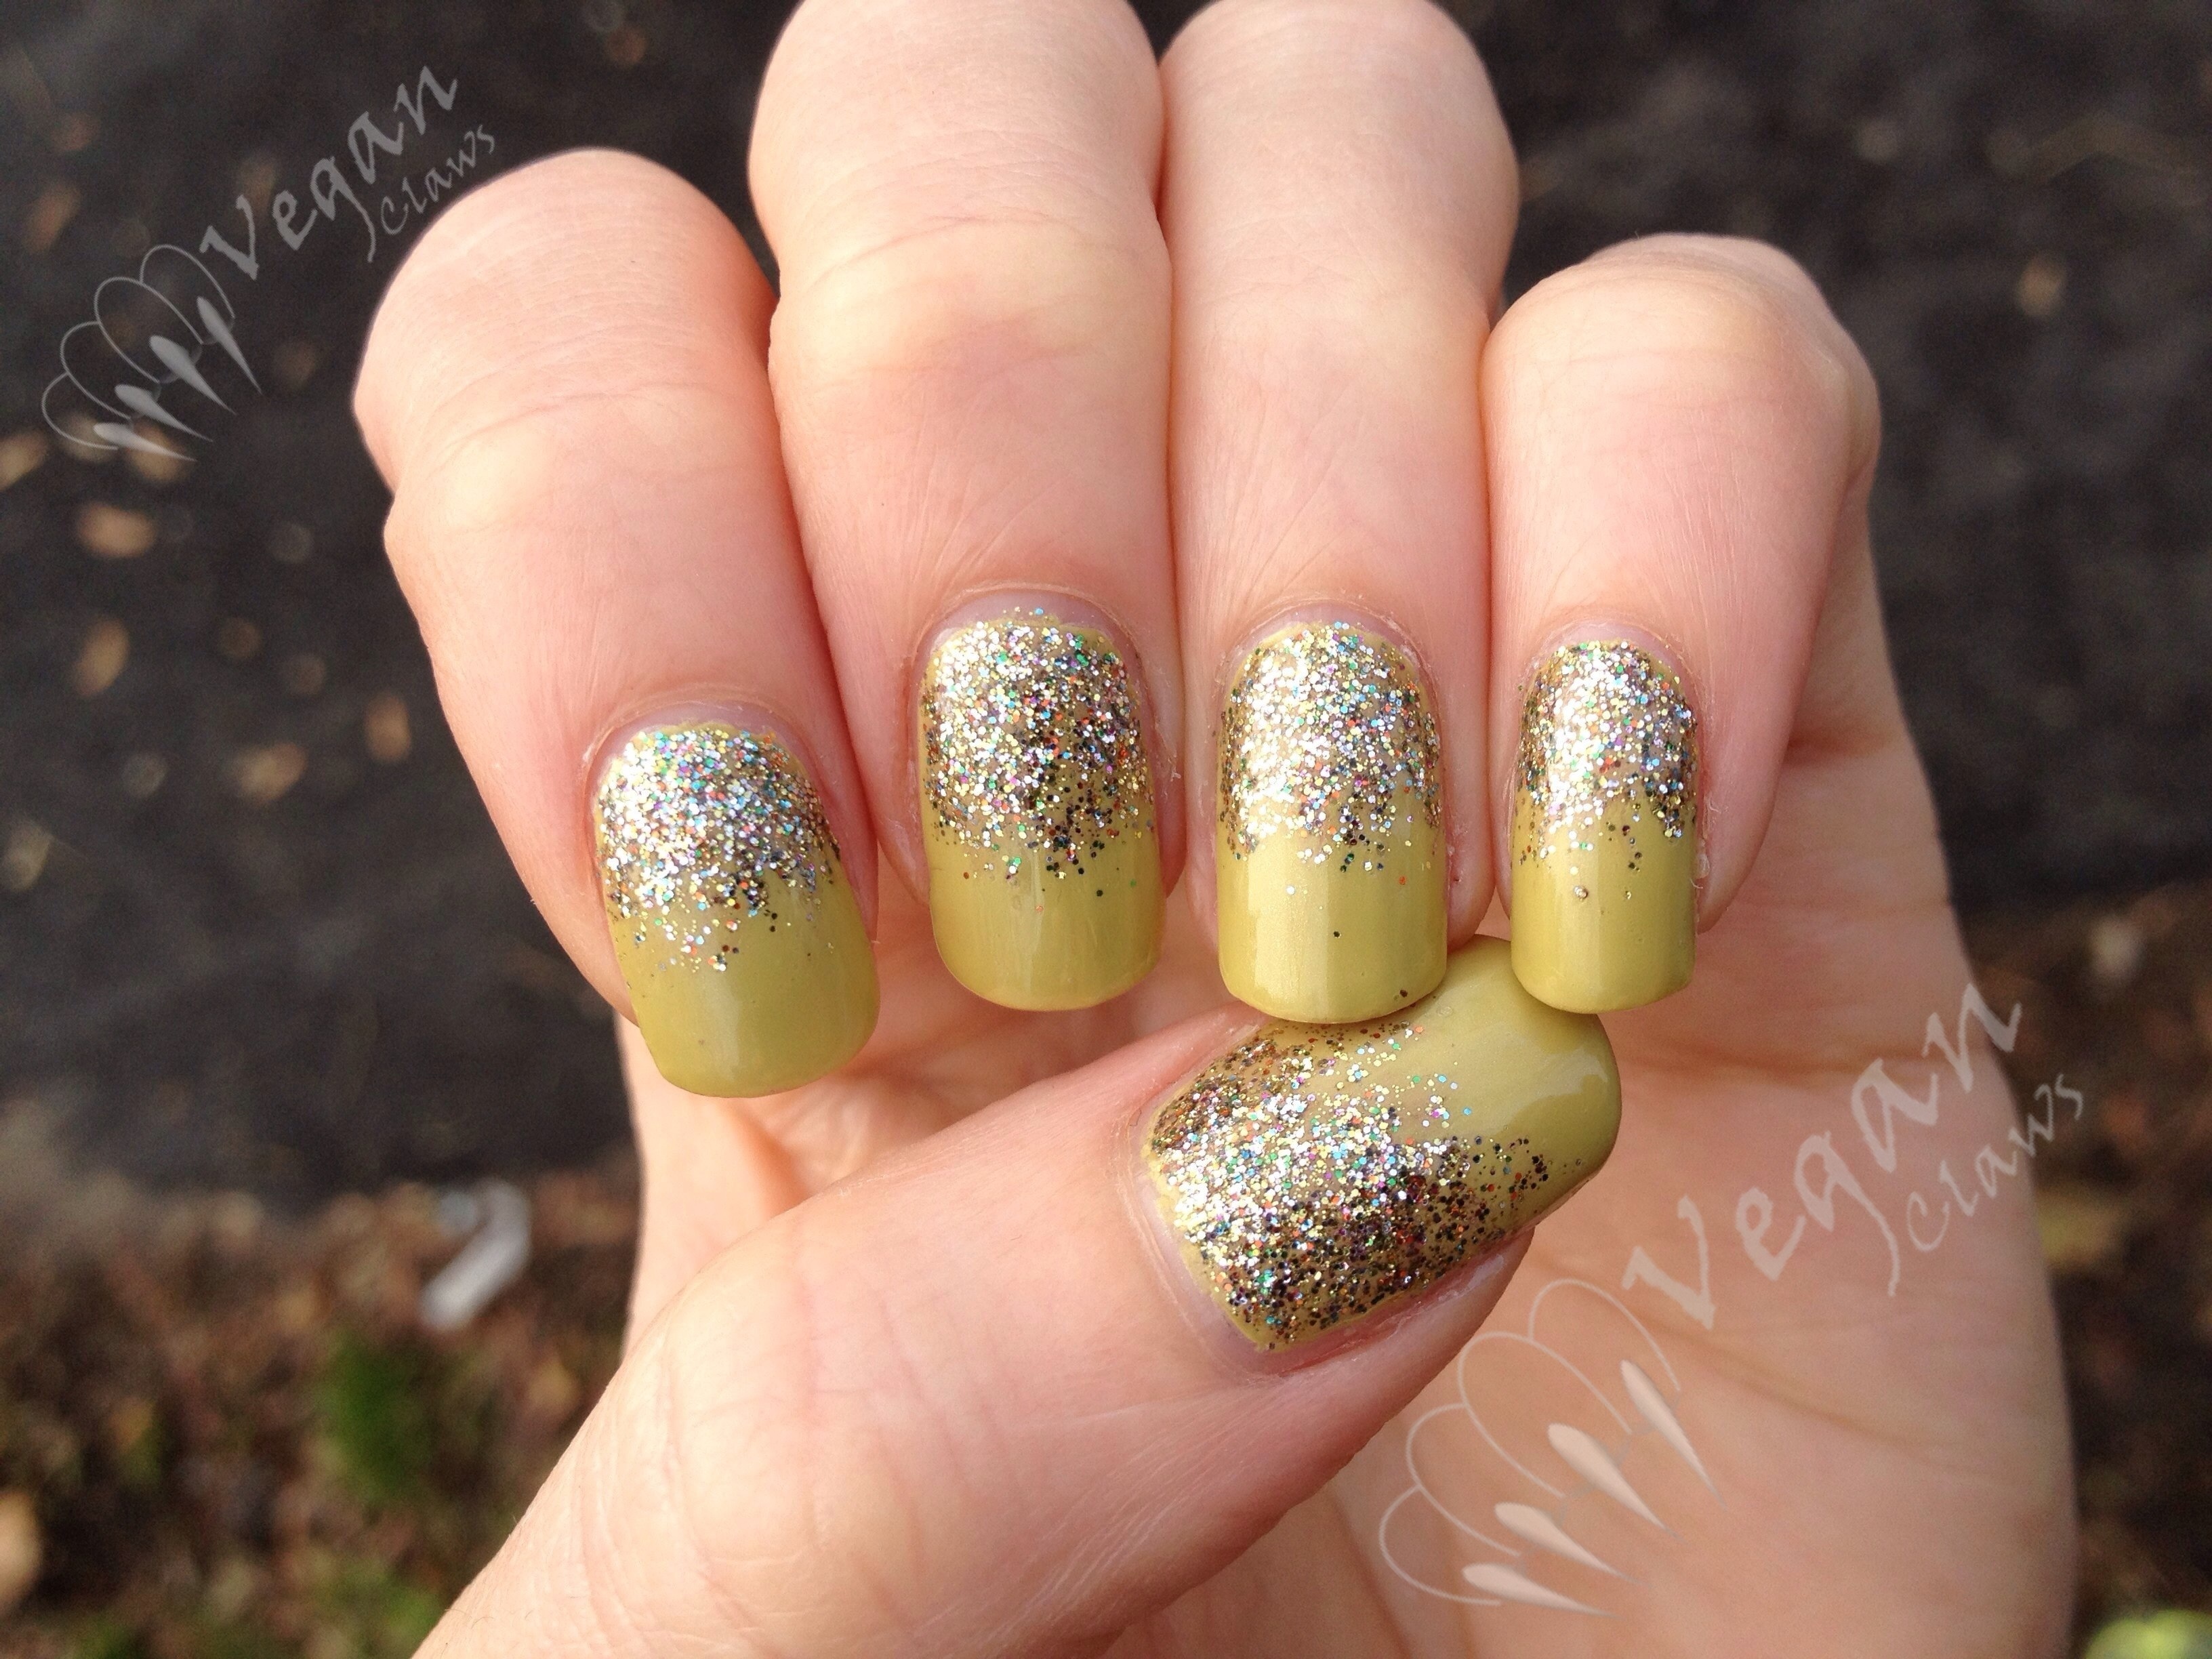
The swatches of Ethereal show three coats of polish. Two would probably be okay for those who don’t have yellowy-stained nails like I do. It would also make a great layering polish over many other shades!
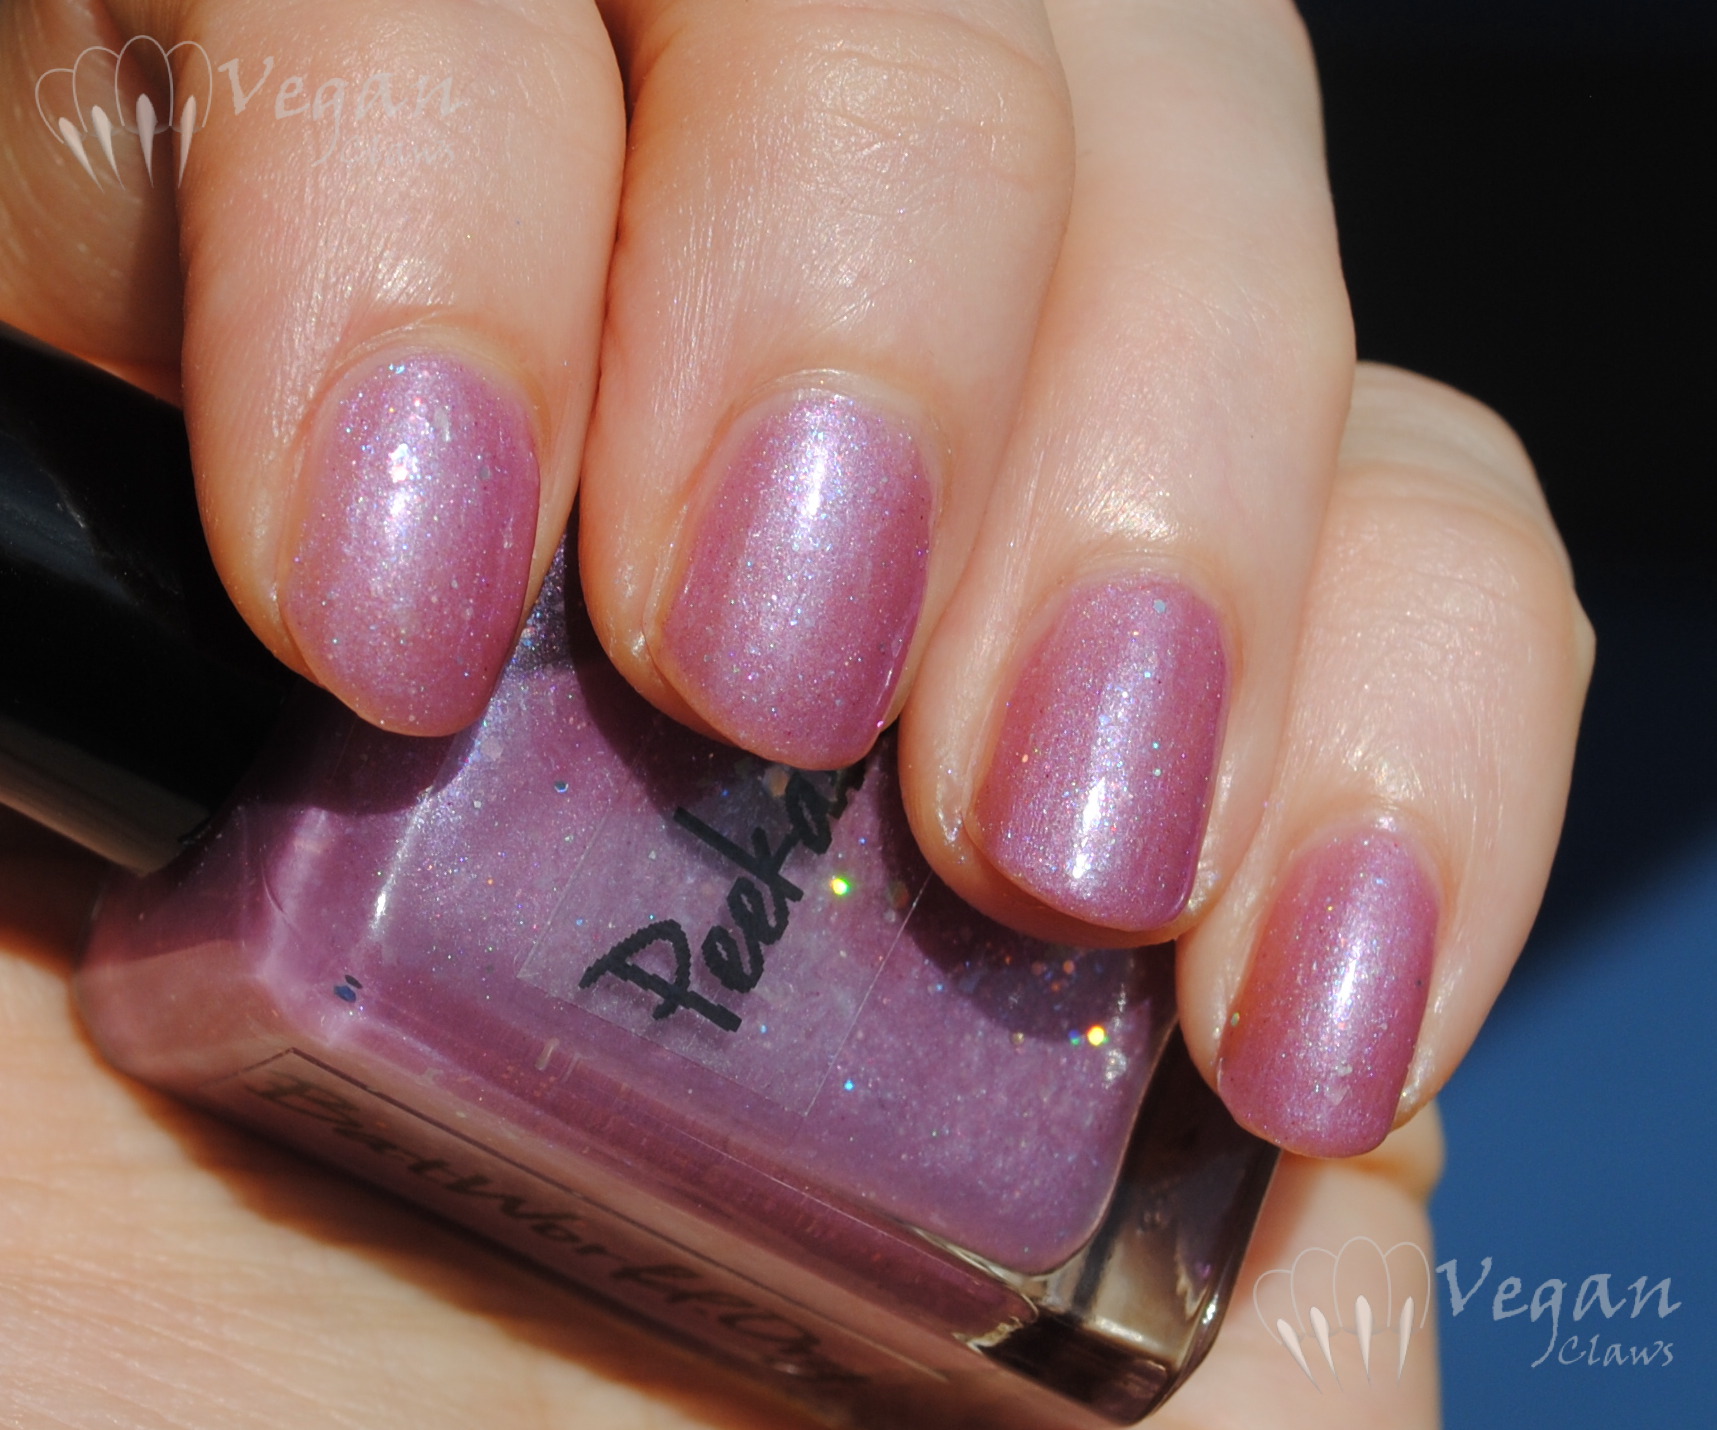
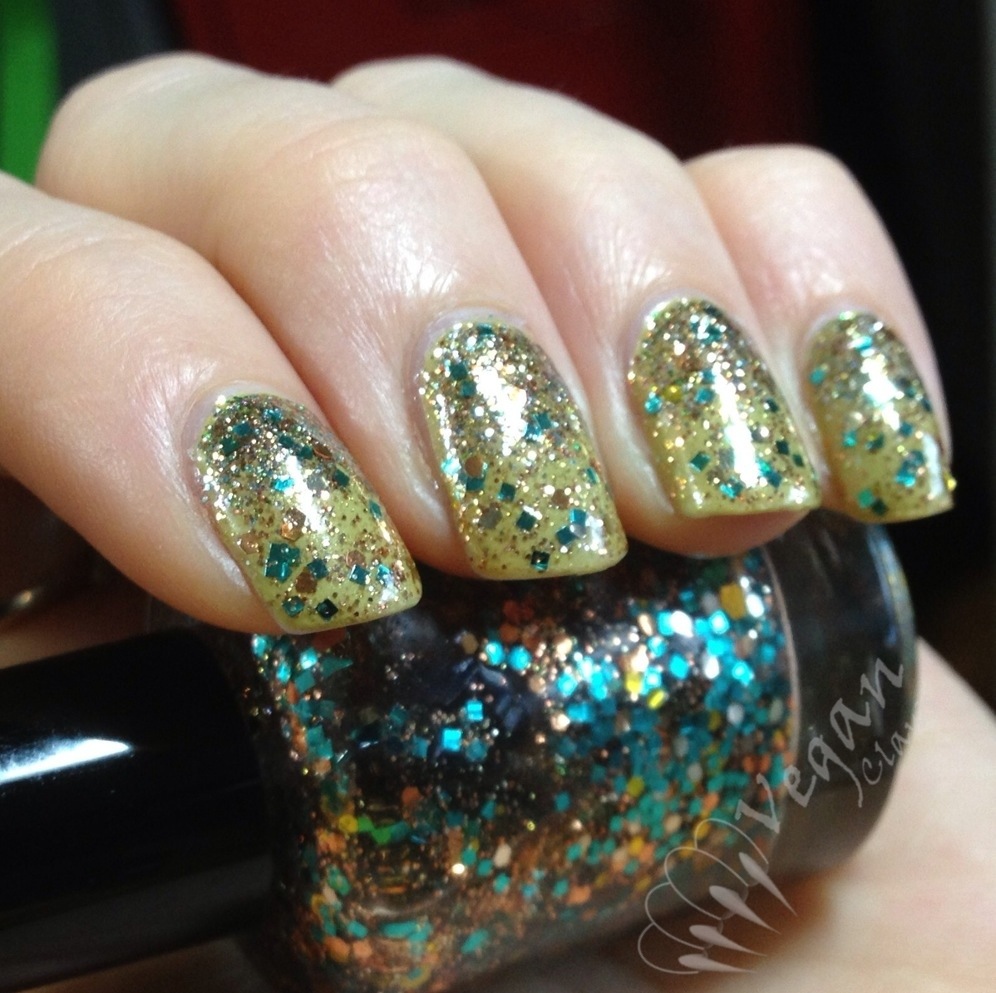
The formula was thick but not too thick, with a good amount of glitter (I didn’t have to do any dabbing or placing of glitter when applying it). There’s a lot going on in this polish, with its white shimmery base, peach matte hex glitter, satiny white hex glitter, square iridescent glitter that reflects pink and green, sparse scattered micro holo particles and pink/purple shimmer flecks, and small iridescent flakie shards that reflect blue and purple… and maybe some other things I’m not catching? 🙂 Despite all that, it’s in no way “too busy”, it all works perfectly together! Did I mention this one is my favourite? 😉
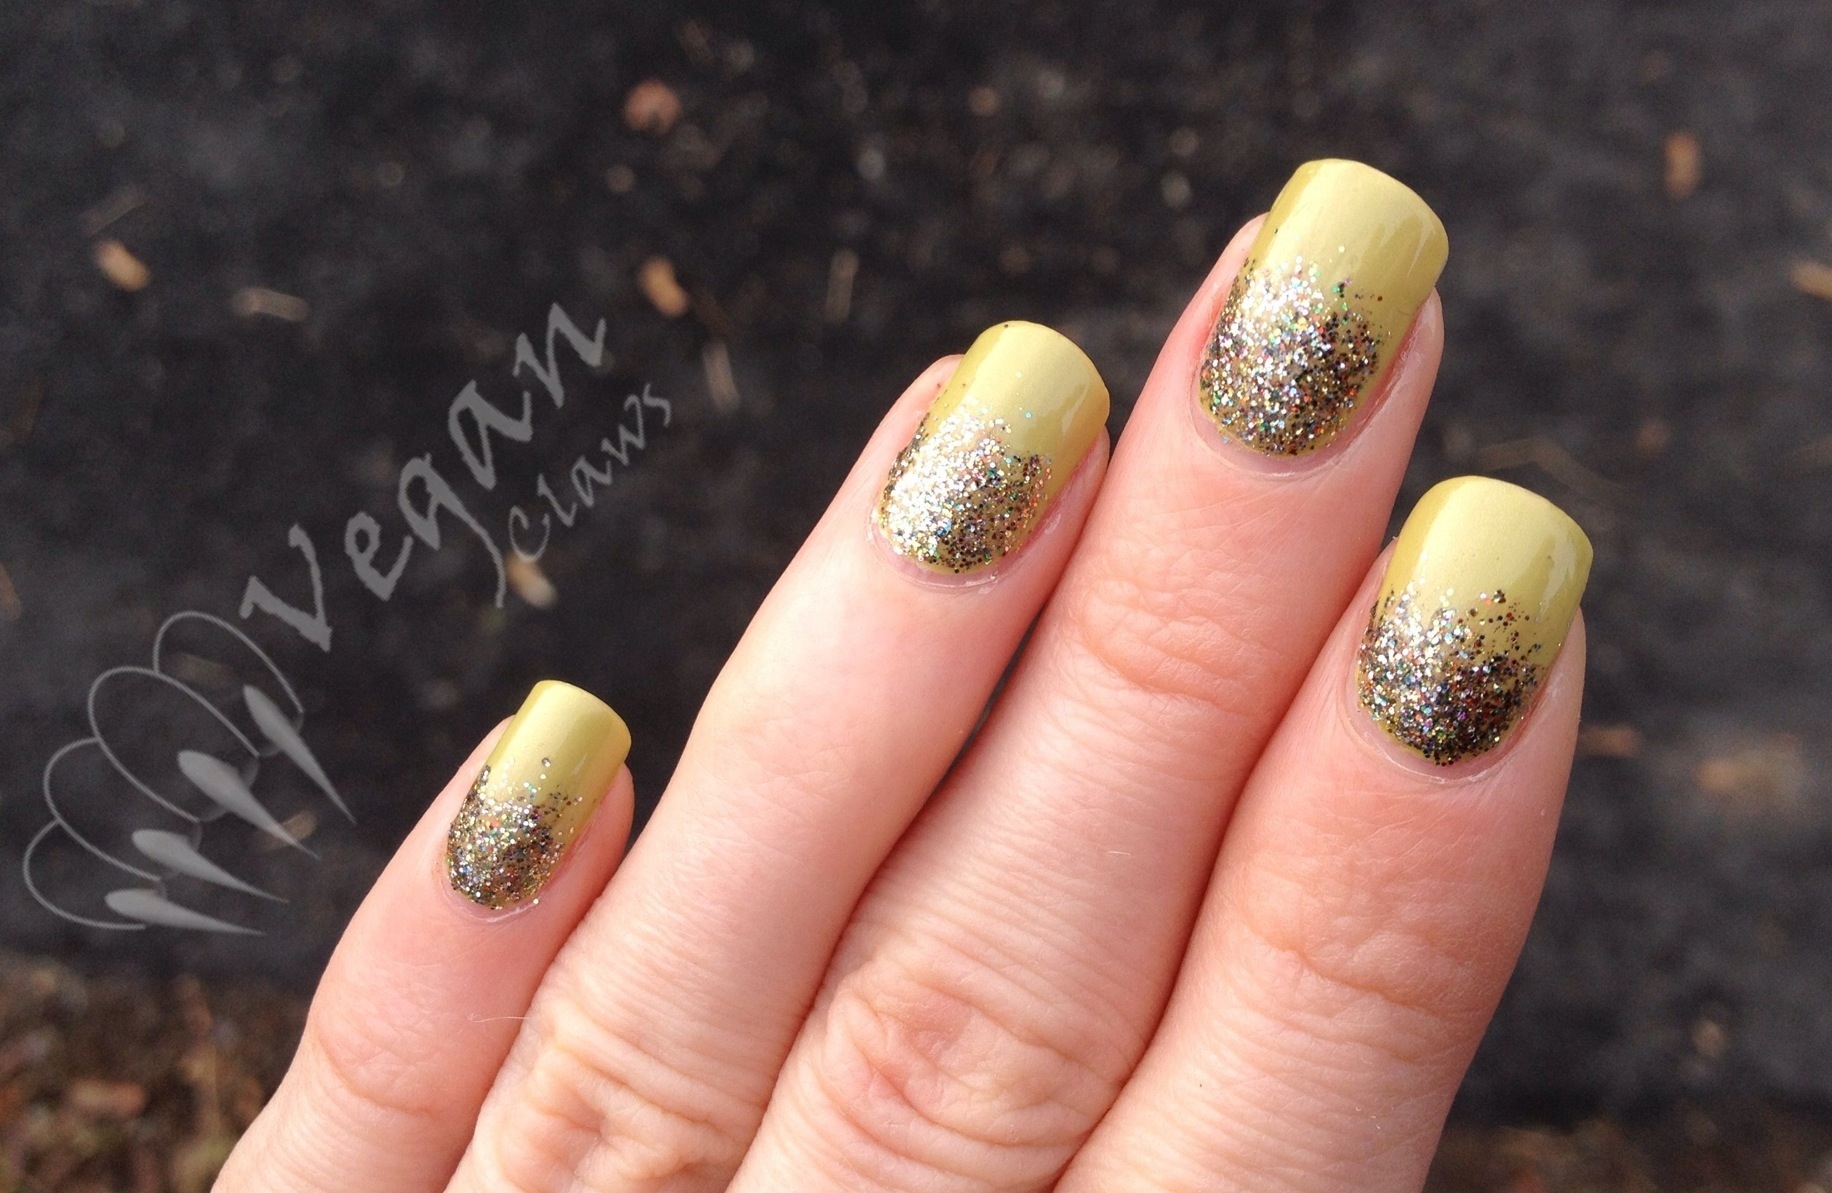
A slight texture can be felt from all the flakes and glitter, but a good topcoat takes care of that.

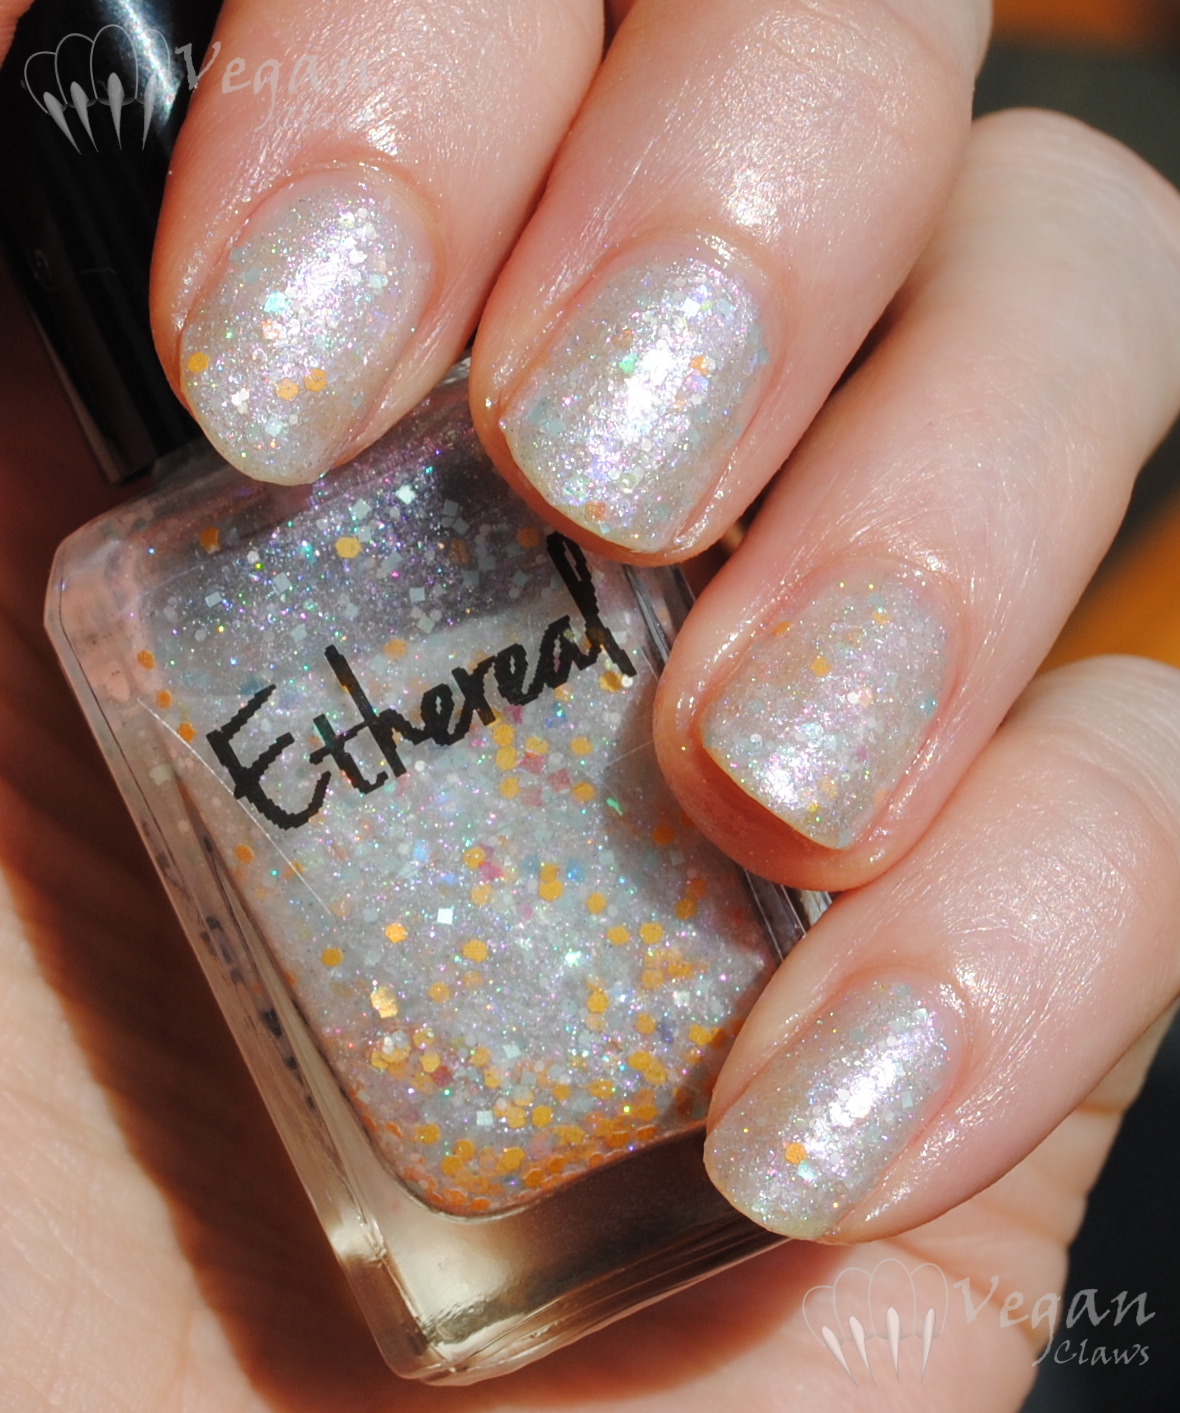
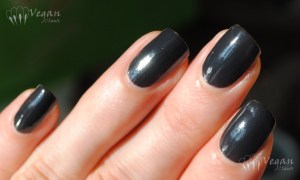
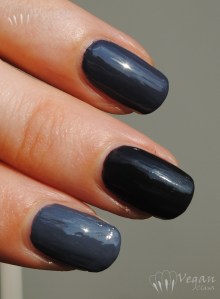
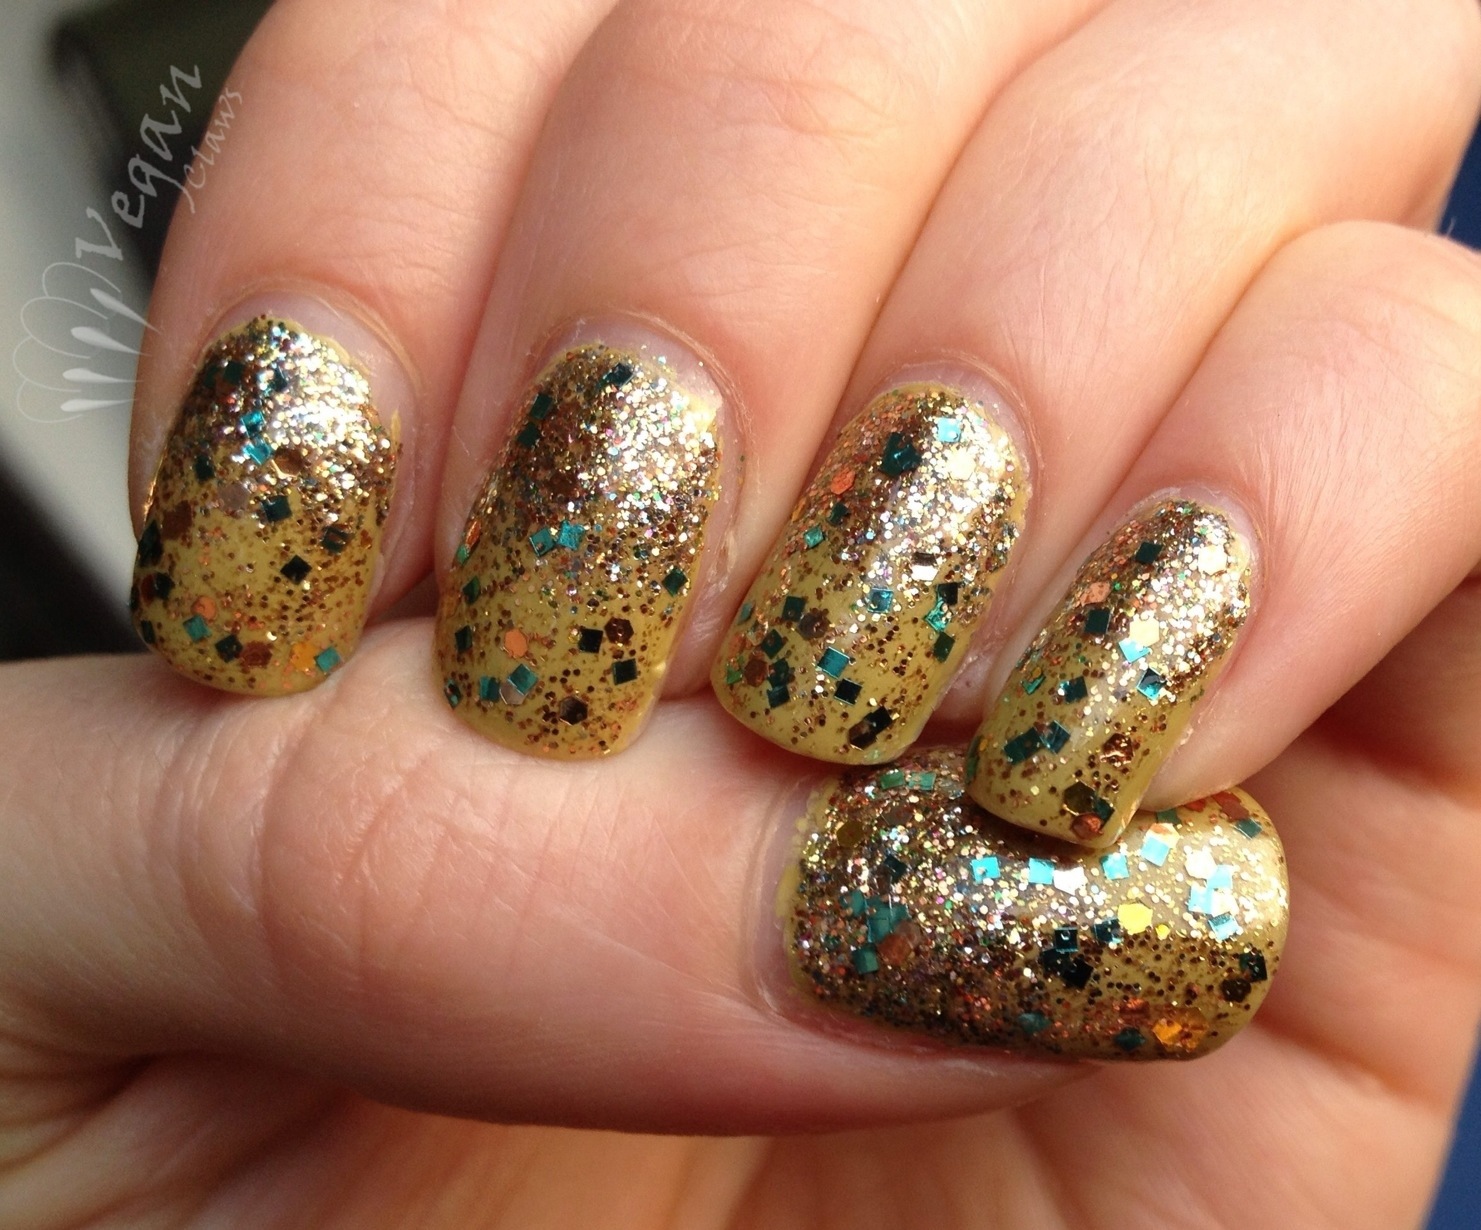
Ethereal in the shade:
I had an email conversation with Laura, the creator of Ruby White Tips, and she mentioned plans to create a new shade “in memory of” Ethereal and possibly retiring this one, so if you like it like I do, I’d suggest picking it up sooner rather than later.
The second polish I have to show today was inspired by Poppy, an “Indian flying fox”, one of the largest species of bat, who was “retired” from a zoo. Glad she is now in a non-exploitative sanctuary!
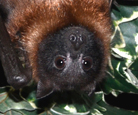
Photo credit: Batworld.org
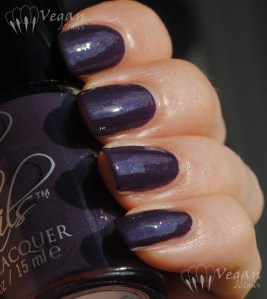
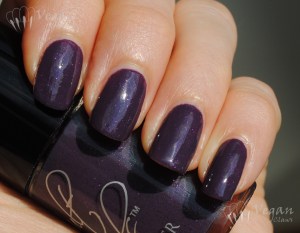
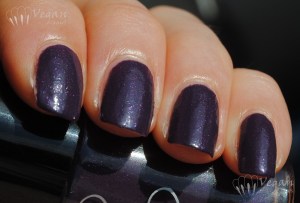
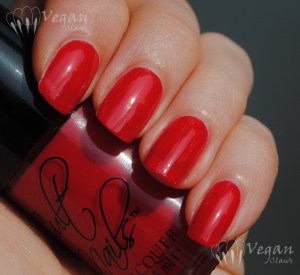
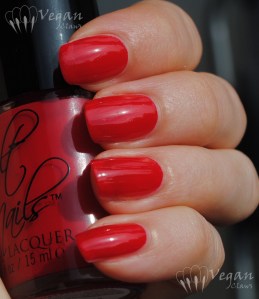
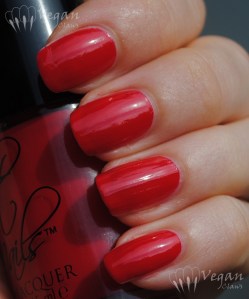
This is two coats of Poppy the polish (three on my pinky, just because of a smudge). The application of this polish was smooth and easy.
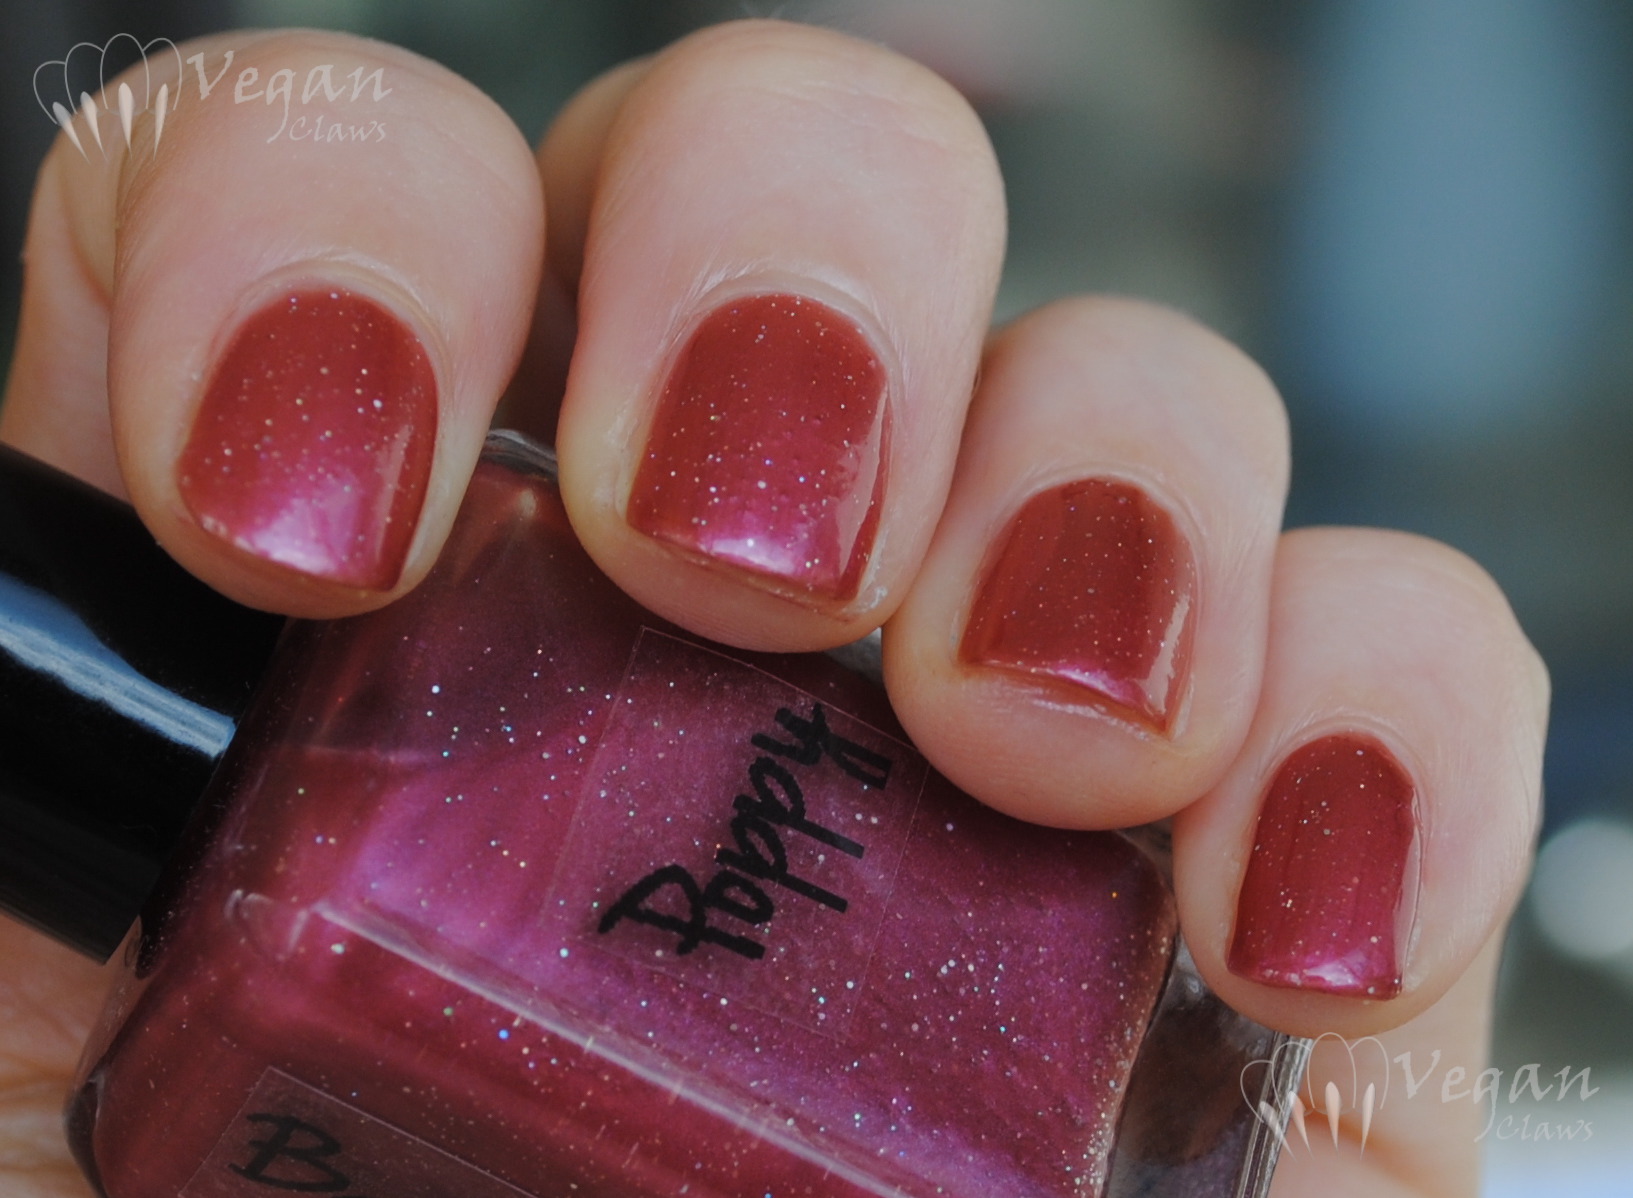
The shade of the polish fits its name, being a red shimmer that has a brick undertone and pink shimmer. There is holo microglitter throughout the polish.

The microglitter leaves a bit of texture on the nail, so a coat or two of a good topcoat is recommended. I know I took some photos pre-topcoat and some after adding a layer of topcoat, but I can’t remember now which each of these particular photos were, sorry about that!
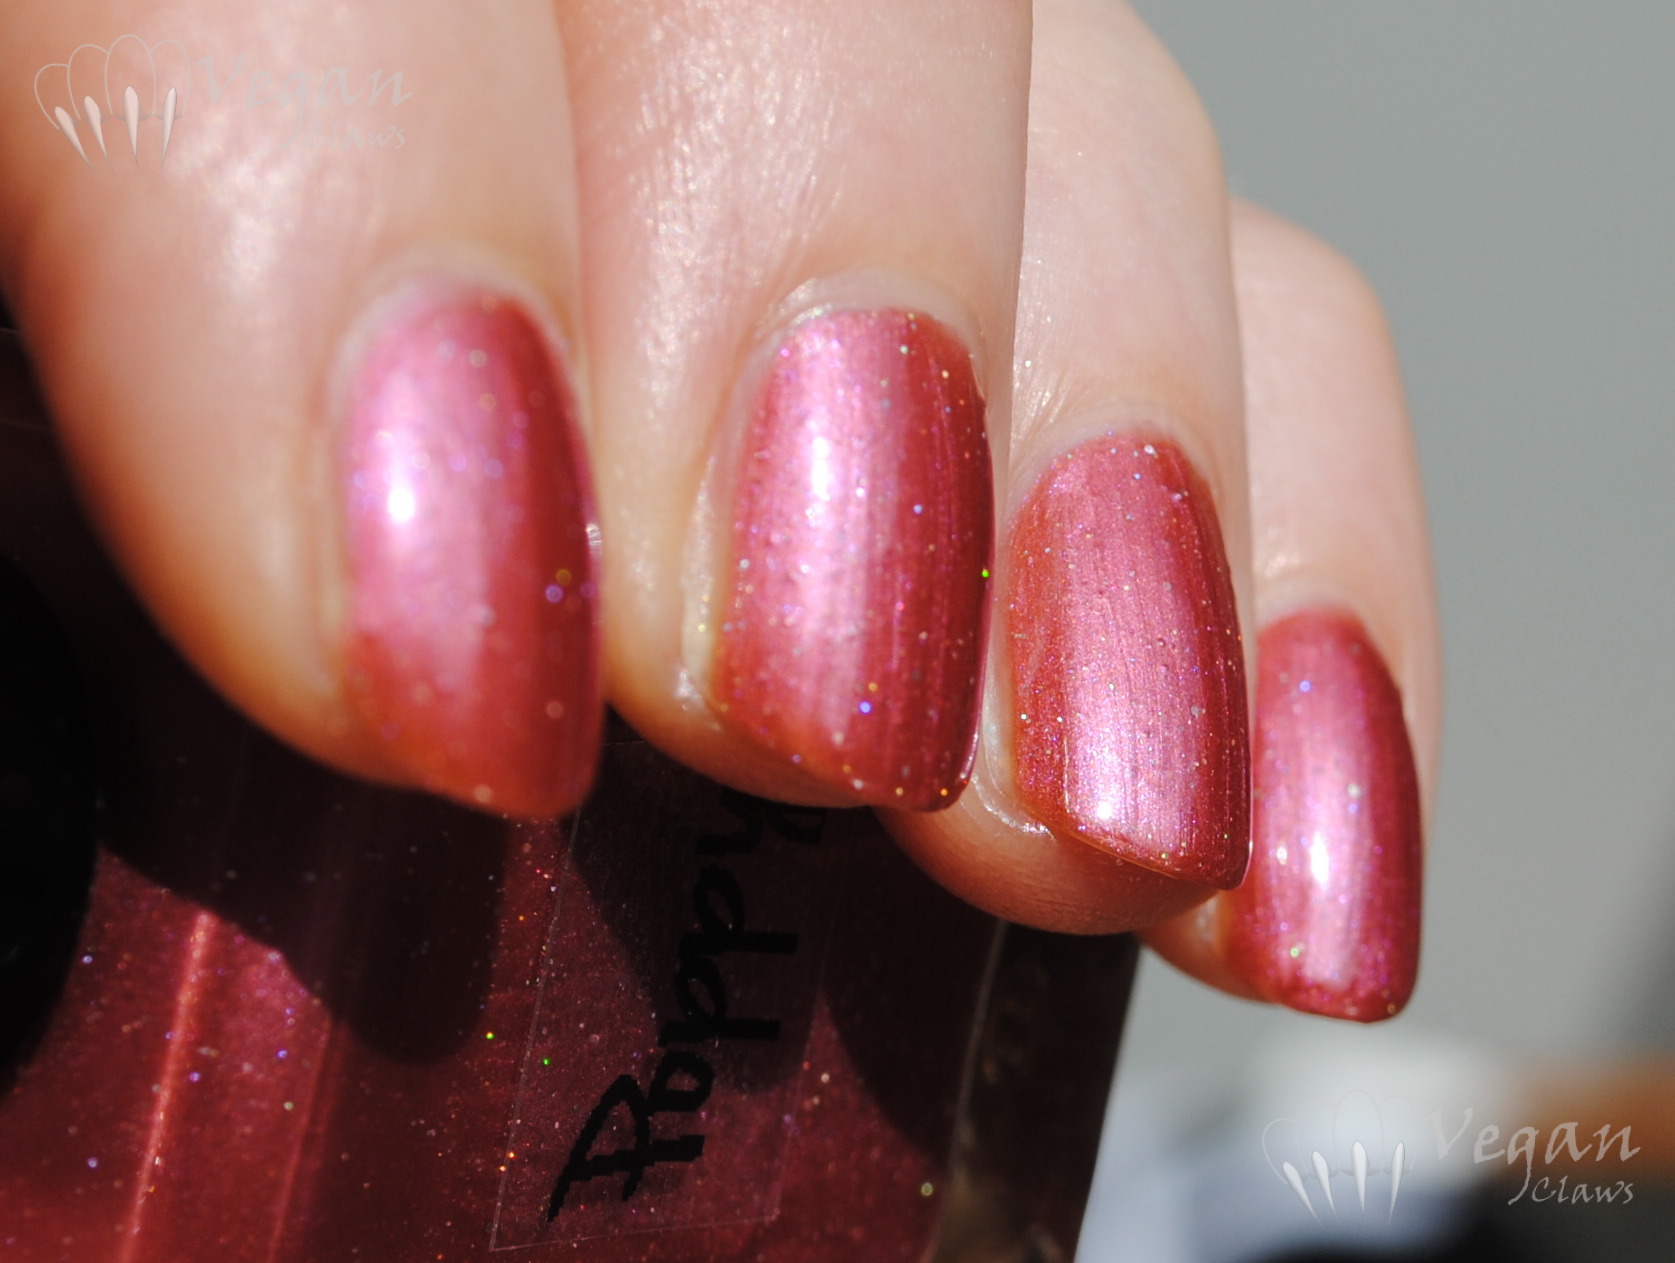
A nice, pretty shade to go with a very pretty bat! 😀

As I mentioned, I was talking to the creator of Ruby White Tips, and shared with her the link to my first Batworld swatch post. She was kind enough to offer a coupon code for my readers for 15% off purchases at her Etsy store! (Discount not valid on Mystery Bags.) The code is VEGANCLAWS. Thanks, Laura, and glad you like the swatches! 😀


You must be logged in to post a comment.