A vegan nail polish blog. A celebration of colour and light, as well as of justice for nonhuman animals.

Archive for the ‘China Glaze’ Category

China Glaze That’s Shore Bright

Just a quick post to share my favourite neon purple, That’s Shore Bright by China Glaze! Being a neon purple, it’s hard to photograph accurately. I had to use my phone because it’s much more accurate for certain shades of purple and blue than my camera is! The first photos are under Ott Lite. 


I used three coats of polish plus top coat here. The next photos are under halogen light. 


China Glaze What a Pansy and Picture Polish Eerie

China Glaze What a Pansy is a blue-leaning medium purple creme from the City Flourish collection. Unlike some of the polishes from that collection, this one doesn’t dry lightning-fast, so personally I was disappointed (I know many people hated the formula on those polishes, but I absolutely loved them); I have other periwinkle-leaning purples already. 

chinaglaze_whatapansy_picturepolish_eerie3

Anyway, I used two coats plus top coat. On the ring finger I used a chevron vinyl and added Picture Polish Eerie. I also added a few dots of Eerie on the thumb, which you can see in a couple of the pics below. Love that Picture Polish “bijou holo” finish!

chinaglaze_whatapansy_picturepolish_eerie2
chinaglaze_whatapansy_picturepolish_eerie

In the shade:

chinaglaze_whatapansy_picturepolish_eerie_shade

With flash:

chinaglaze_whatapansy_picturepolish_eerie_flash

chinaglaze_whatapansy_picturepolish_eerie_flash3

chinaglaze_whatapansy_picturepolish_eerie_flash2

And a phone pic for good measure, since What a Pansy appears just slightly too blue in some of the above photos:

chinaglaze_whatapansy_picturepolish_eerie4

A couple of China Glaze and Ellagee comparisons

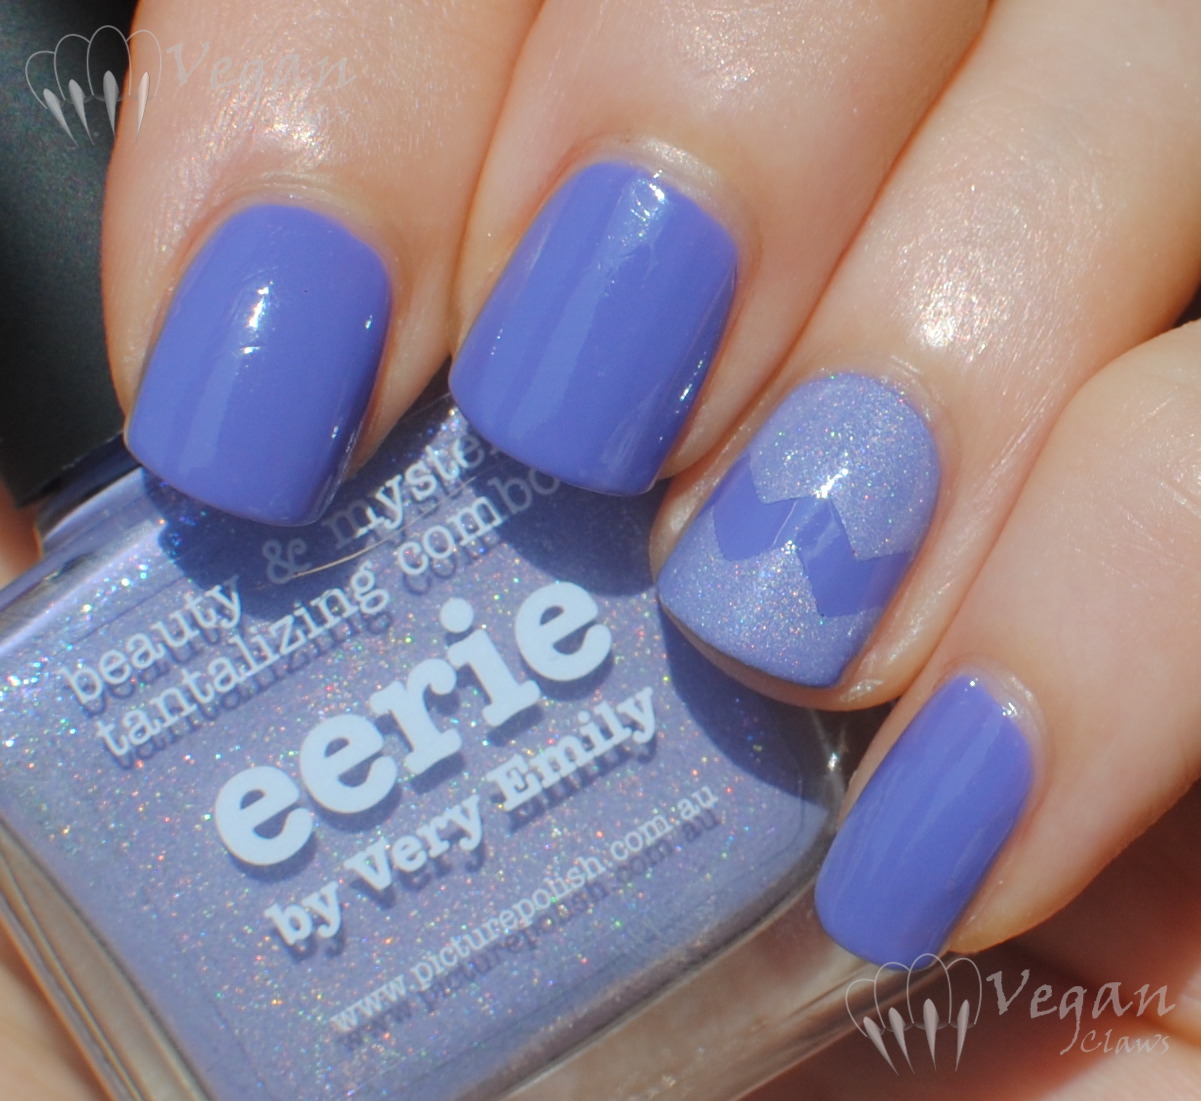
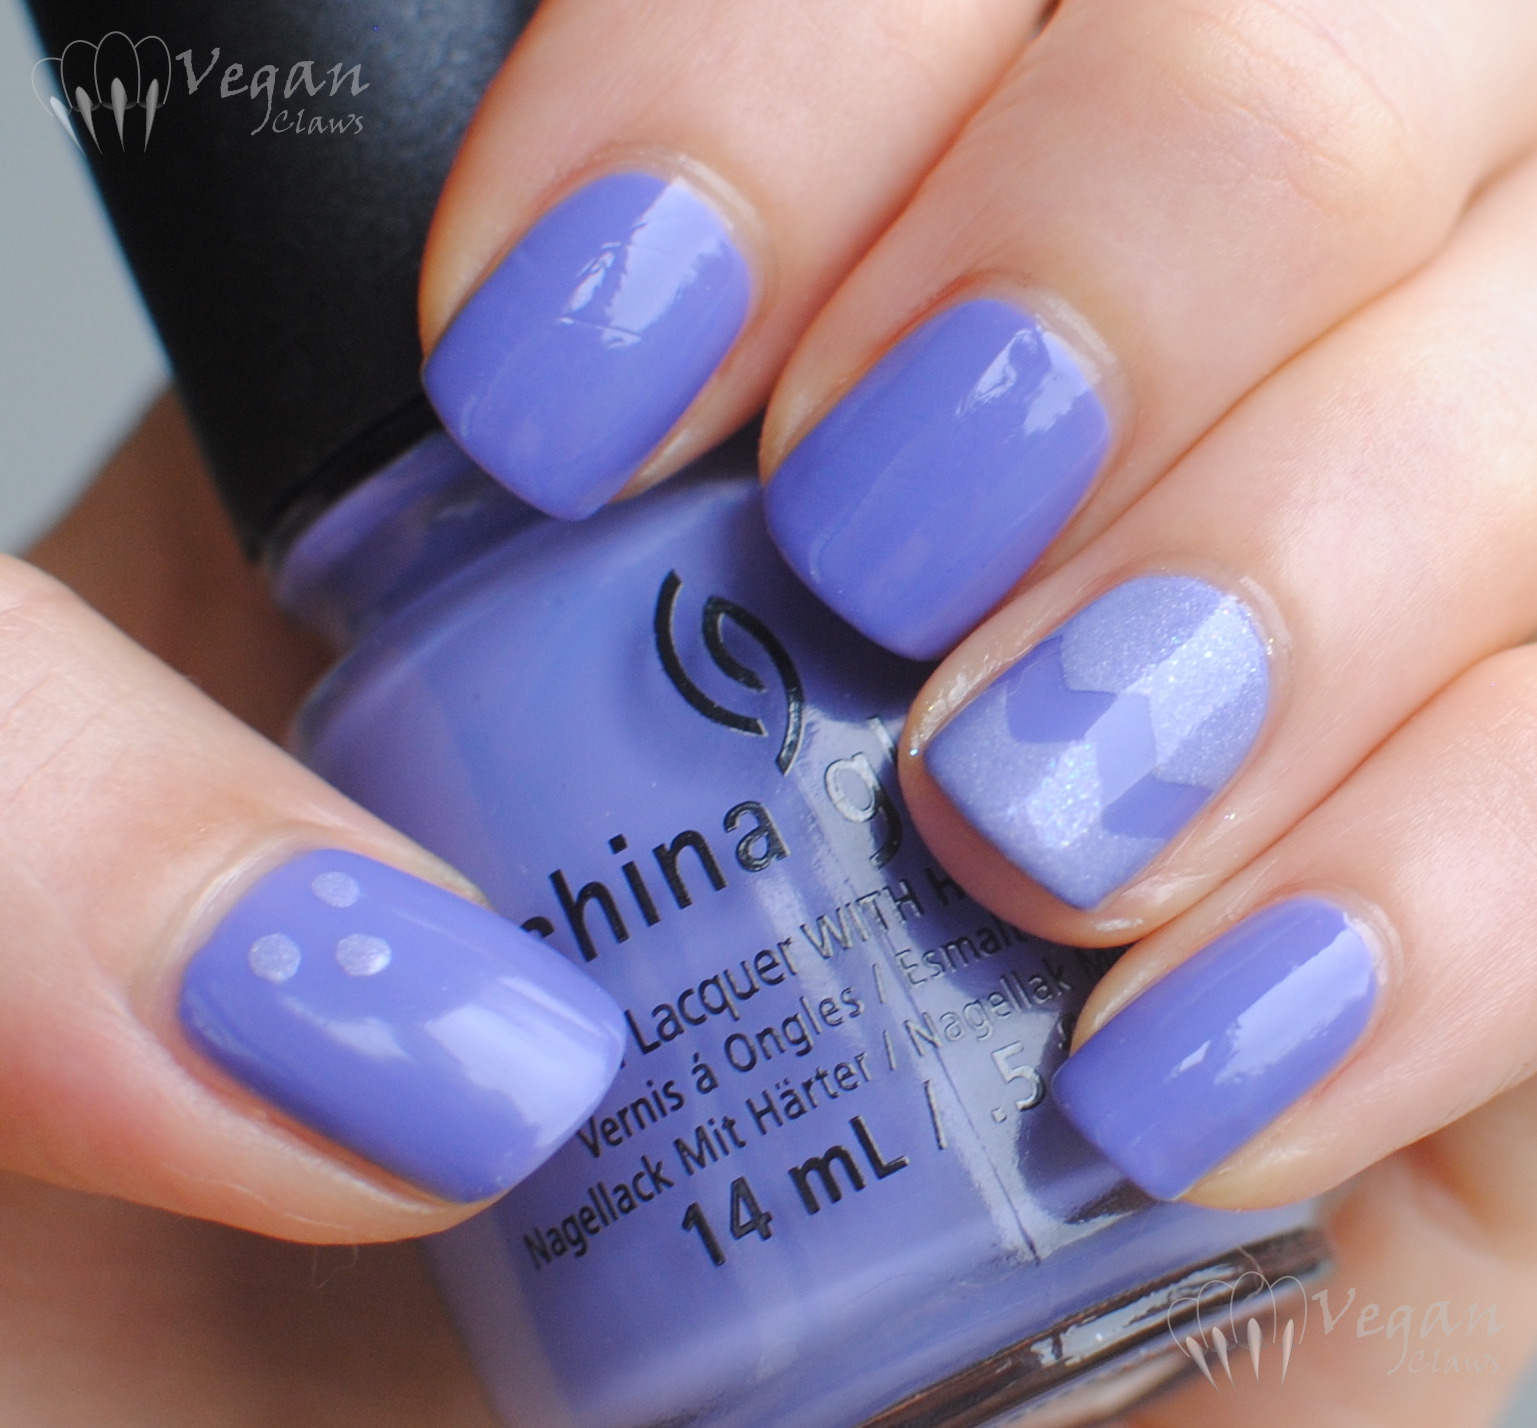
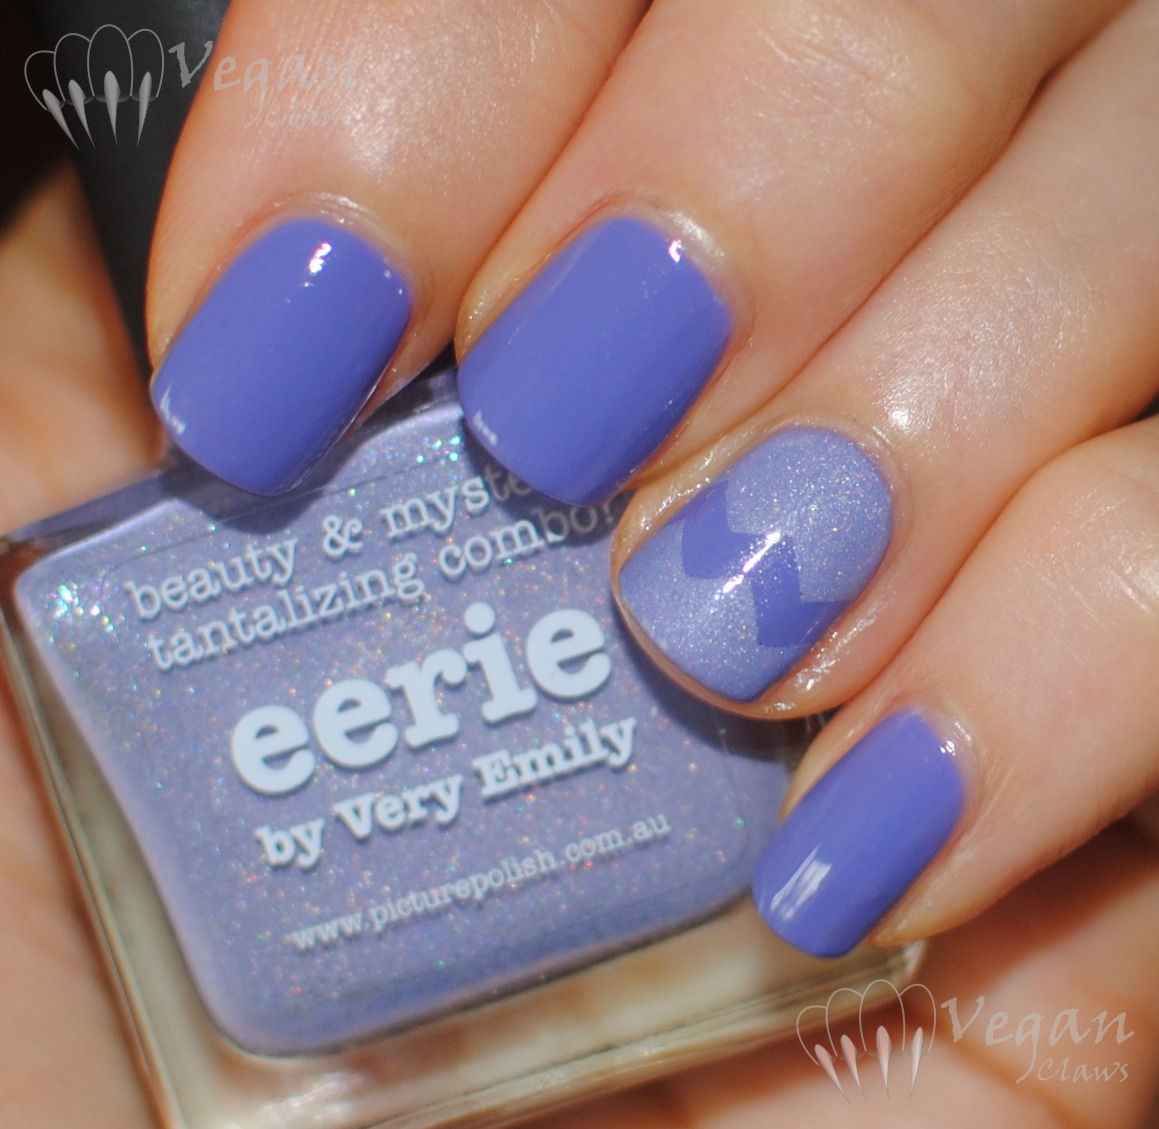
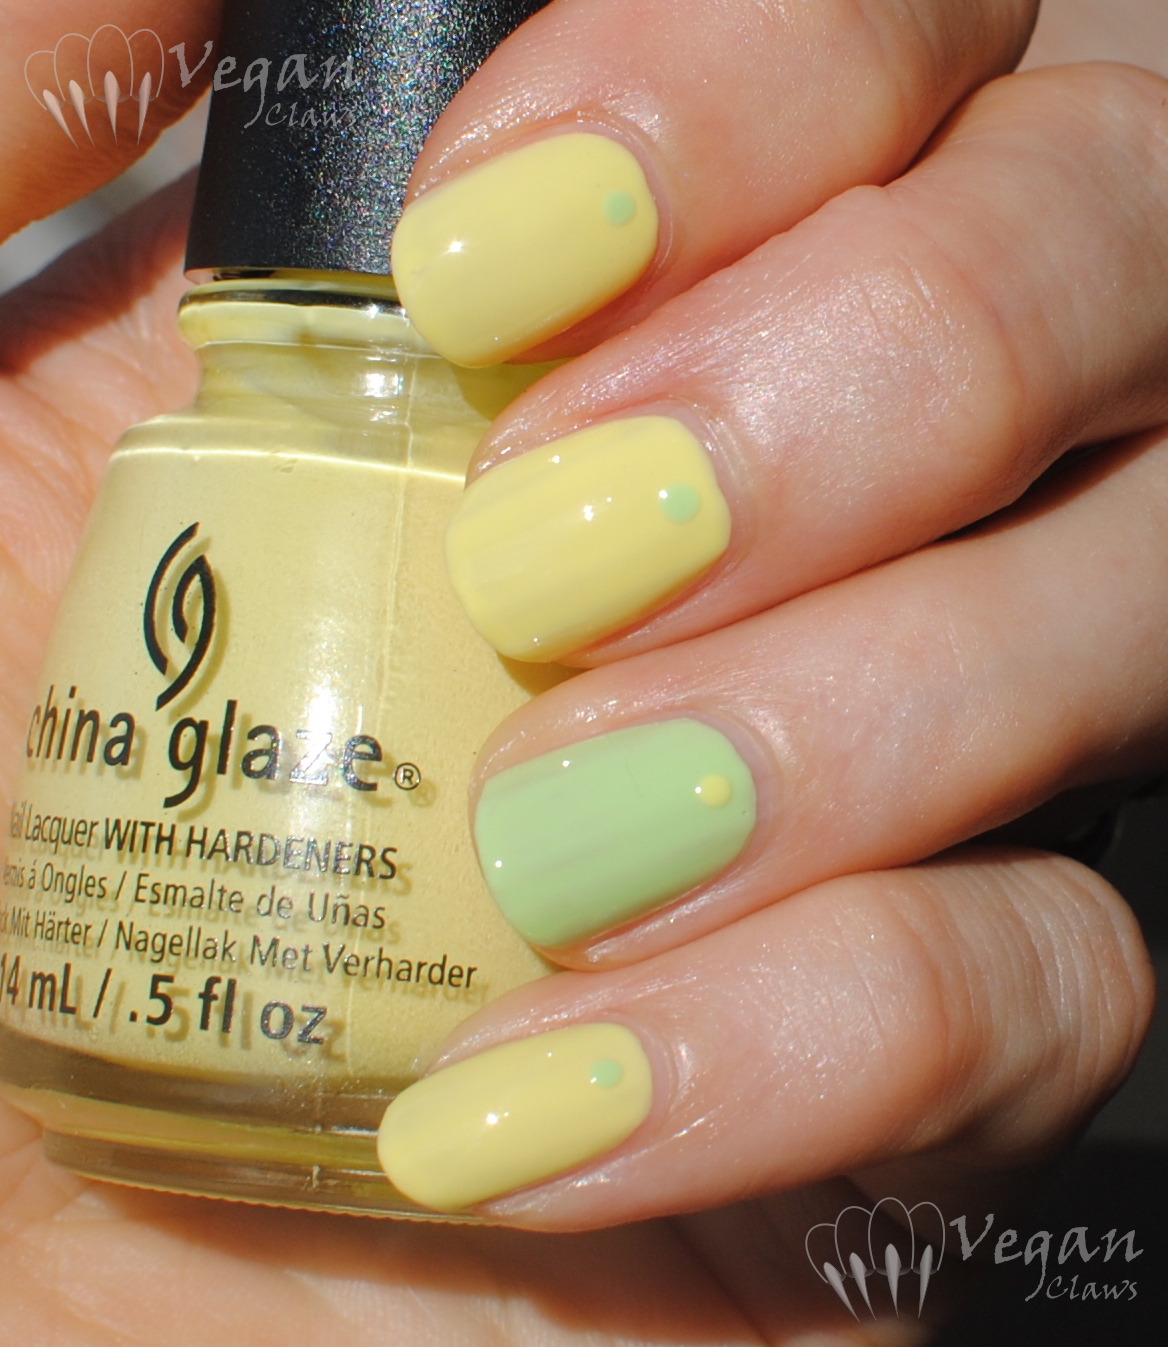
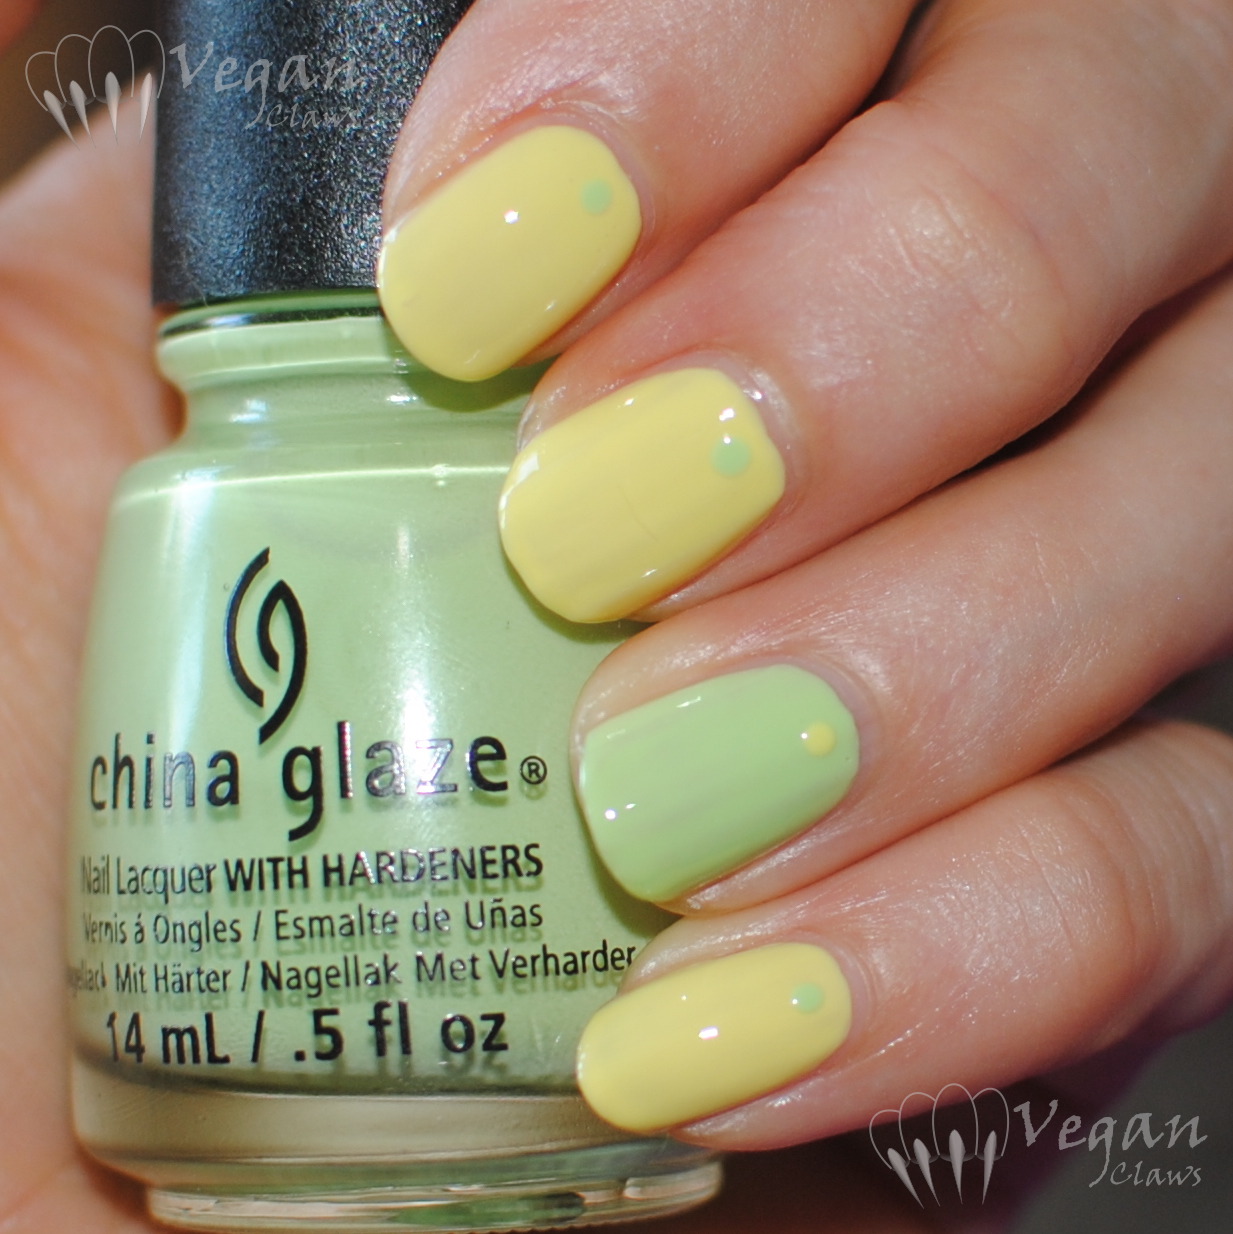
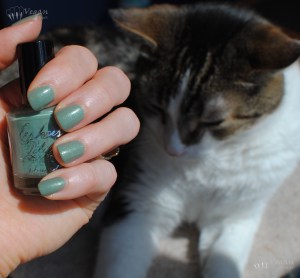
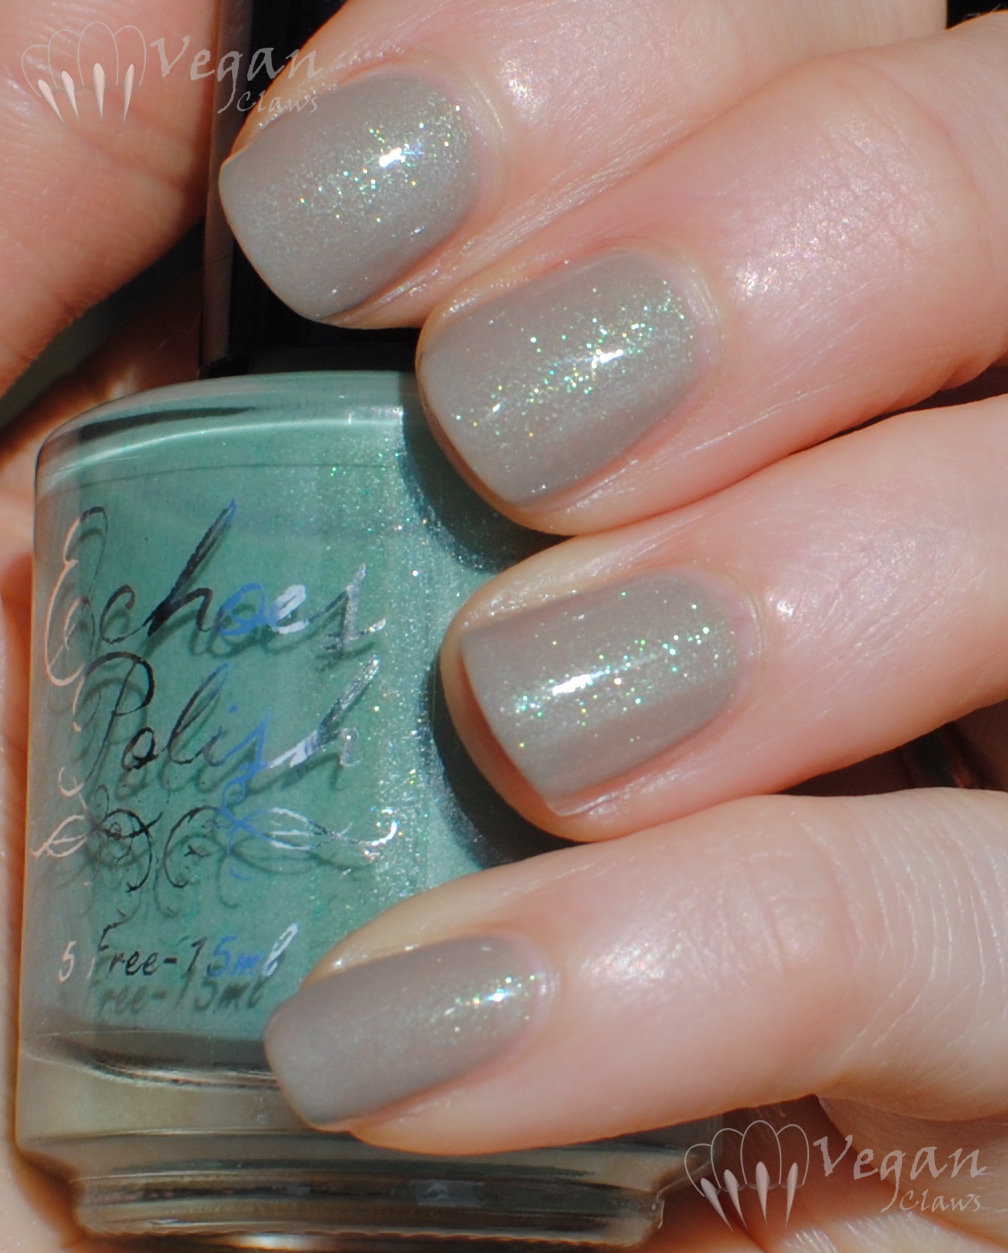
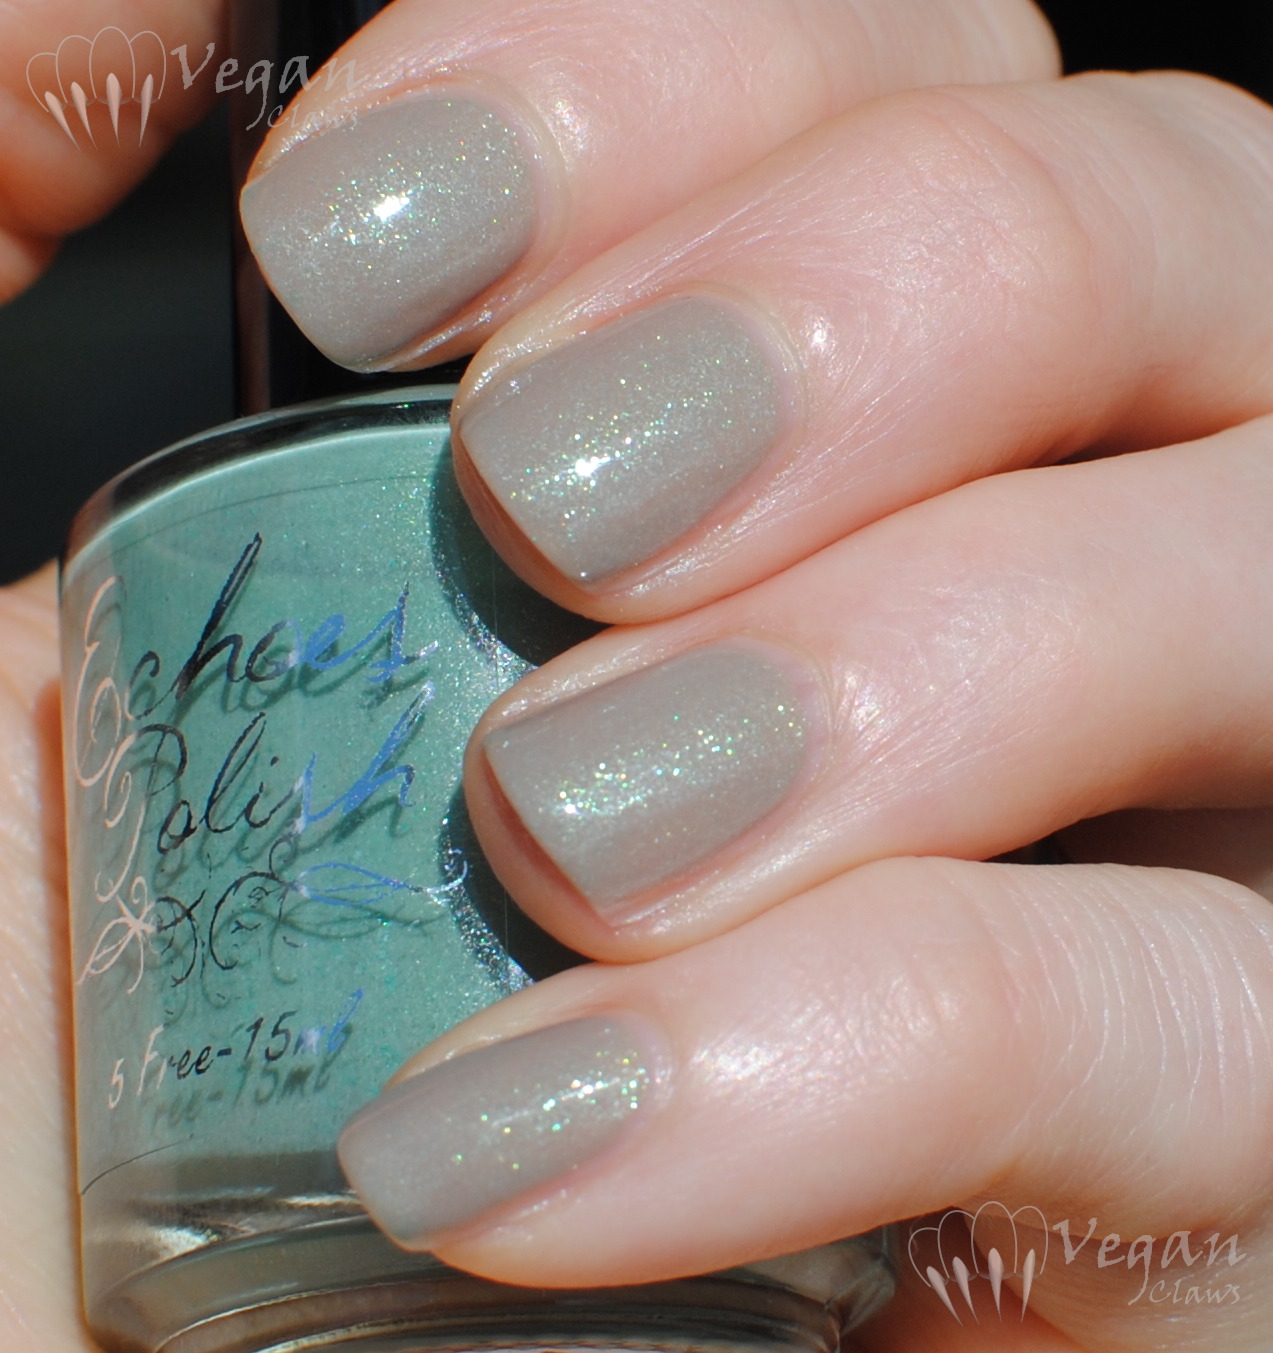
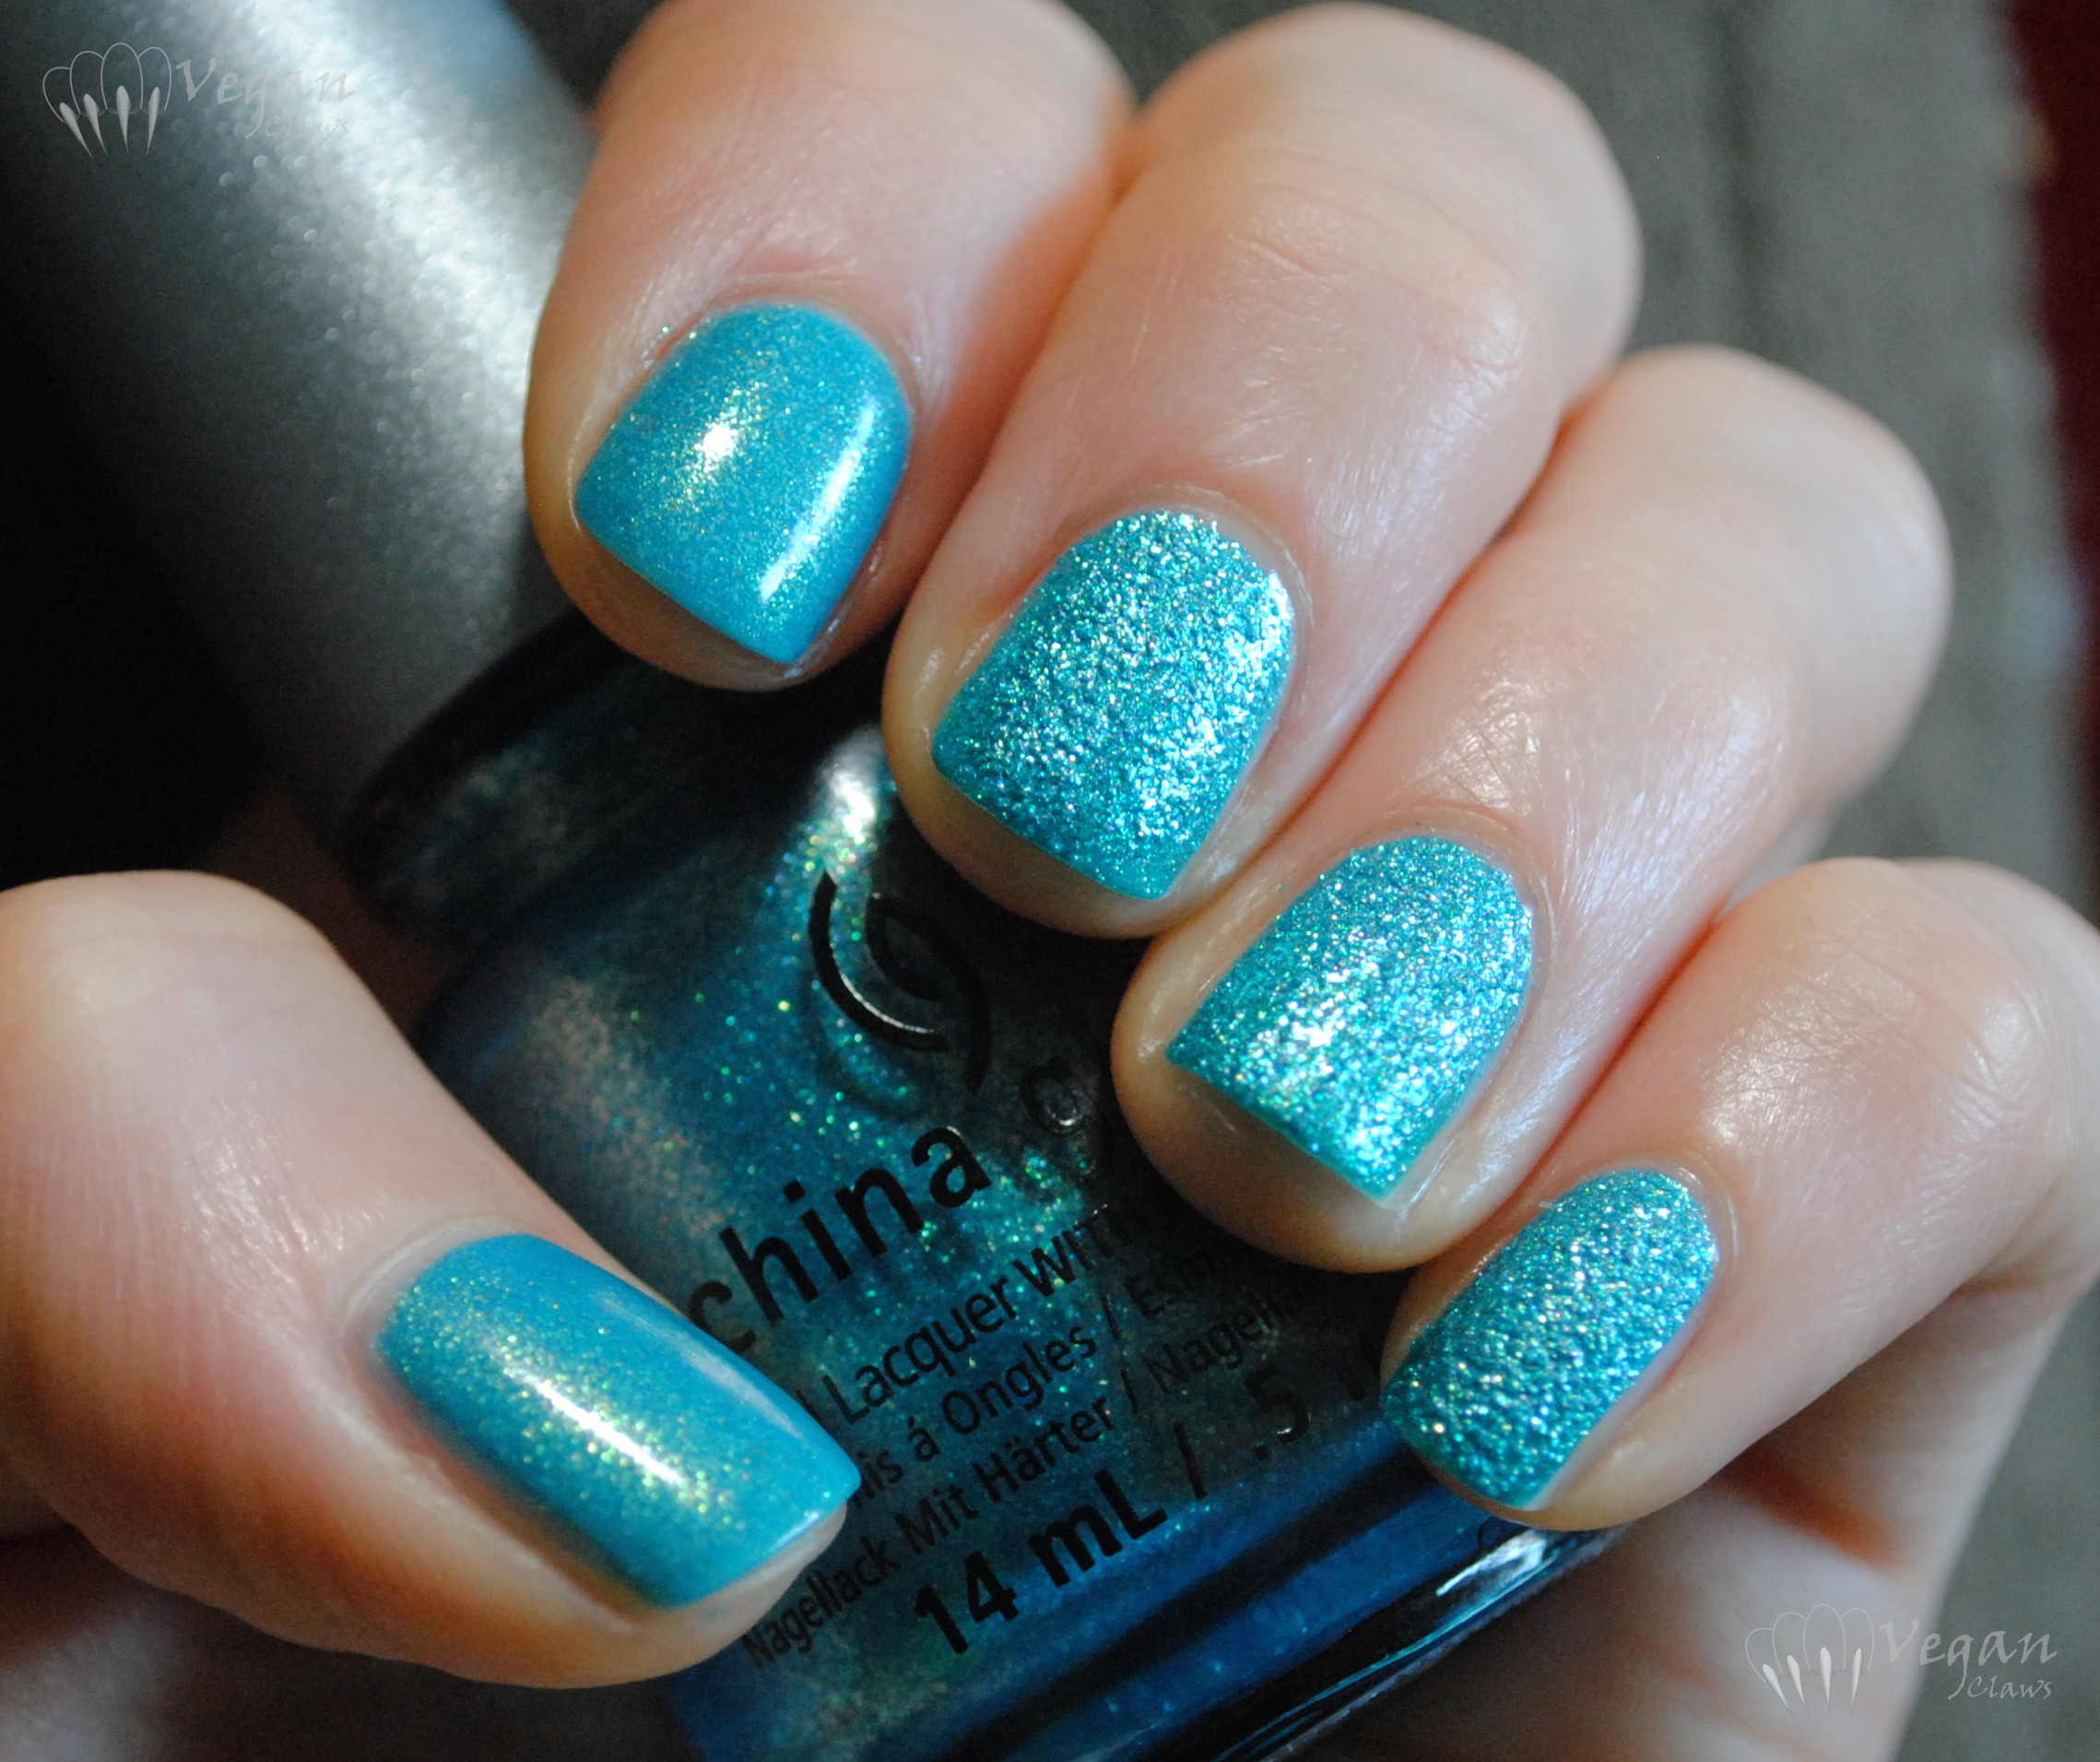
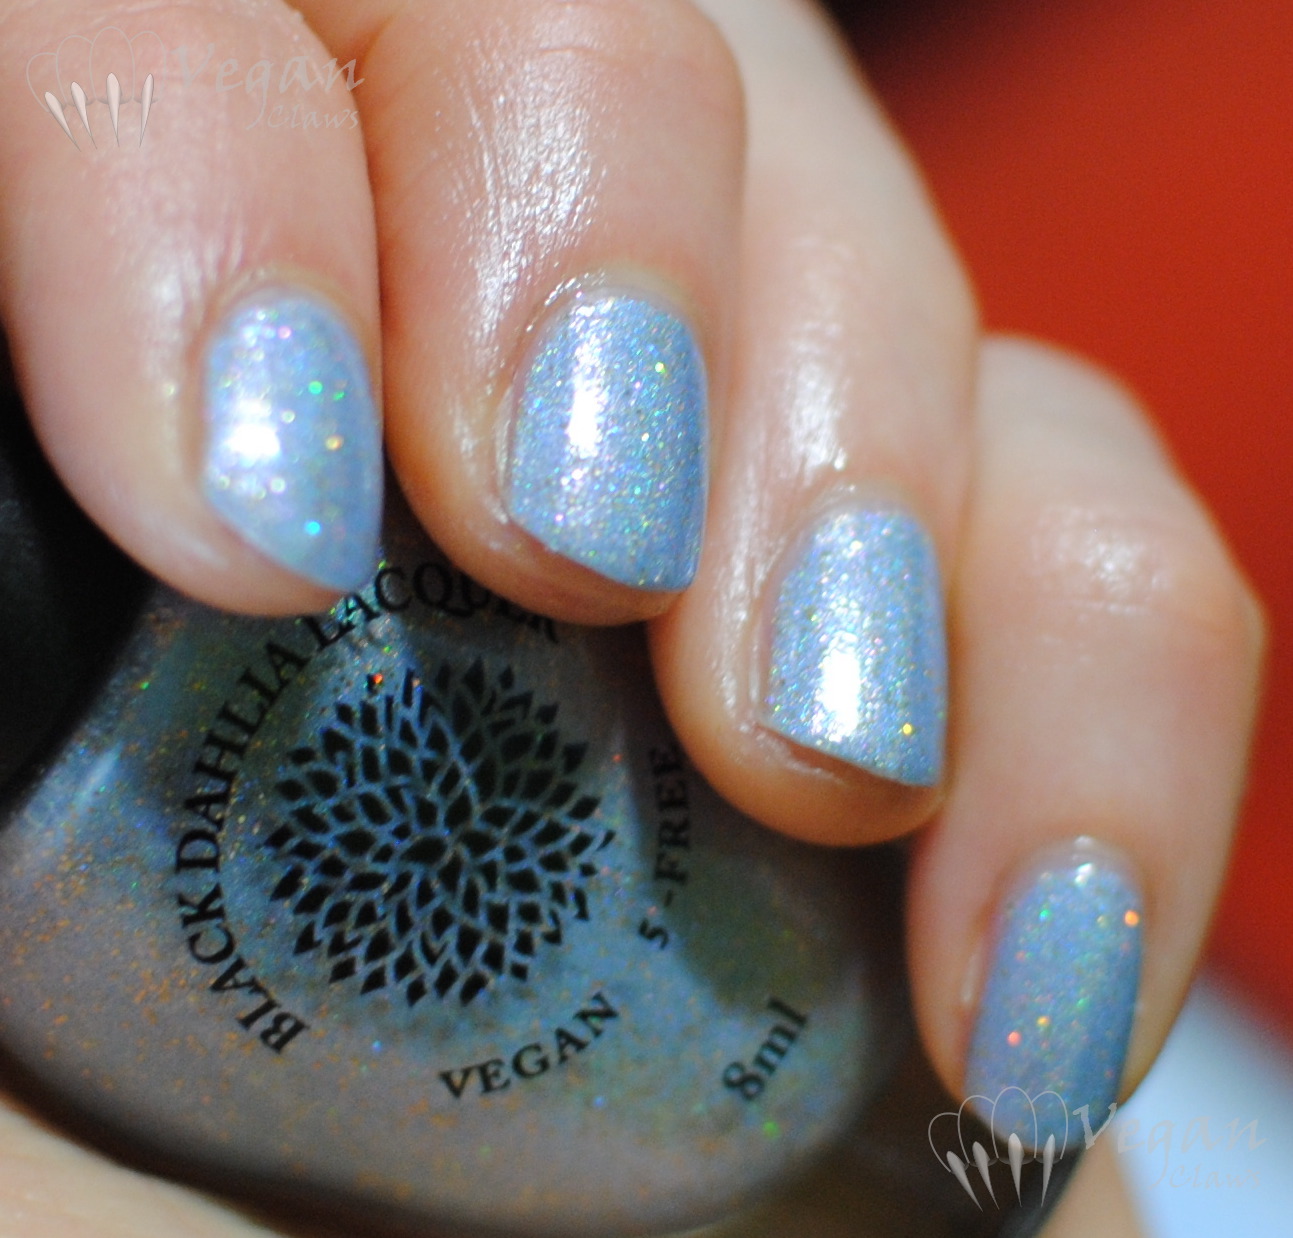
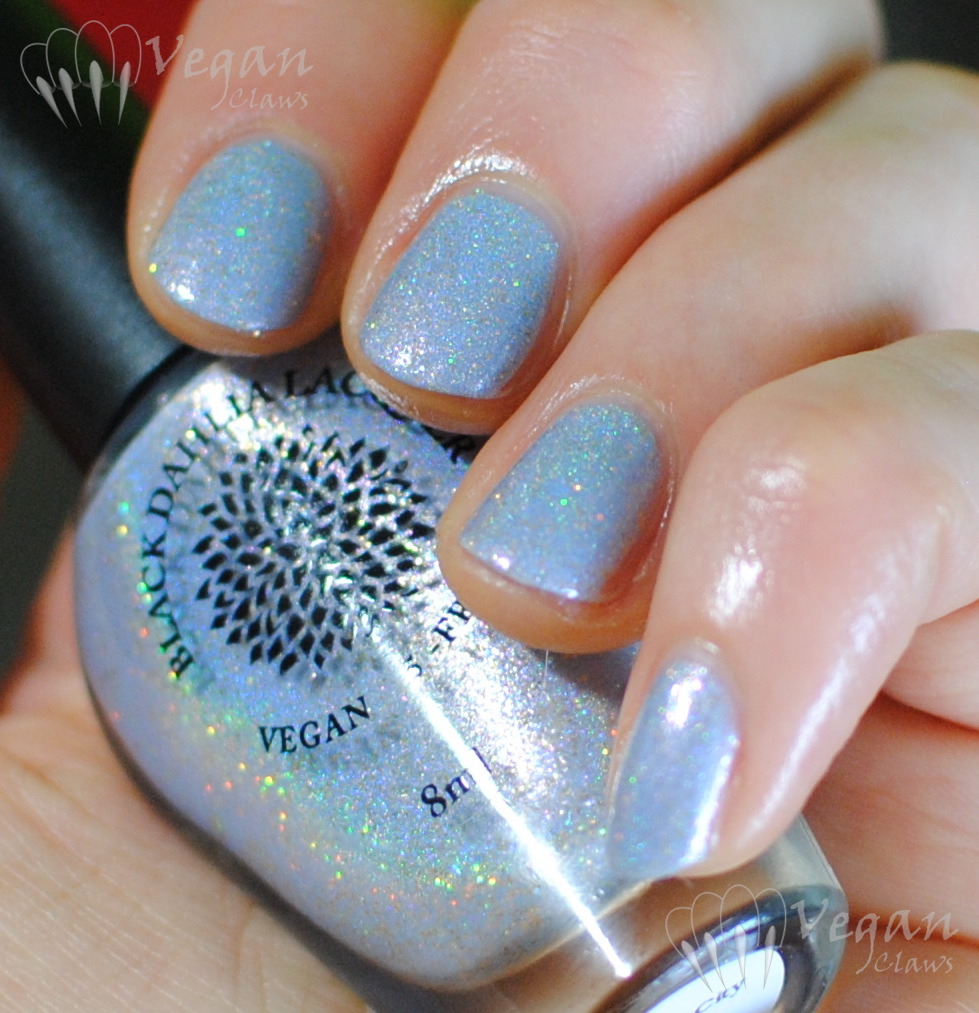
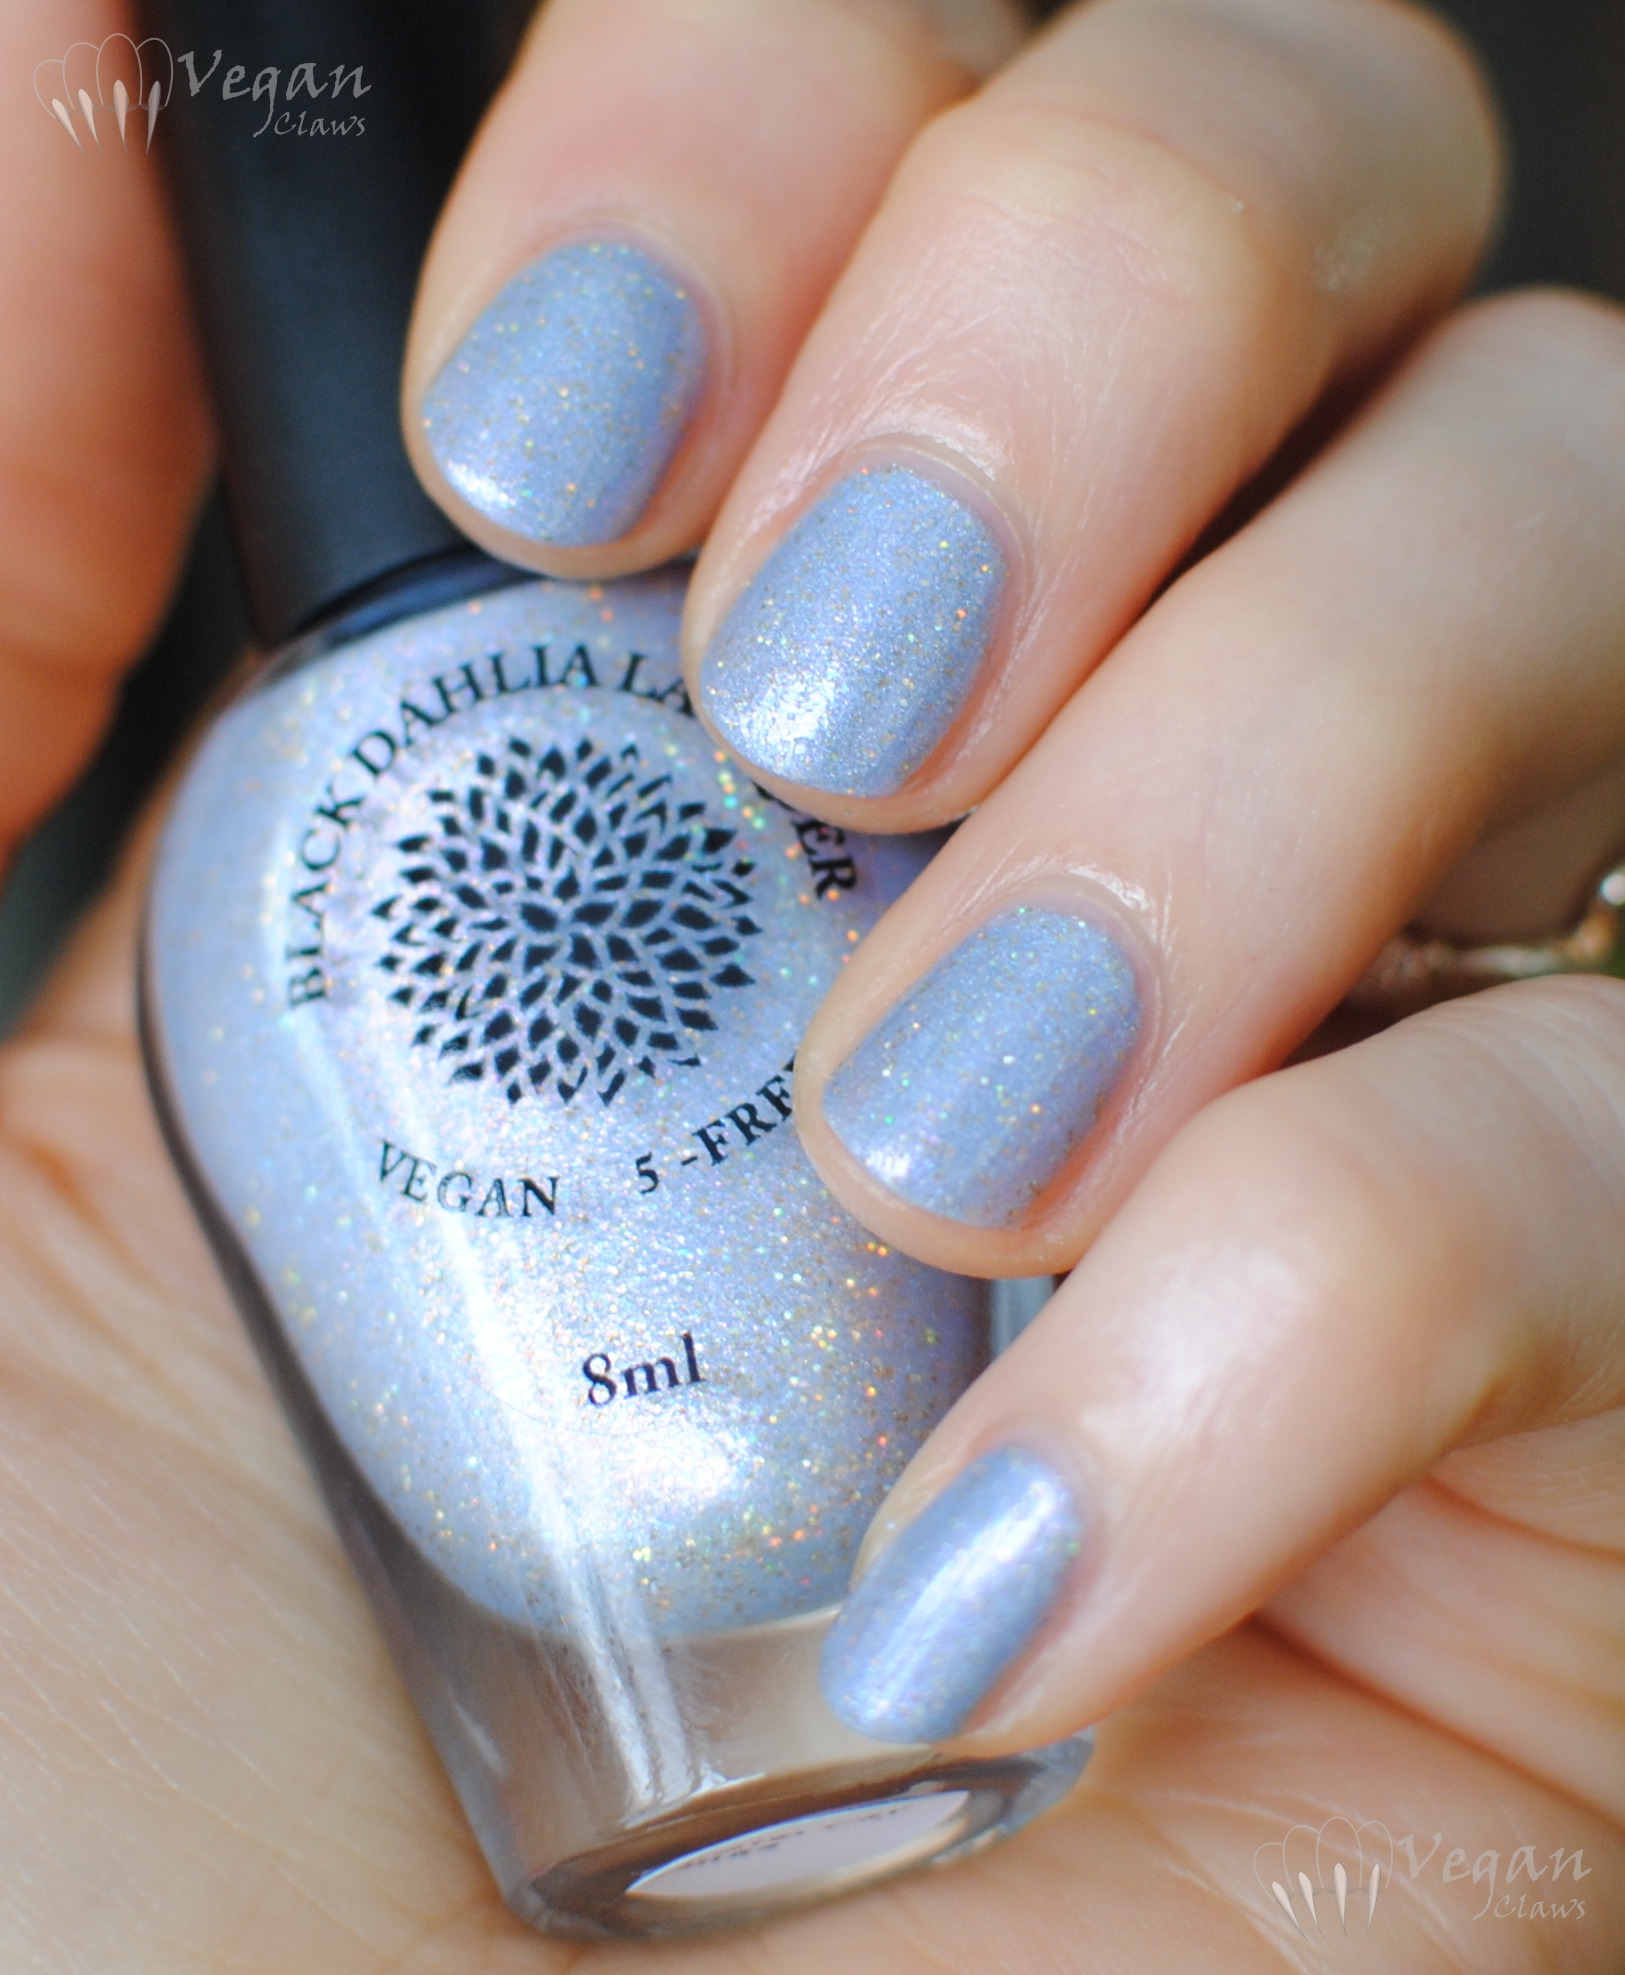
Here’s a subtle single-dotted mani I did with China Glaze Sun Upon My Skin and Be More Pacific, using a dotting tool to add one dot of the other colour on each nail near the cuticle. 

chinaglaze_sunuponmyskin_bemorepacific2

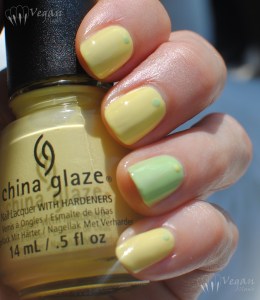
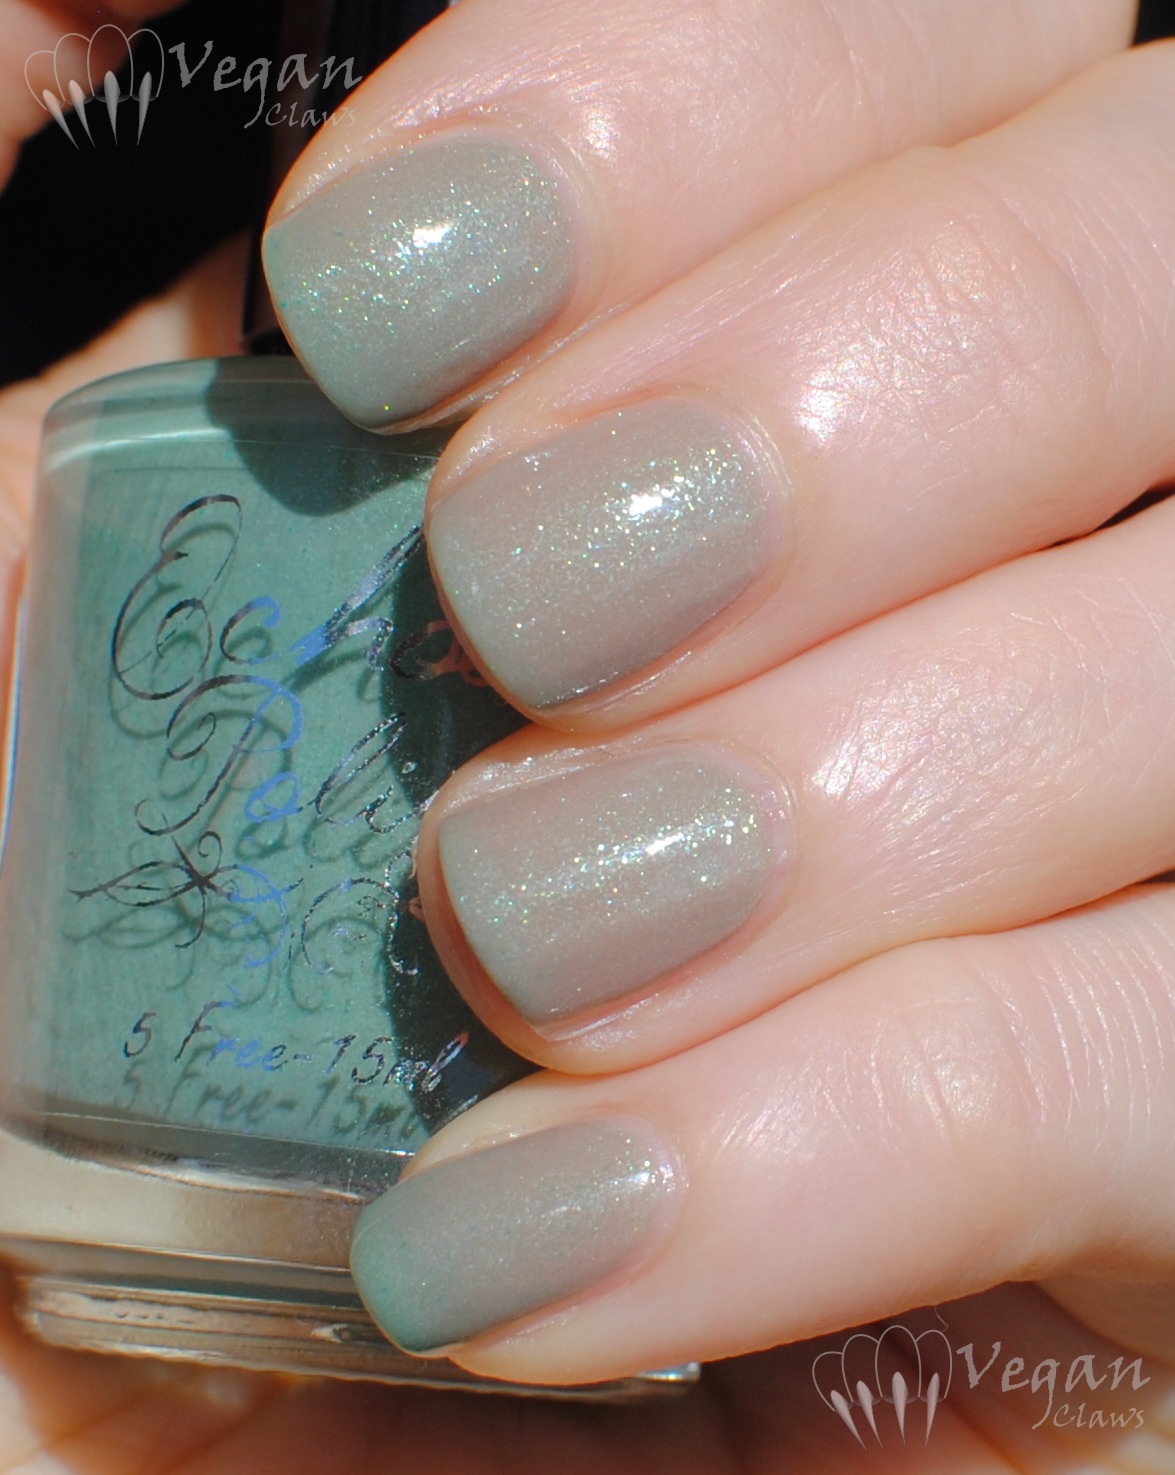
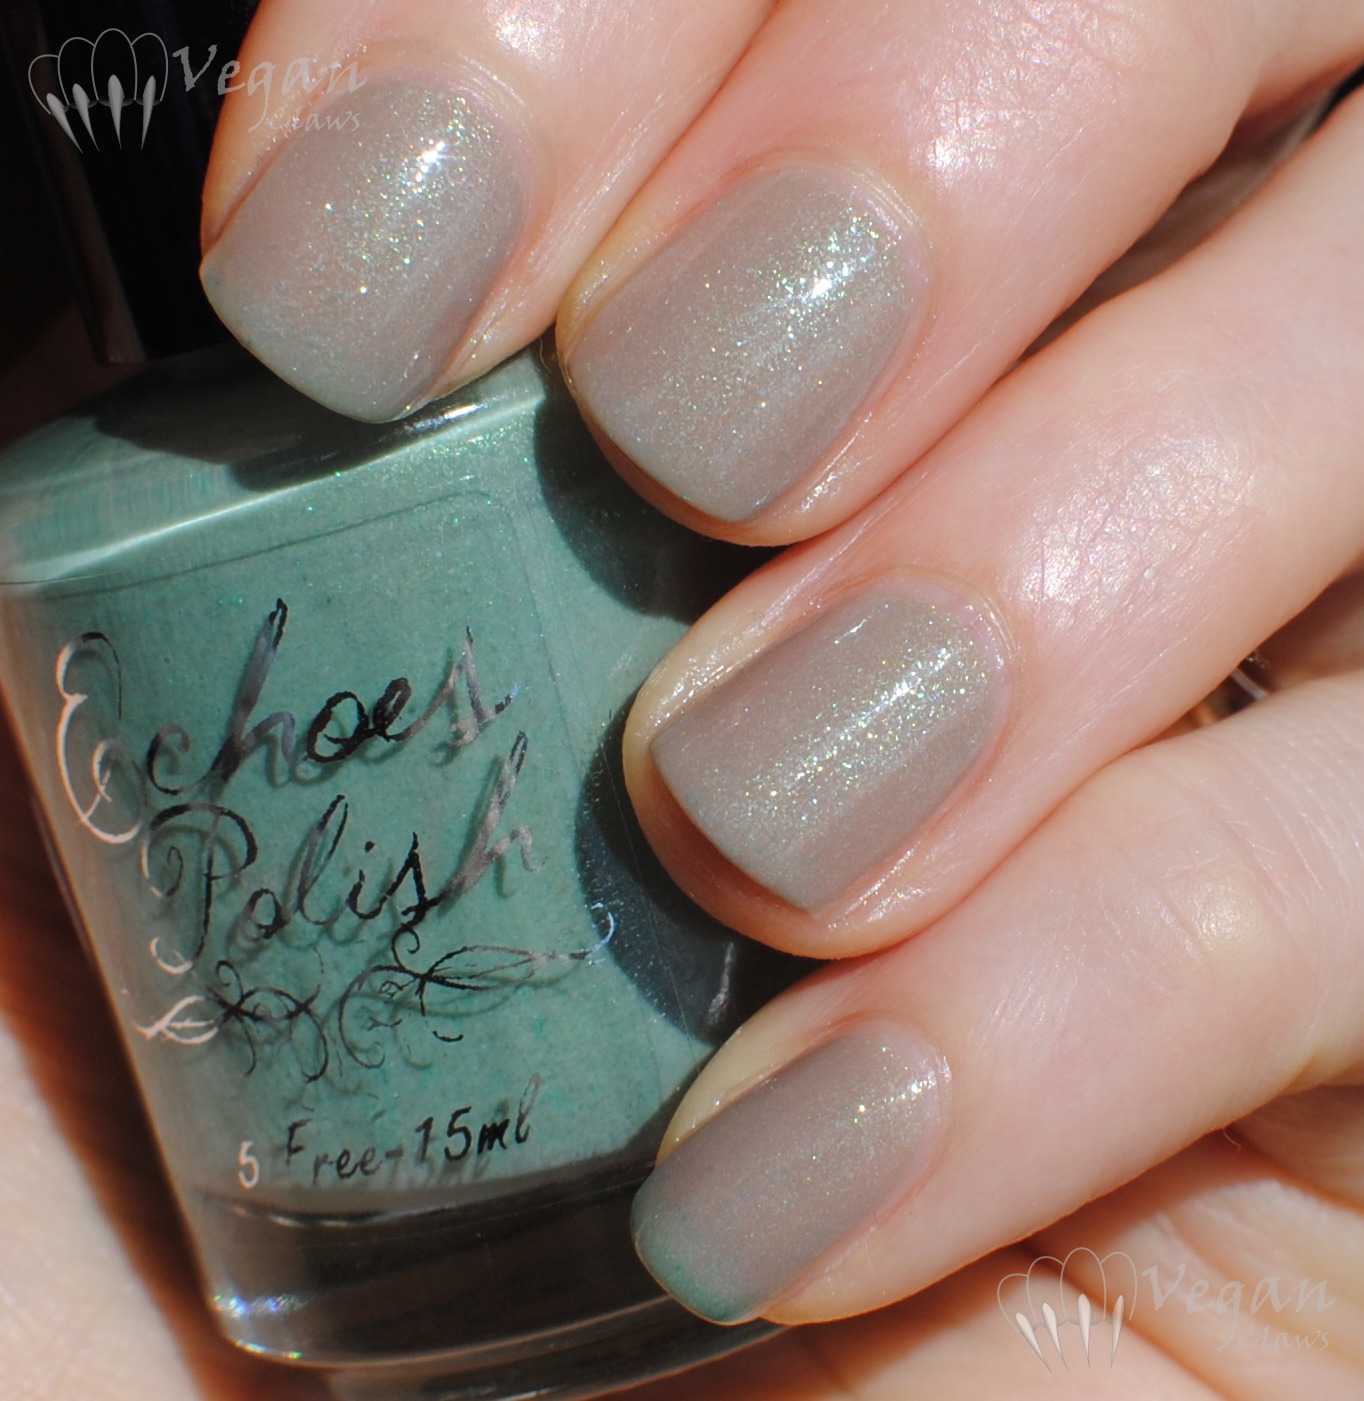
I used three coats plus top coat for both of these. The formula wasn’t my favourite; I found them a bit runny and not very self-leveling, and got some small bubbles in a few nails. But the colours are pretty. 

chinaglaze_sunuponmyskin_bemorepacific

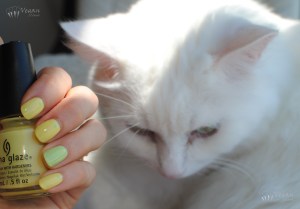
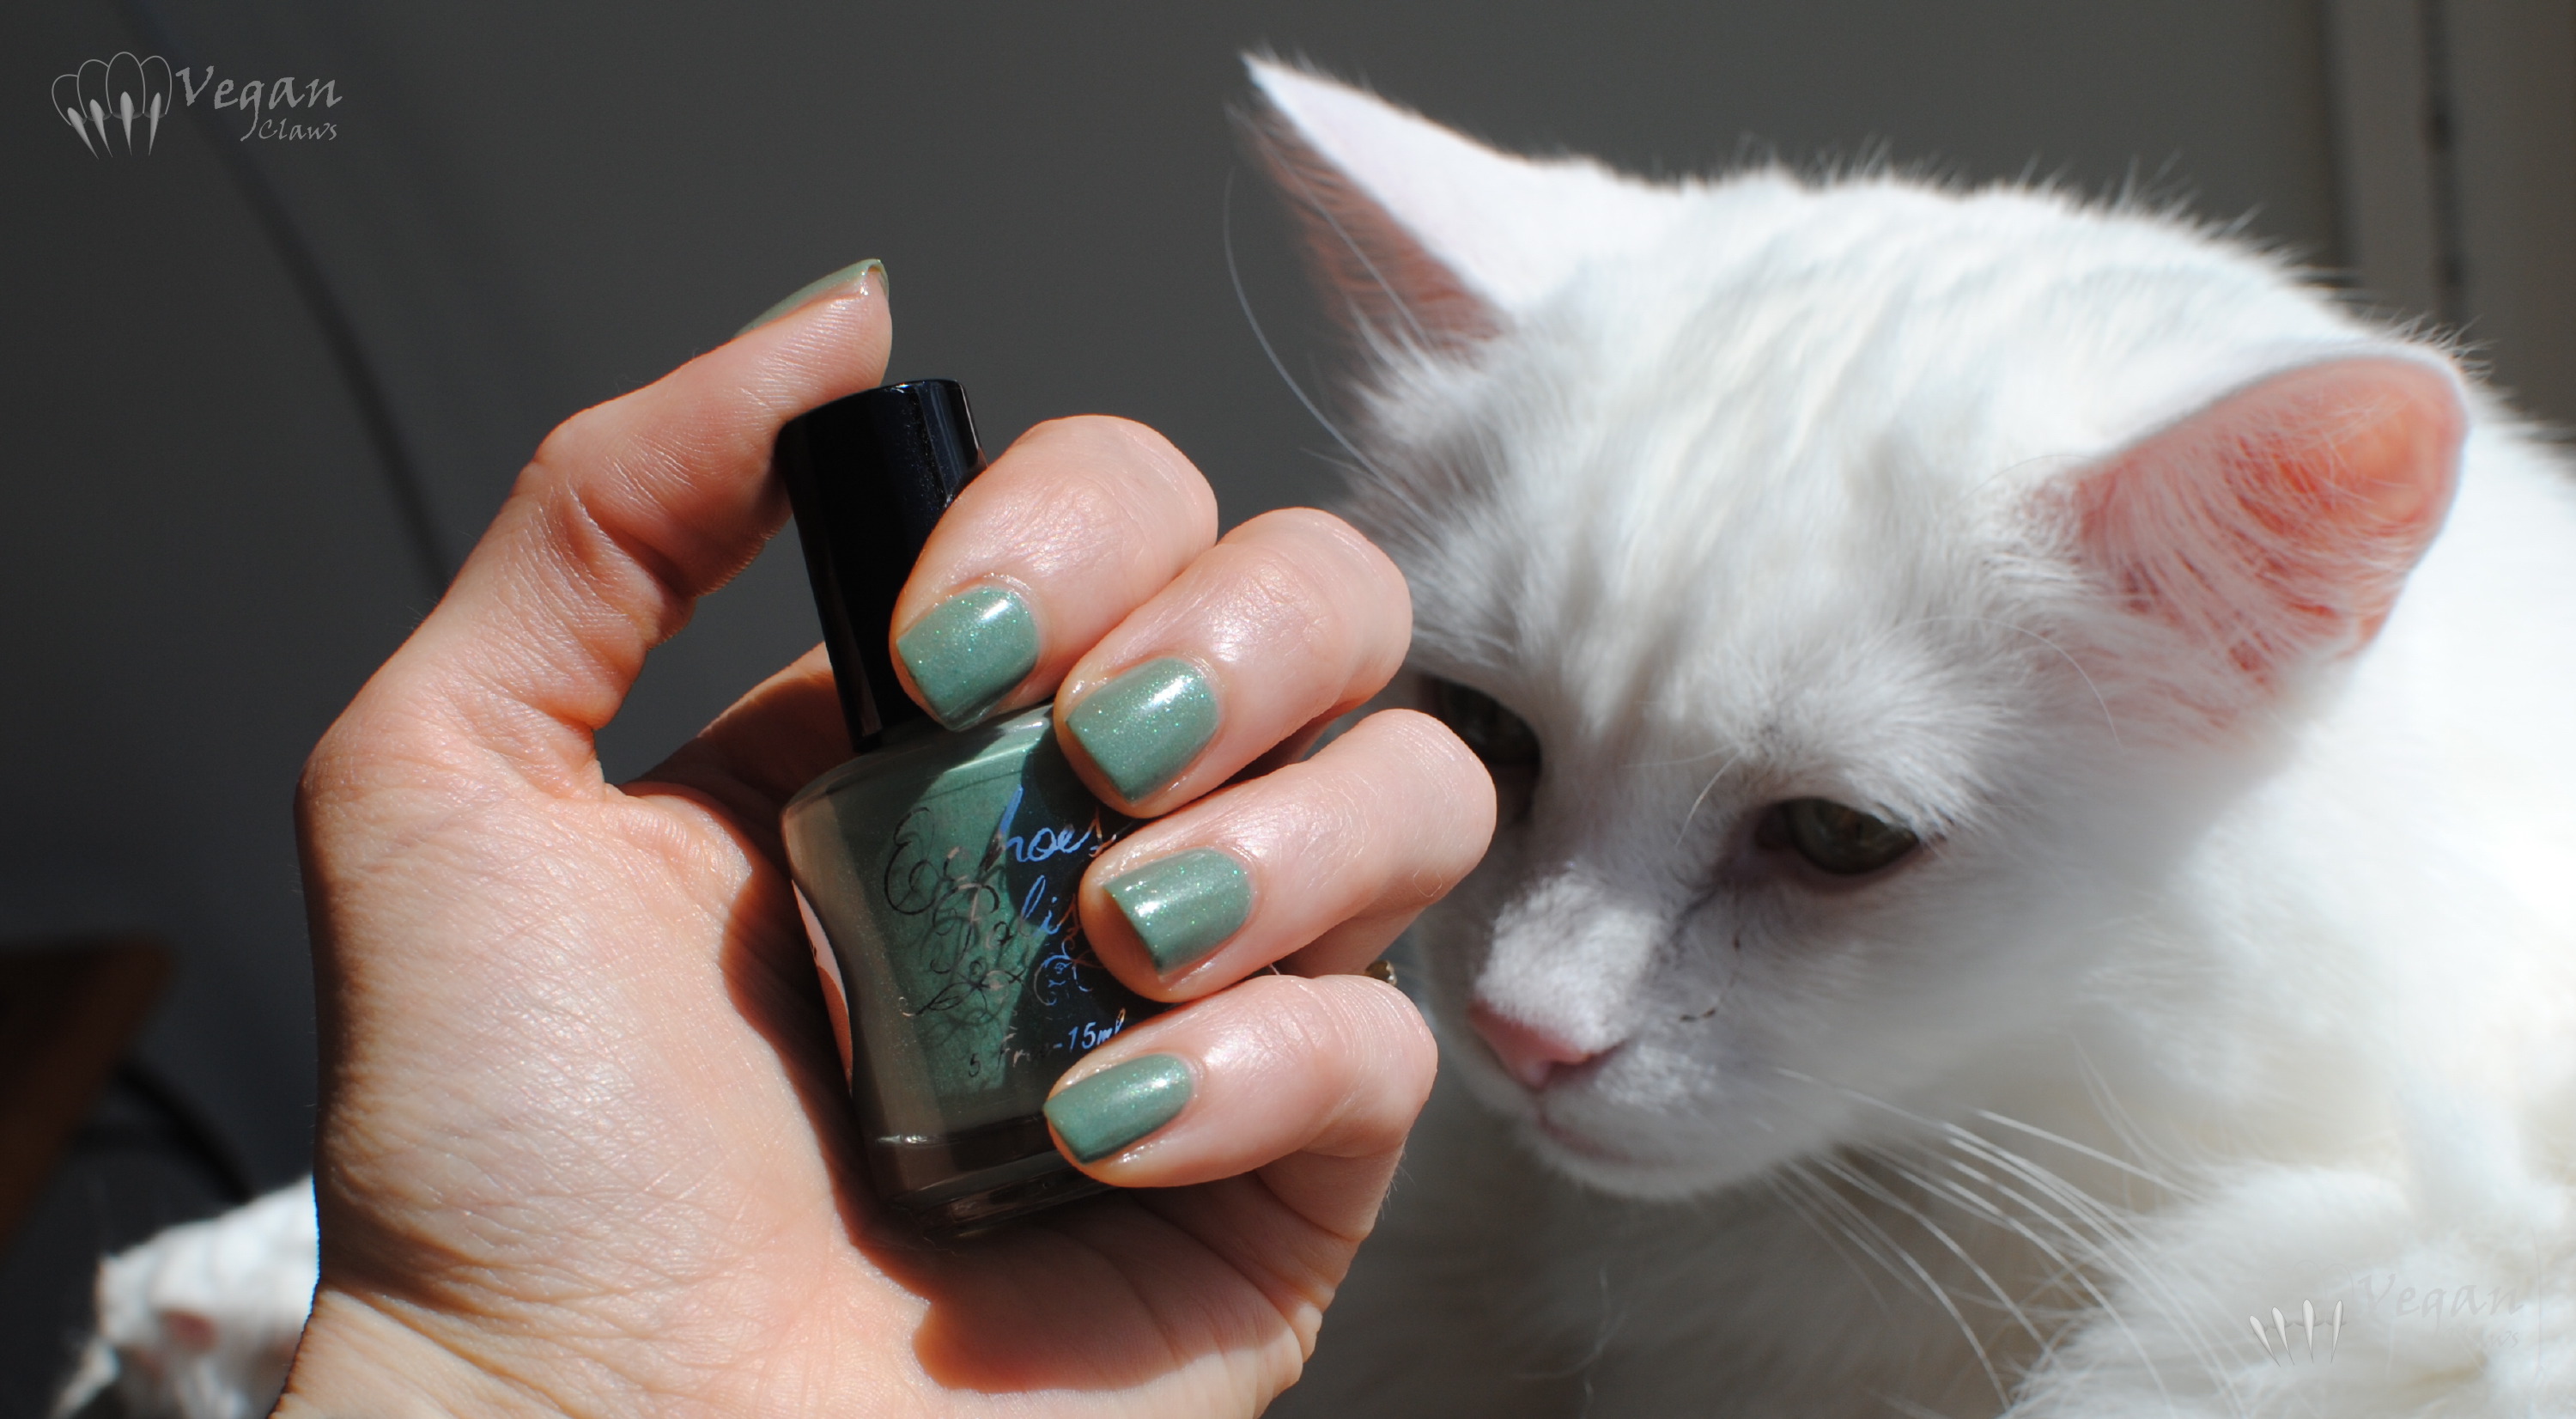
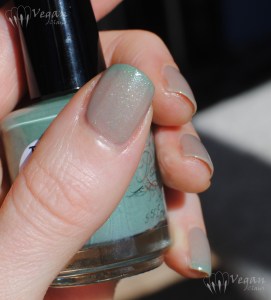
Here’s Thor hanging out in the background!
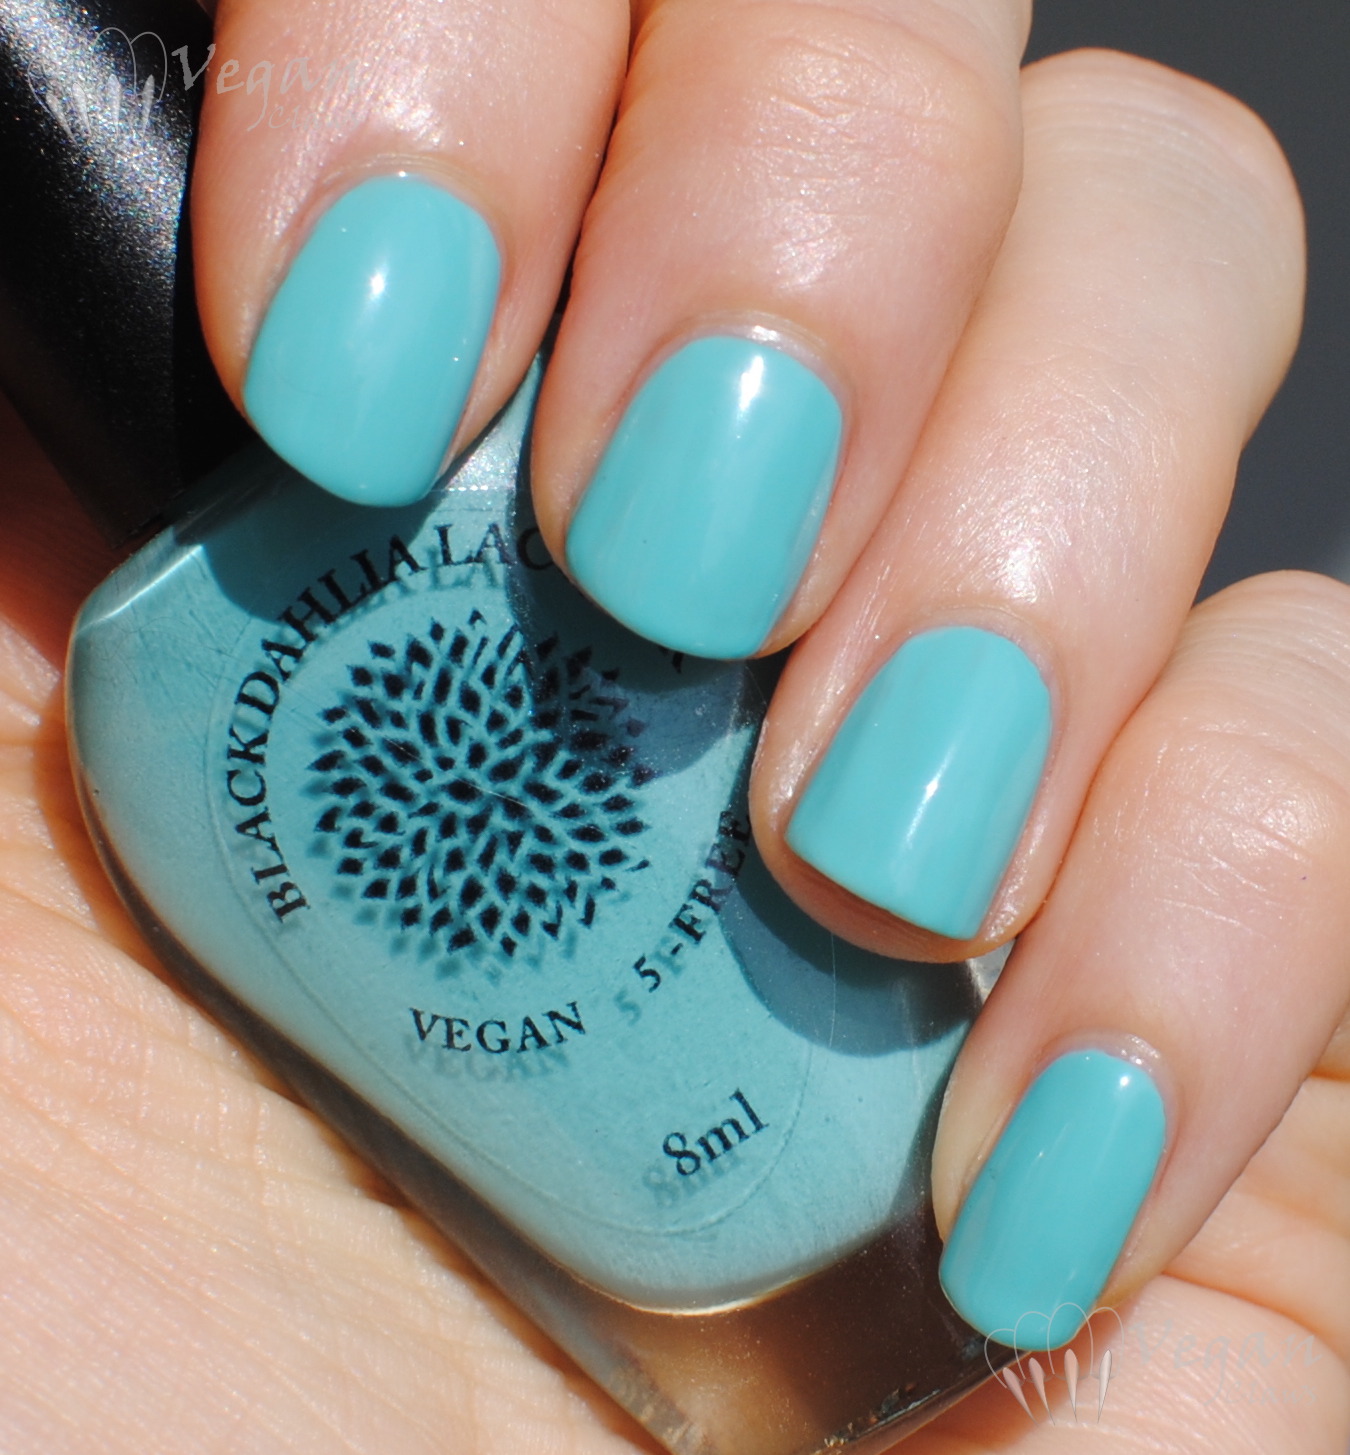
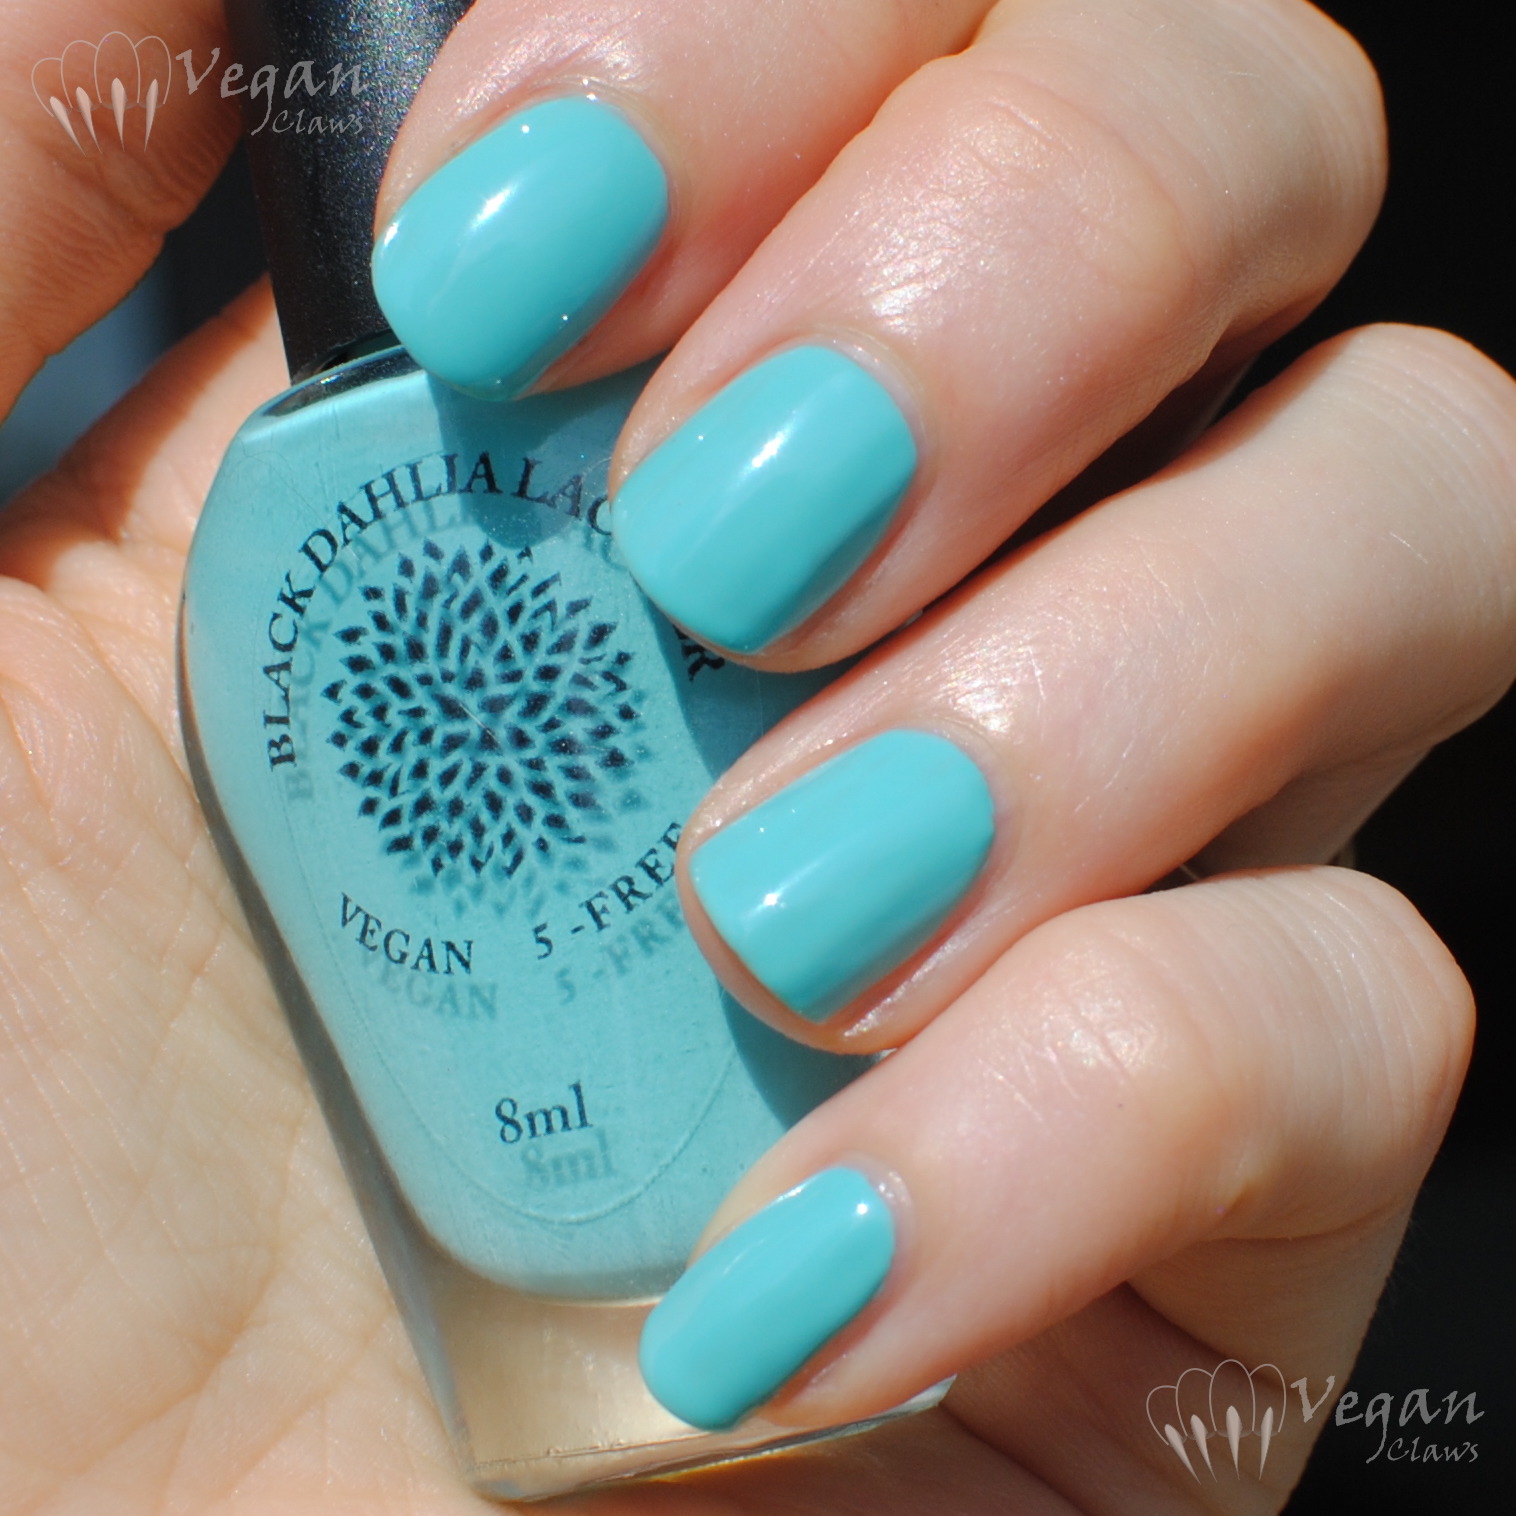
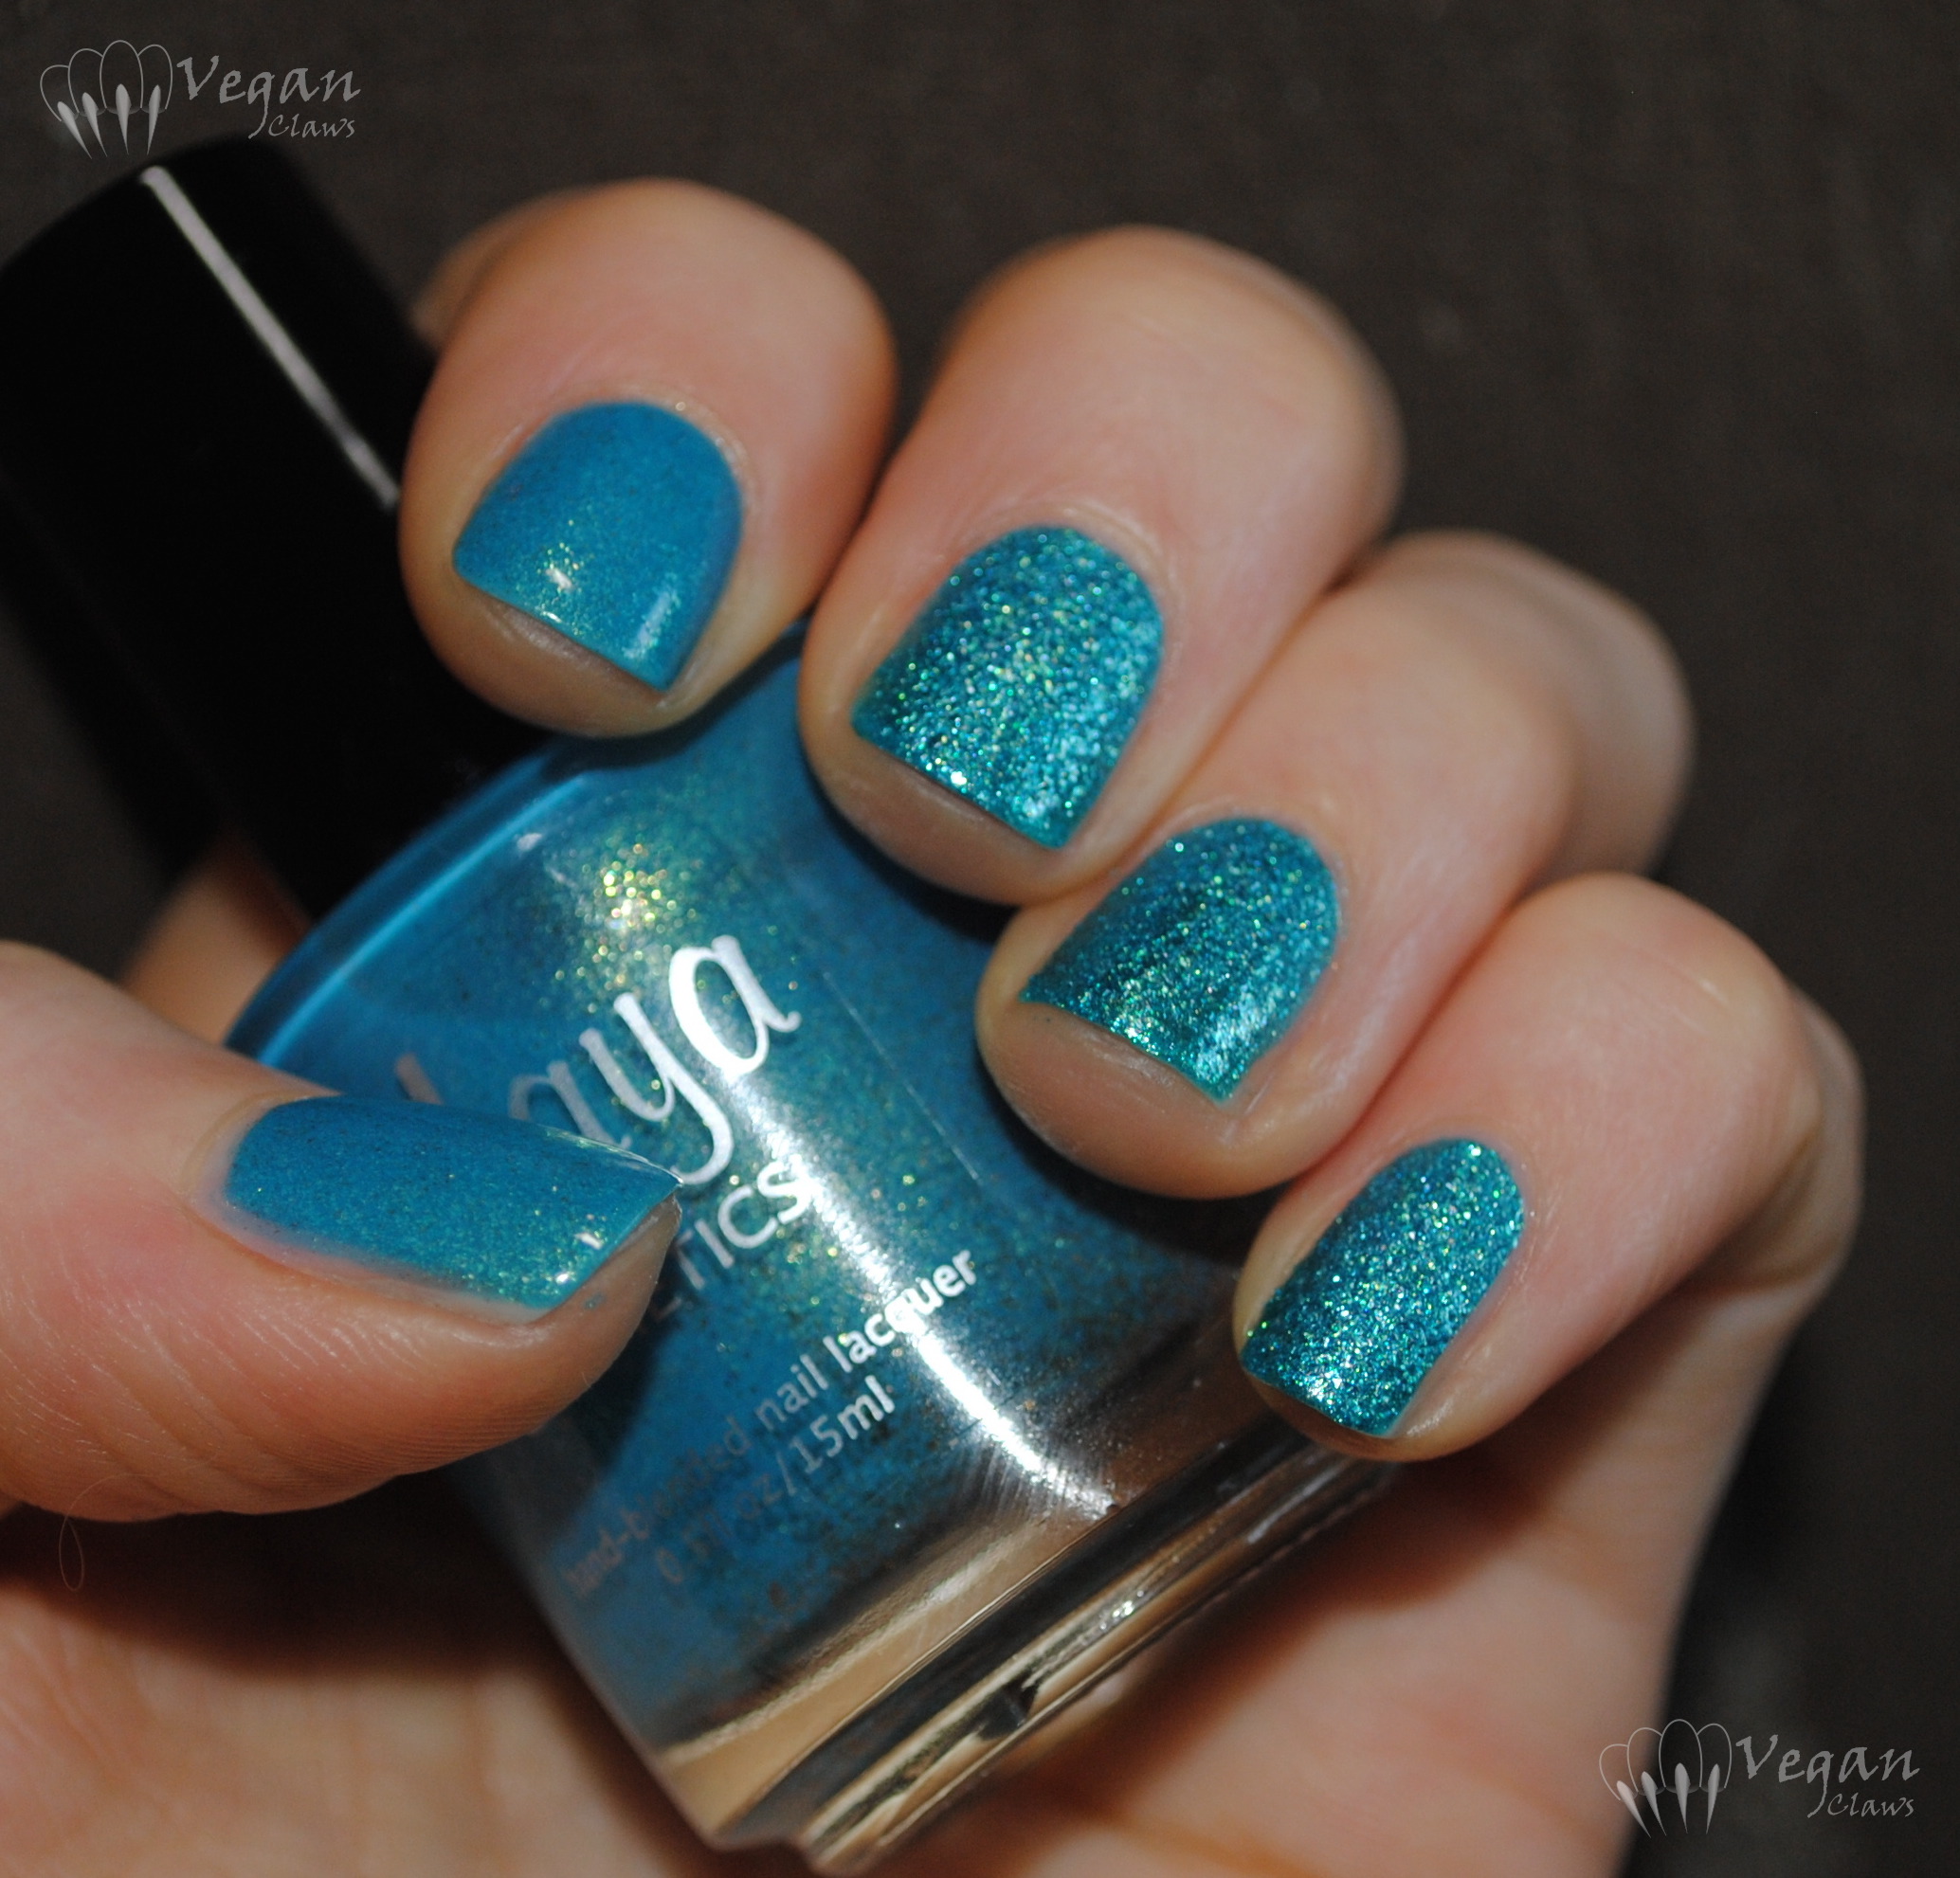
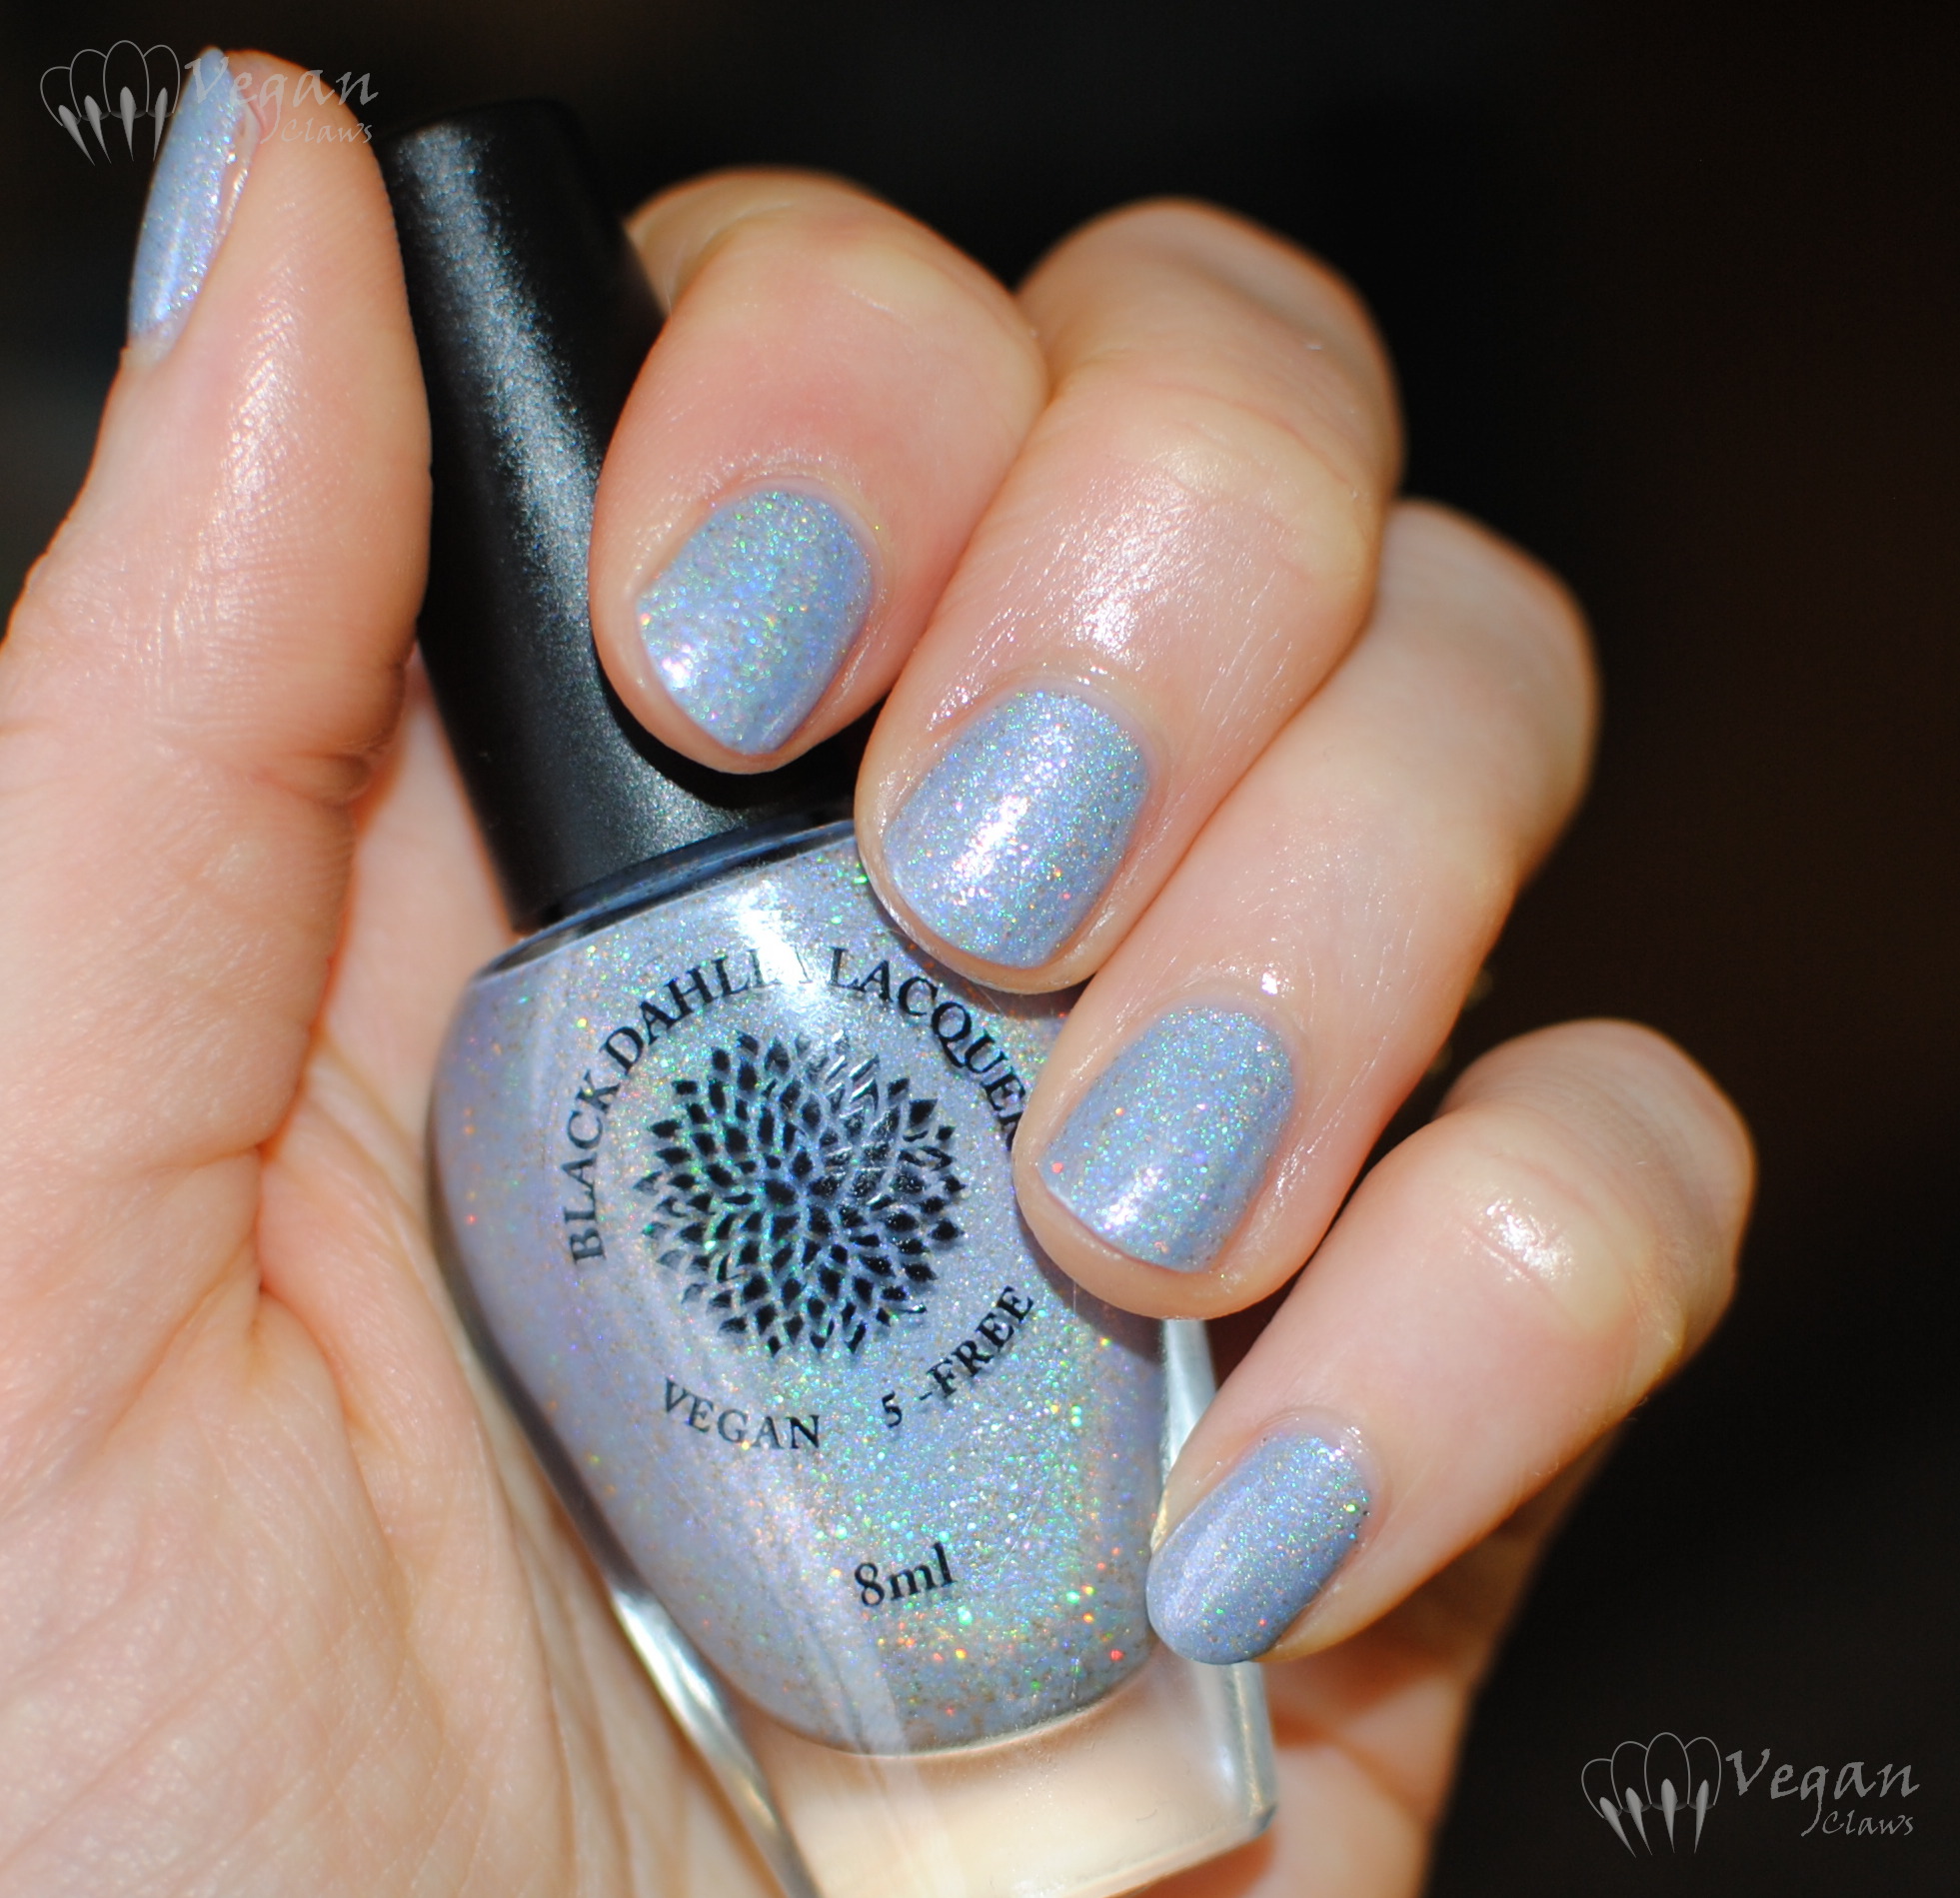
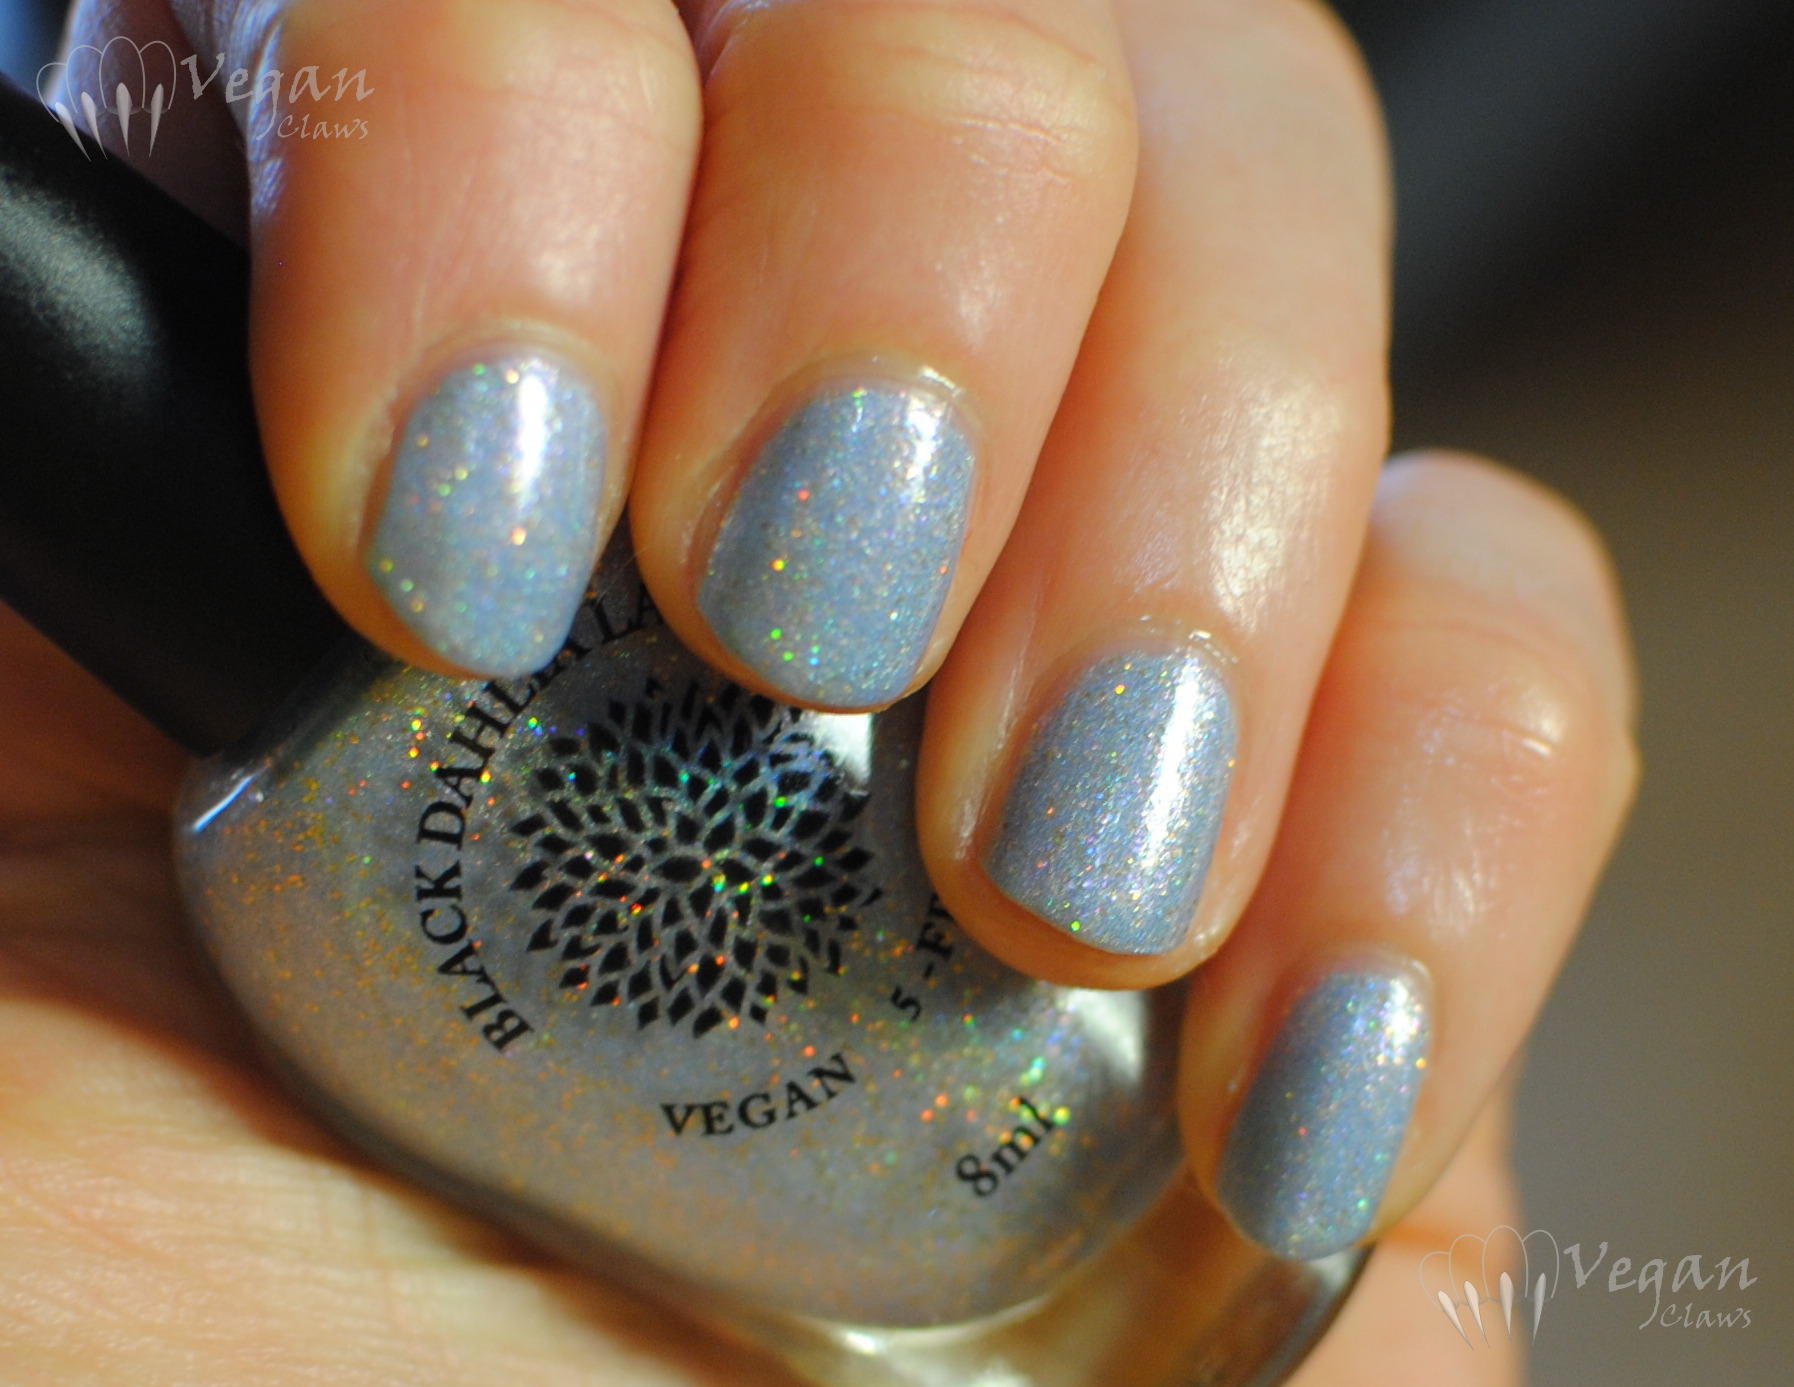
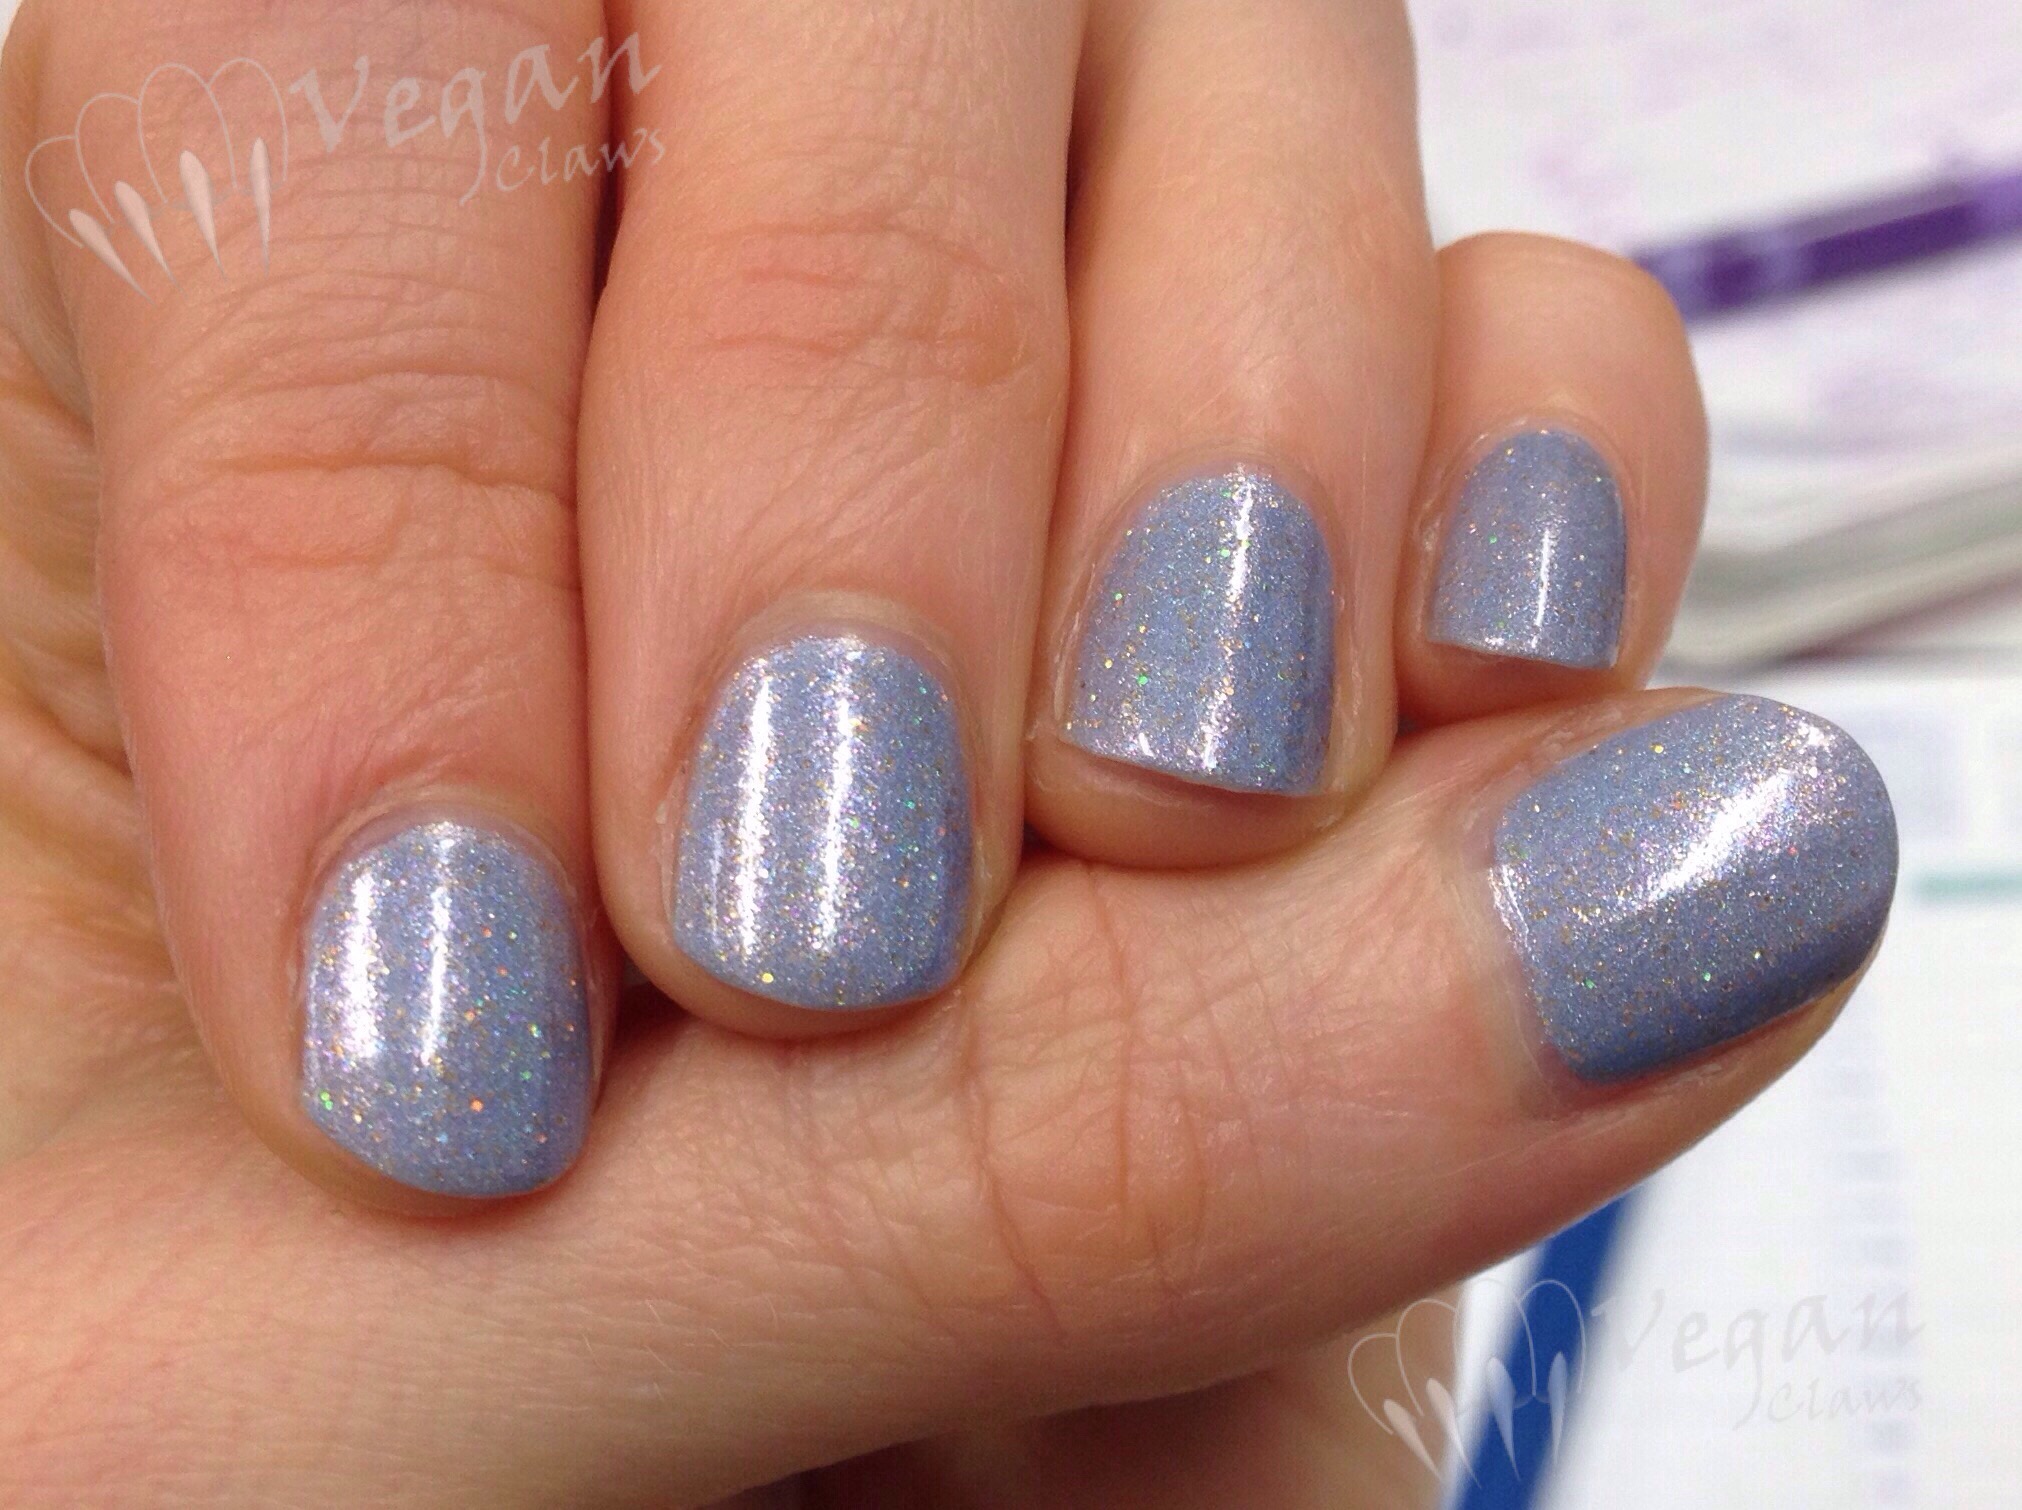
chinaglaze_sunuponmyskin_bemorepacific_thor

With flash:

chinaglaze_sunuponmyskin_bemorepacific_flash

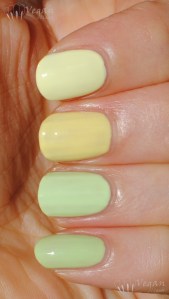
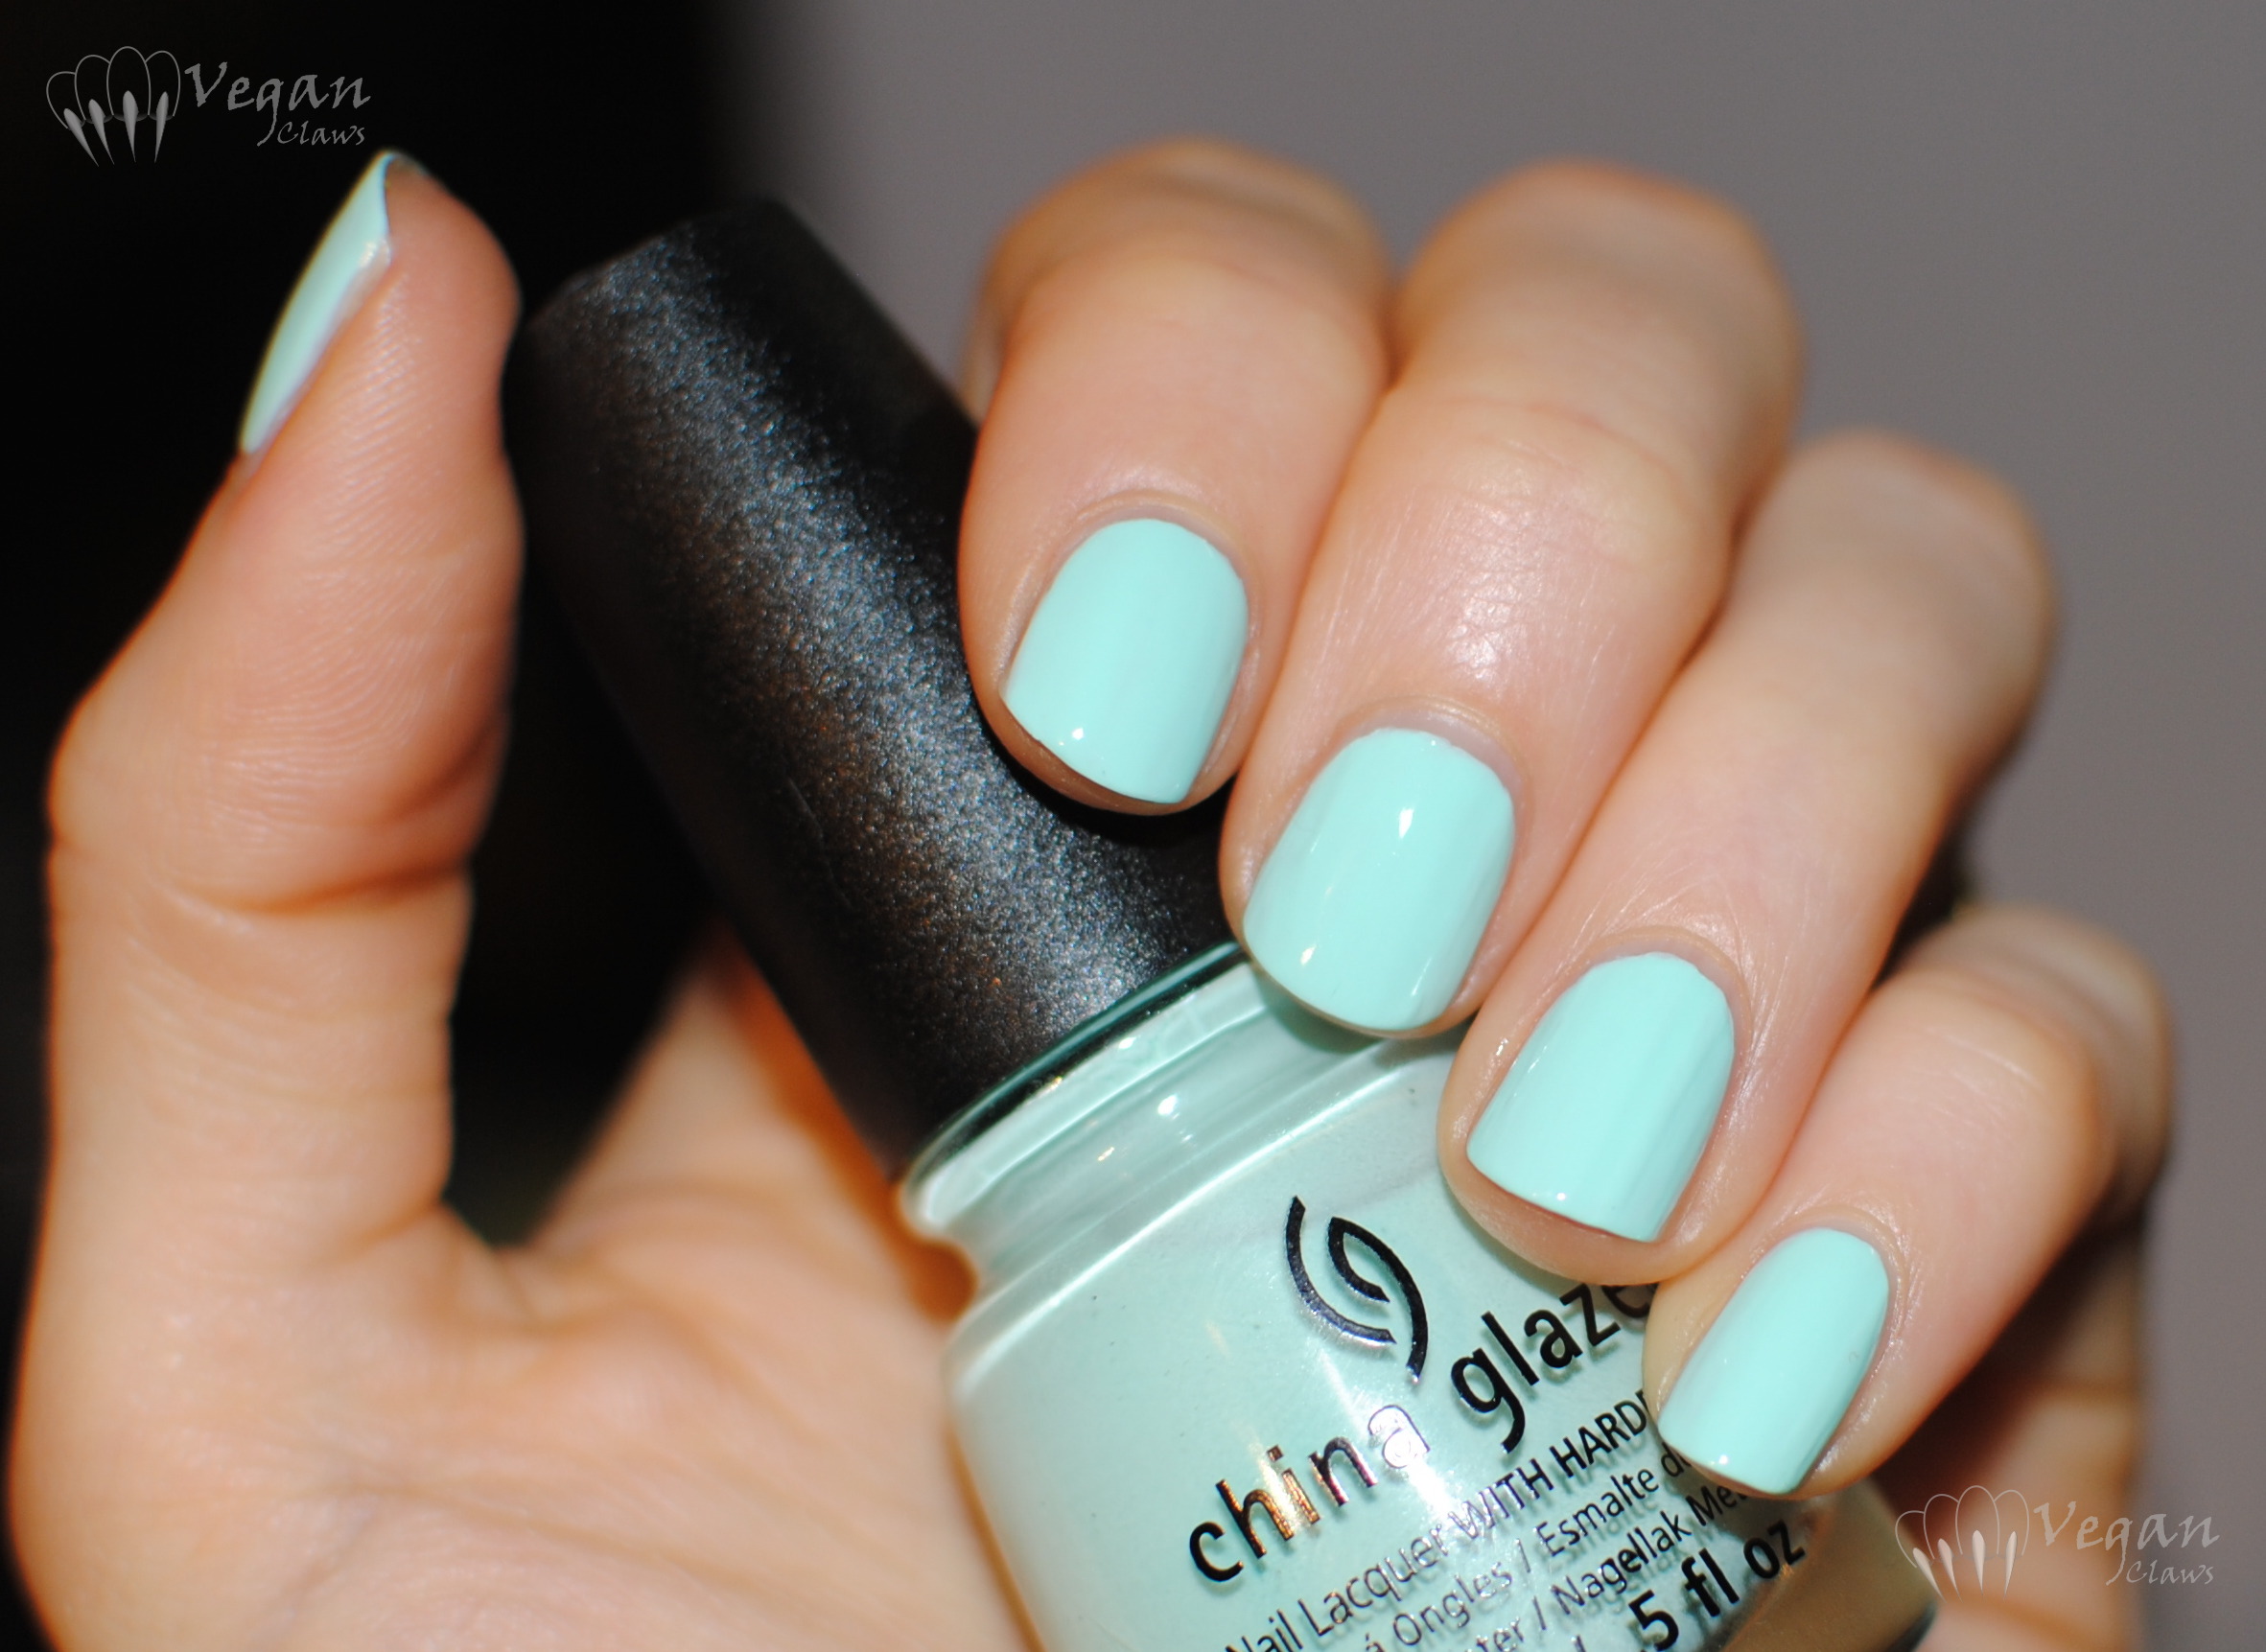
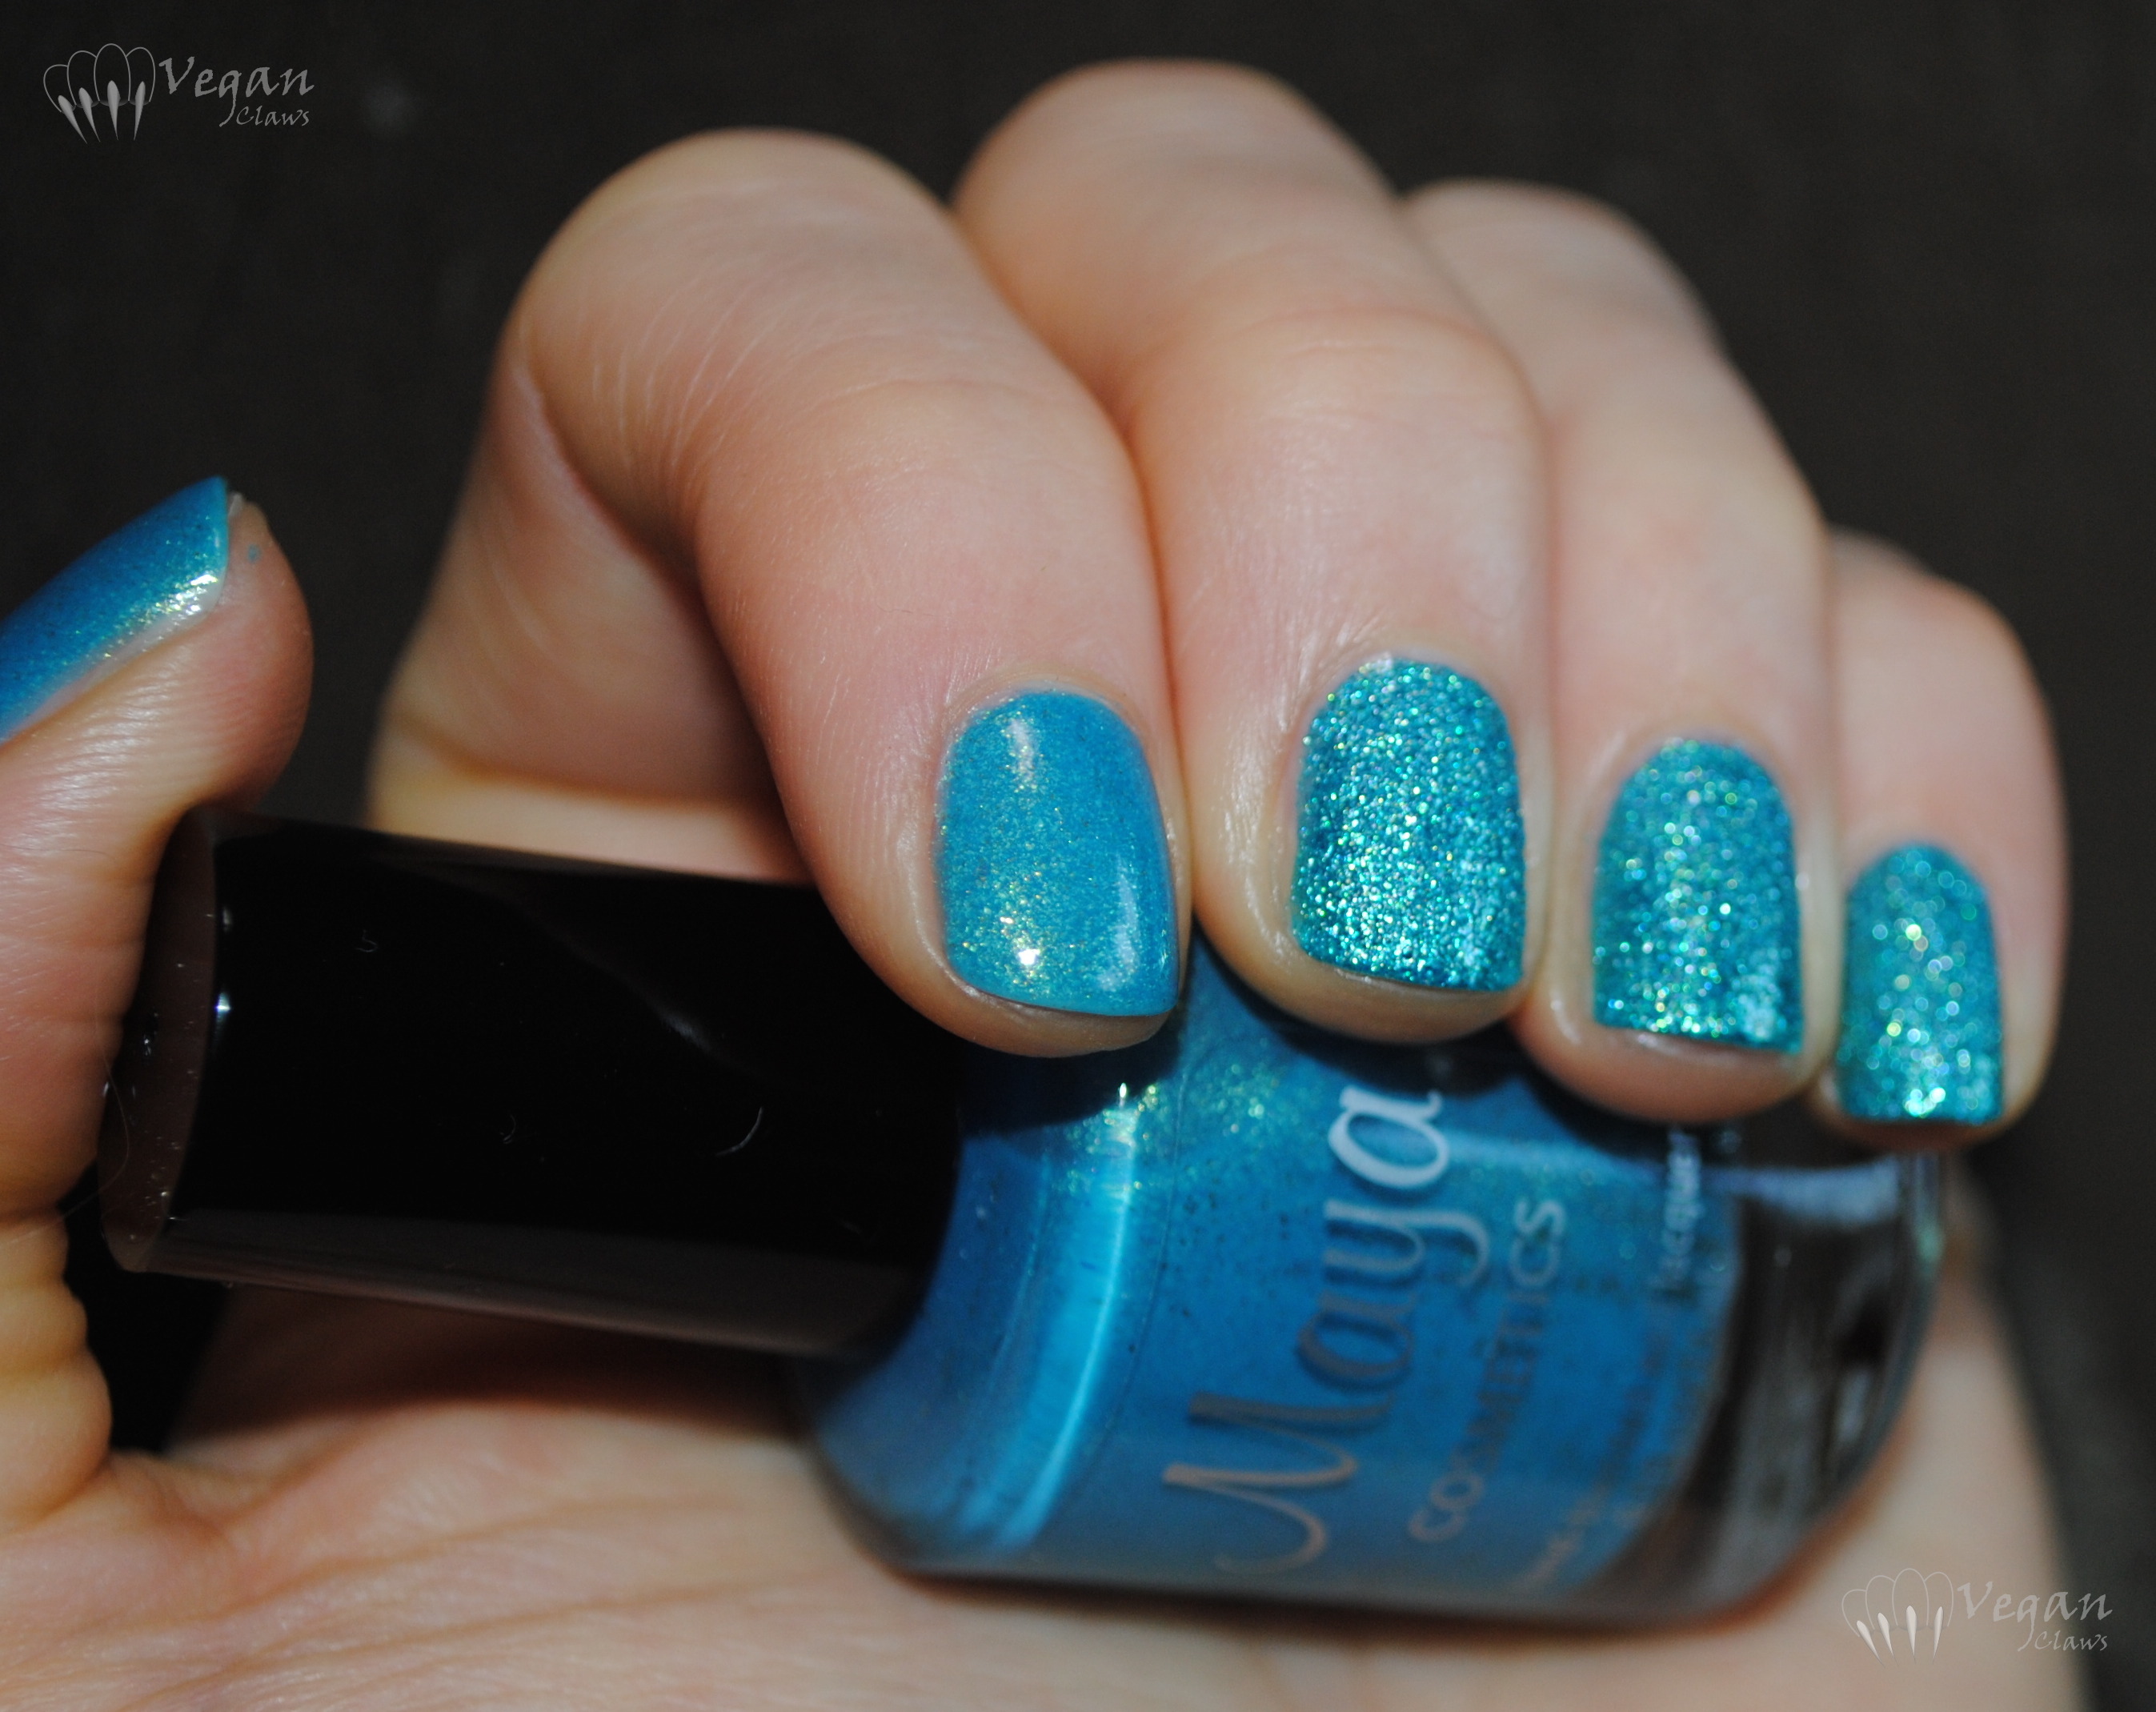
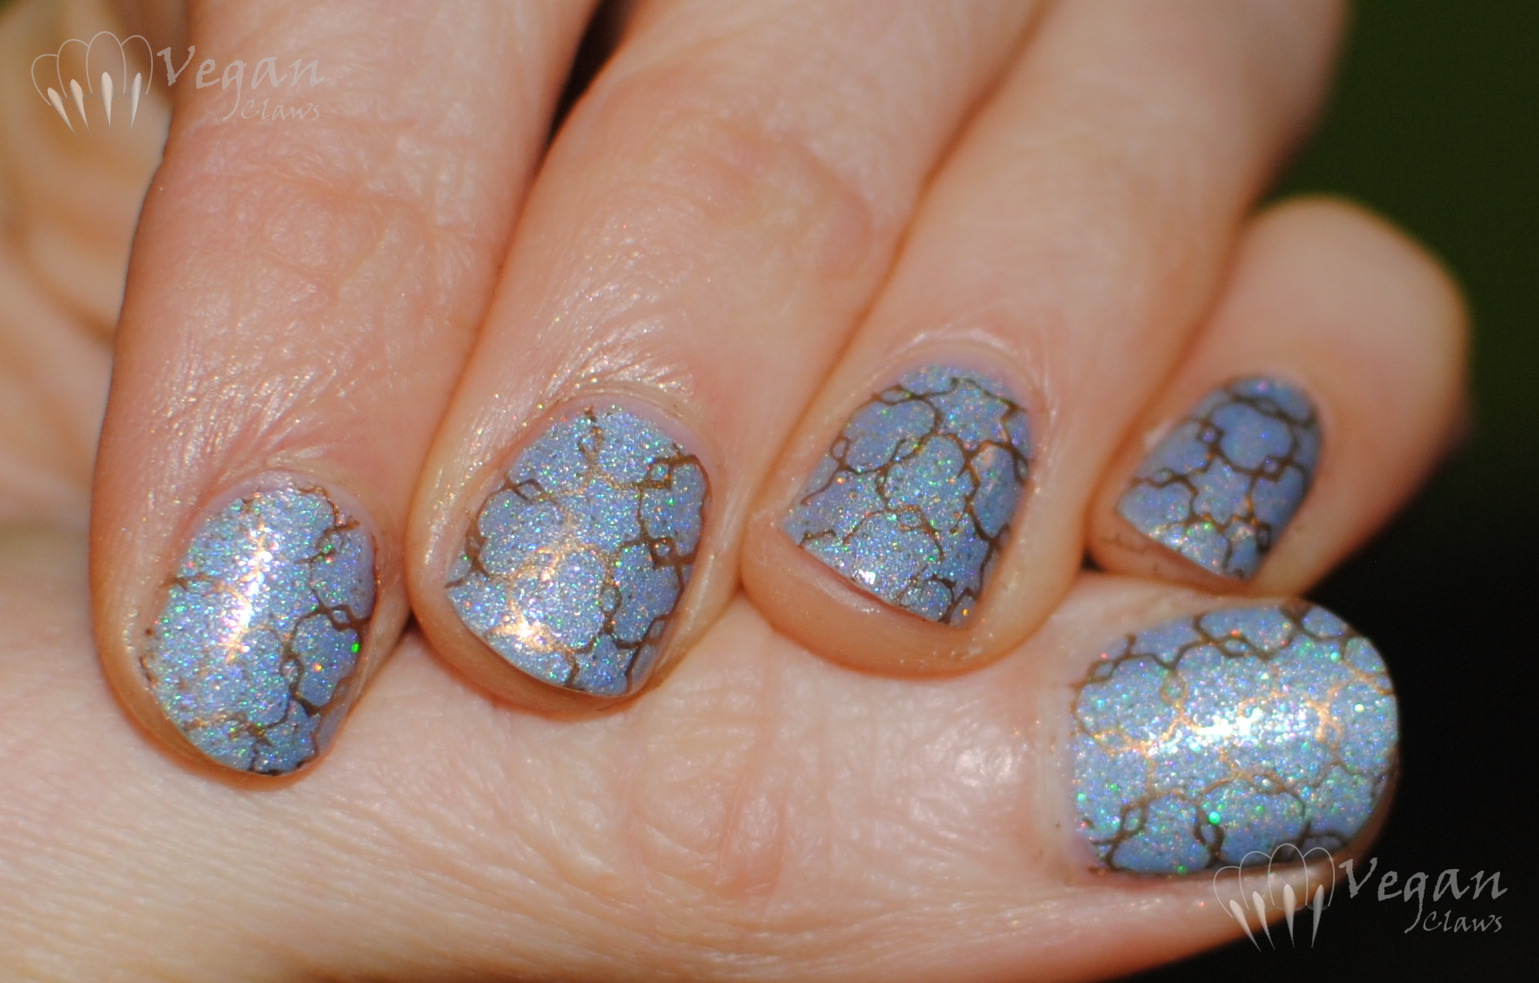
I wanted to compare these pastels to a couple of similar Ellagee pastels from their Beach Bum collection – She Sells Seashells (yellow) and Seaside Cottage (green).

chinaglaze_sunuponmyskin_bemorepacific_ellagee_comp

Unfortunately I didn’t write down how many coats I used of the Ellagee polishes, but I’m pretty sure it was also three coats plus top coat for them. They did have a significantly nicer formula than these China Glazes in my opinion!

chinaglaze_sunuponmyskin_bemorepacific_ellagee_shesellsseashells_seasidecottage2

Left to right/top to bottom: Ellagee She Sells Seashells, China Glaze Sun Upon My Skin, Ellagee Seaside Cottage, China Glaze Be More Pacific. As you can see the Ellagee yellow is lighter and brighter, and while the greens are more similar to each other than the yellows, again the Ellagee is a little bit lighter and brighter.  

chinaglaze_sunuponmyskin_bemorepacific_ellagee_shesellsseashells_seasidecottage

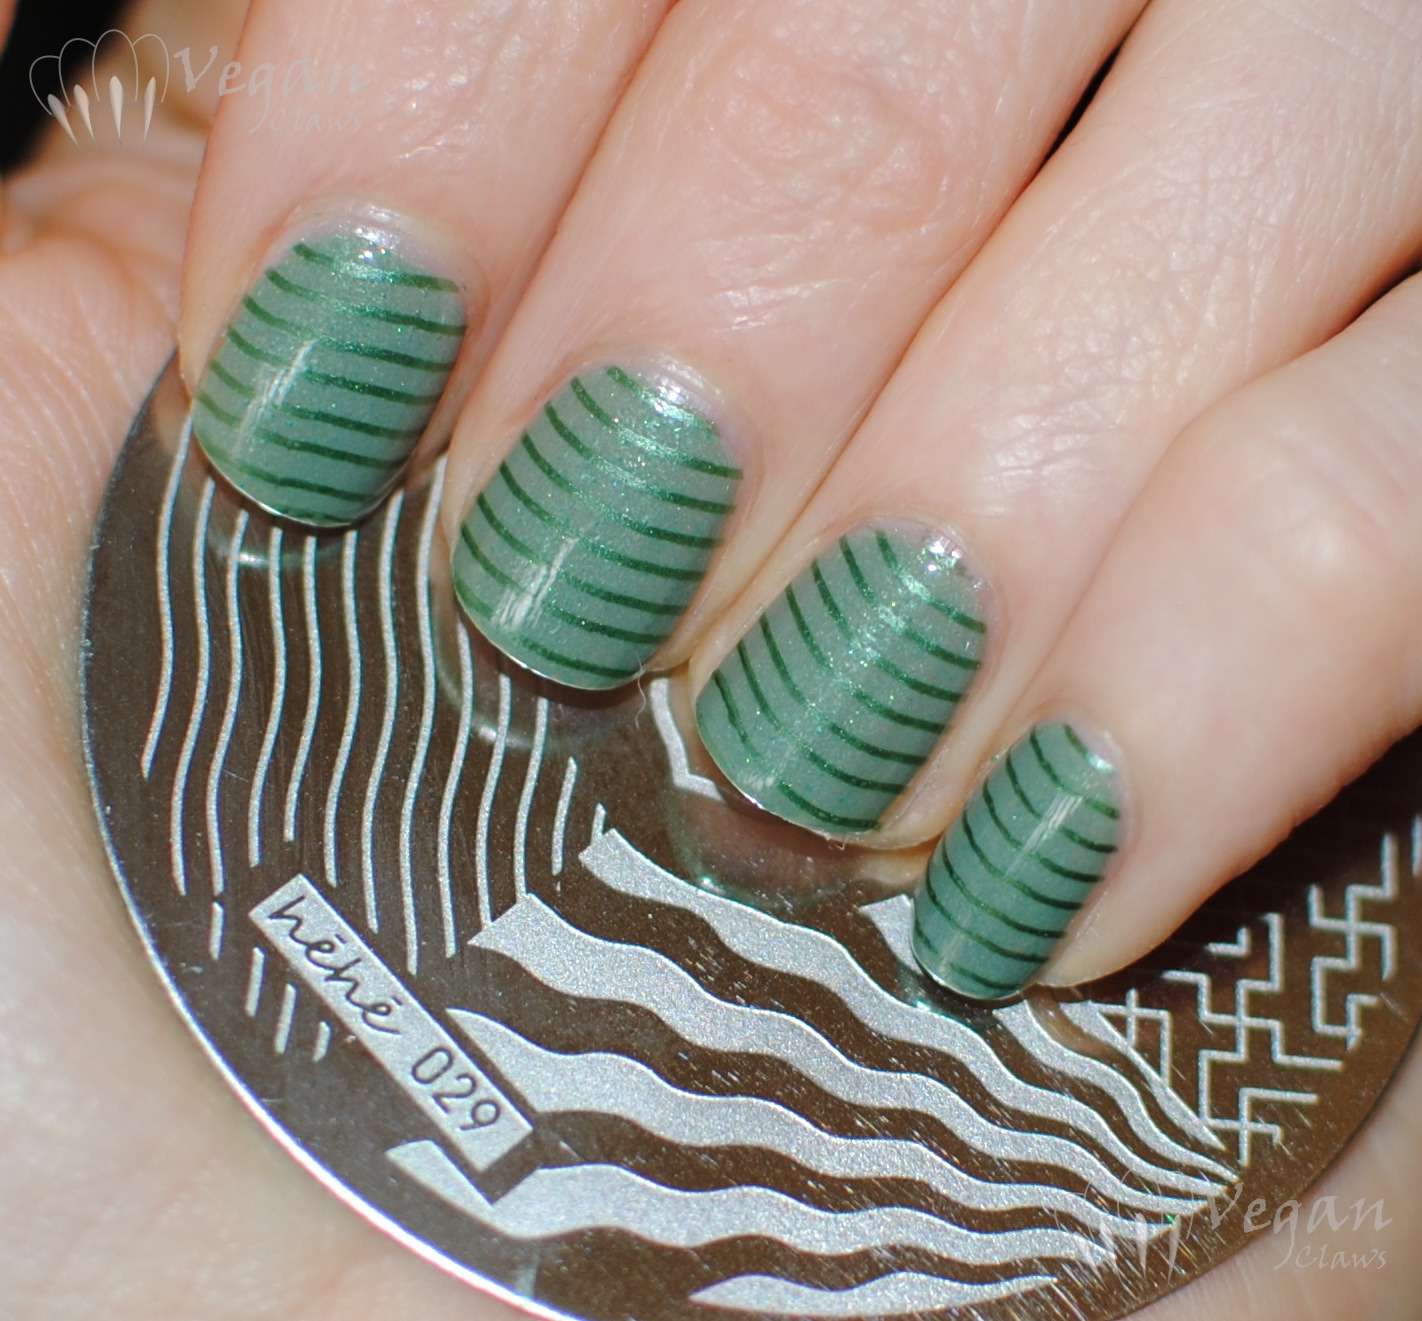
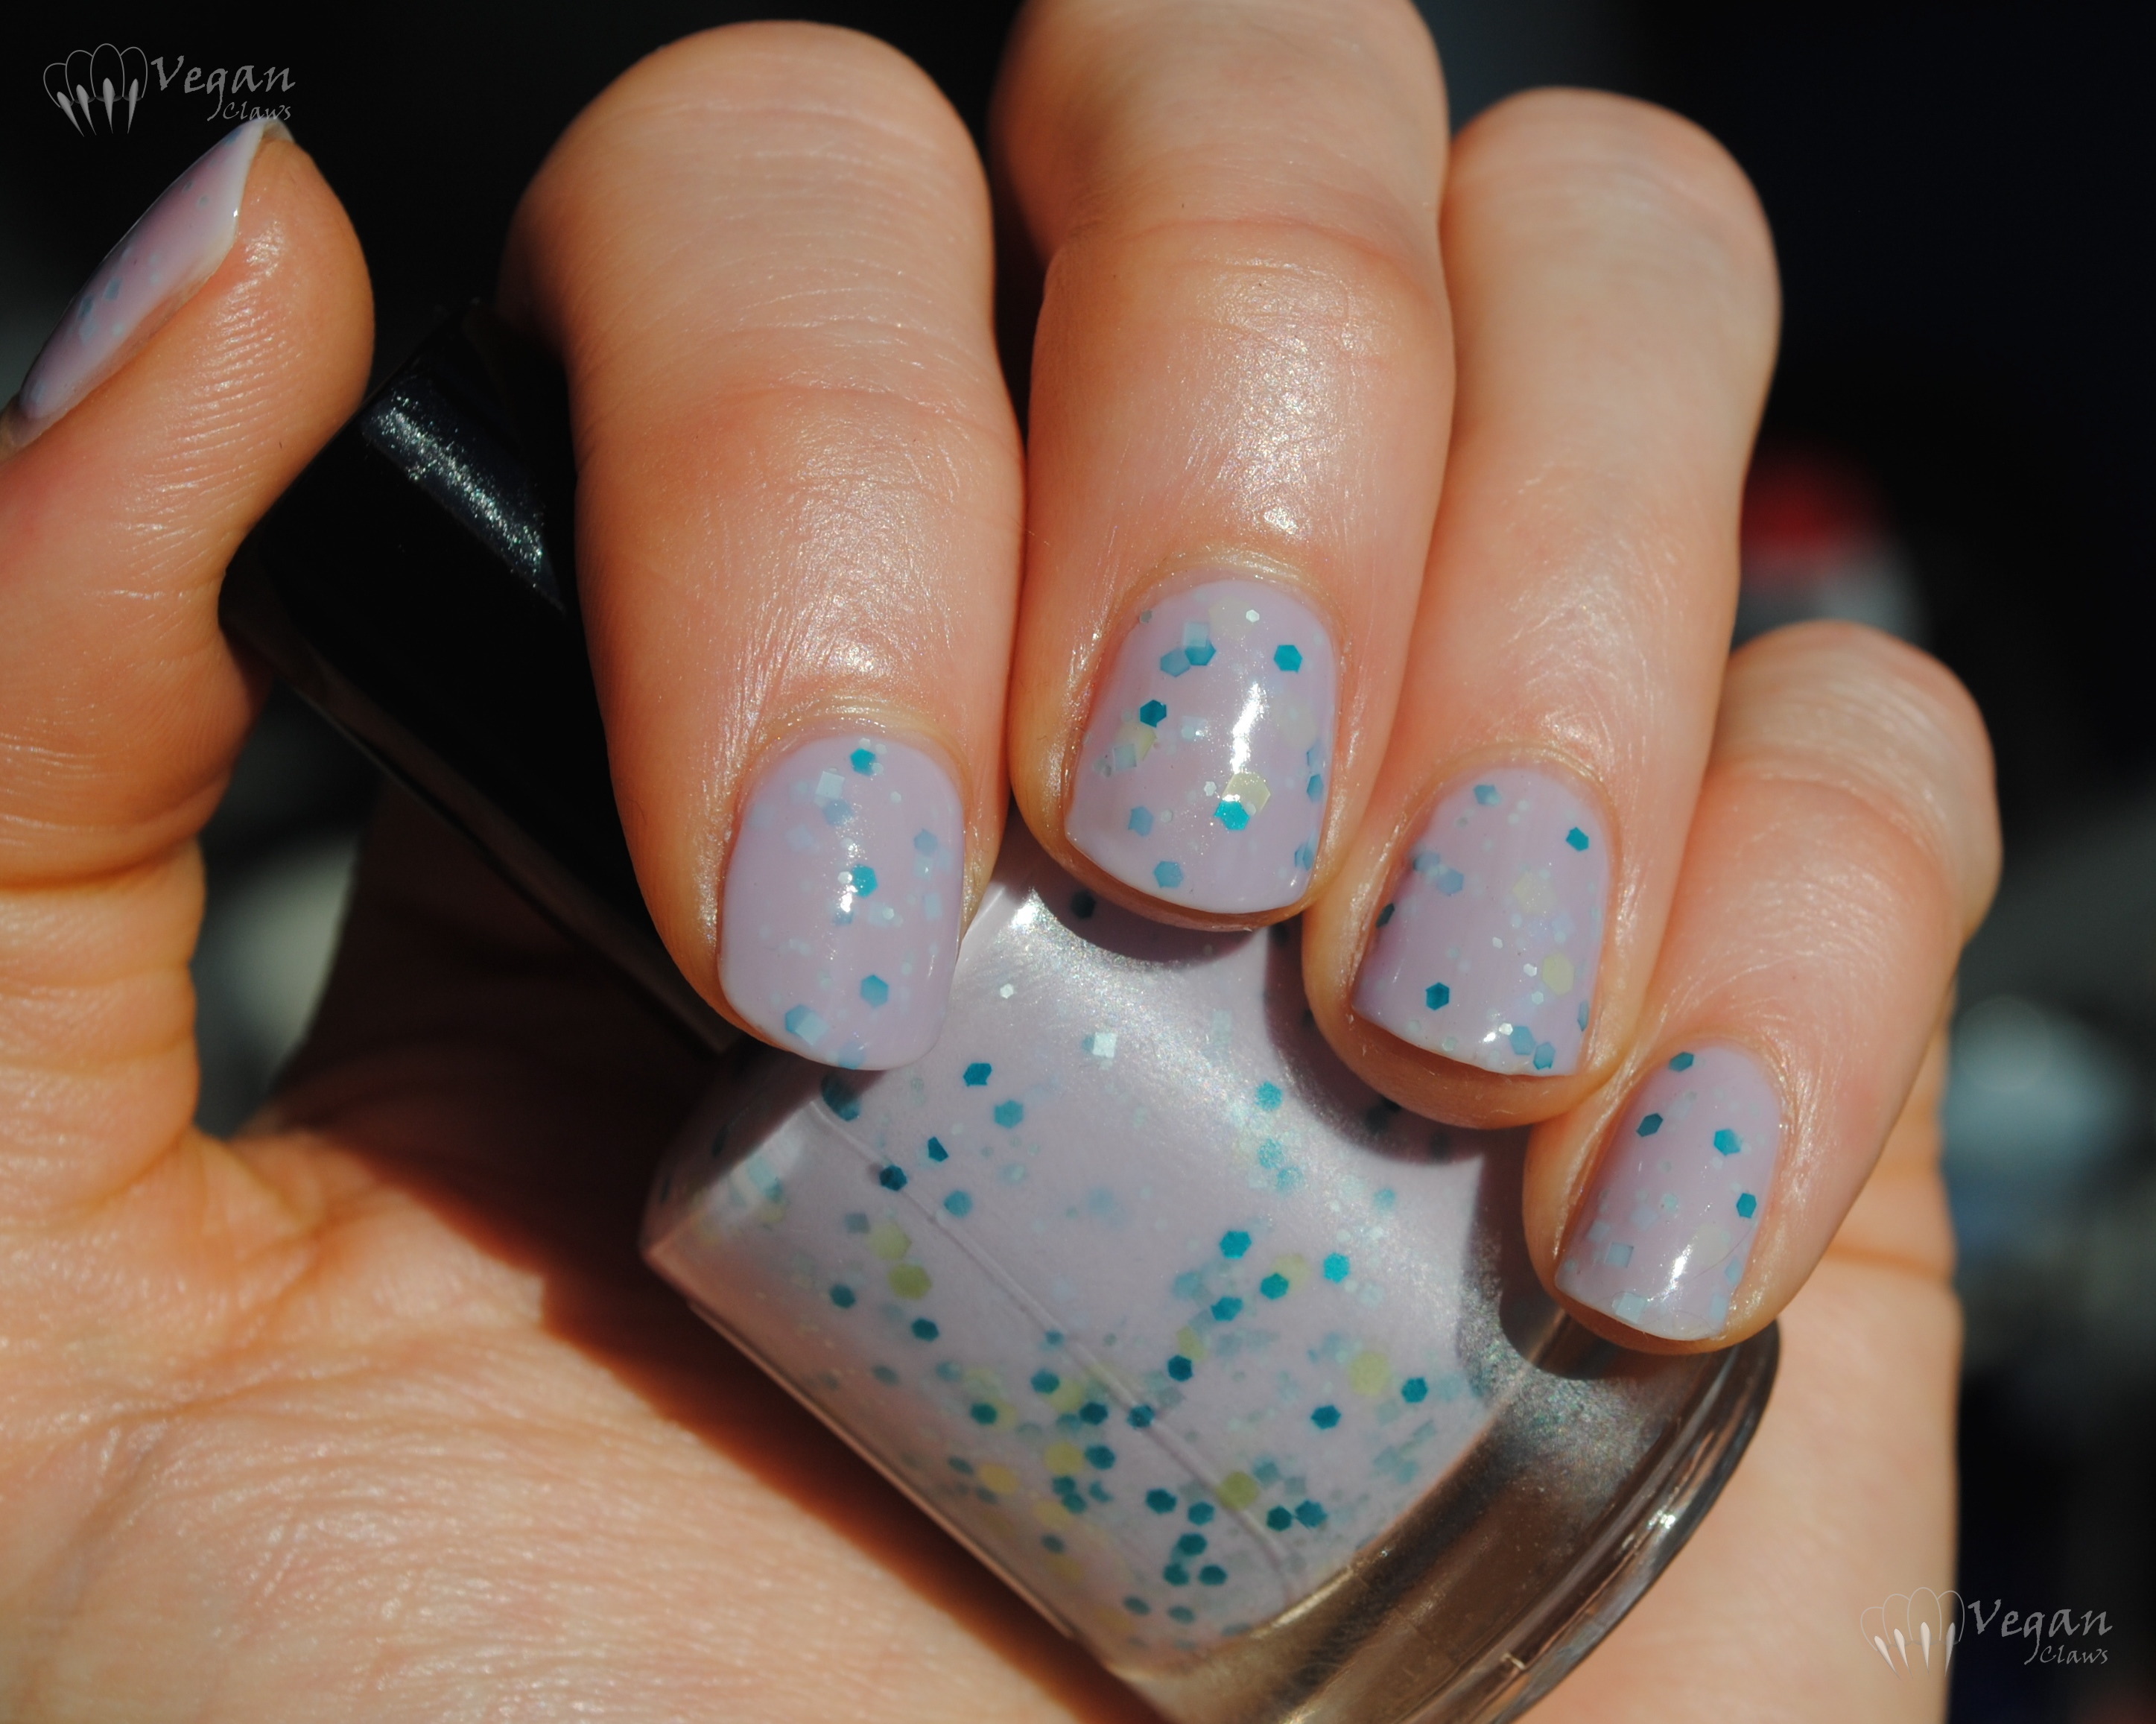
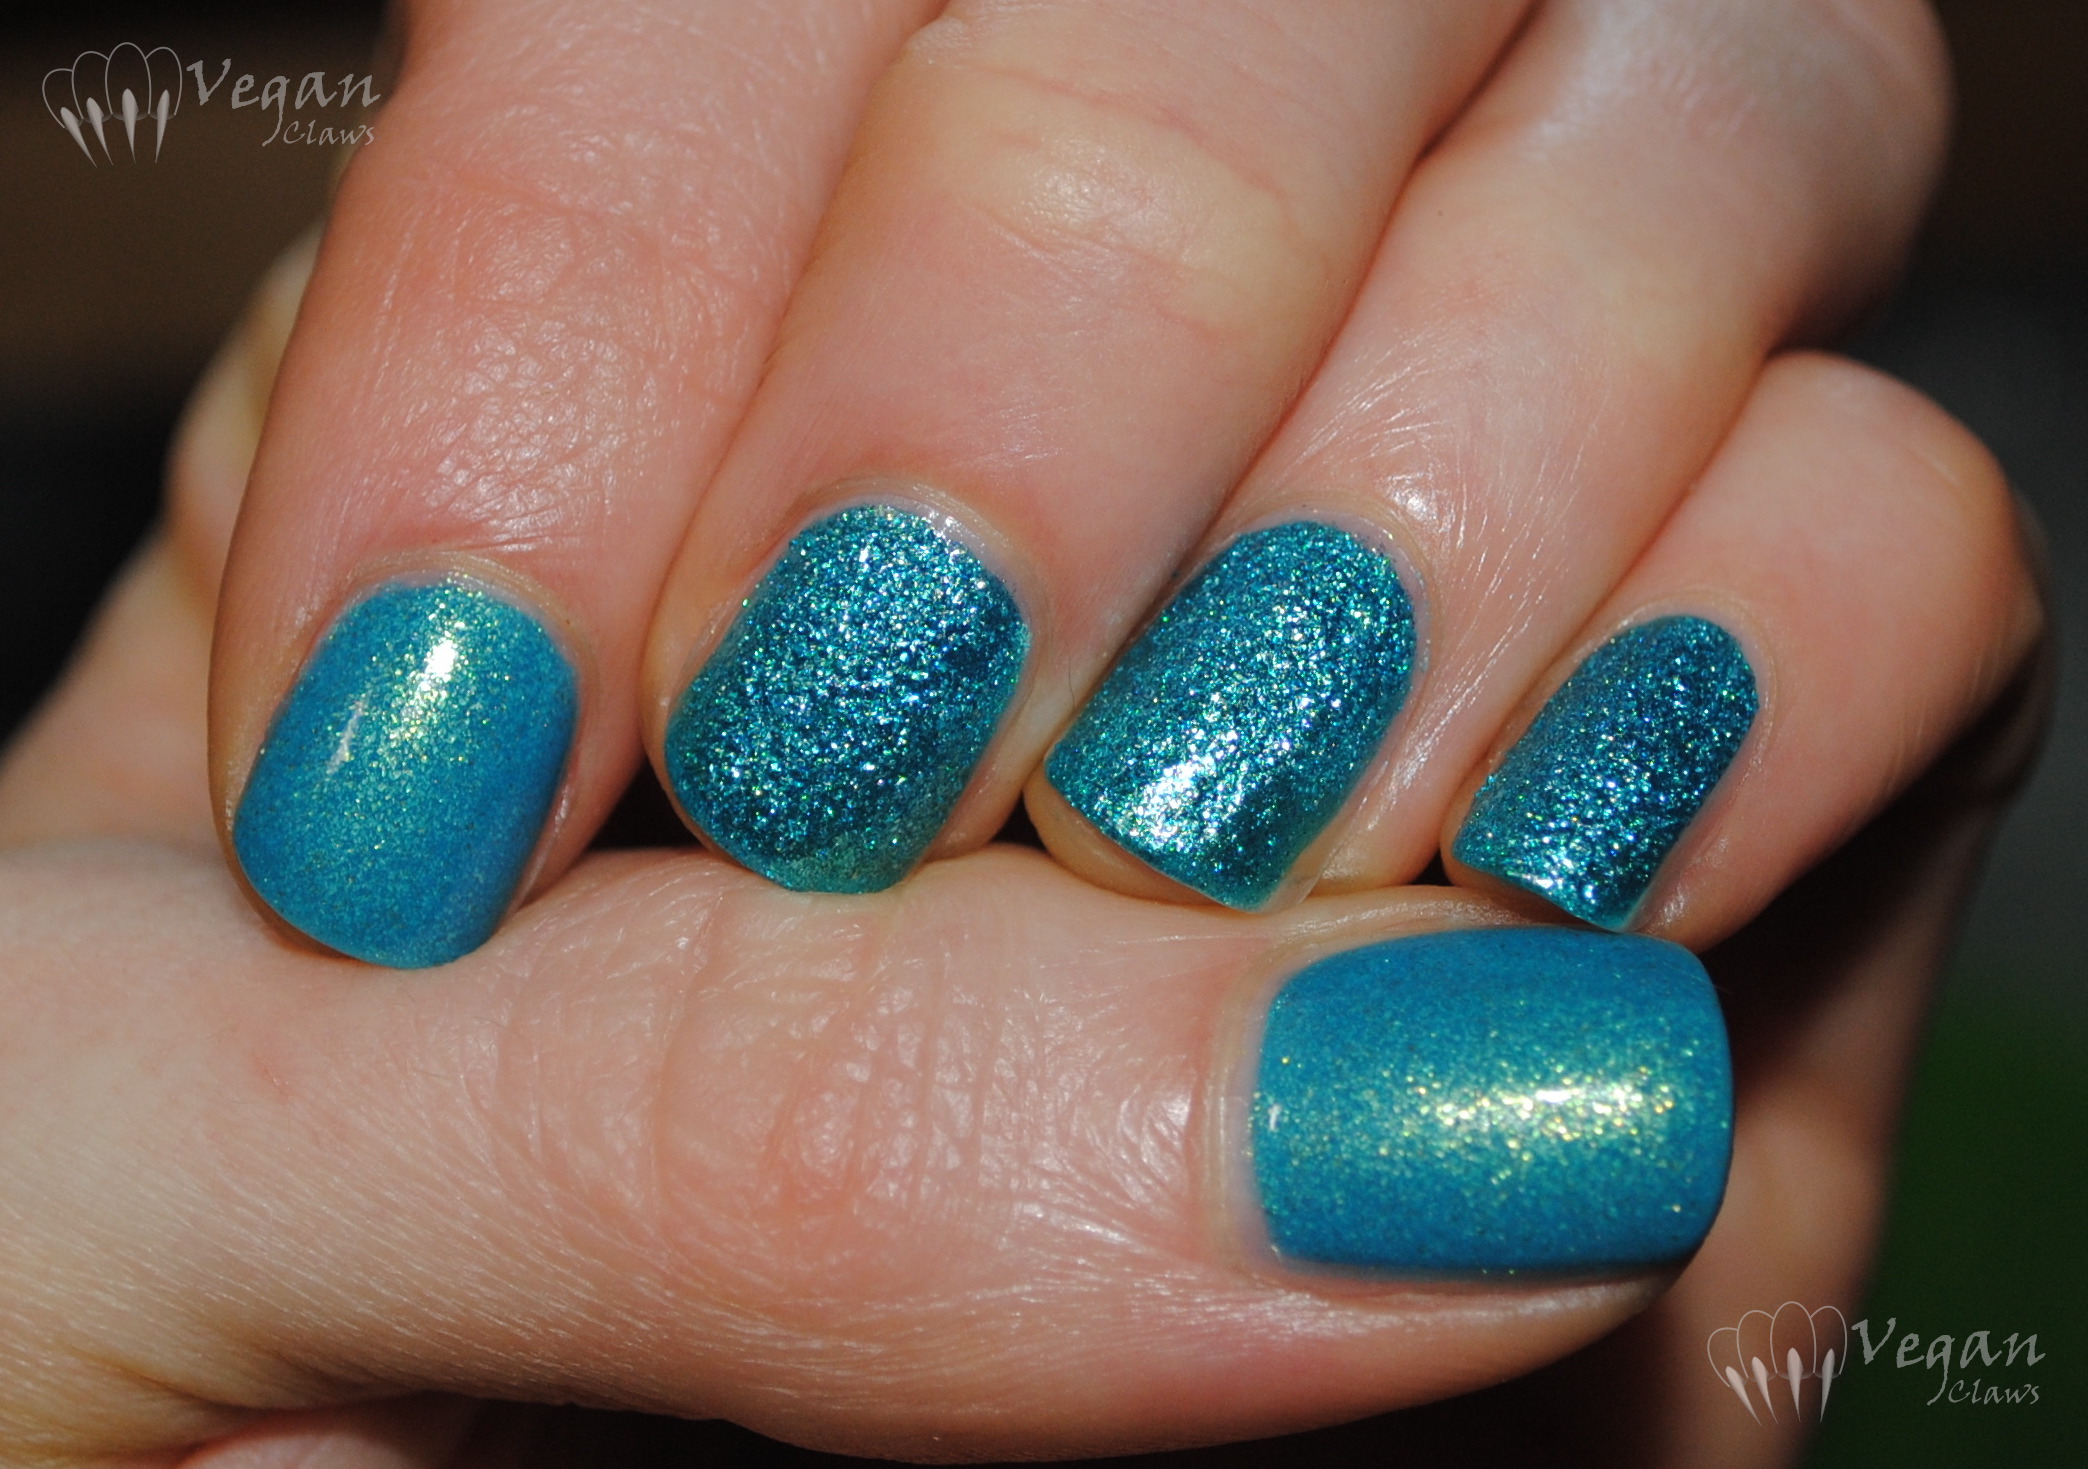
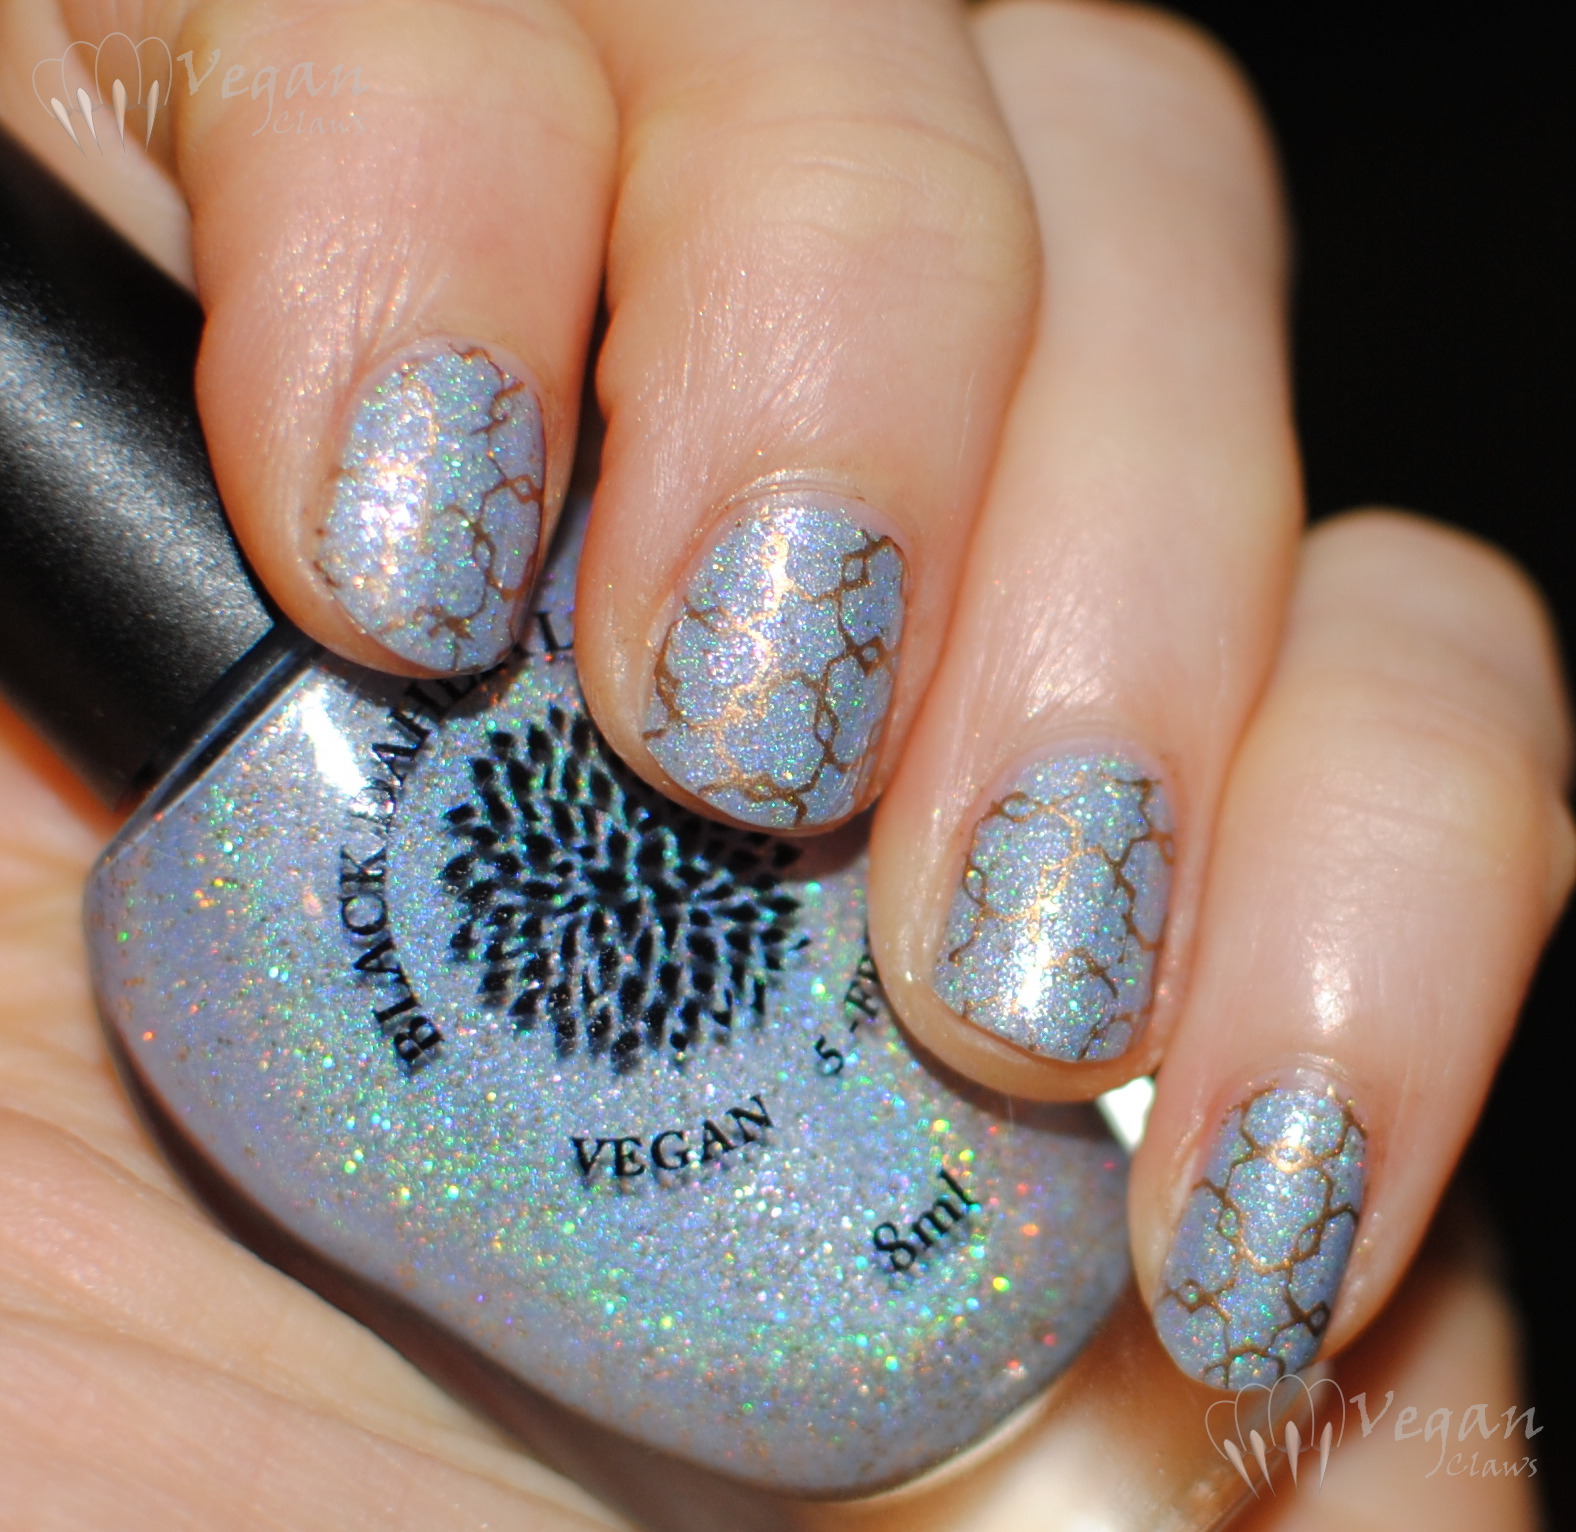
I then added a matte neon circle glitter topper, Ellagee Gumballs, over my comparison to try it out. 

chinaglaze_sunuponmyskin_bemorepacific_ellagee_shesellsseashells_seasidecottage_gumballs3

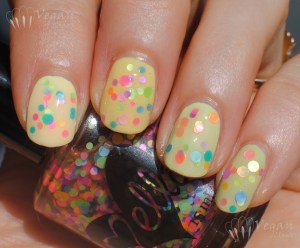
While I love the colour and shape of the glitters, overall I was disappointed by this polish. I had only had it a few weeks before trying it, but the base had already developed a bit of a pink tint from bleeding glitters. As you can see in the photos it’s muddied the colours of the base polishes. 

chinaglaze_sunuponmyskin_bemorepacific_ellagee_shesellsseashells_seasidecottage_gumballs2

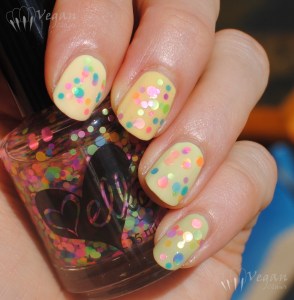
I also found it pretty thick and ended up with some bubbles trying to get a good amount of glitter onto the nail and distributed. Ah well. I do really like the circle shape and the neon pastel colours. Placing the glitters individually with a dotting tool or orange stick would probably work out better!

chinaglaze_sunuponmyskin_bemorepacific_ellagee_shesellsseashells_seasidecottage_gumballs

Black Dahlia Lacquer Teal Hydrangea and comparison

Teal Hydrangea is a gorgeous turquoise/teal creme polish. I used two coats plus top coat; the formula was great. 

blackdahlialacquer_tealhydrangea3

blackdahlialacquer_tealhydrangea2

Here’s a comparison with a couple of other turquoises: left to right/top to bottom are BDL Teal Hydrangea, China Glaze Aquadelic (2 coats plus top coat), China Glaze Too Yacht to Handle (3coats plus top coat). 


Echoes Polish Now You See Me and stamping

Echoes Polish is a Canadian indie that makes all vegan friendly polishes and is most well-known for their thermal polishes. Today I have Now You See Me to show you. When cold, it’s a dusty sage green colour, and it has beautiful green glass flecks throughout. Shown are three coats plus topcoat.

echoespolish_nowyouseeme


I had a couple of helpers while swatching 🙂 – Thor:

echoespolish_nowyouseeme_thor


and Seymour:echoespolish_nowyouseeme_seymour

When warm, Now You See Me changes to a taupe-beige colour, making the green glass flecks really stand out. The shade was inspired by camouflage print. Here it is in transition and fully warm:

echoespolish_nowyouseeme5

echoespolish_nowyouseeme4

echoespolish_nowyouseeme3

echoespolish_nowyouseeme2

echoespolish_nowyouseeme6

I decided to stamp it with a wavy stripe pattern from Hehe stamping plate Hehe-029, using China Glaze Con-fused (the green magnetic). Cold state, in the shade:

echoespolish_nowyouseeme_stamping_shade

With flash:

echoespolish_nowyouseeme_stamping


Mostly warm, with flash:

echoespolish_nowyouseeme_stamping2


A few odds and ends

A few random things, some of them pretty old photos! In reverse chronological order…

China Glaze Metro-pollen-tin, three coats plus top coat, taken with flash. Love this yellow-orange!

chinaglaze_metropollentin_flash2

chinaglaze_metropollentin_flash

IndiePolish Spring Lilac, two coats, plus two coats topcoat (the formula was a little thick so the glitters got a bit lumpy).

indiepolish_springlilac4

indiepolish_springlilac3

China Glaze Ray-diant layered over black.

OPI Do You Think I’m Tex-y with a jelly sandwich accent nail. I *think* the iridescent glitter in the jelly sandwich was Butter London Tart With a Heart but I’m not 100% positive!

OPI Do You Think I'm Tex-y

OPI Do You Think I'm Tex-y

OPI Do You Think I'm Tex-y

OPI Do You Think I'm Tex-y

And of course, I can’t post a polish with Tex in the name without posting a picture of handsome Big Tex!

China Glaze At Vase Value and comparison

I really love China Glaze At Vase Value. Four thin coats (plus topcoat) to even out the streaks is what’s shown here, which sounds like a lot, but it dries extremely fast. You can easily go digging through your purse five minutes later and not smudge the polish at all. These photos are all with flash since they were taken at night. 

chinaglaze_atvasevalue_flash4

chinaglaze_atvasevalue_flash3

chinaglaze_atvasevalue_flash2

chinaglaze_atvasevalue_flash

Since At Vase Value makes me think of another favourite bright pastel turquoise of mine, Color Club Blue-Ming, I did a little comparison. Blue-Ming is on the left (index nail) three coats plus topcoat, At Vase Value on the other three nails. As you can see, Blue-Ming is a little darker and greener. I love them both!

chg_atvasevalue_cc_blueming

Maya Cosmetics Reef and China Glaze Seahorsin’ Around

Another mani from last year, another Maya Cosmetics polish! This is Maya Cosmetics Reef, a great turquoise blue creme with heavy gold flakes, shown in two coats plus top coat. The texture polish is China Glaze Seahorsin’ Around, also two coats. Under Ott Lite:

maya_reef_chg_seahorsin_ott

With flash:

maya_reef_chg_seahorsin_flash4

maya_reef_chg_seahorsin_flash3

maya_reef_chg_seahorsin_flash2

maya_reef_chg_seahorsin_flash

Black Dahlia Lacquer Austin City Limits

The next Black Dahlia Lacquer I have to show you is Austin City Limits, a light periwinkle/cornflower leaning blue holo with added gold holo microglitters and pink-purple shimmer flecks.

blackdahlialacquer_austincitylimits_flashott2

There was no sun unfortunately so these first photos are all with flash and/or Ott Lite.

blackdahlialacquer_austincitylimits_flashott

Two coats plus top coat, no issues with the formula.

blackdahlialacquer_austincitylimits_flash1

This photo is under halogen lighting:

blackdahlialacquer_austincitylimits_artificial

Shaded natural light:

blackdahlia_austincitylimits_shade

The pink-purple shimmer flecks were hard to capture in photos, but I think this photo I took at work does the best job of it (hey, fluorescent office lighting is good for something after all!):

20150302-120543.jpg

The second day I added stamping with my new Messy Mansion XL rectangular stamper, which I love and highly recommend! It’s squishier than the Konad stampers, plus the rectangular shape helps to get patterns on straighter.

blackdahlia_austincitylimits_stampingmm13

This is basically the first time that I’ve done a full-nail pattern on all ten nails, since I used to have so much trouble with patchy spots and getting them on straight.

blackdahlia_austincitylimits_stampingmm13_1

I stamped using China Glaze Gold Fusion (one of the magnetics, they’re great for stamping!) and the plate is Messy Mansion MM13. I’m excited to do lots more stamping with this new Messy Mansion stamper! 😀

blackdahlia_austincitylimits_stampingmm13_

China Glaze Spring in My Step and Valentine’s Day Stamping

Happy Valentine’s Day! This mani started out with a polish I like a lot, Spring in My Step from China Glaze.

chinaglaze_springinmystep

Four coats plus top coat. The four coats are needed, but the formula is thin so it doesn’t seem too thick on the nail, and it dries super quickly. Like, quick enough that this polish and the others I have from this collection (last spring’s City Flourish) are among those I would choose when rushing to cover up naked nails before leaving for work in the morning! I know a lot of people hated the formula of the pastels in that collection, but I loved it!

chg_springinmystep_stamping2

I then added some stamping using Bundle Monster plates BM-H16 and BM-H17. I received both of these plates as gifts from the people at Nail Polish Canada, H16 last year and H17 this year. I think they send them out to regular customers or something. Thanks NPC! 🙂

chg_springinmystep_stamping1

The polishes I used for stamping were Kleancolor Iridescent Fuchsia (which is a ridiculous name as it’s not in any way iridescent, it’s a straight creme polish!) and Red Alert. Someday I hope I’ll get the hang of stamping so that the whole images will transfer without gaps and smudges 😉

chg_springinmystep_stamping

I coloured in a few of the stamps using OPI Guy Meets Gal-veston, a coral pink jelly polish.

chg_springinmystep_stamping_bmh17

Here’s a close up of the thumb stamp, since it didn’t show up very well in the other photos.

chg_springinmystep_stamping_thumb

And here’s the right hand – here, I coloured in some of the stamps using OPI Houston We Have a Purple, another jelly from the Texas collection.

20150213-102811.jpg

Disclosure: the stamping plates used in this manicure were provided free of charge by Nail Polish Canada.