A vegan nail polish blog. A celebration of colour and light, as well as of justice for nonhuman animals.

Posts tagged ‘Texture’

Some Zoya Polishes and a Seche Vive Review

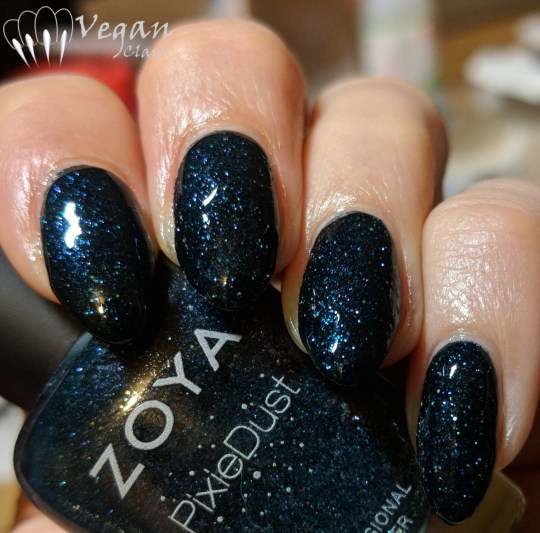
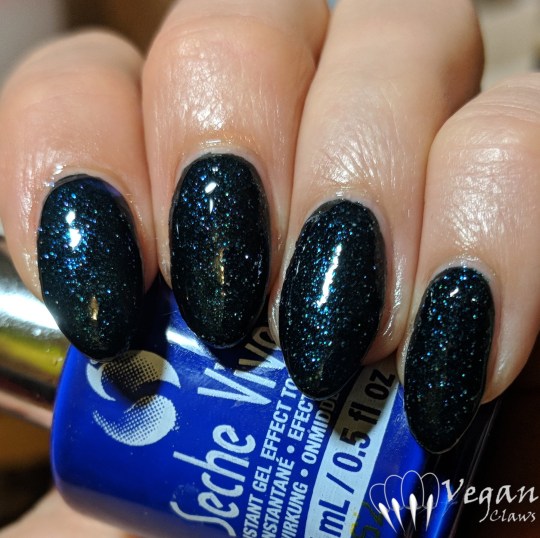
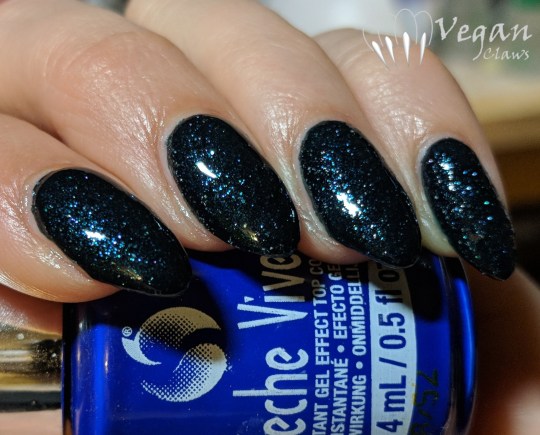
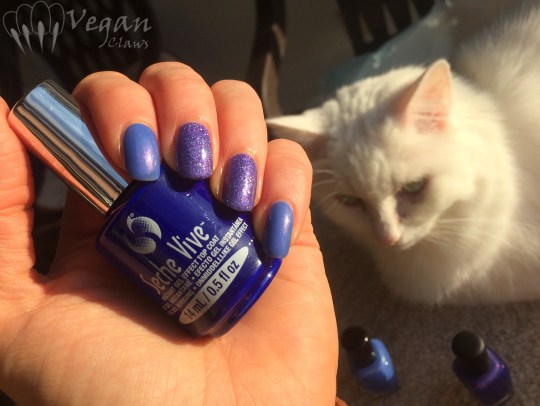
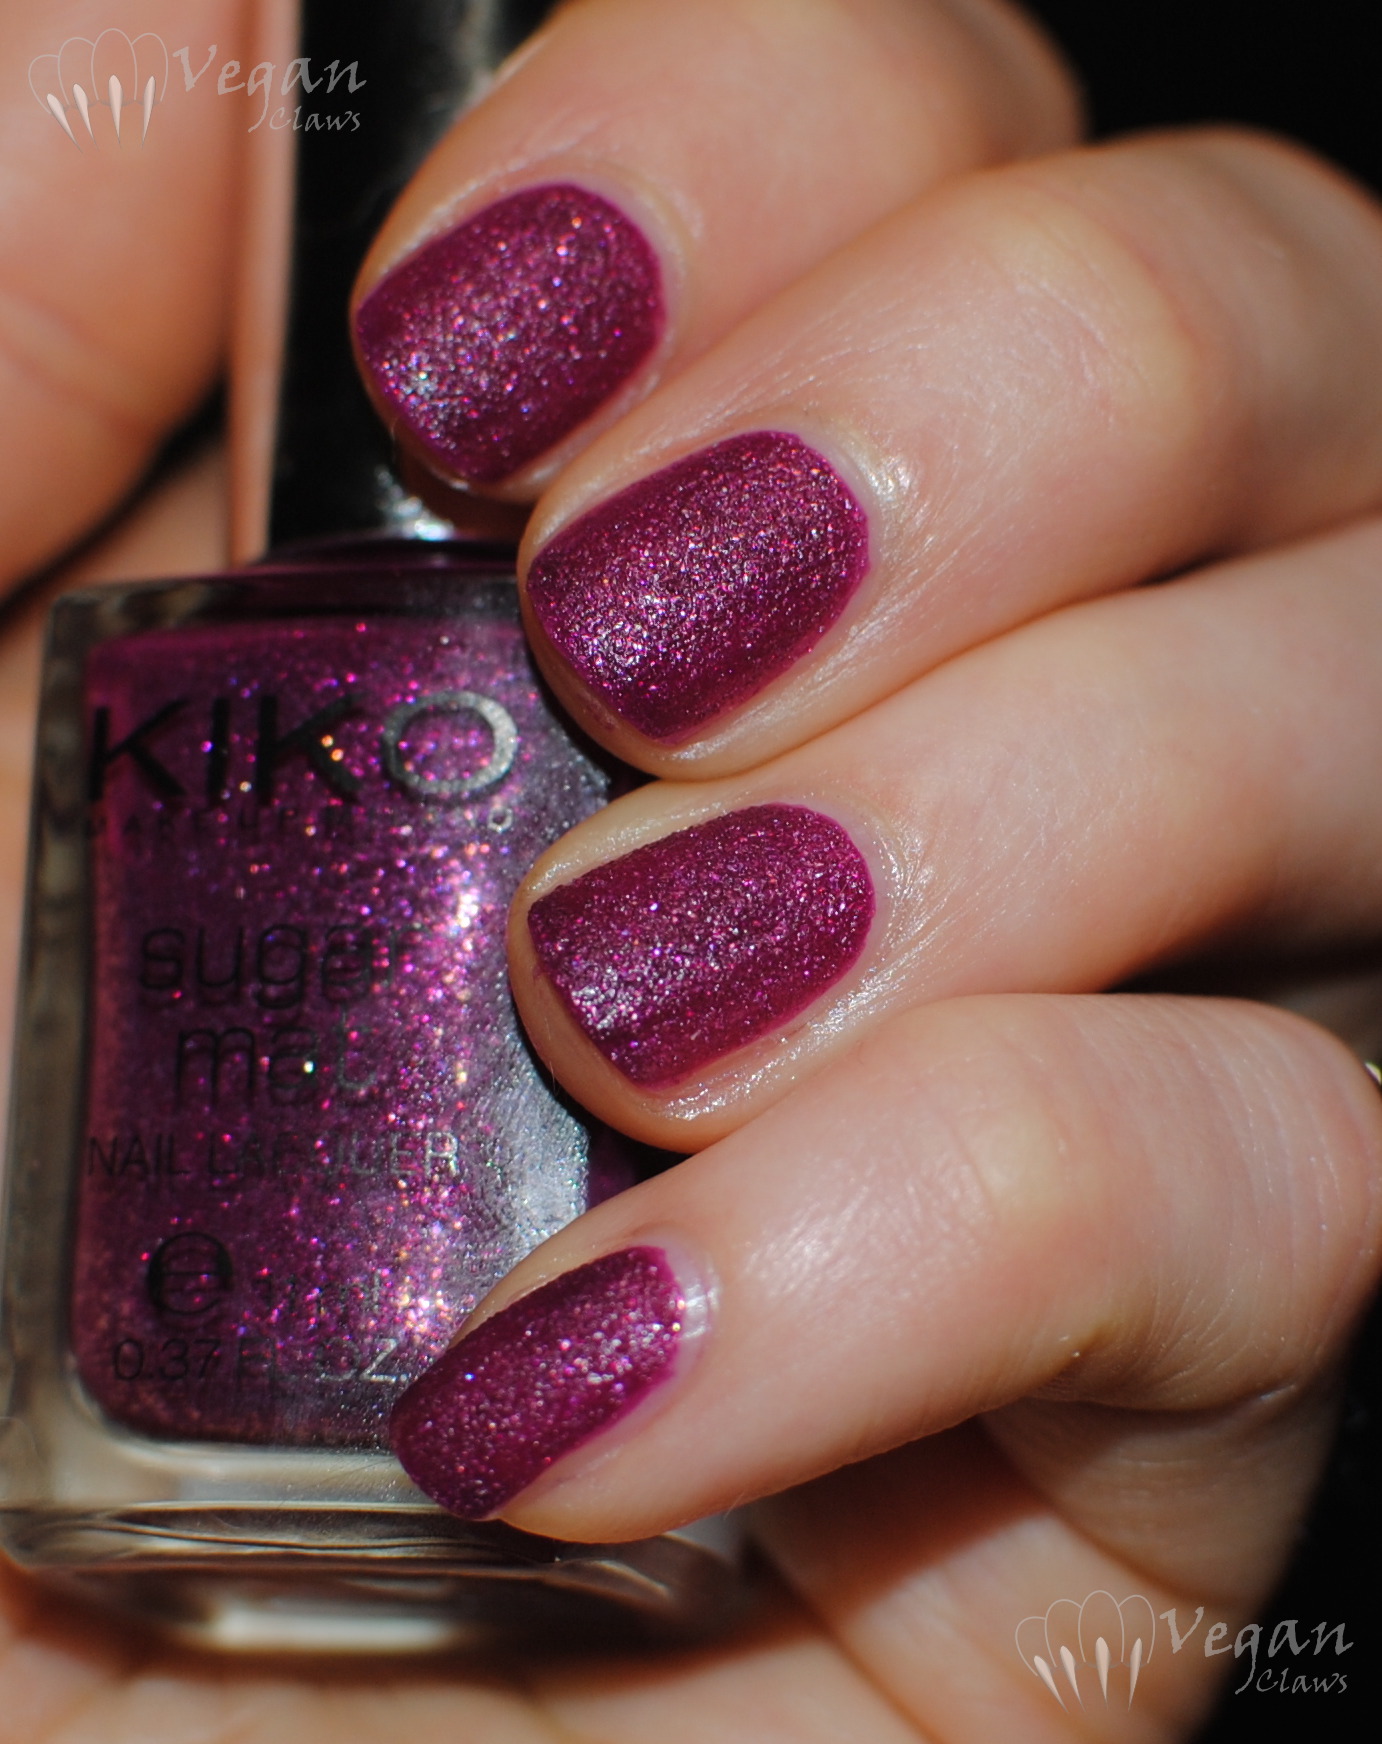
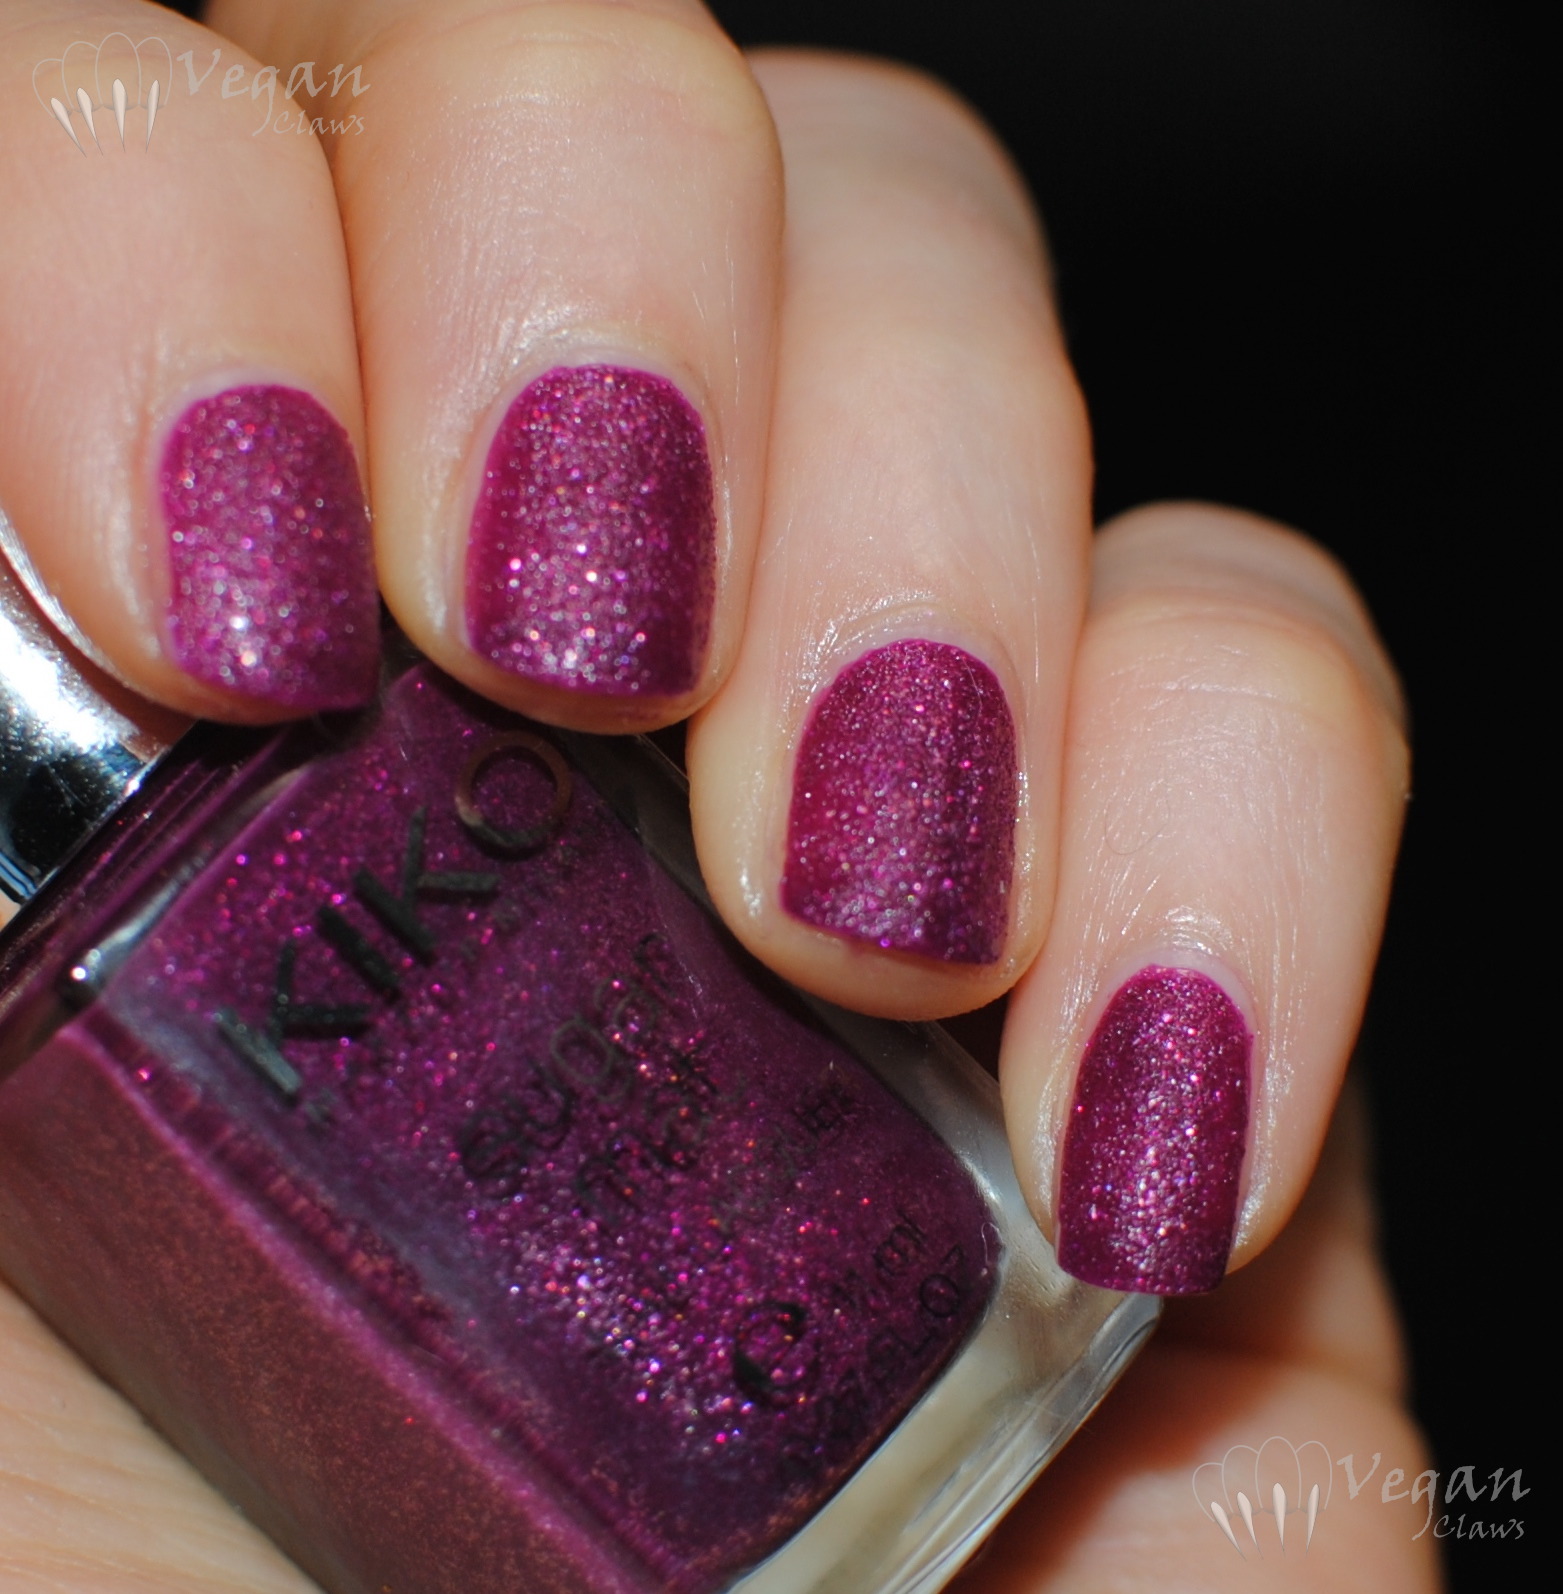
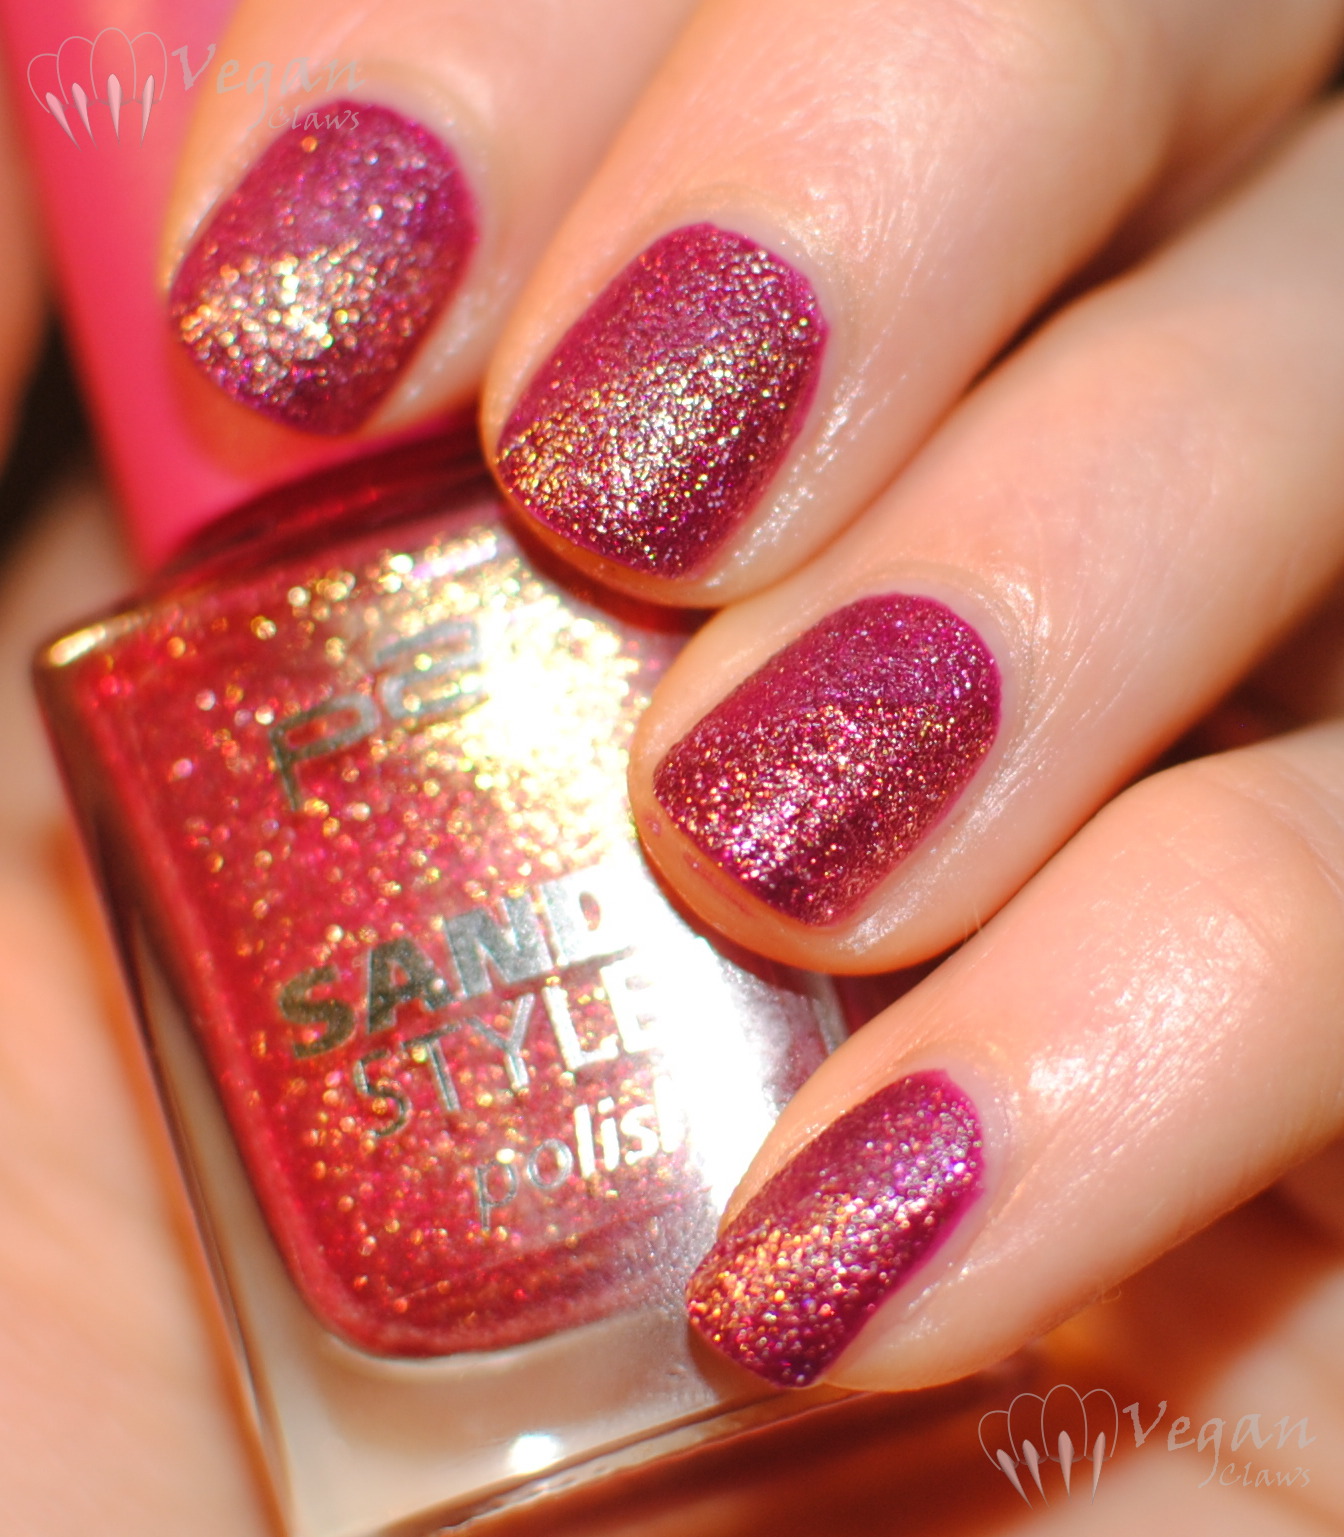
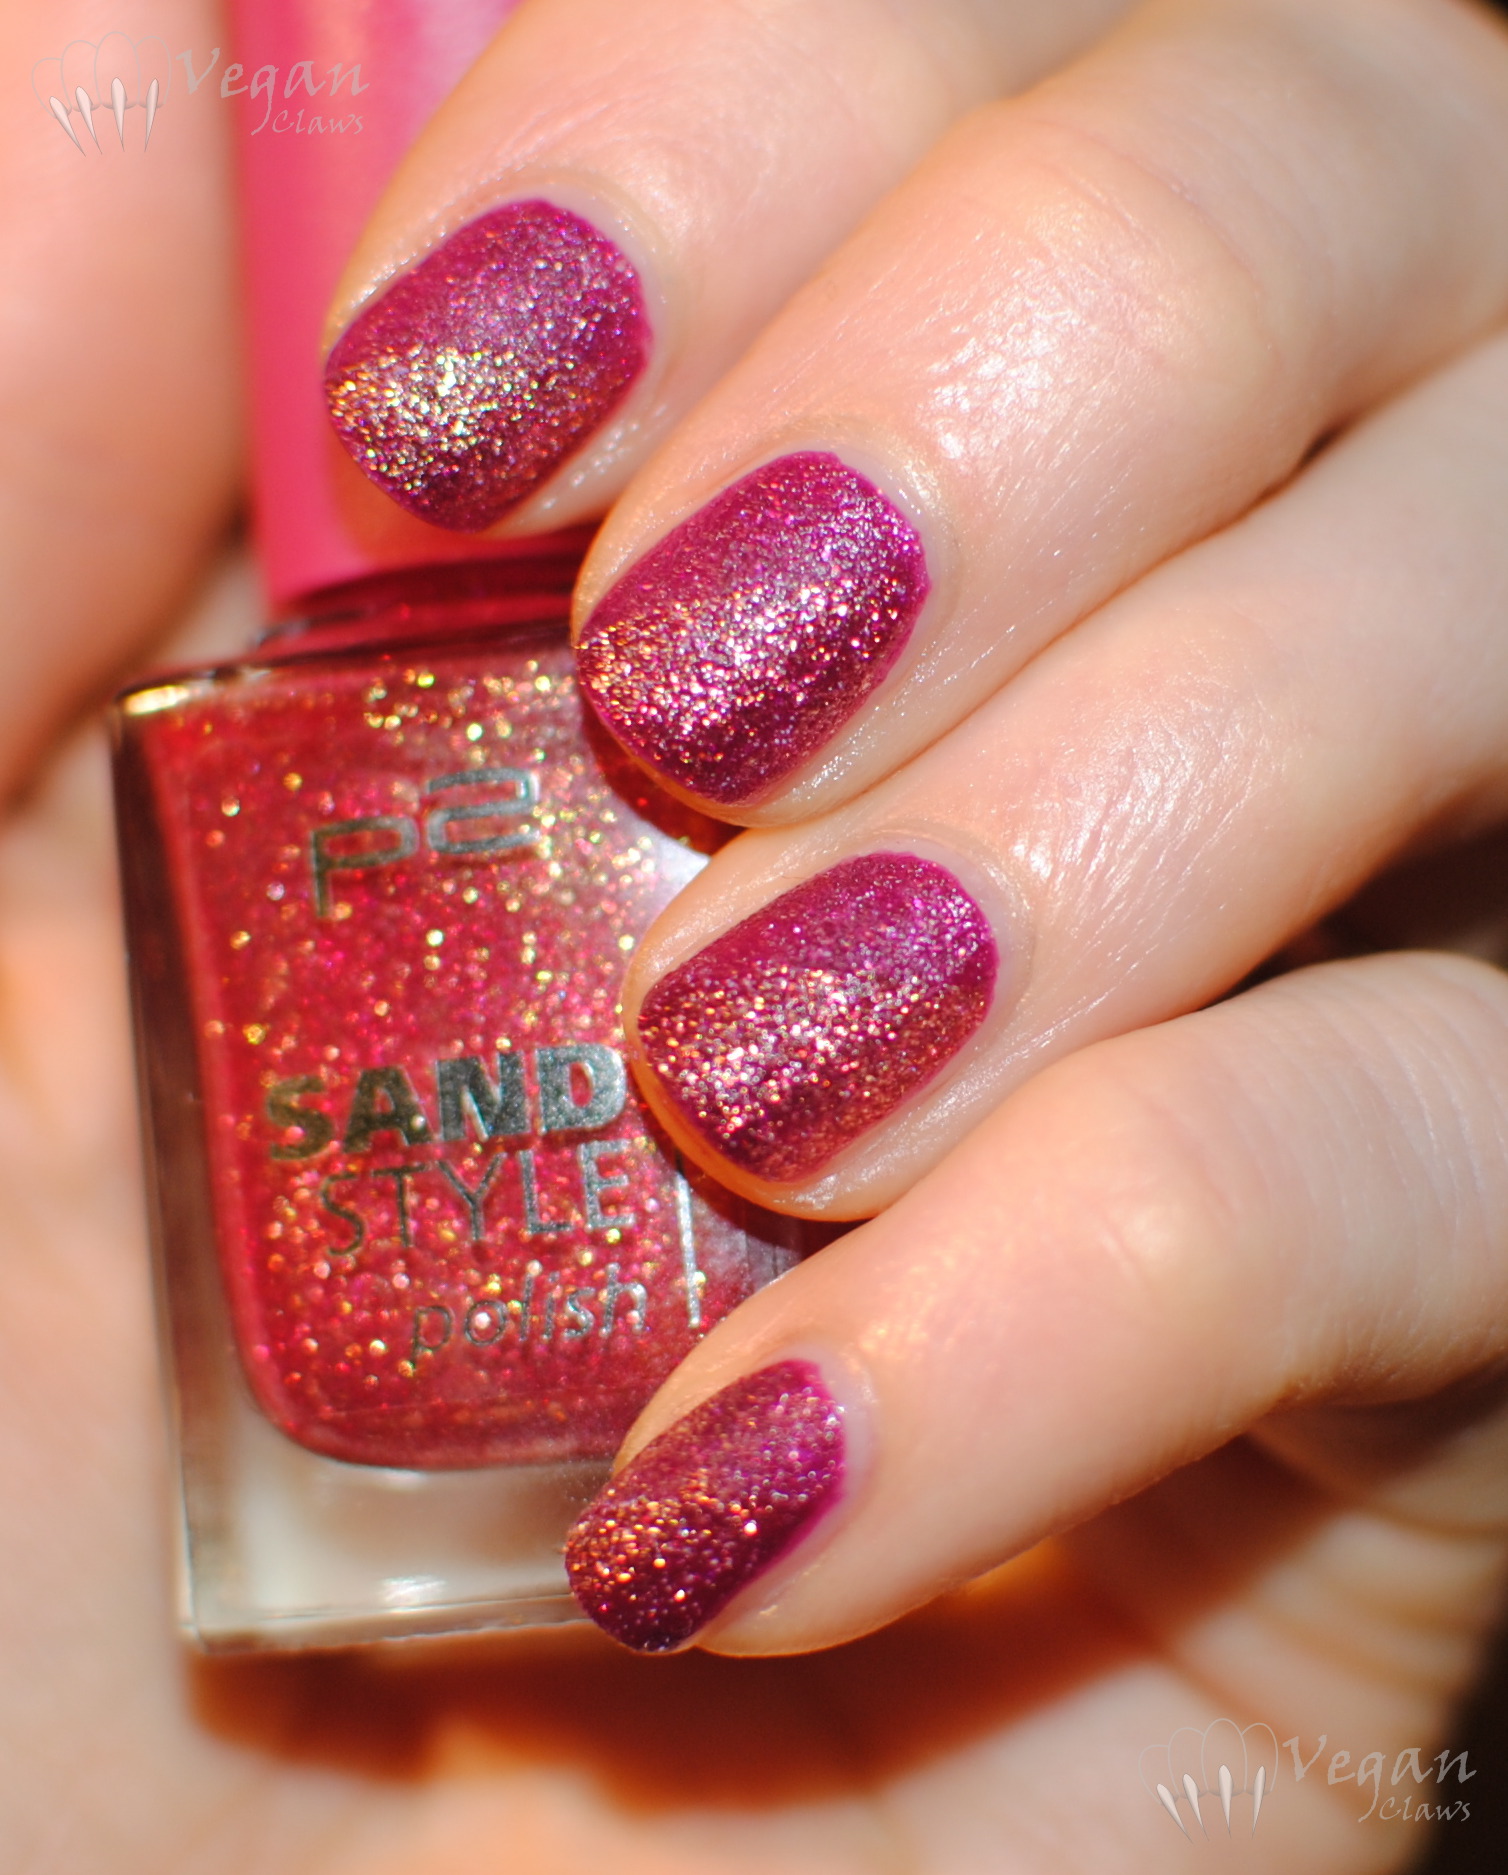
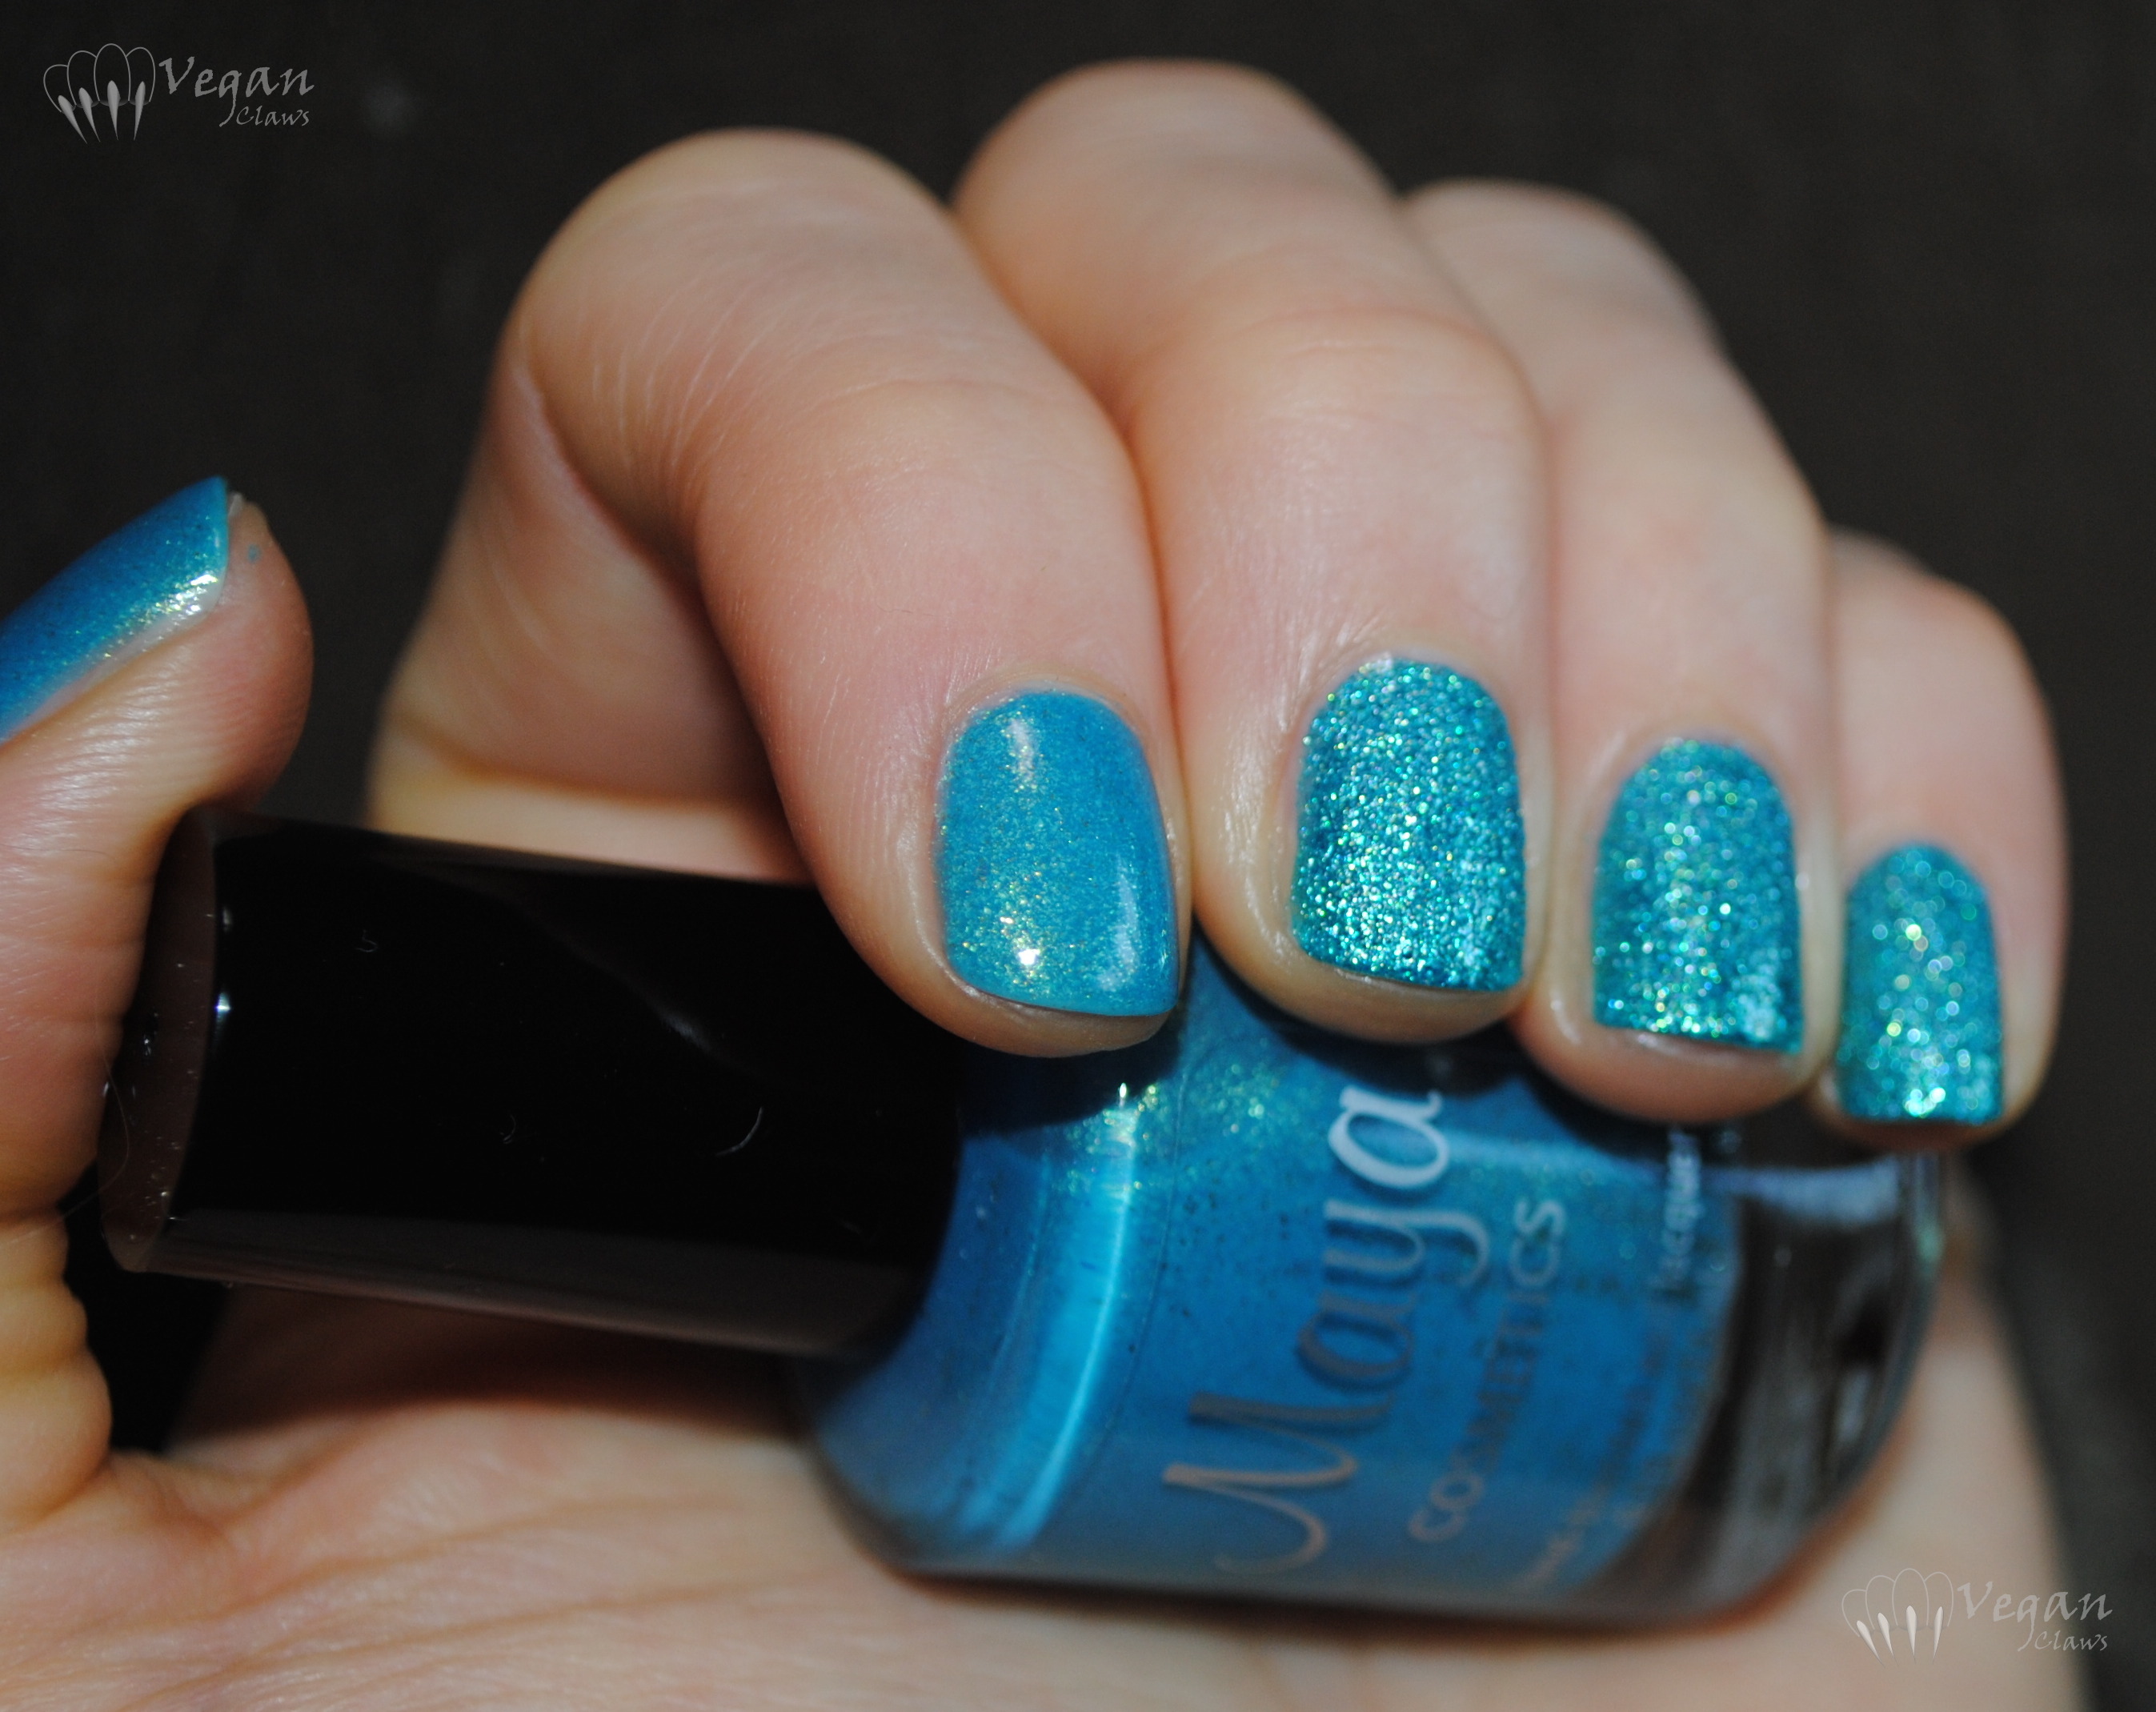
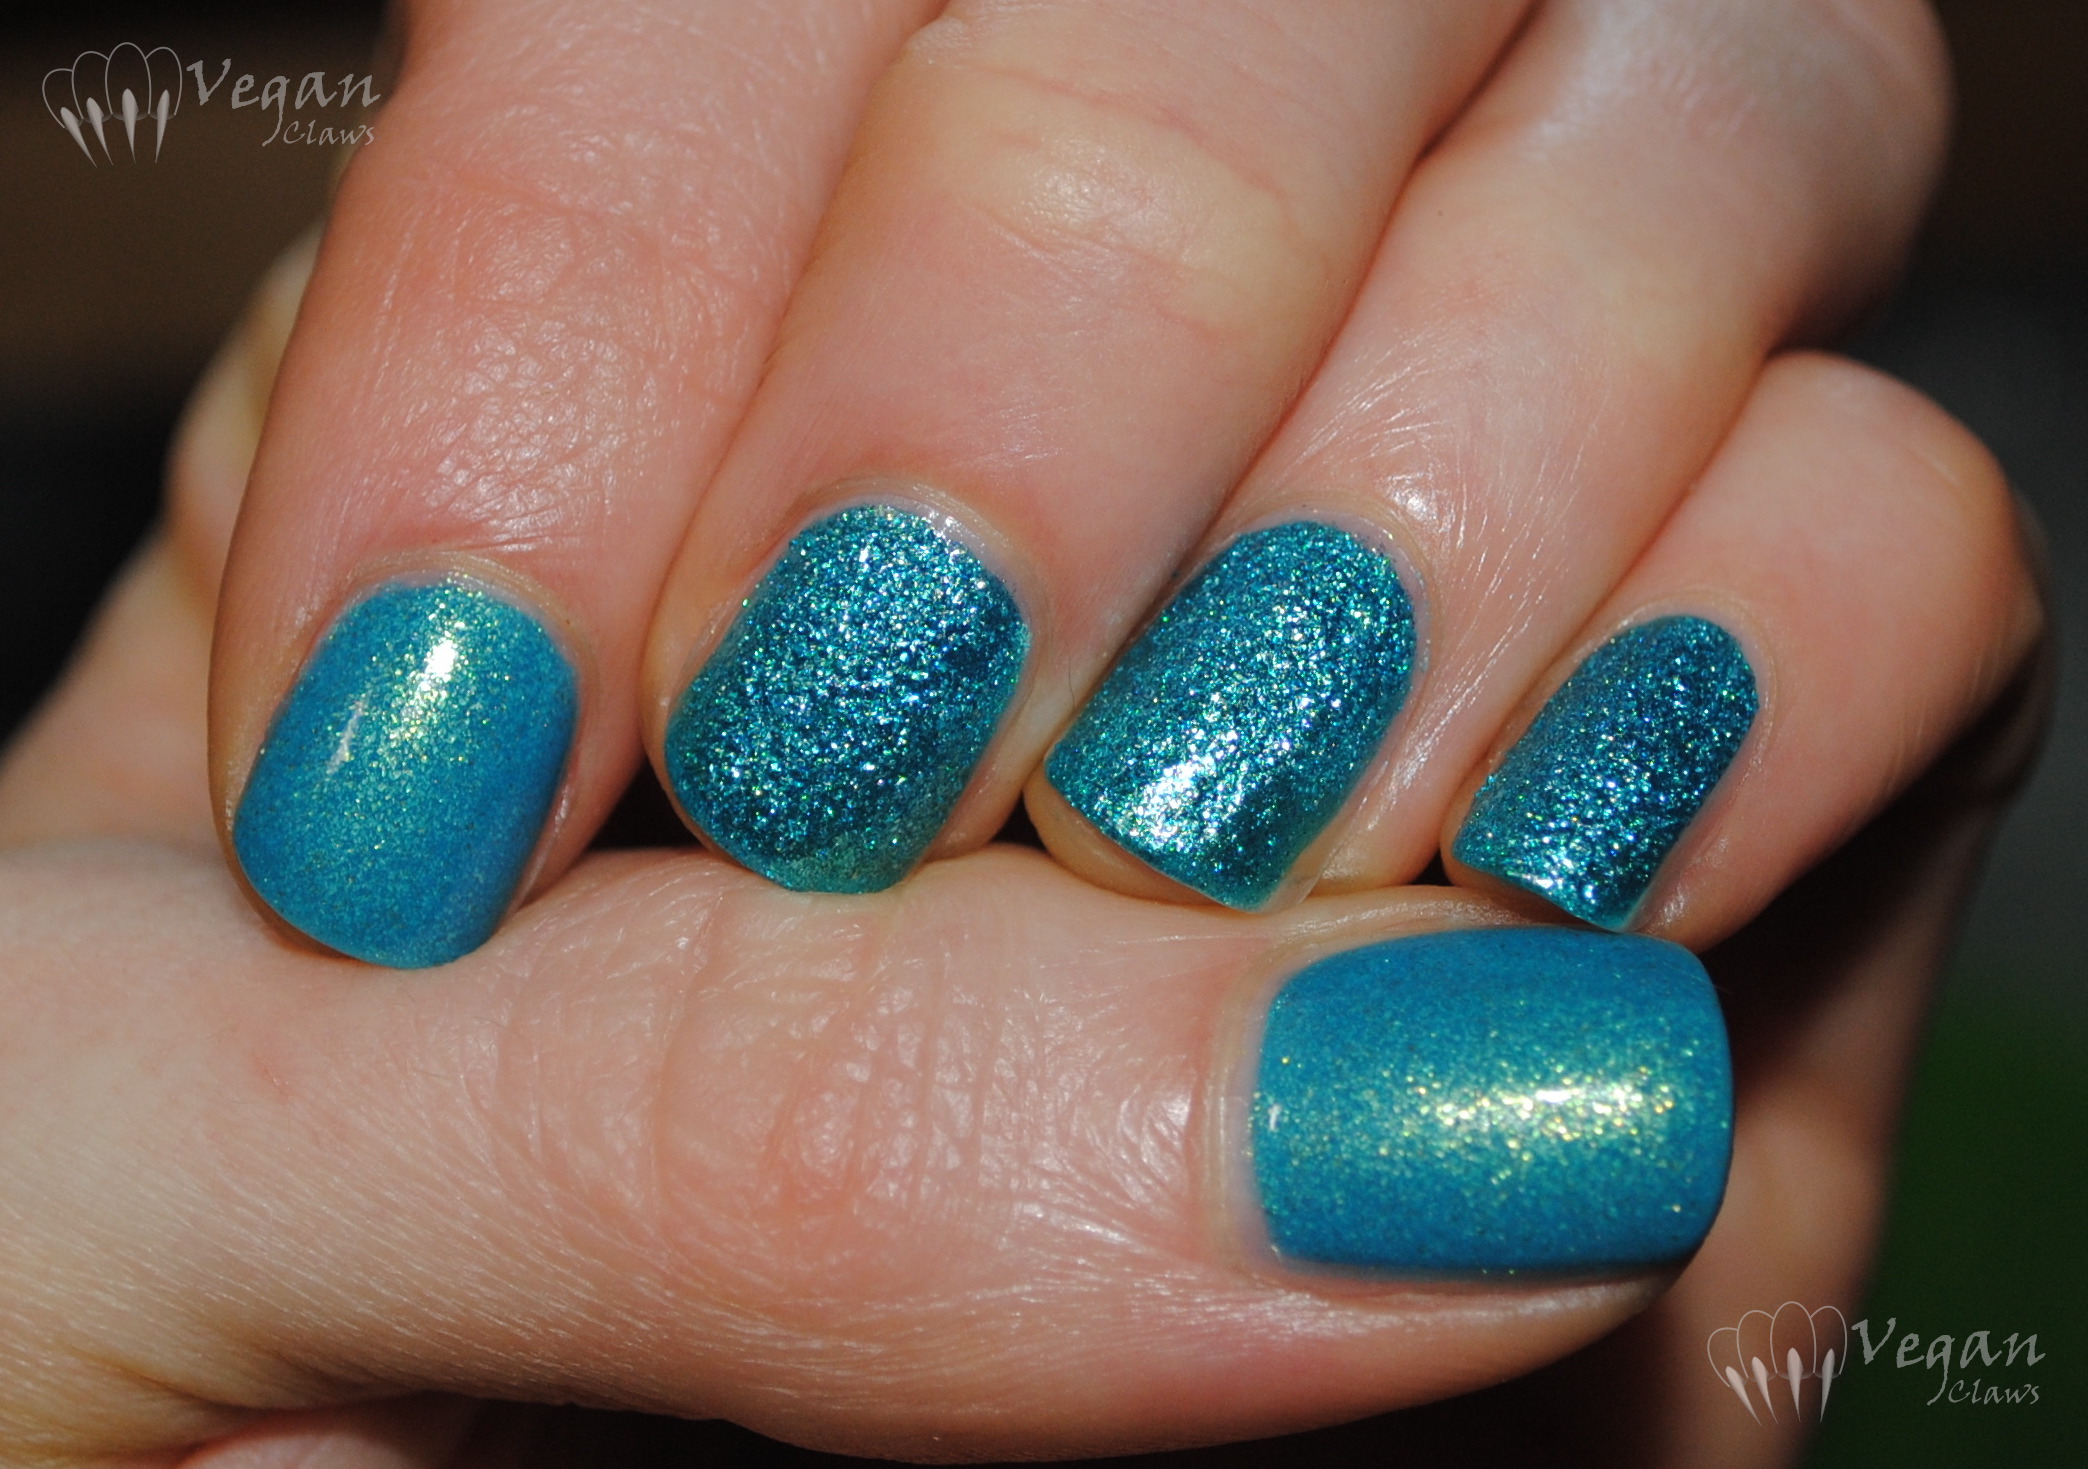
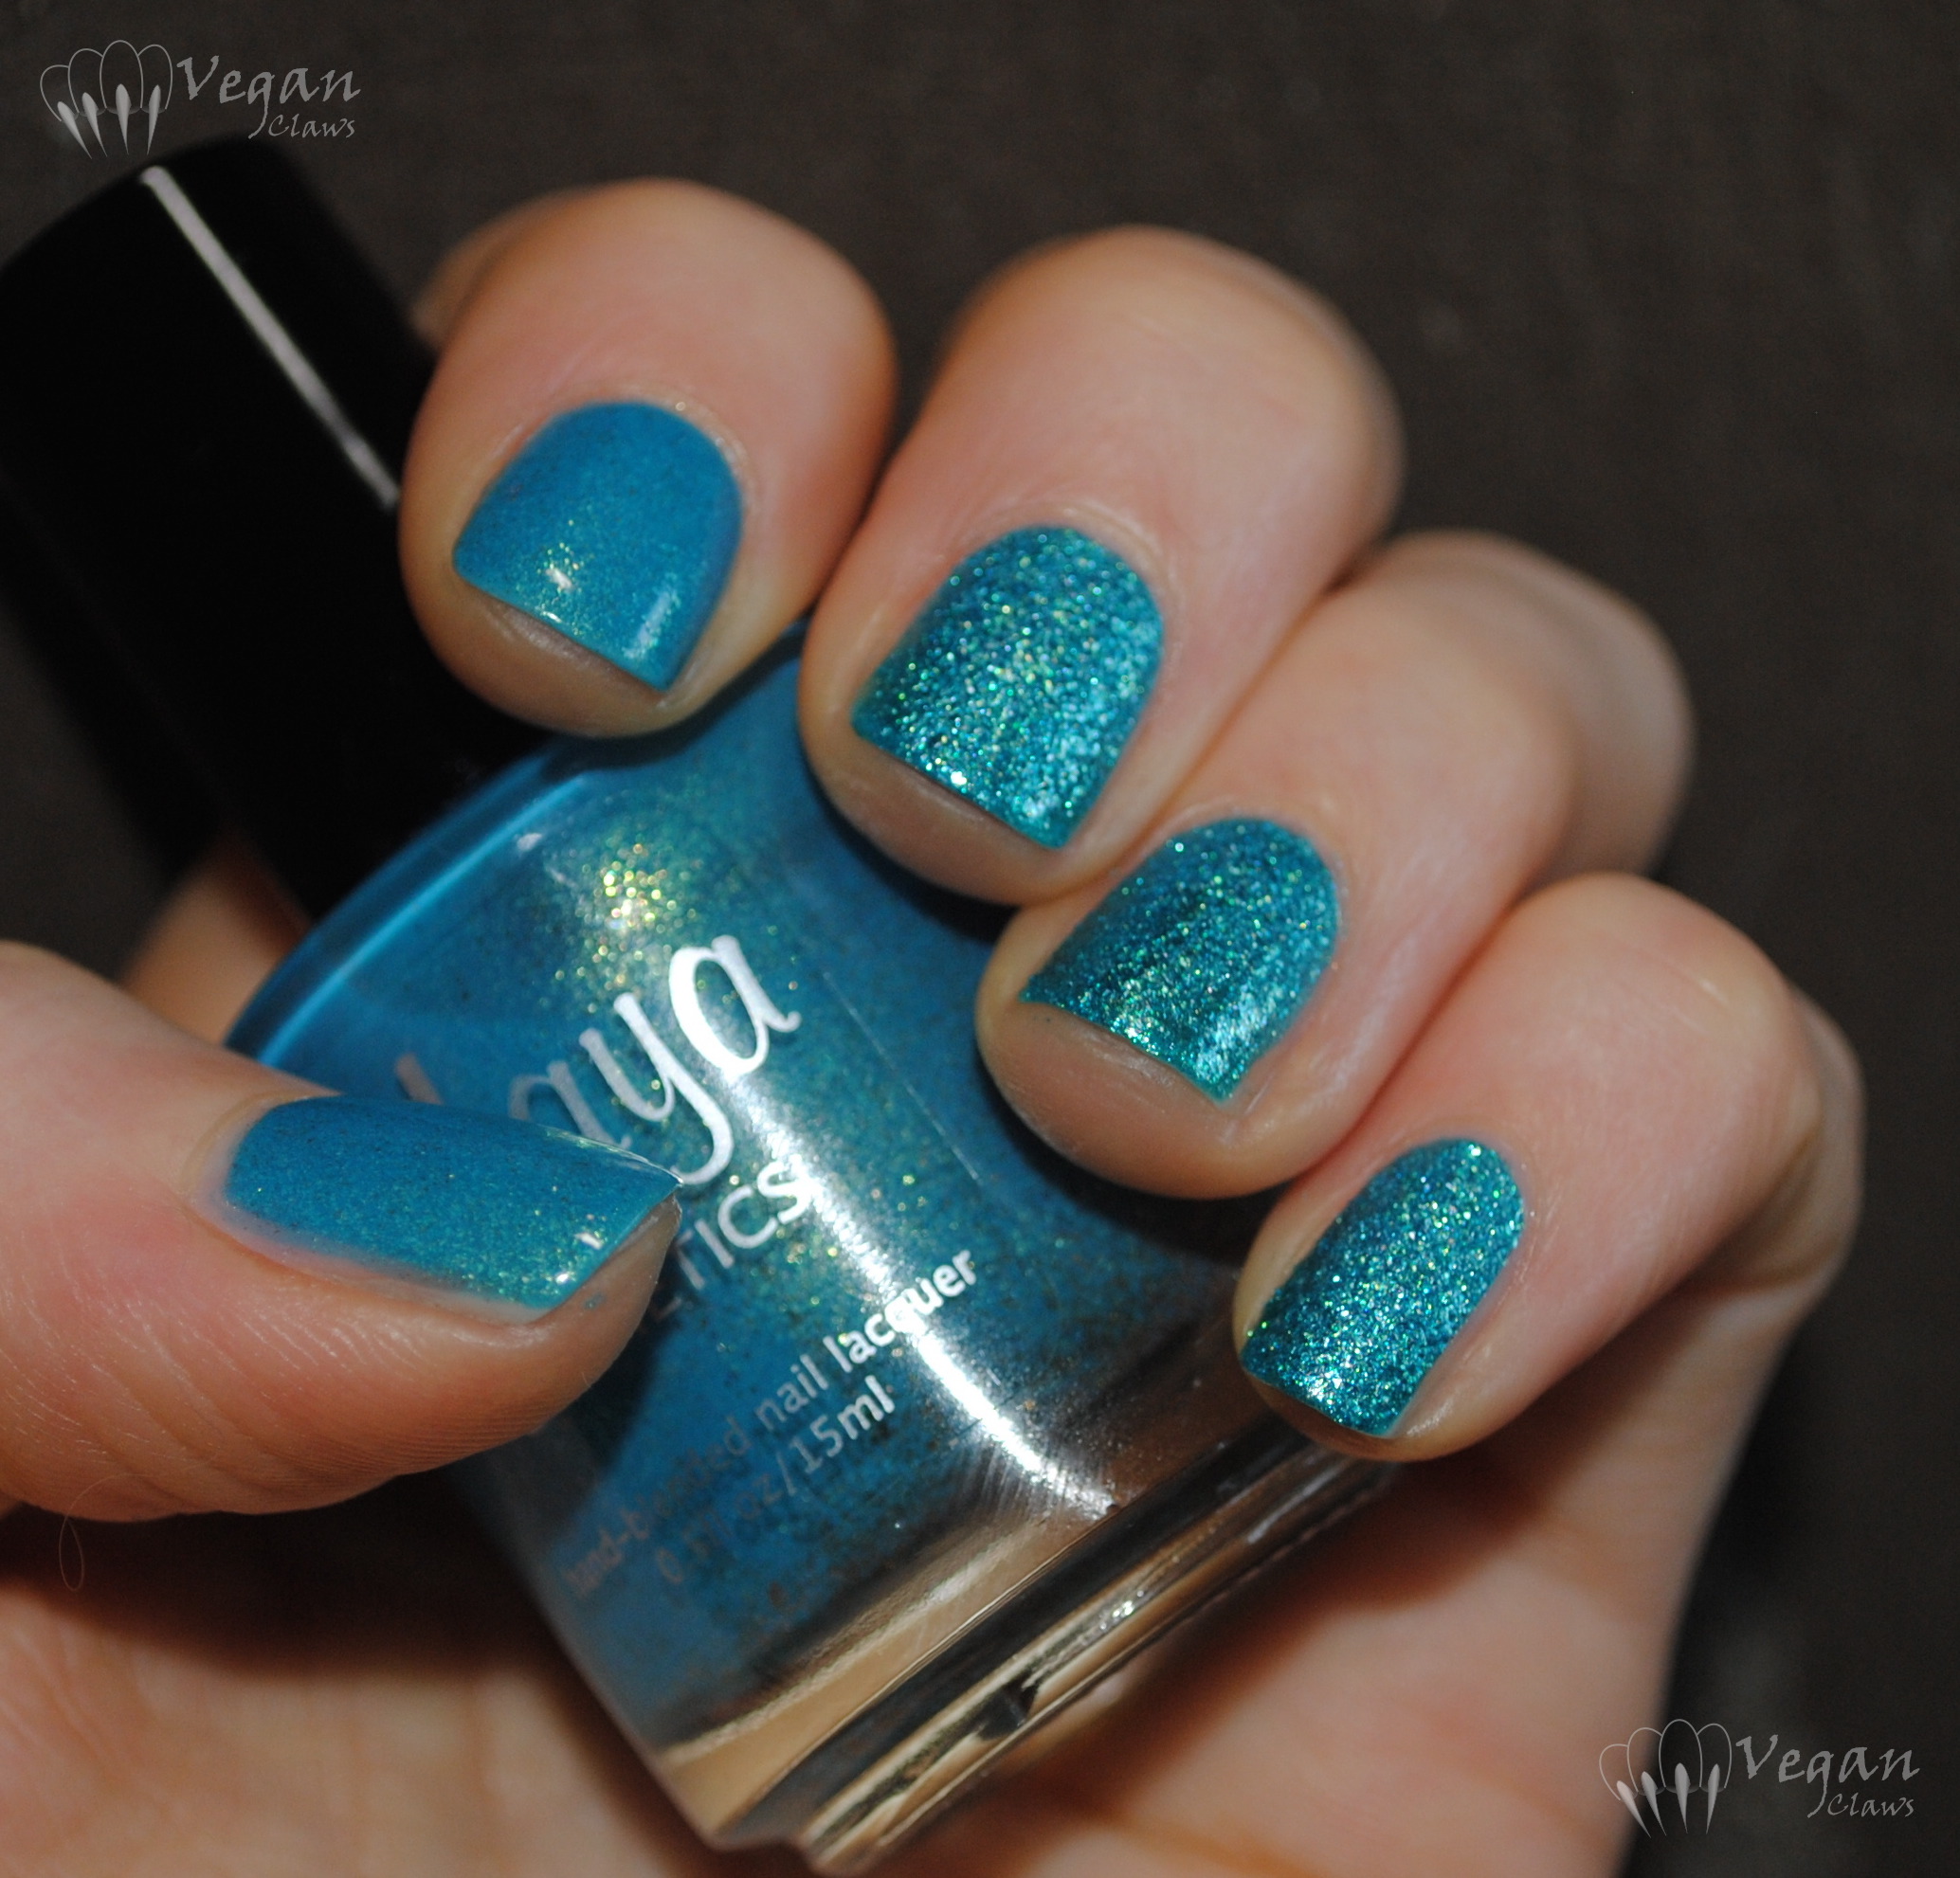
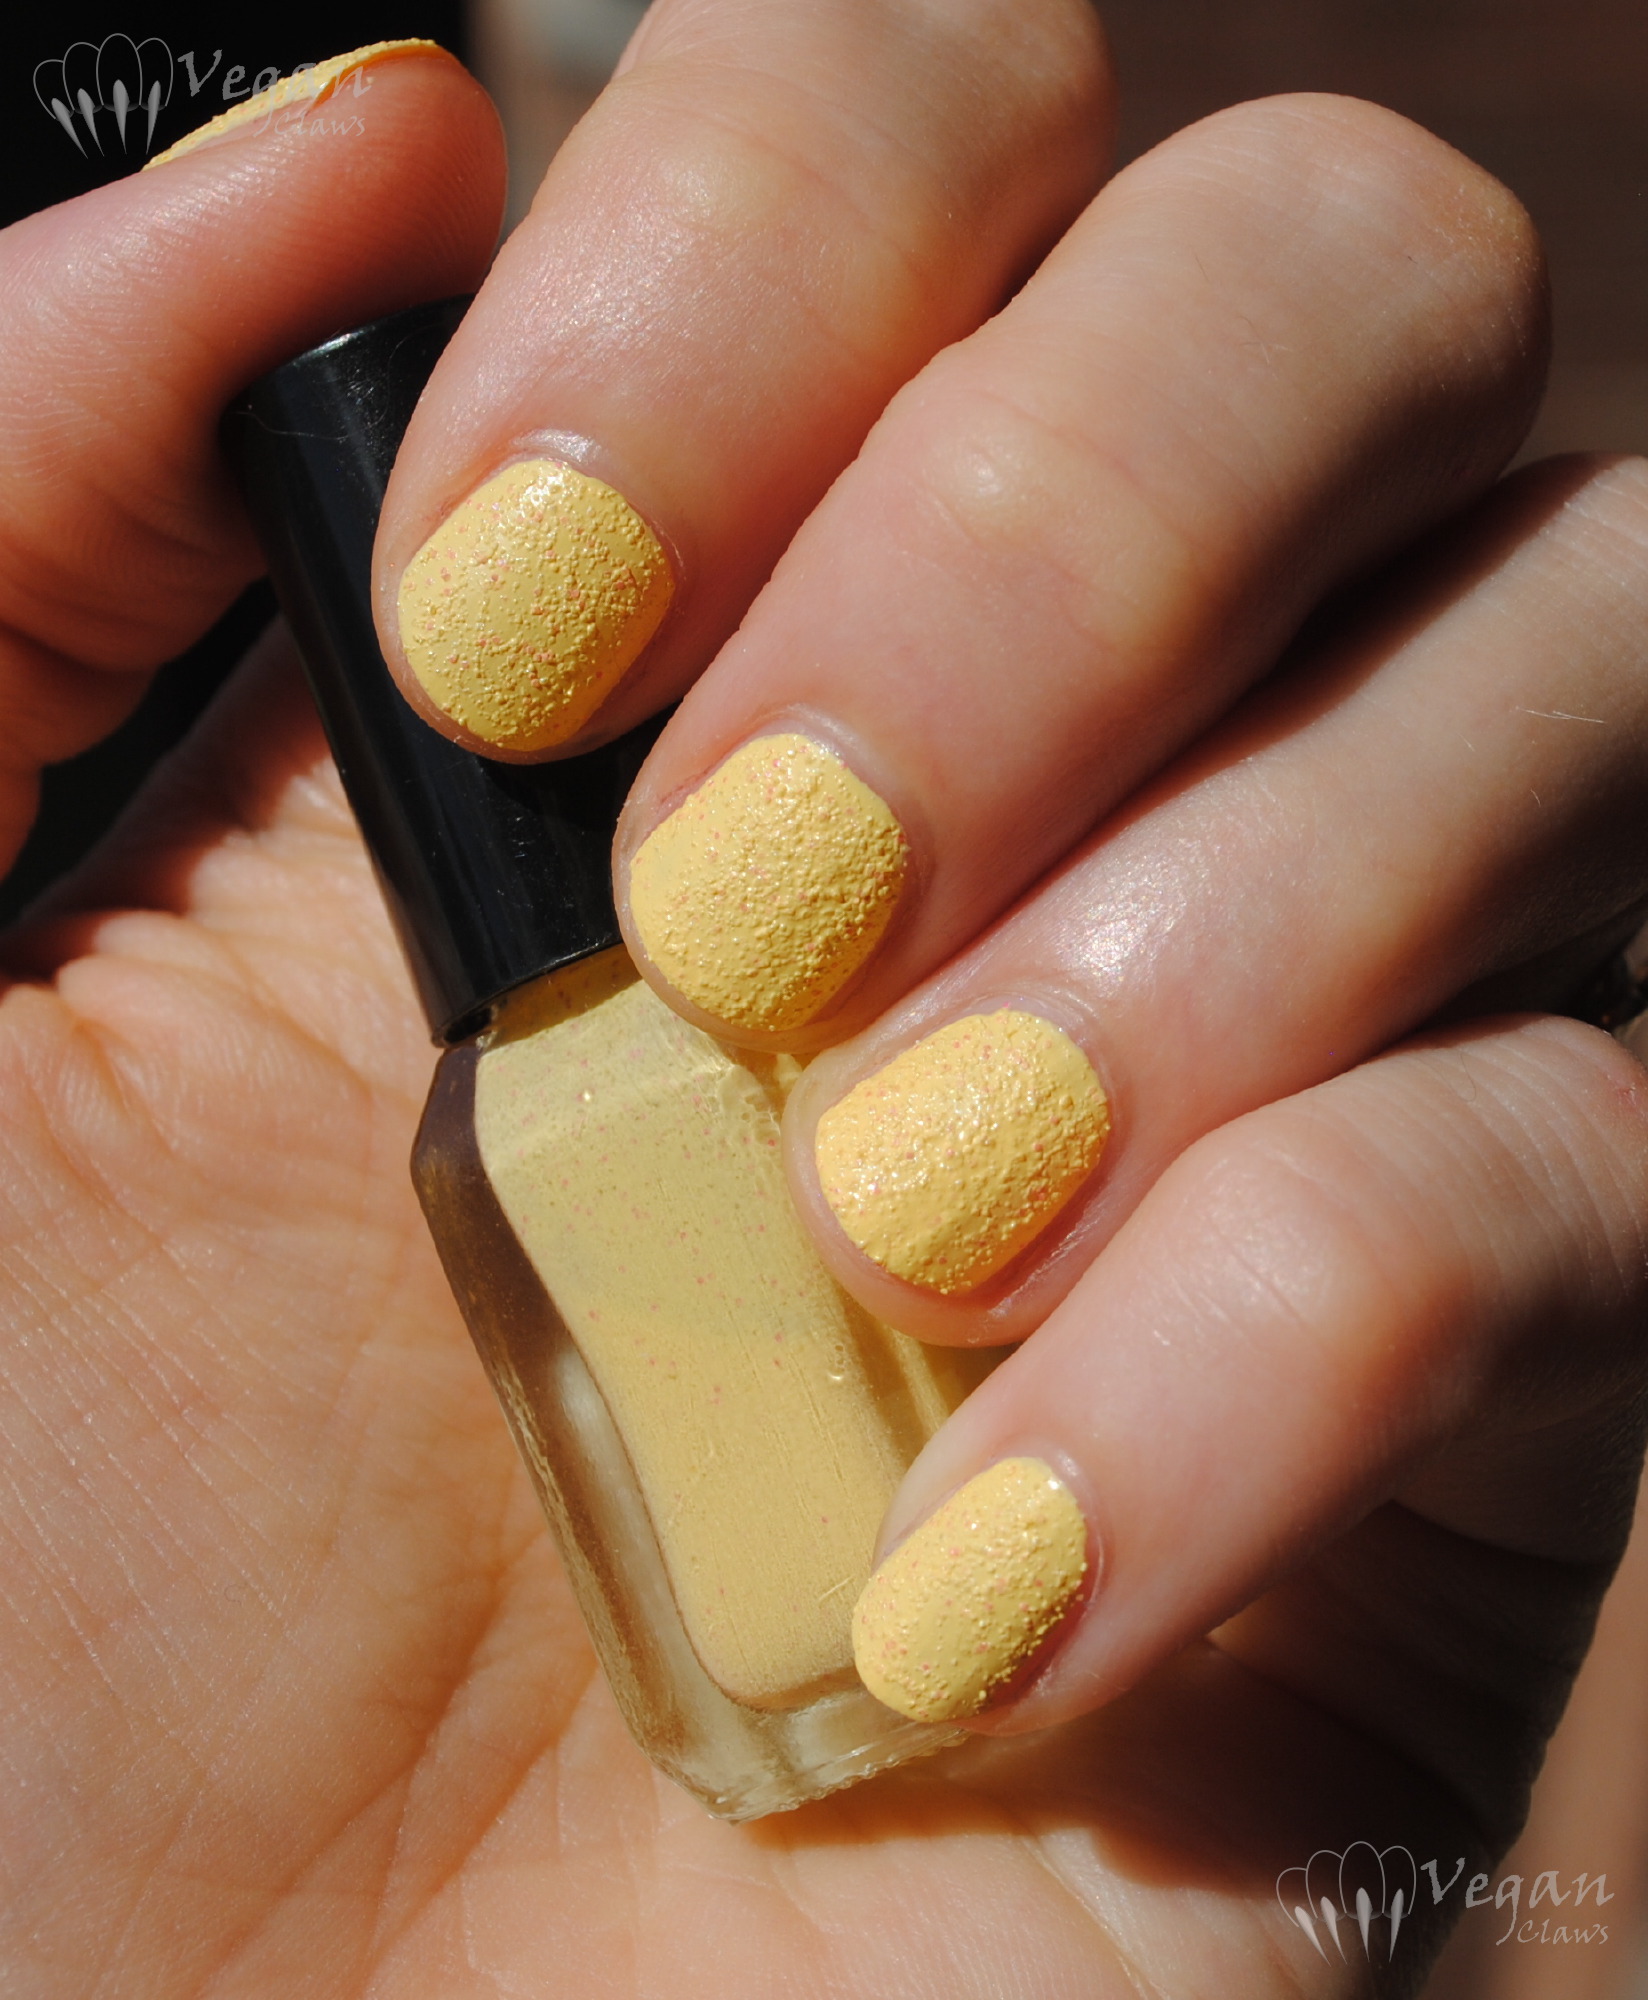
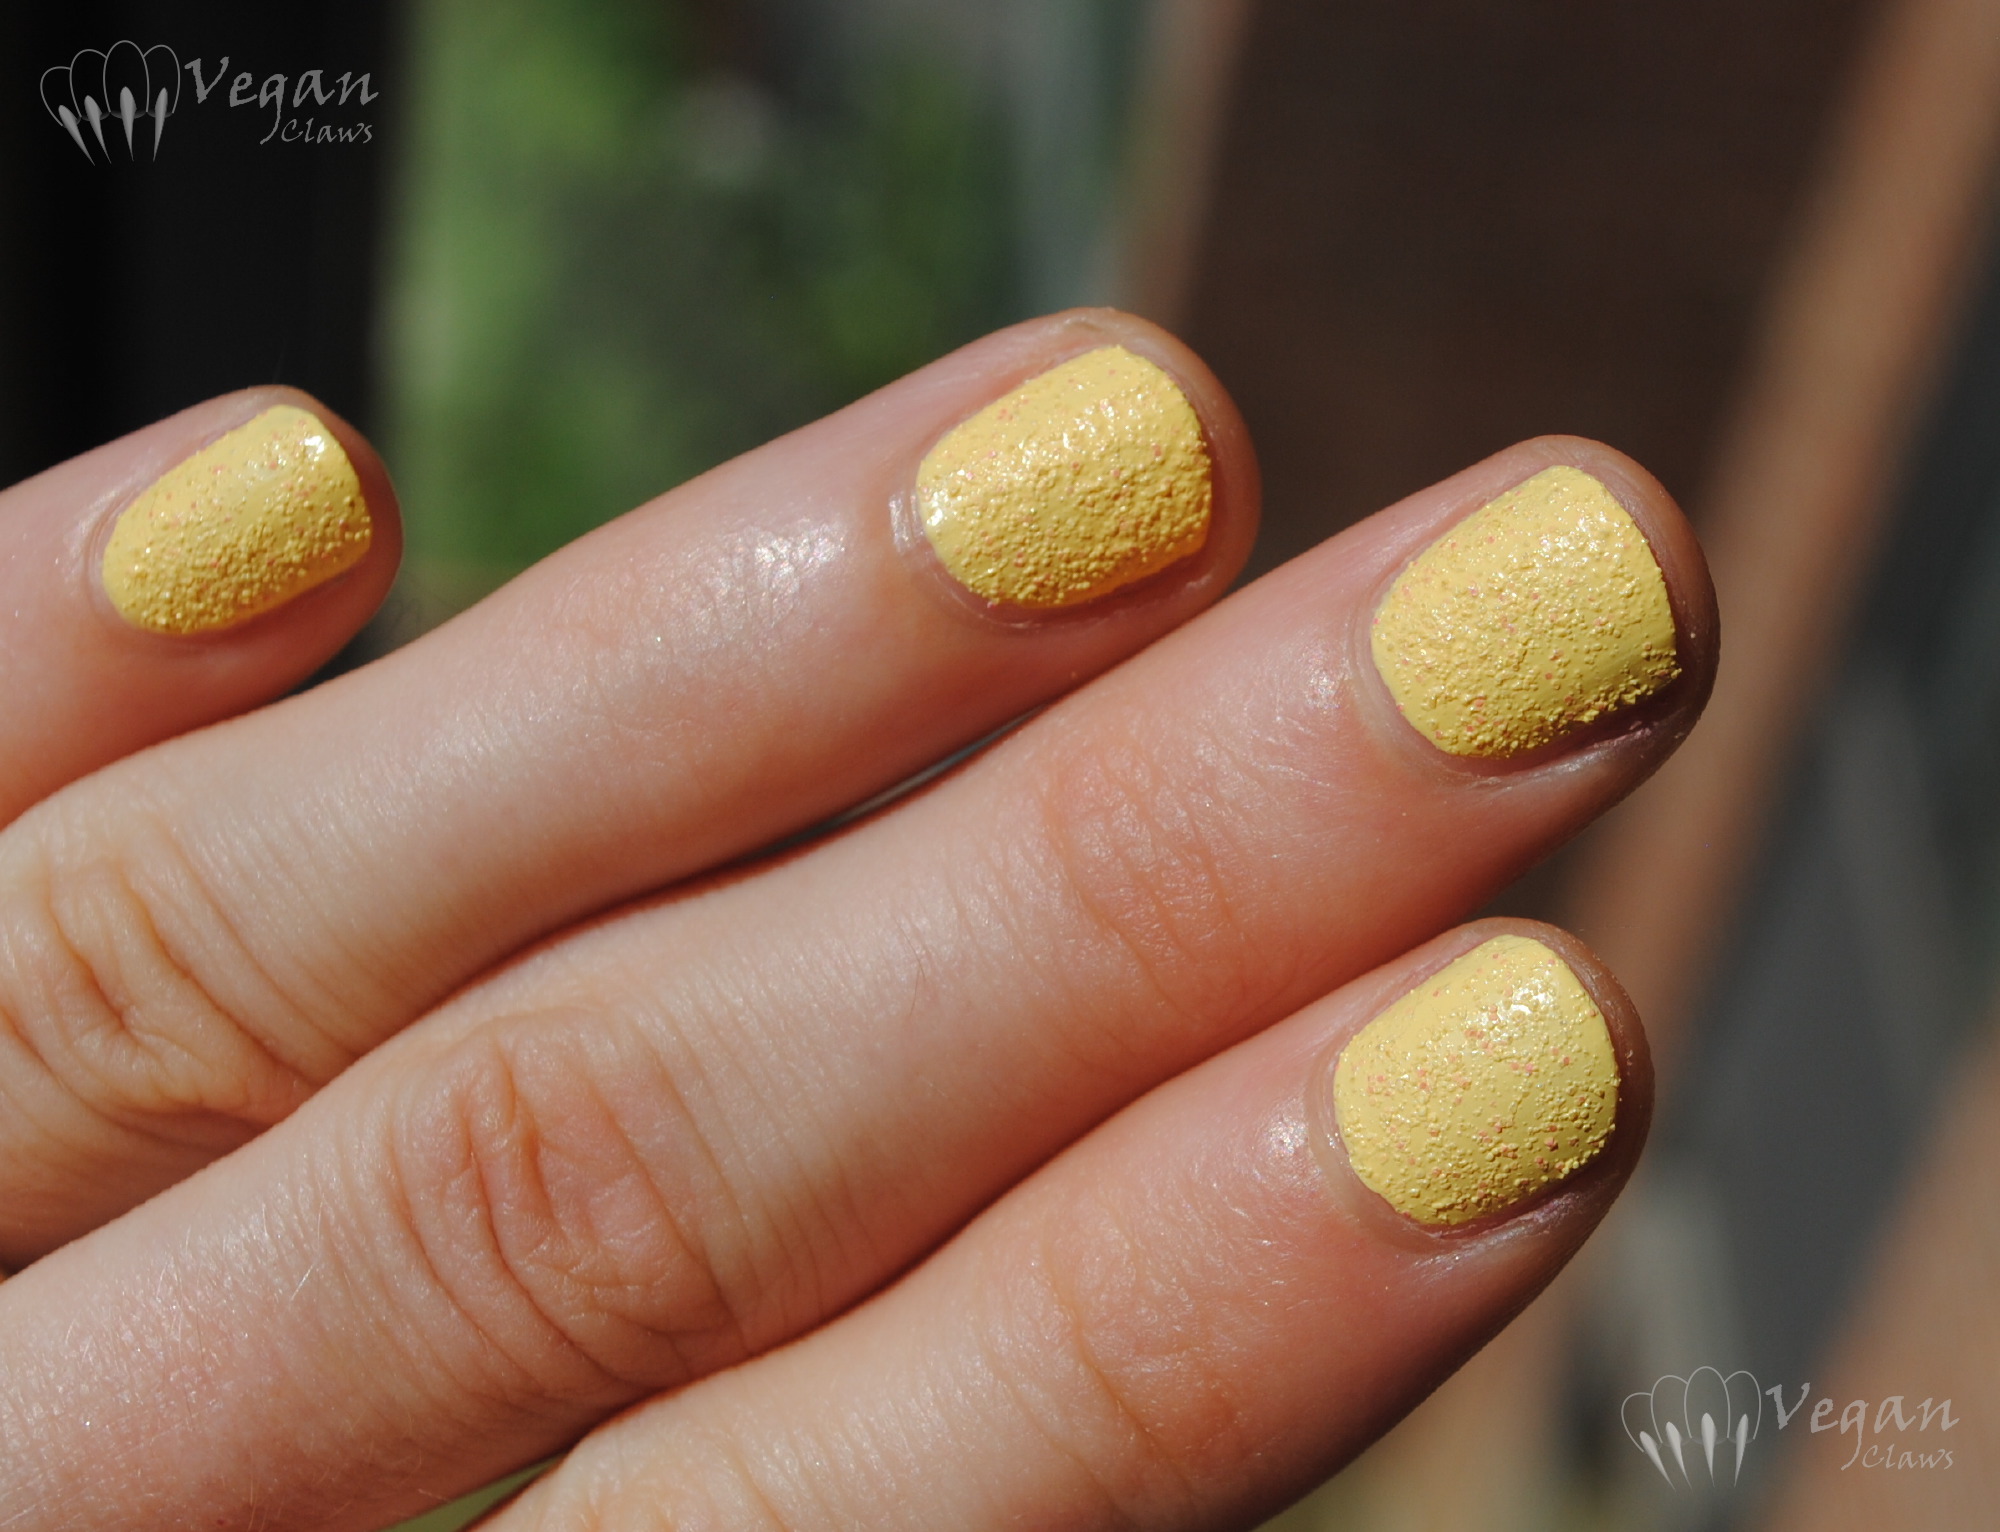
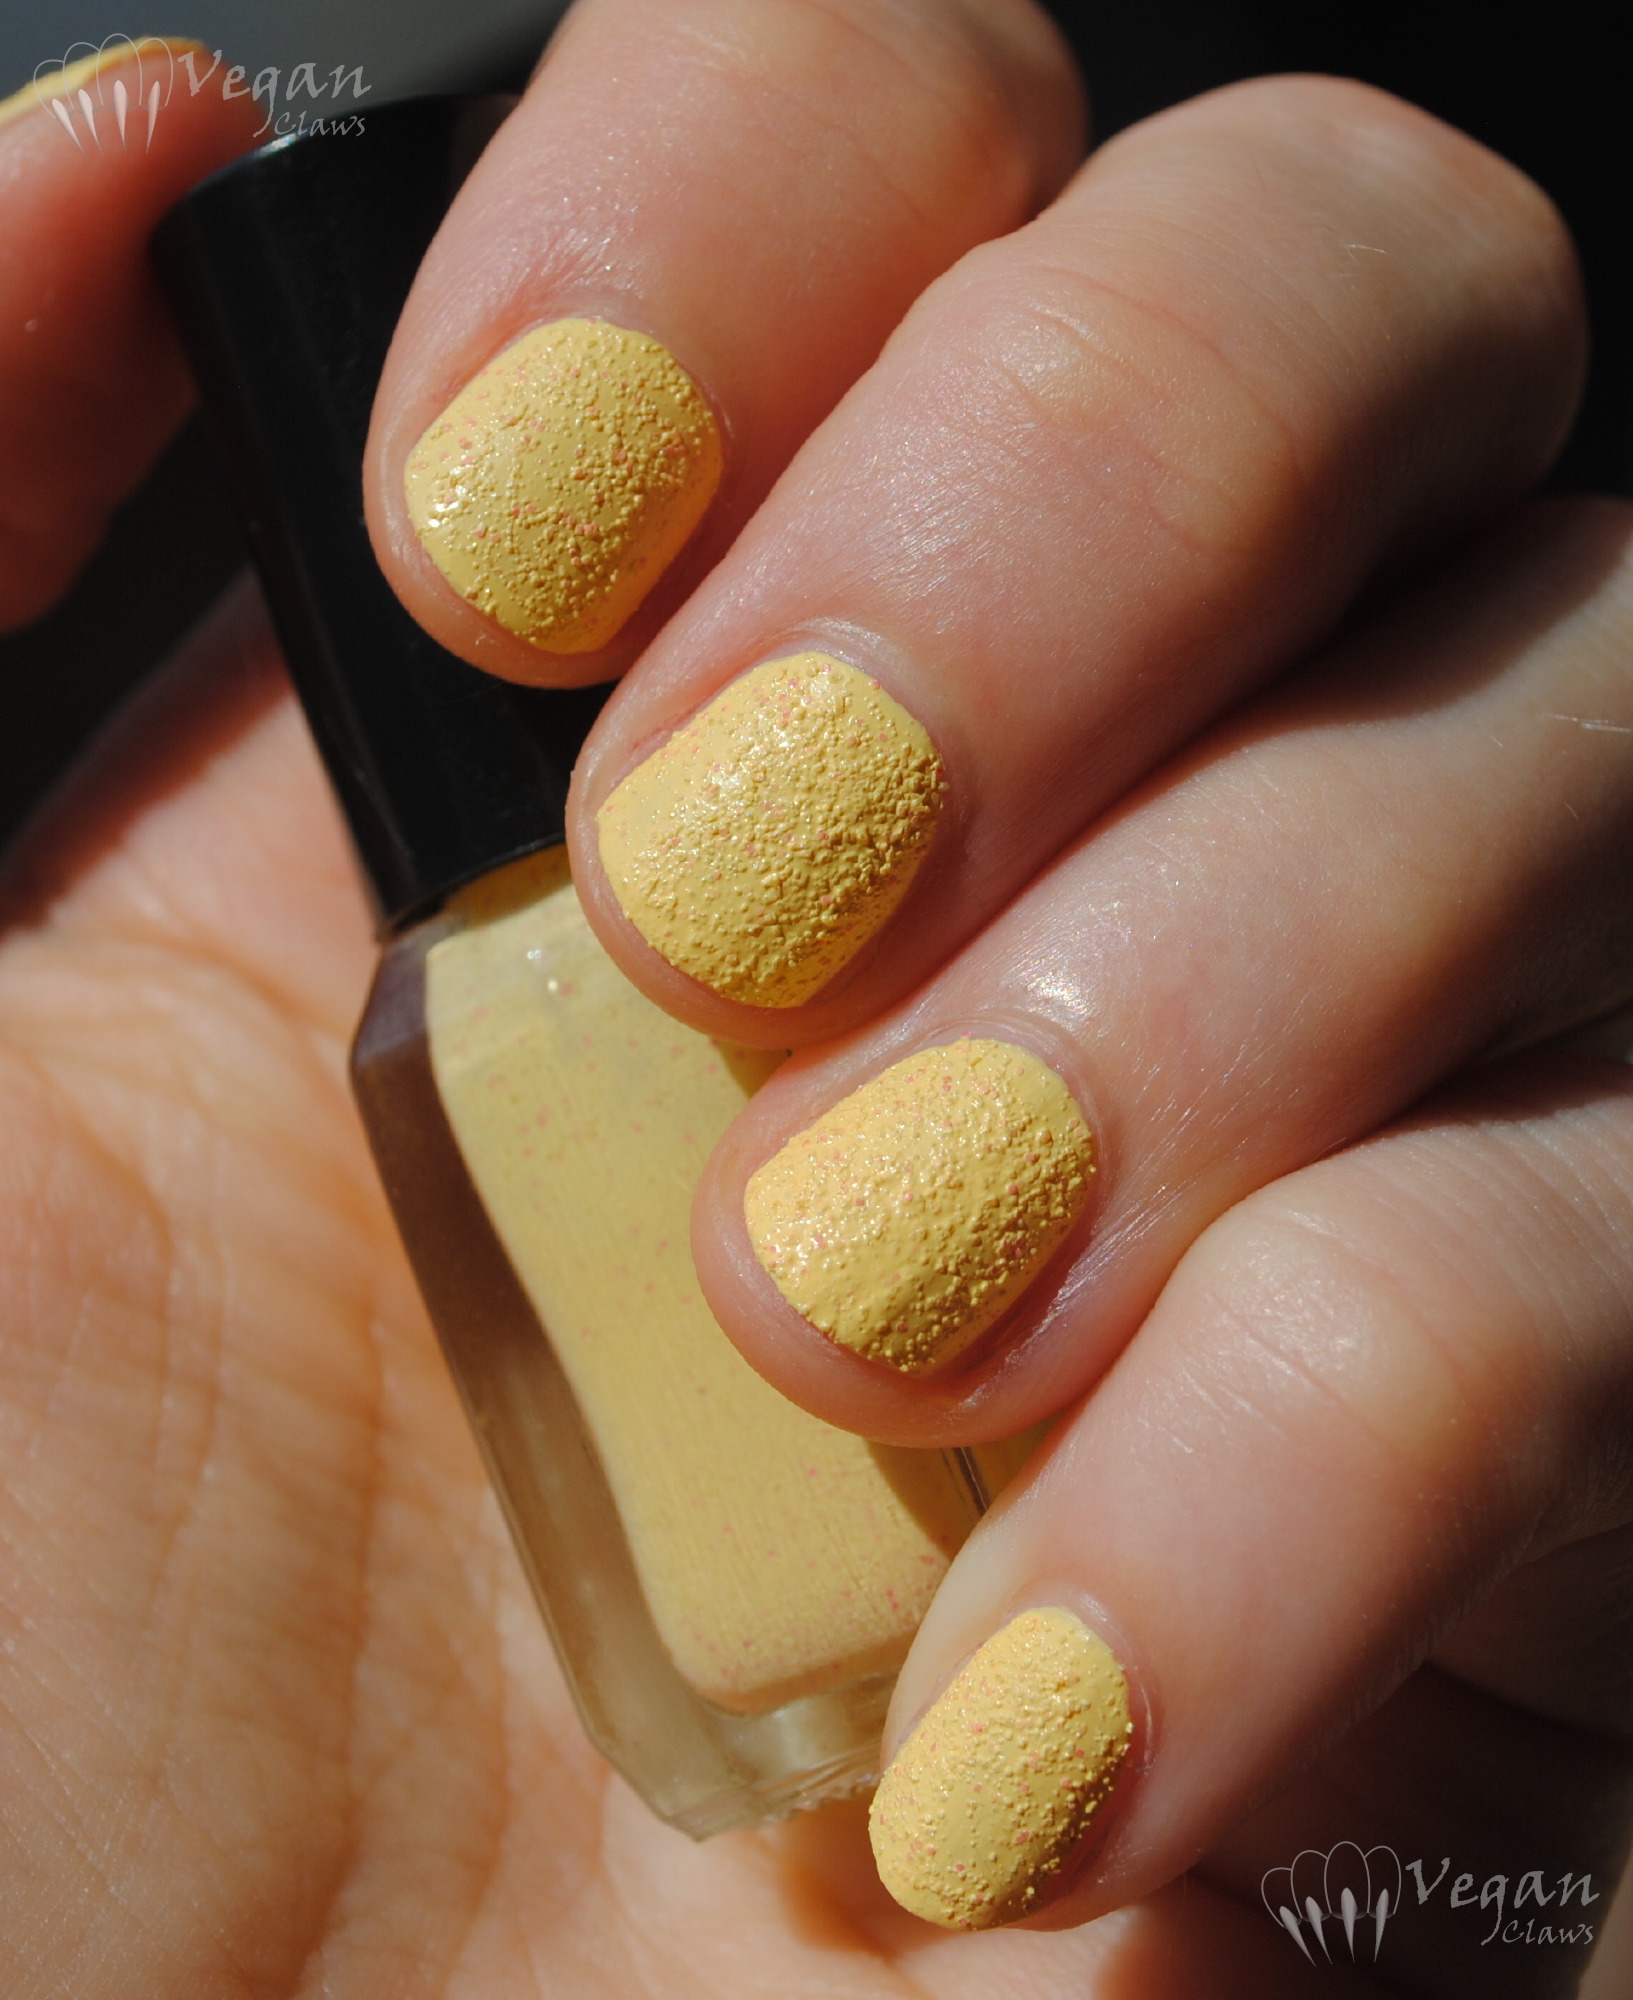
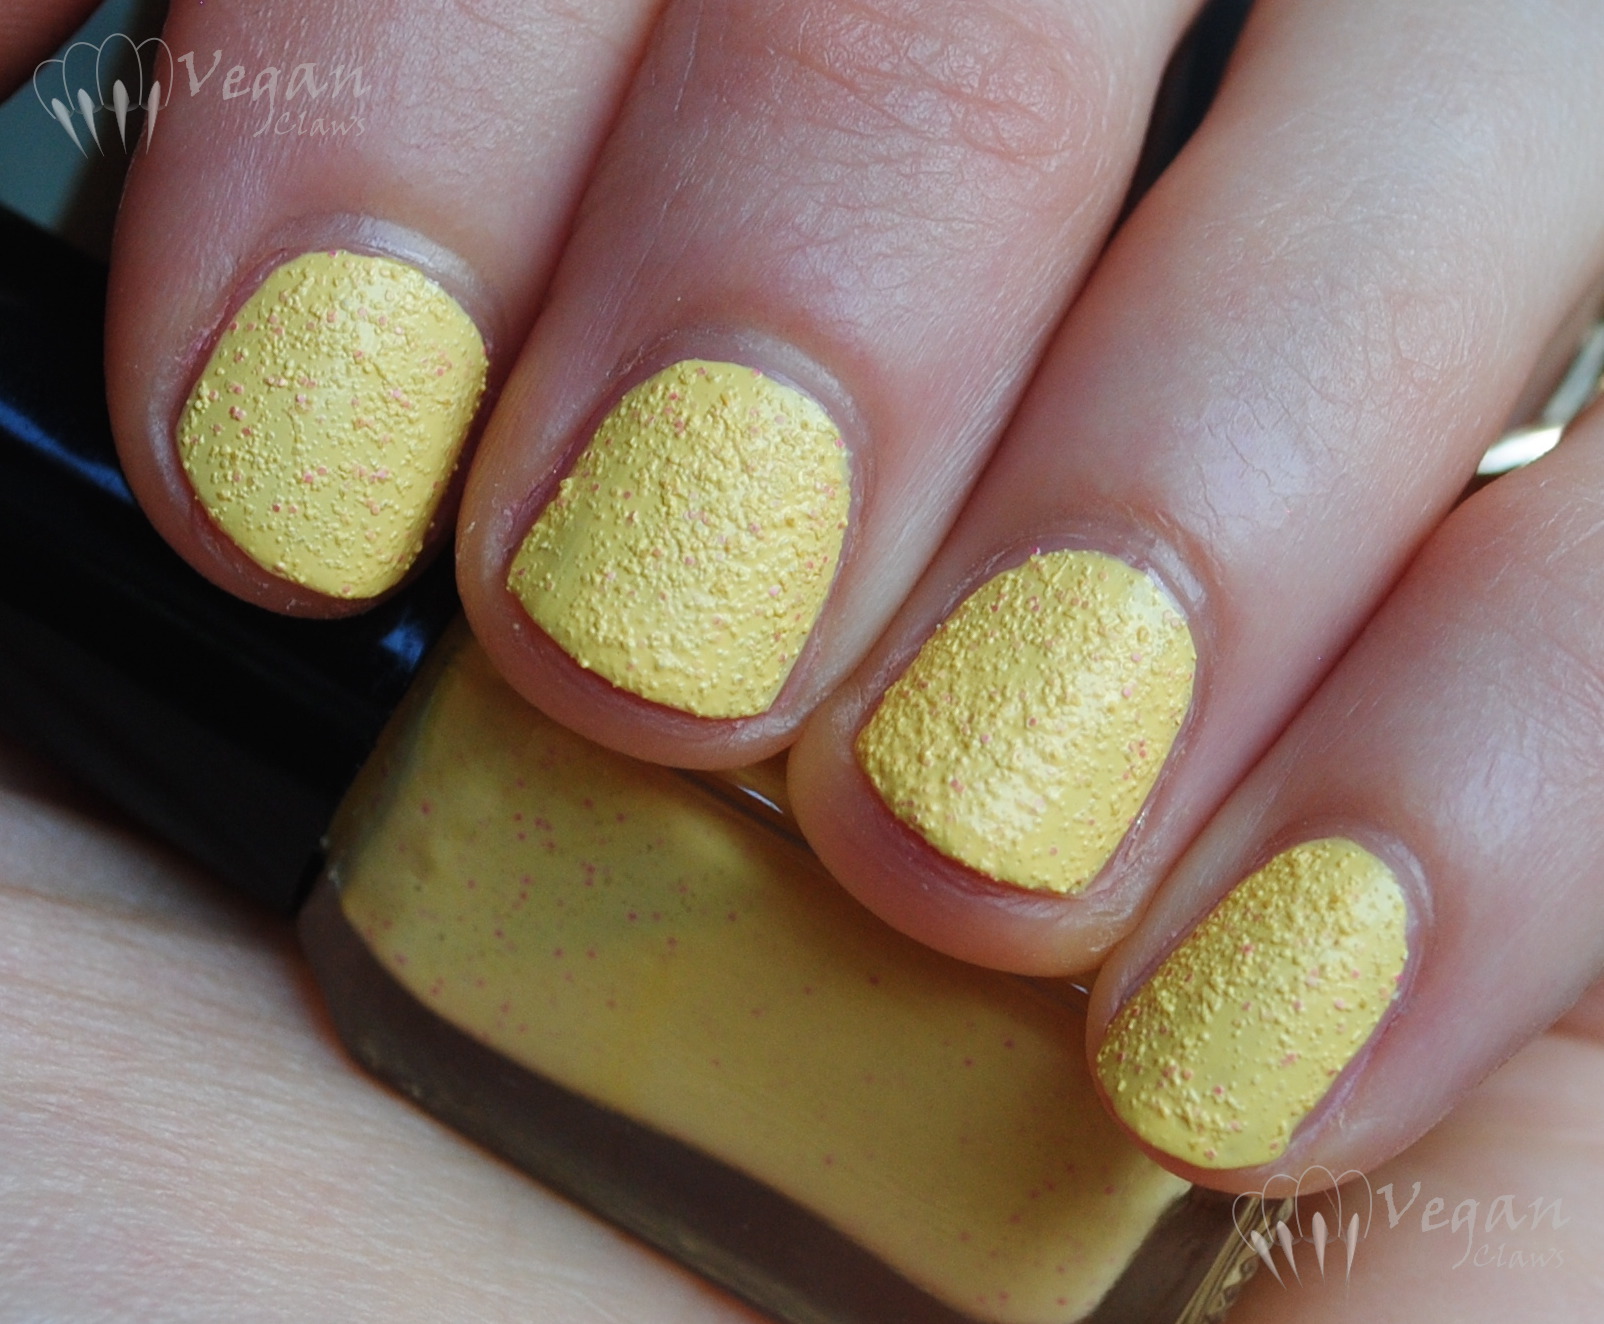
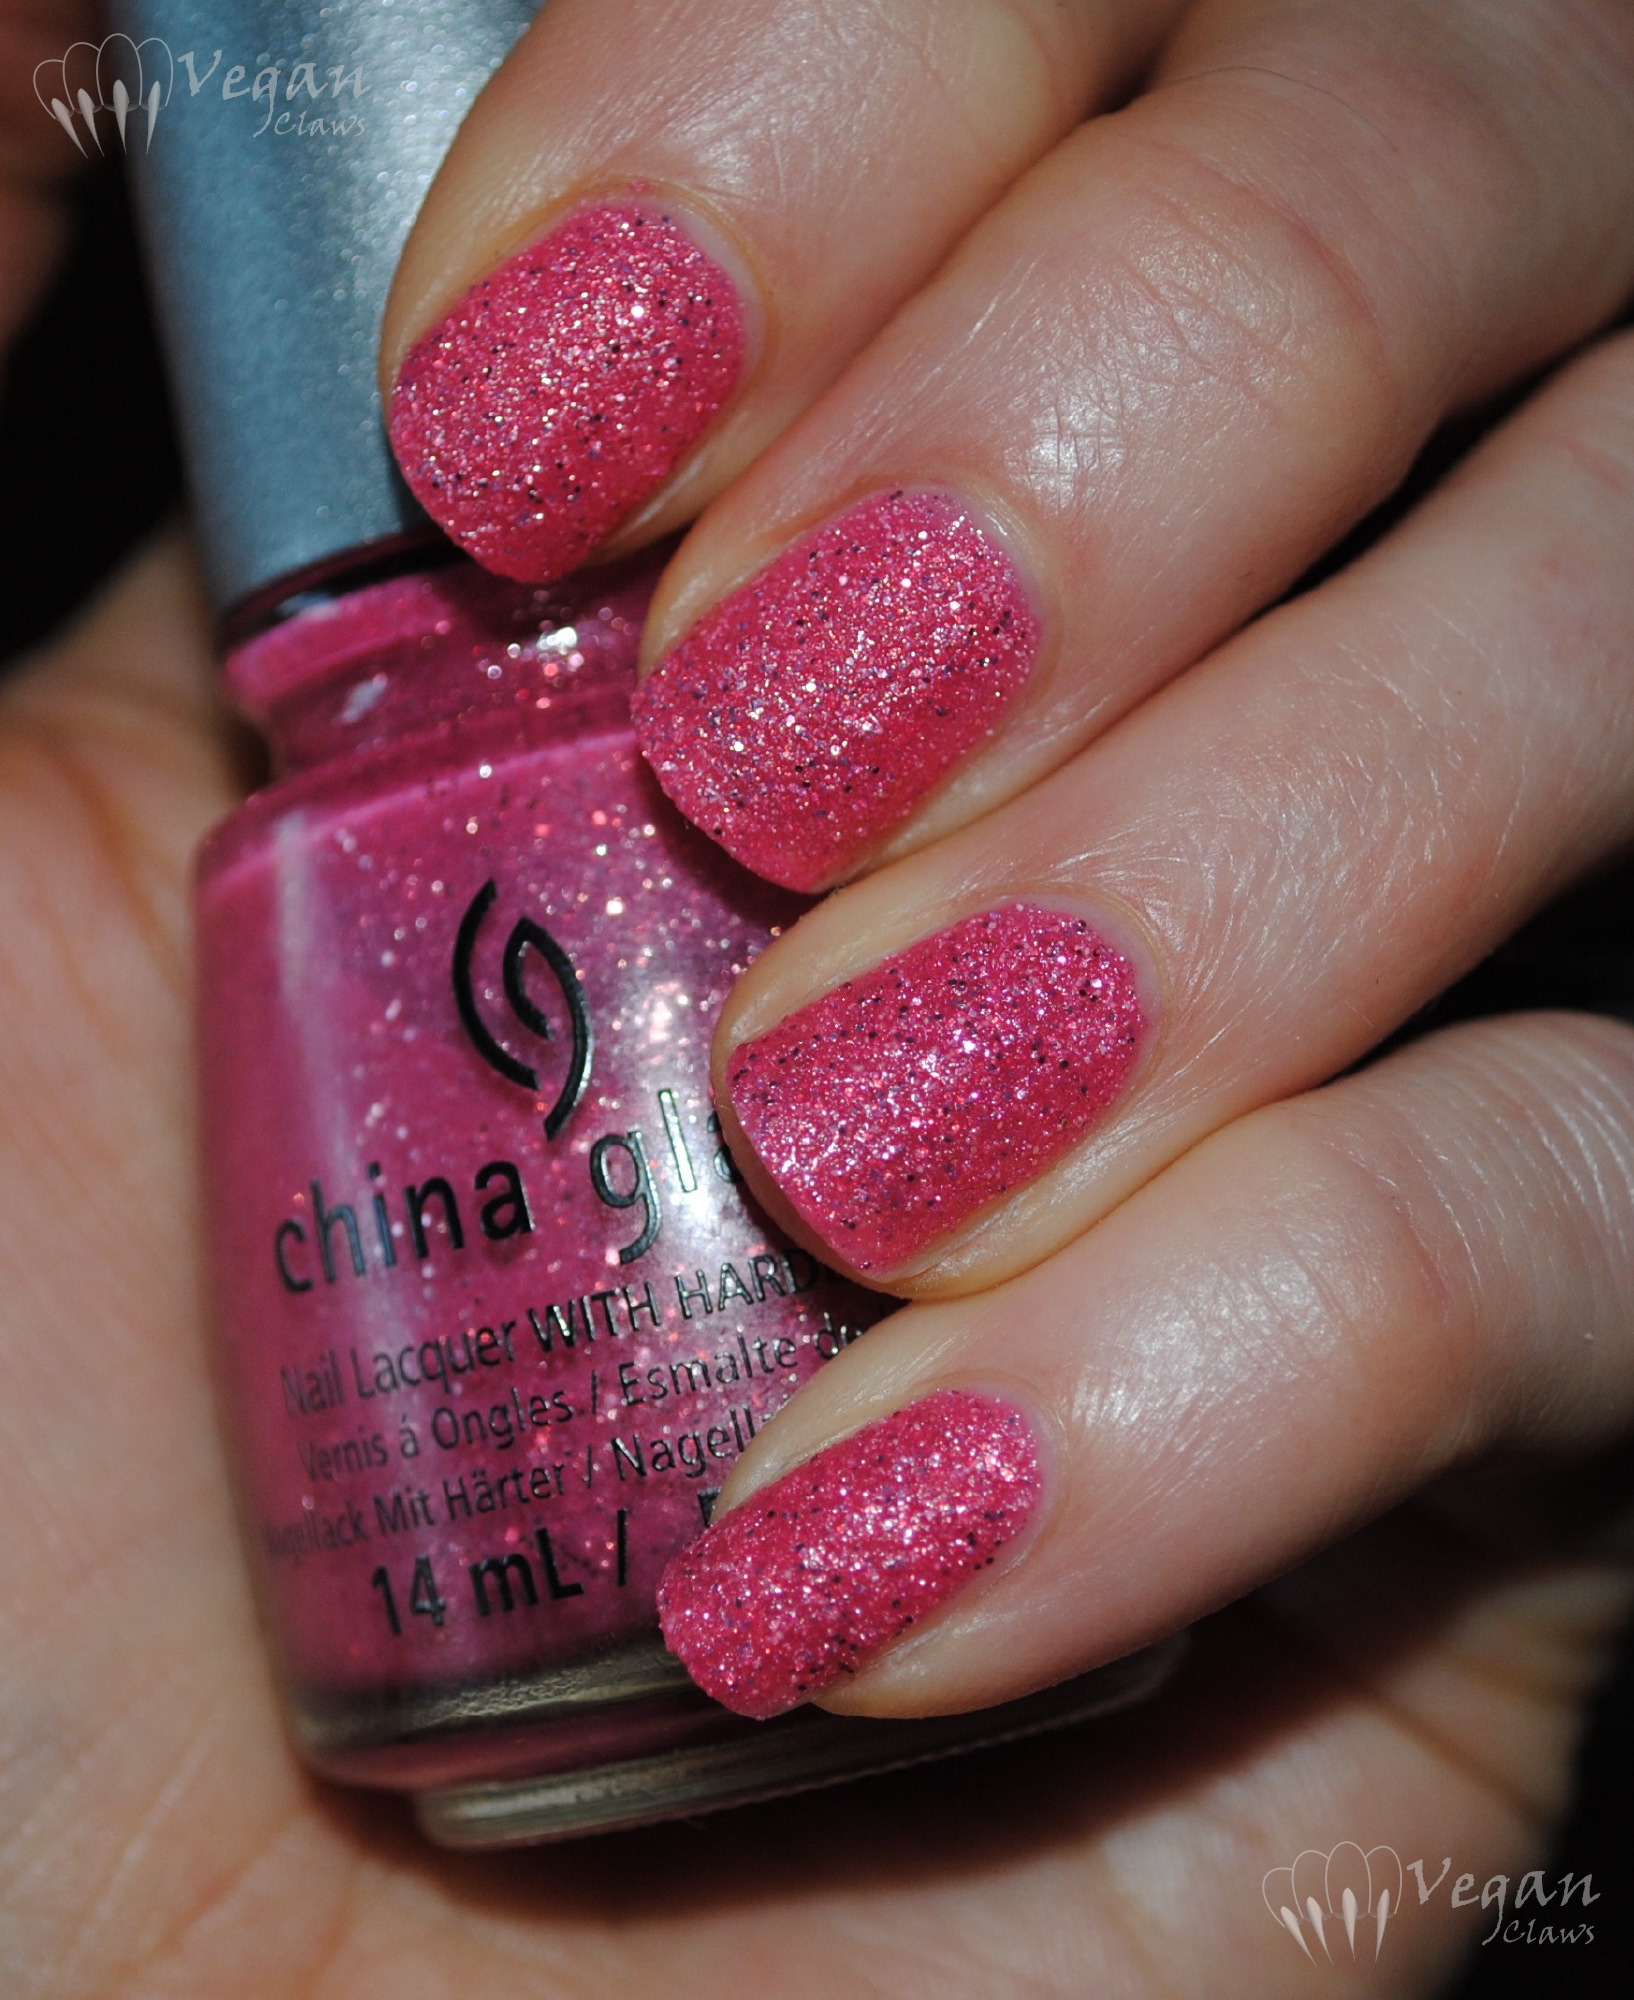
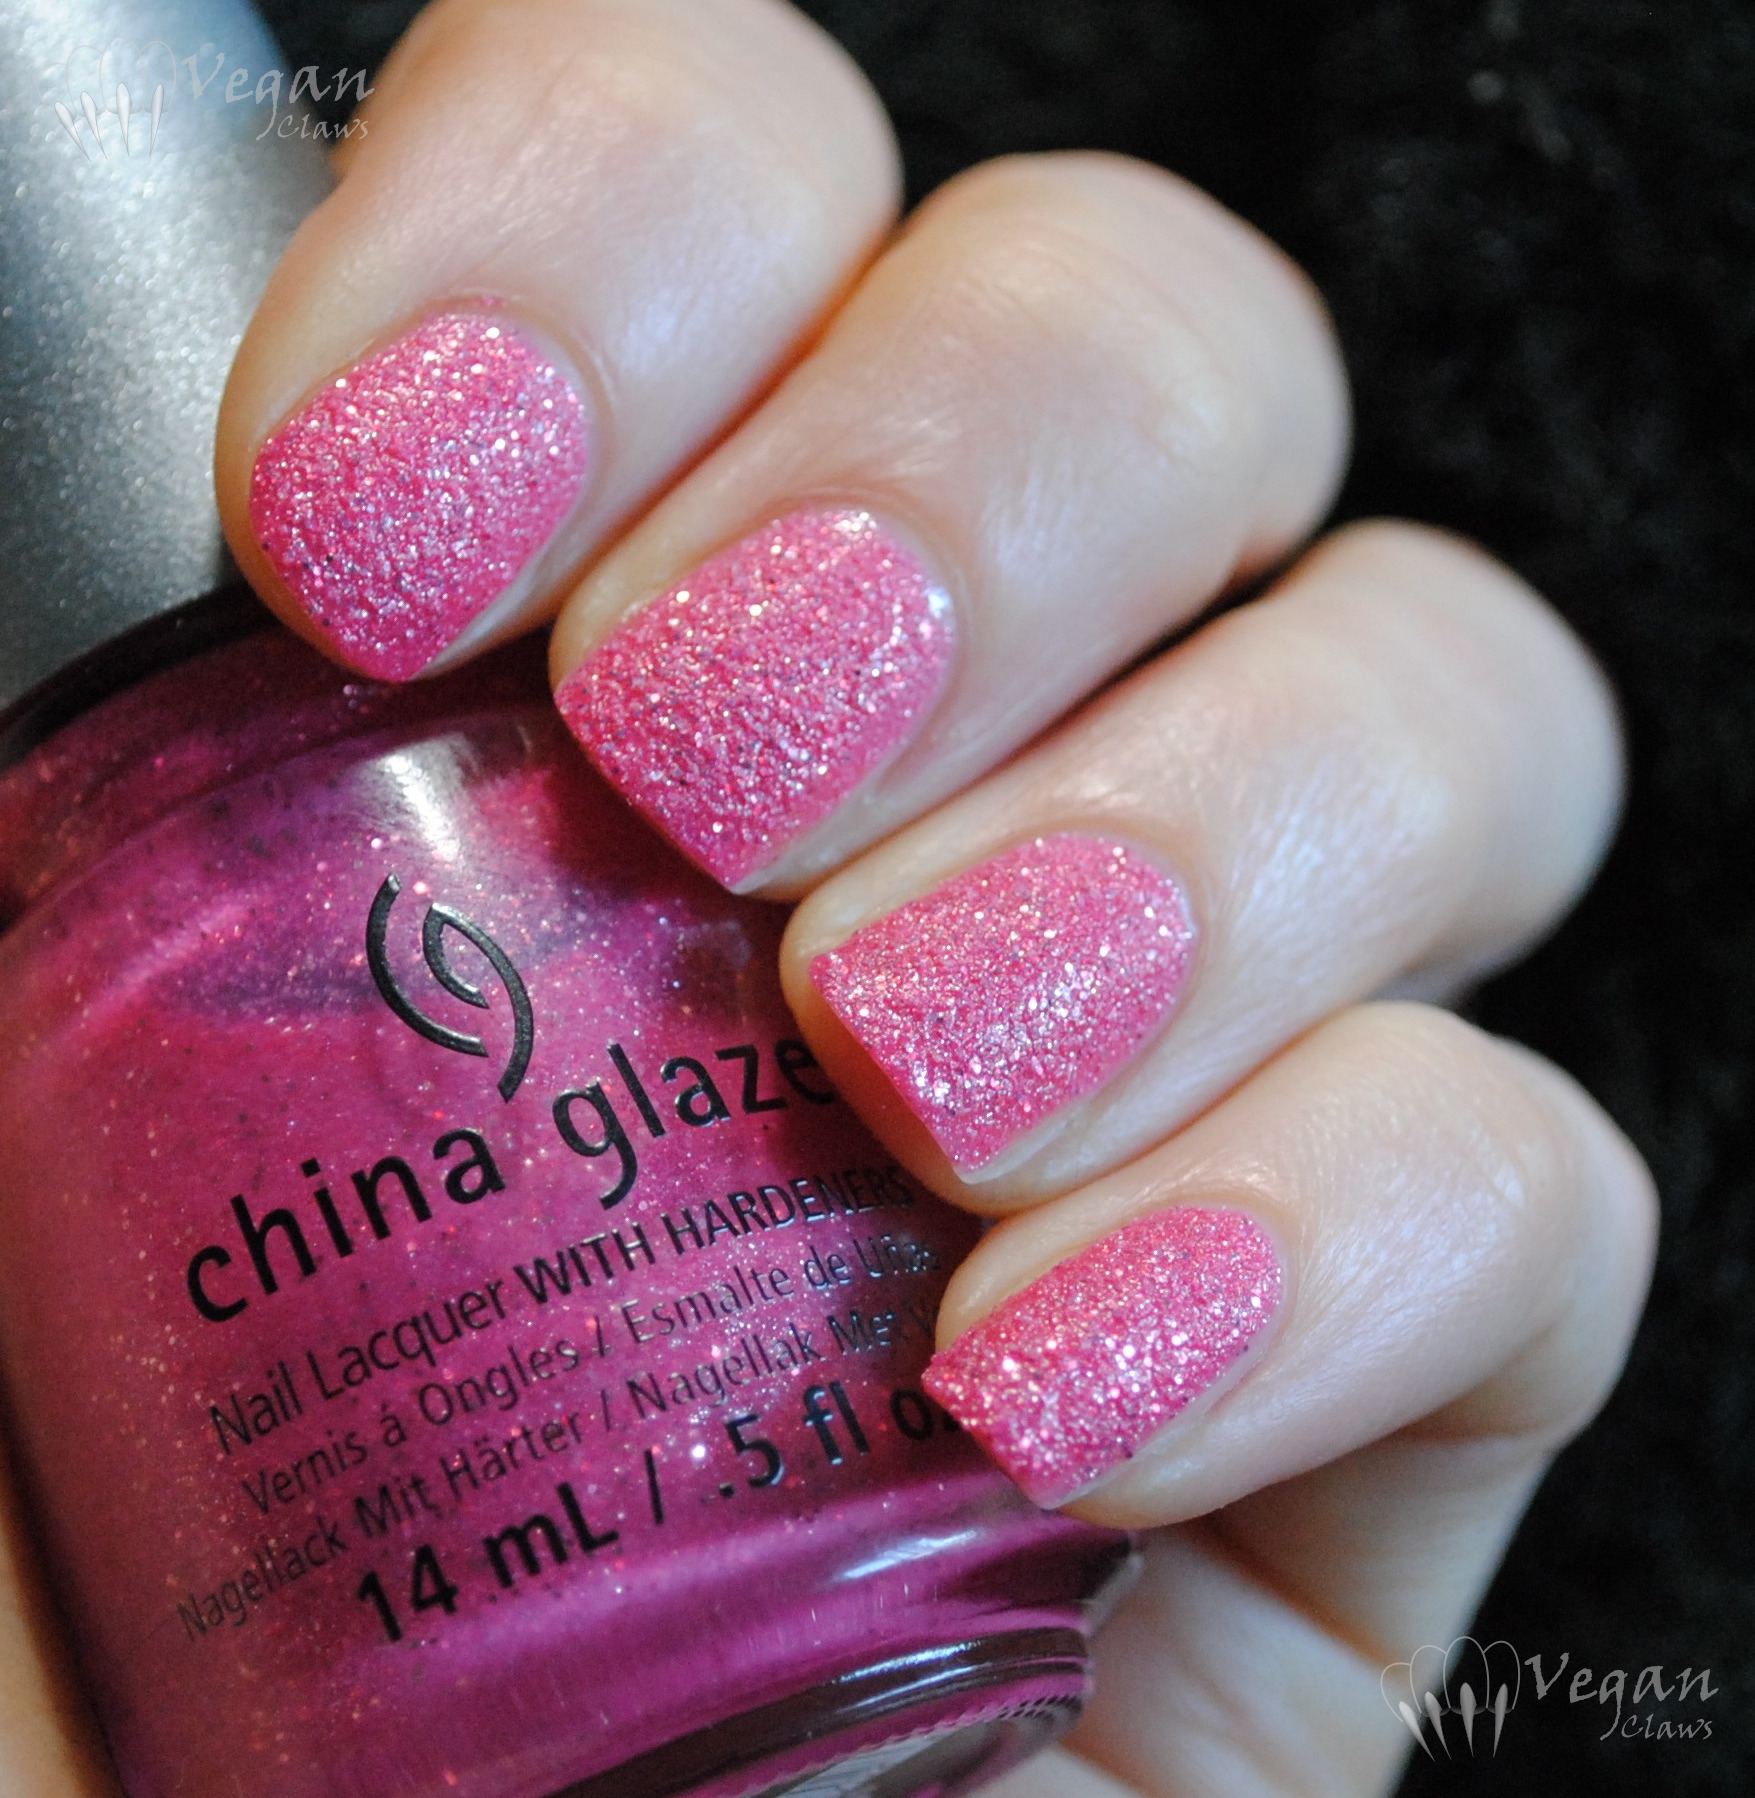
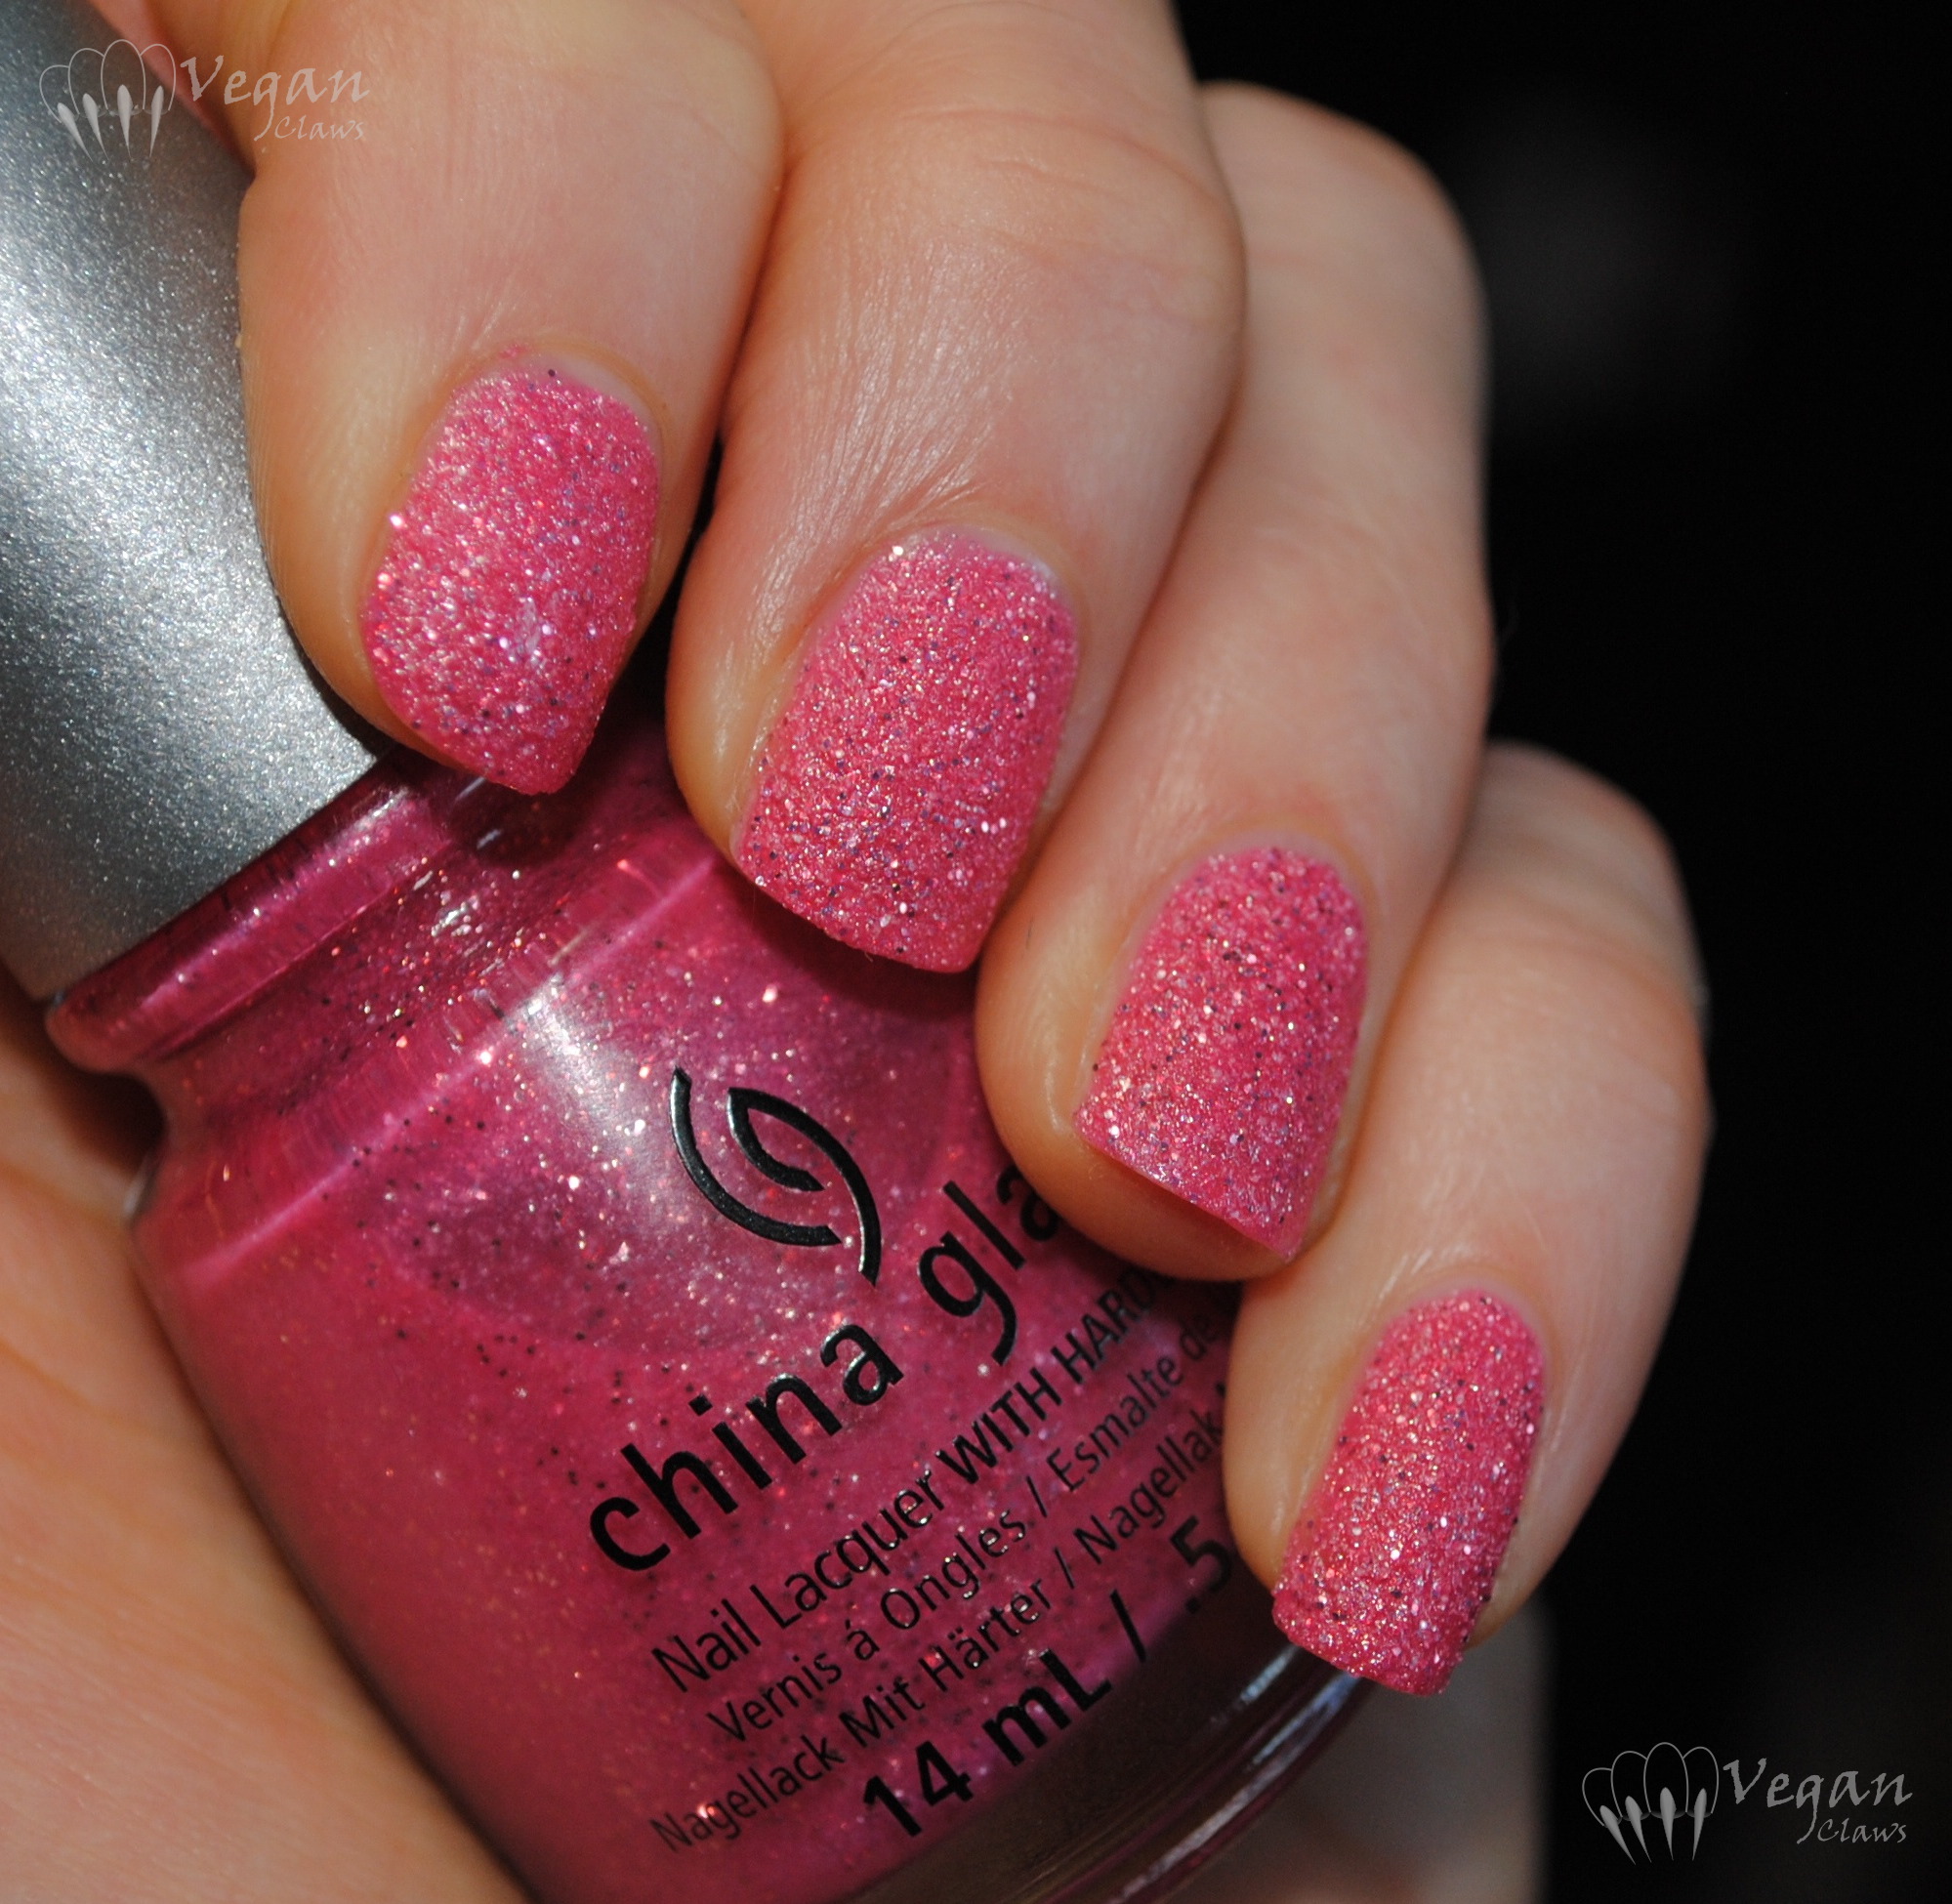
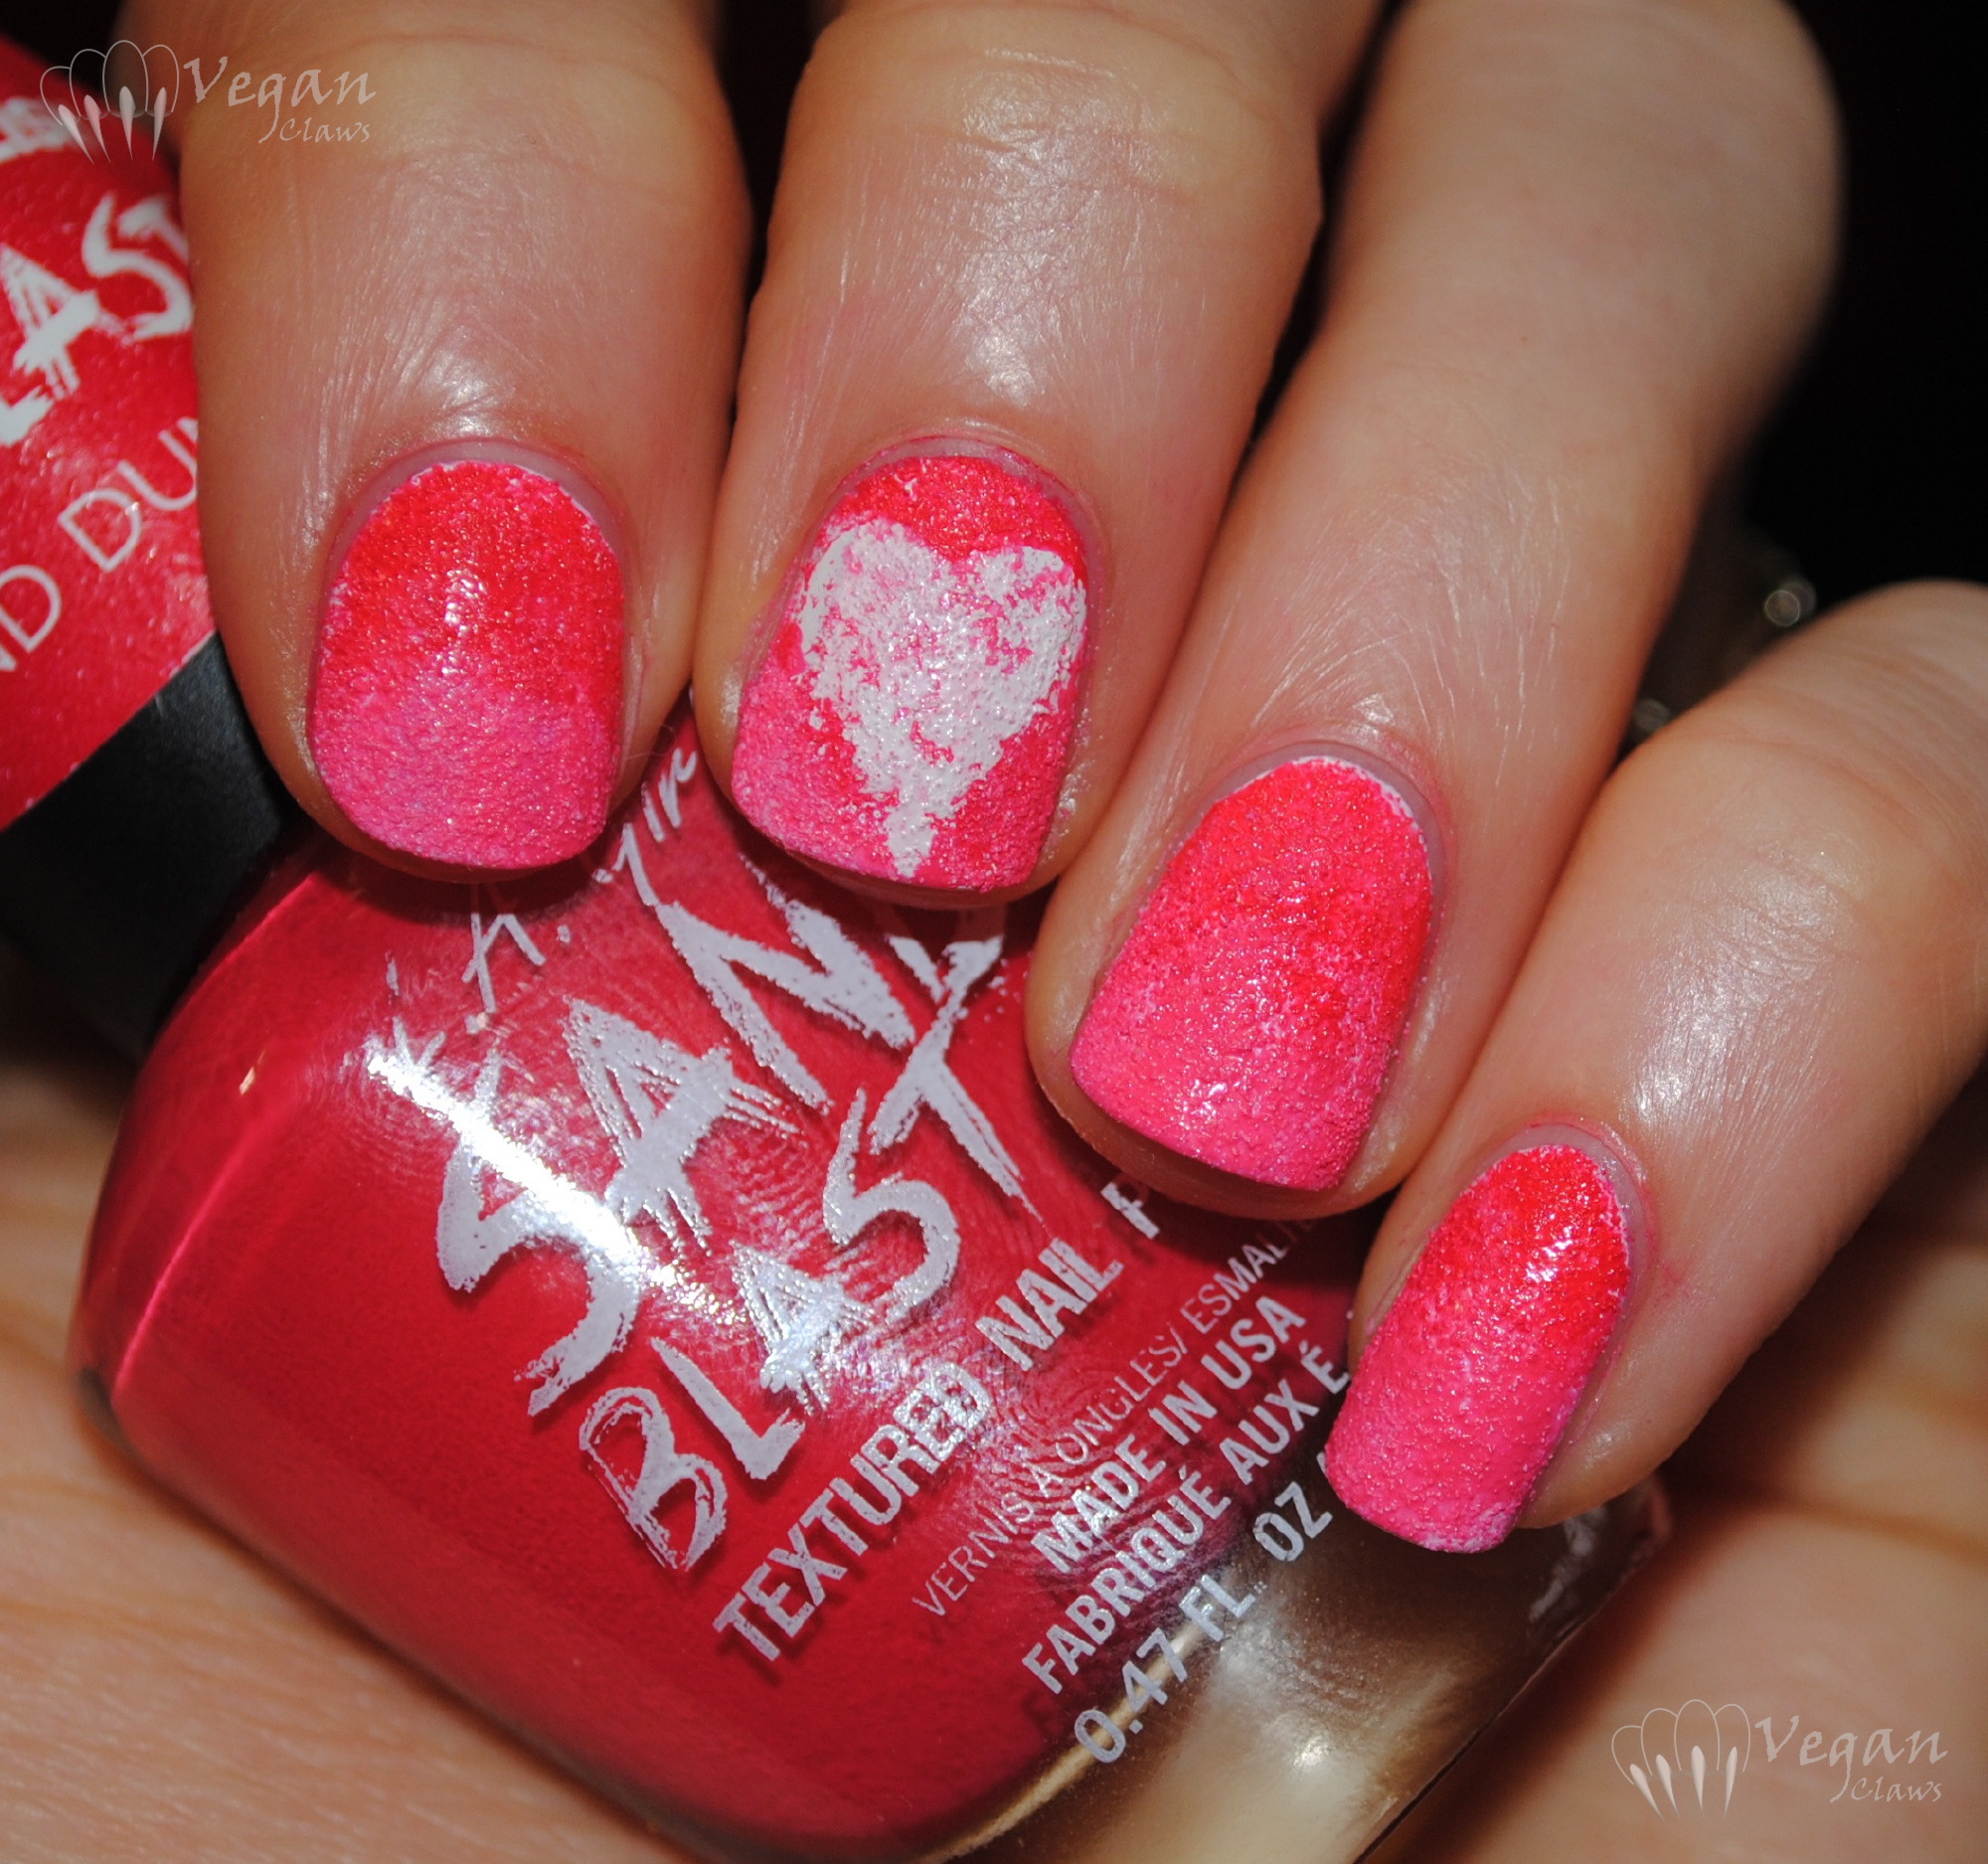
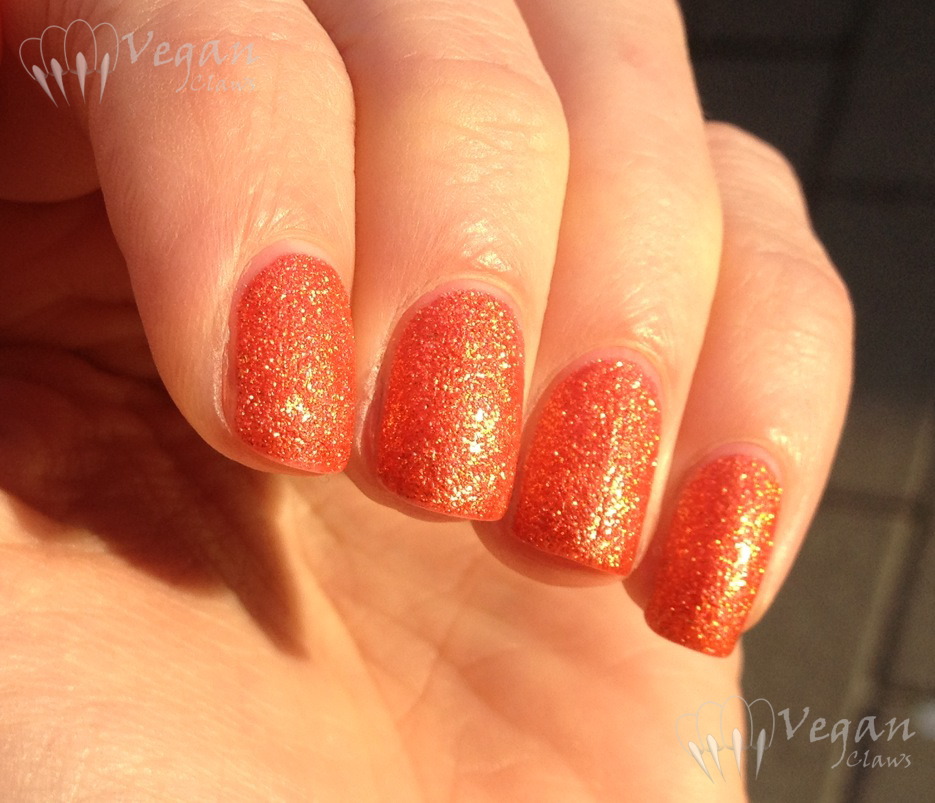
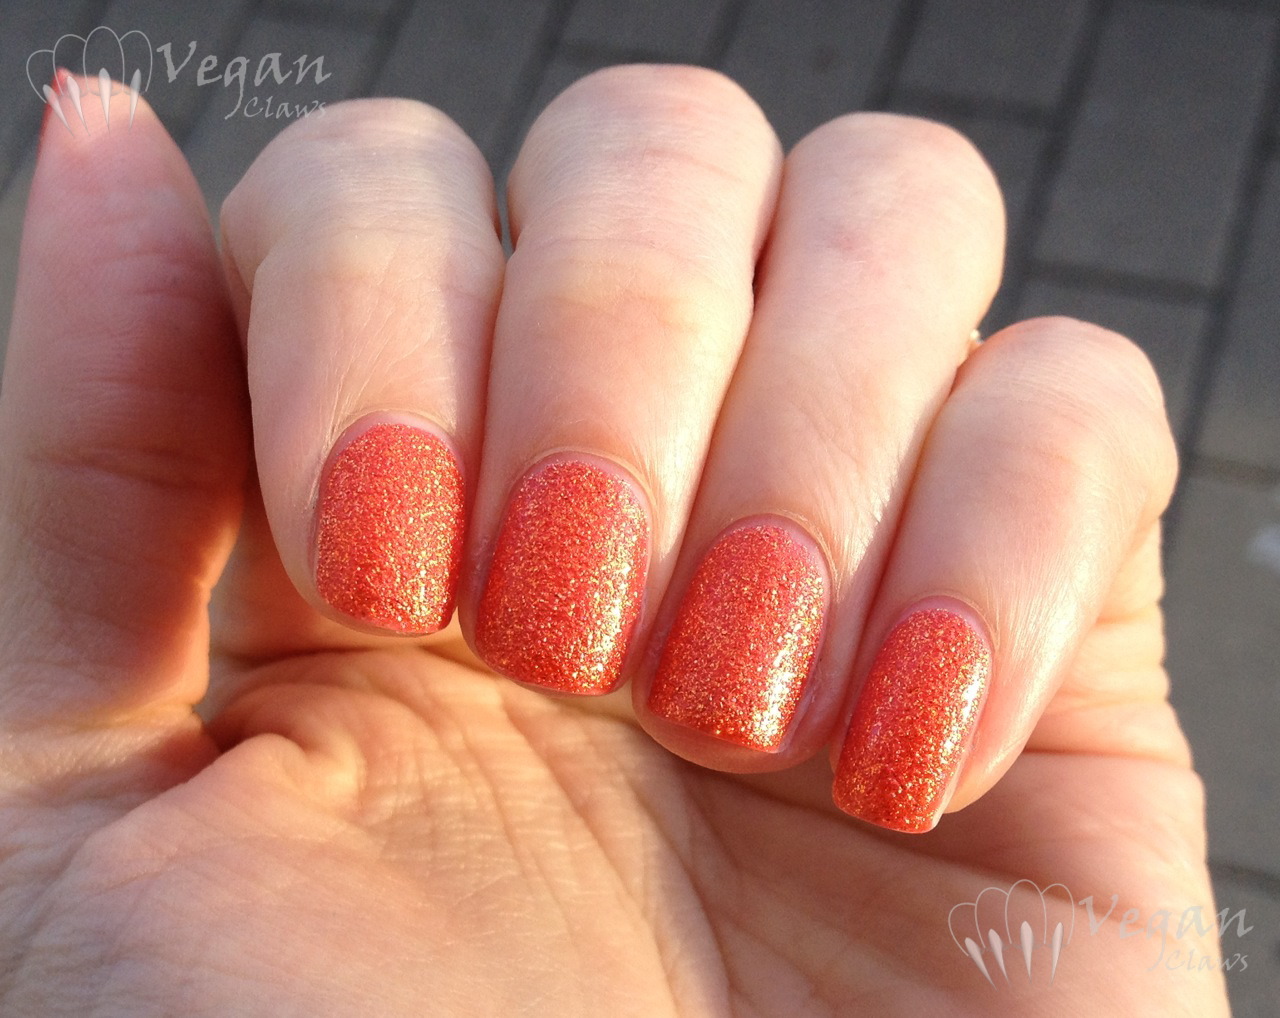
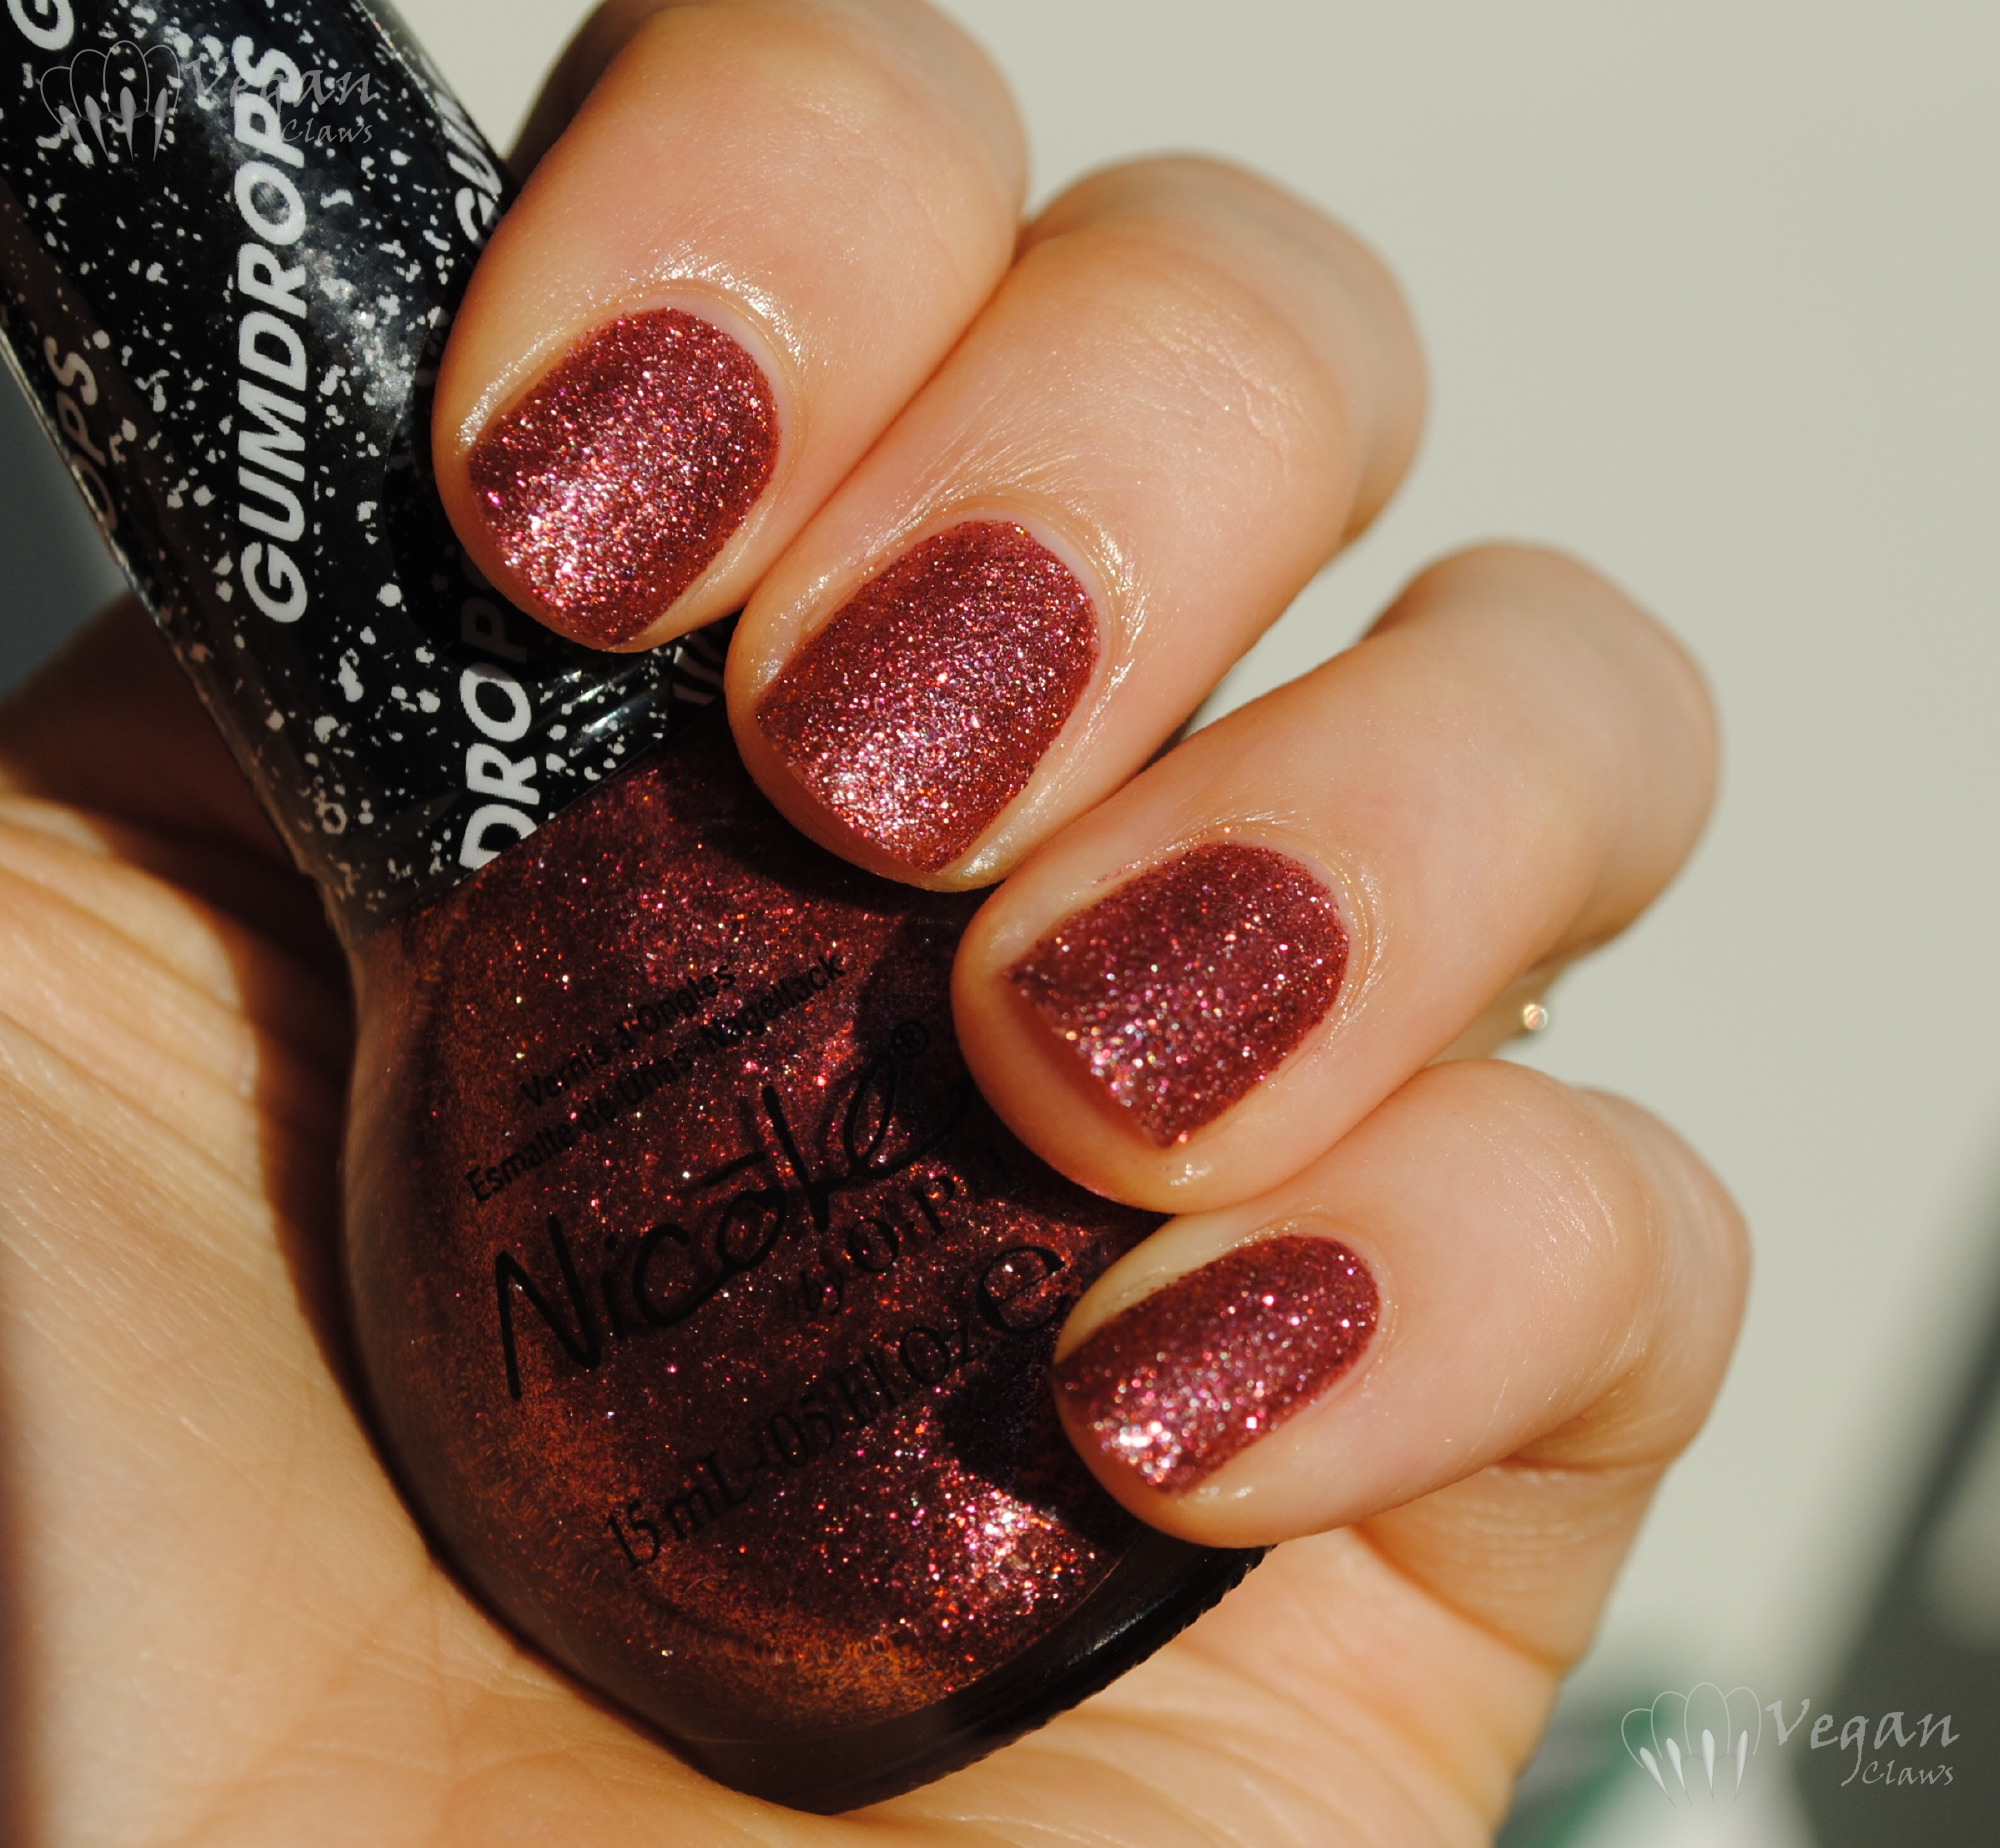
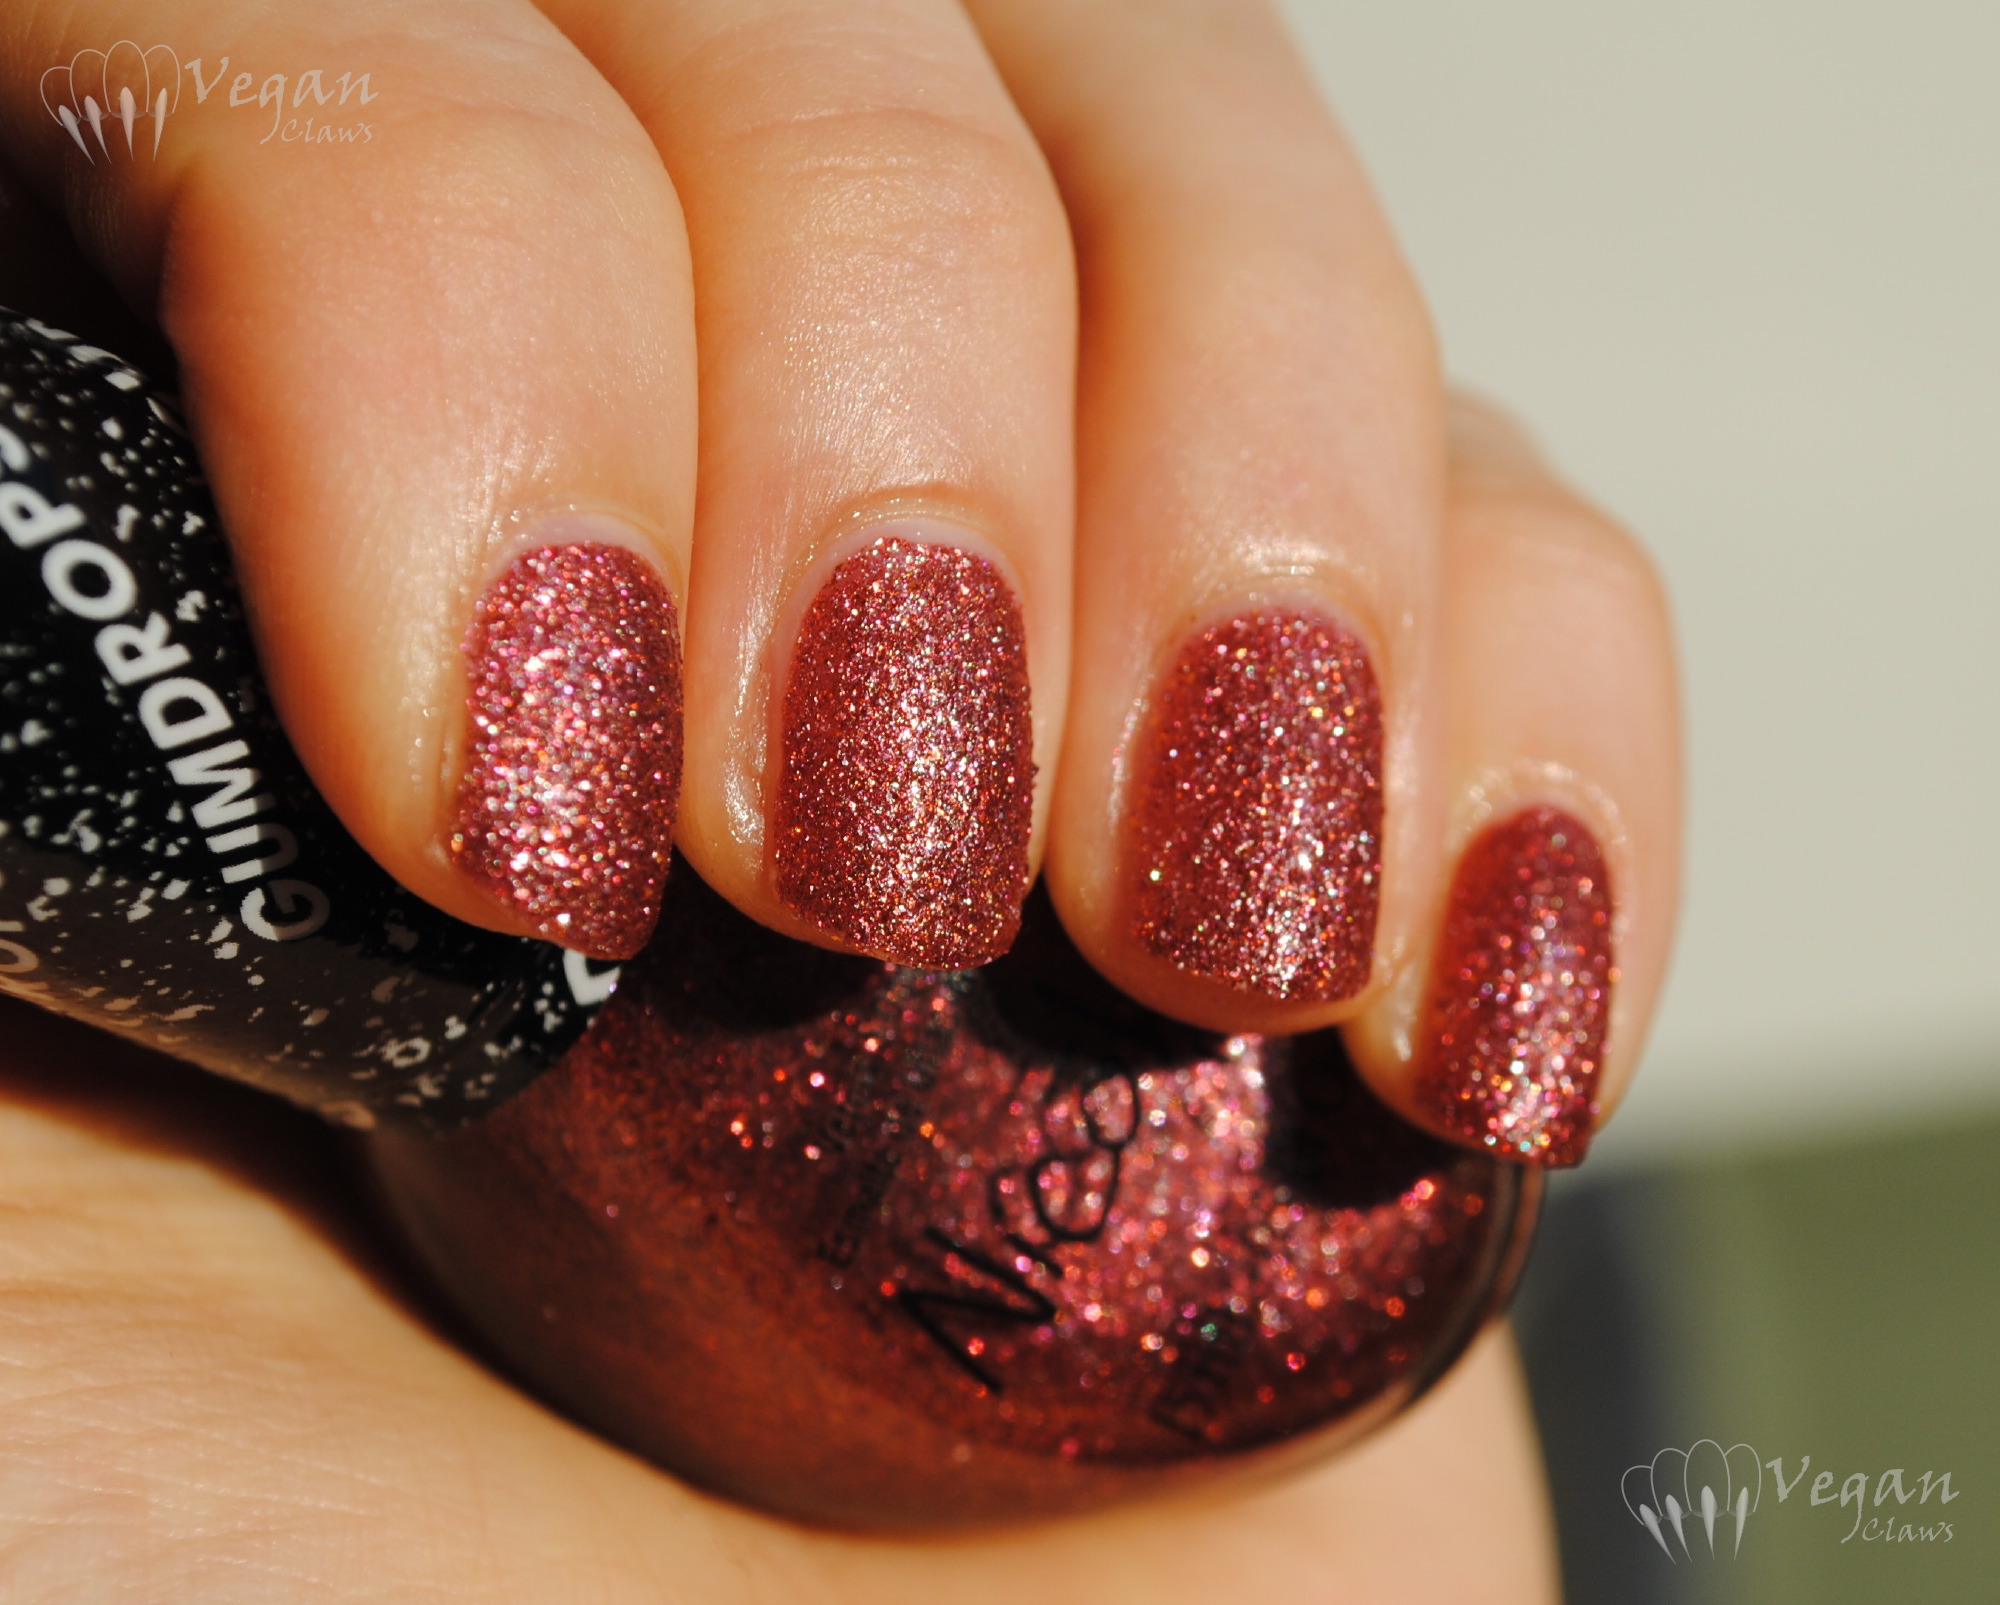
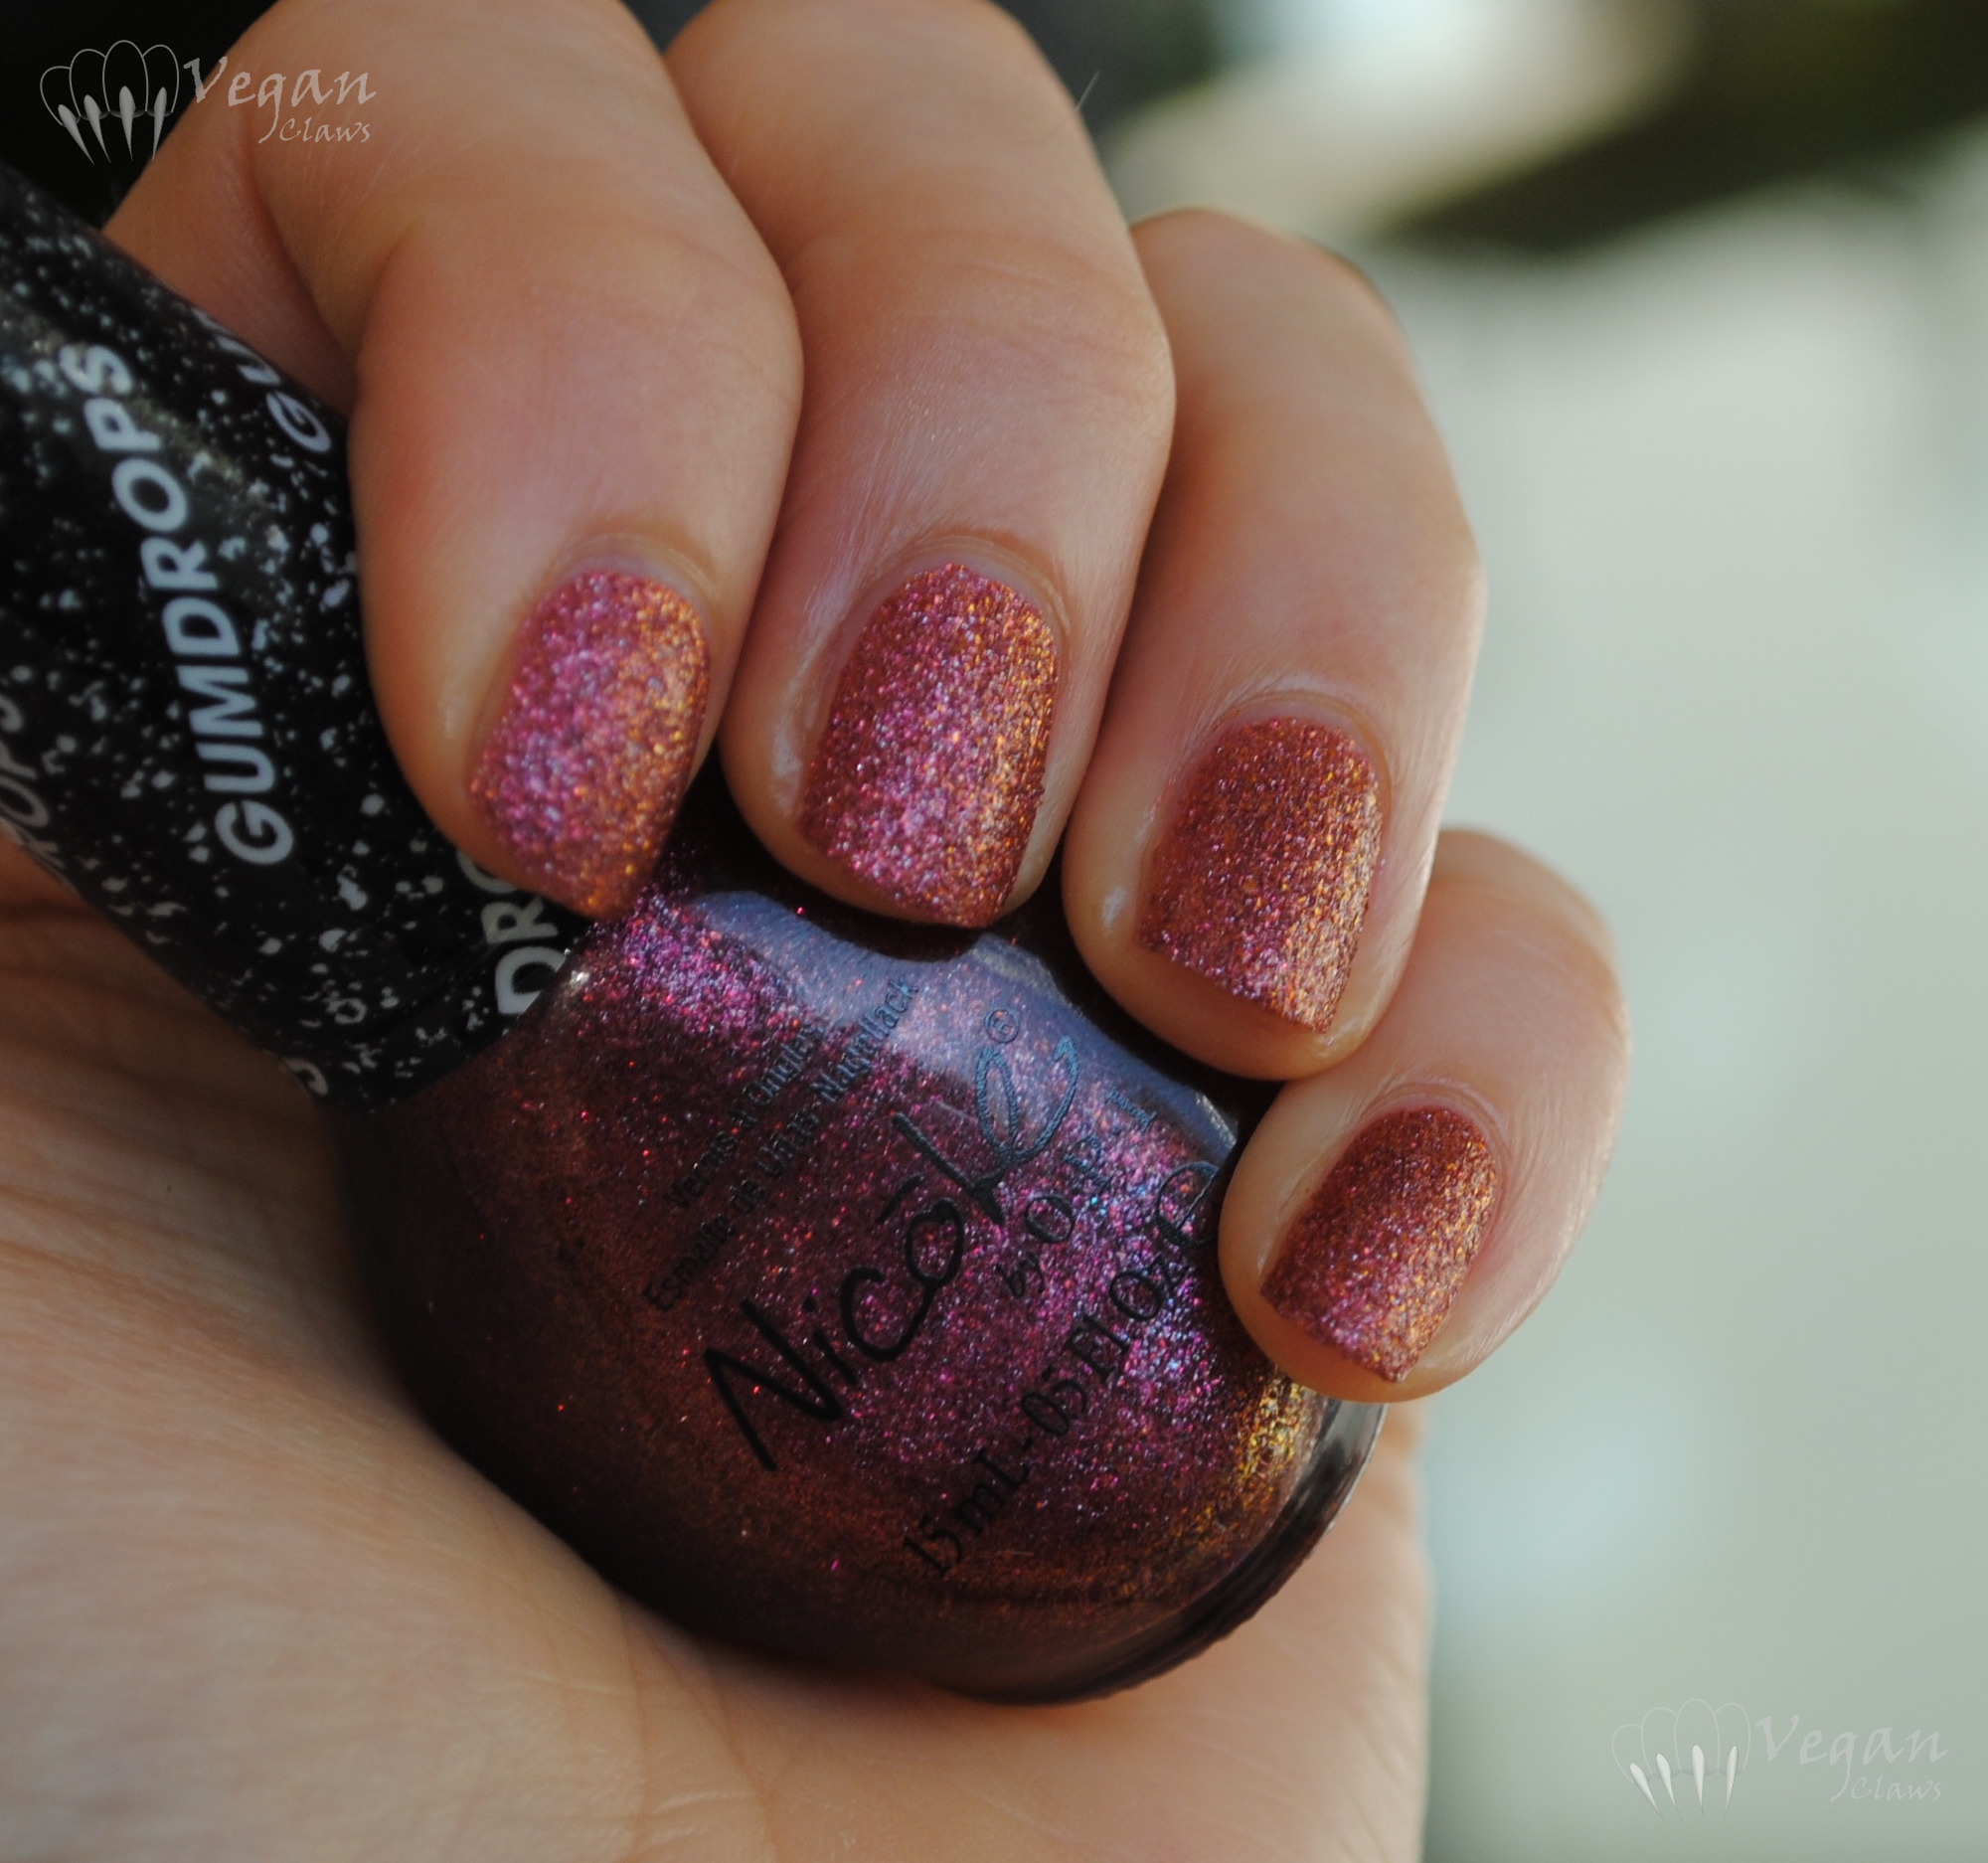
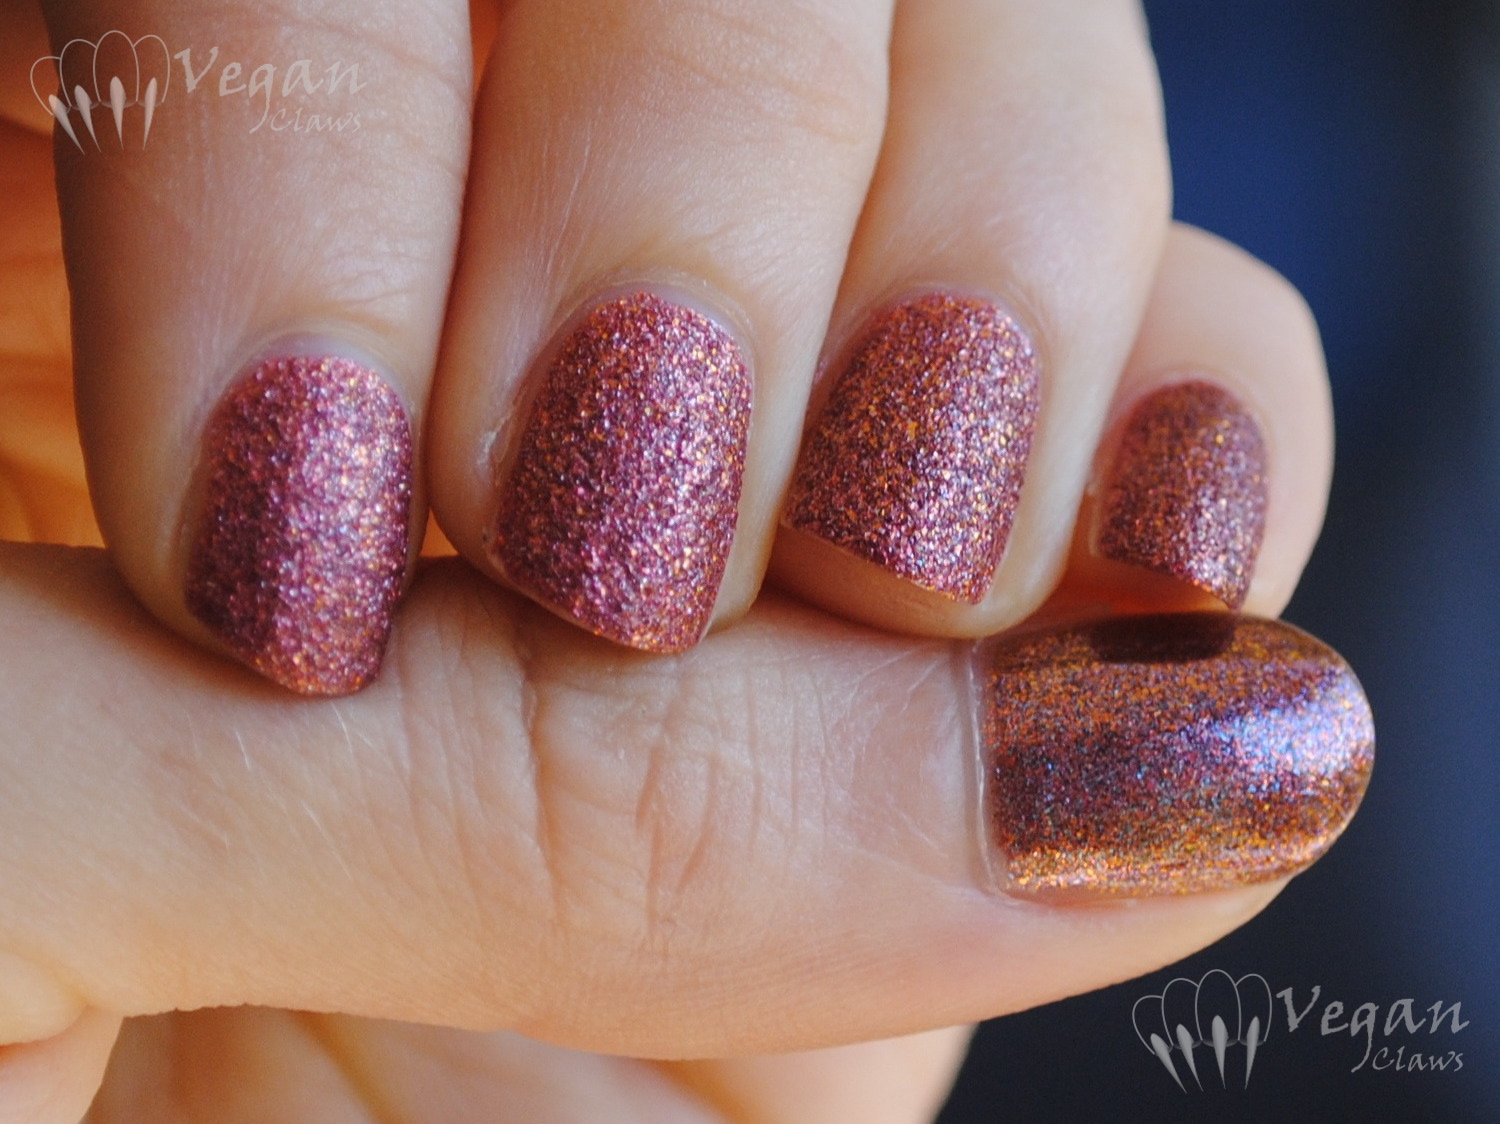
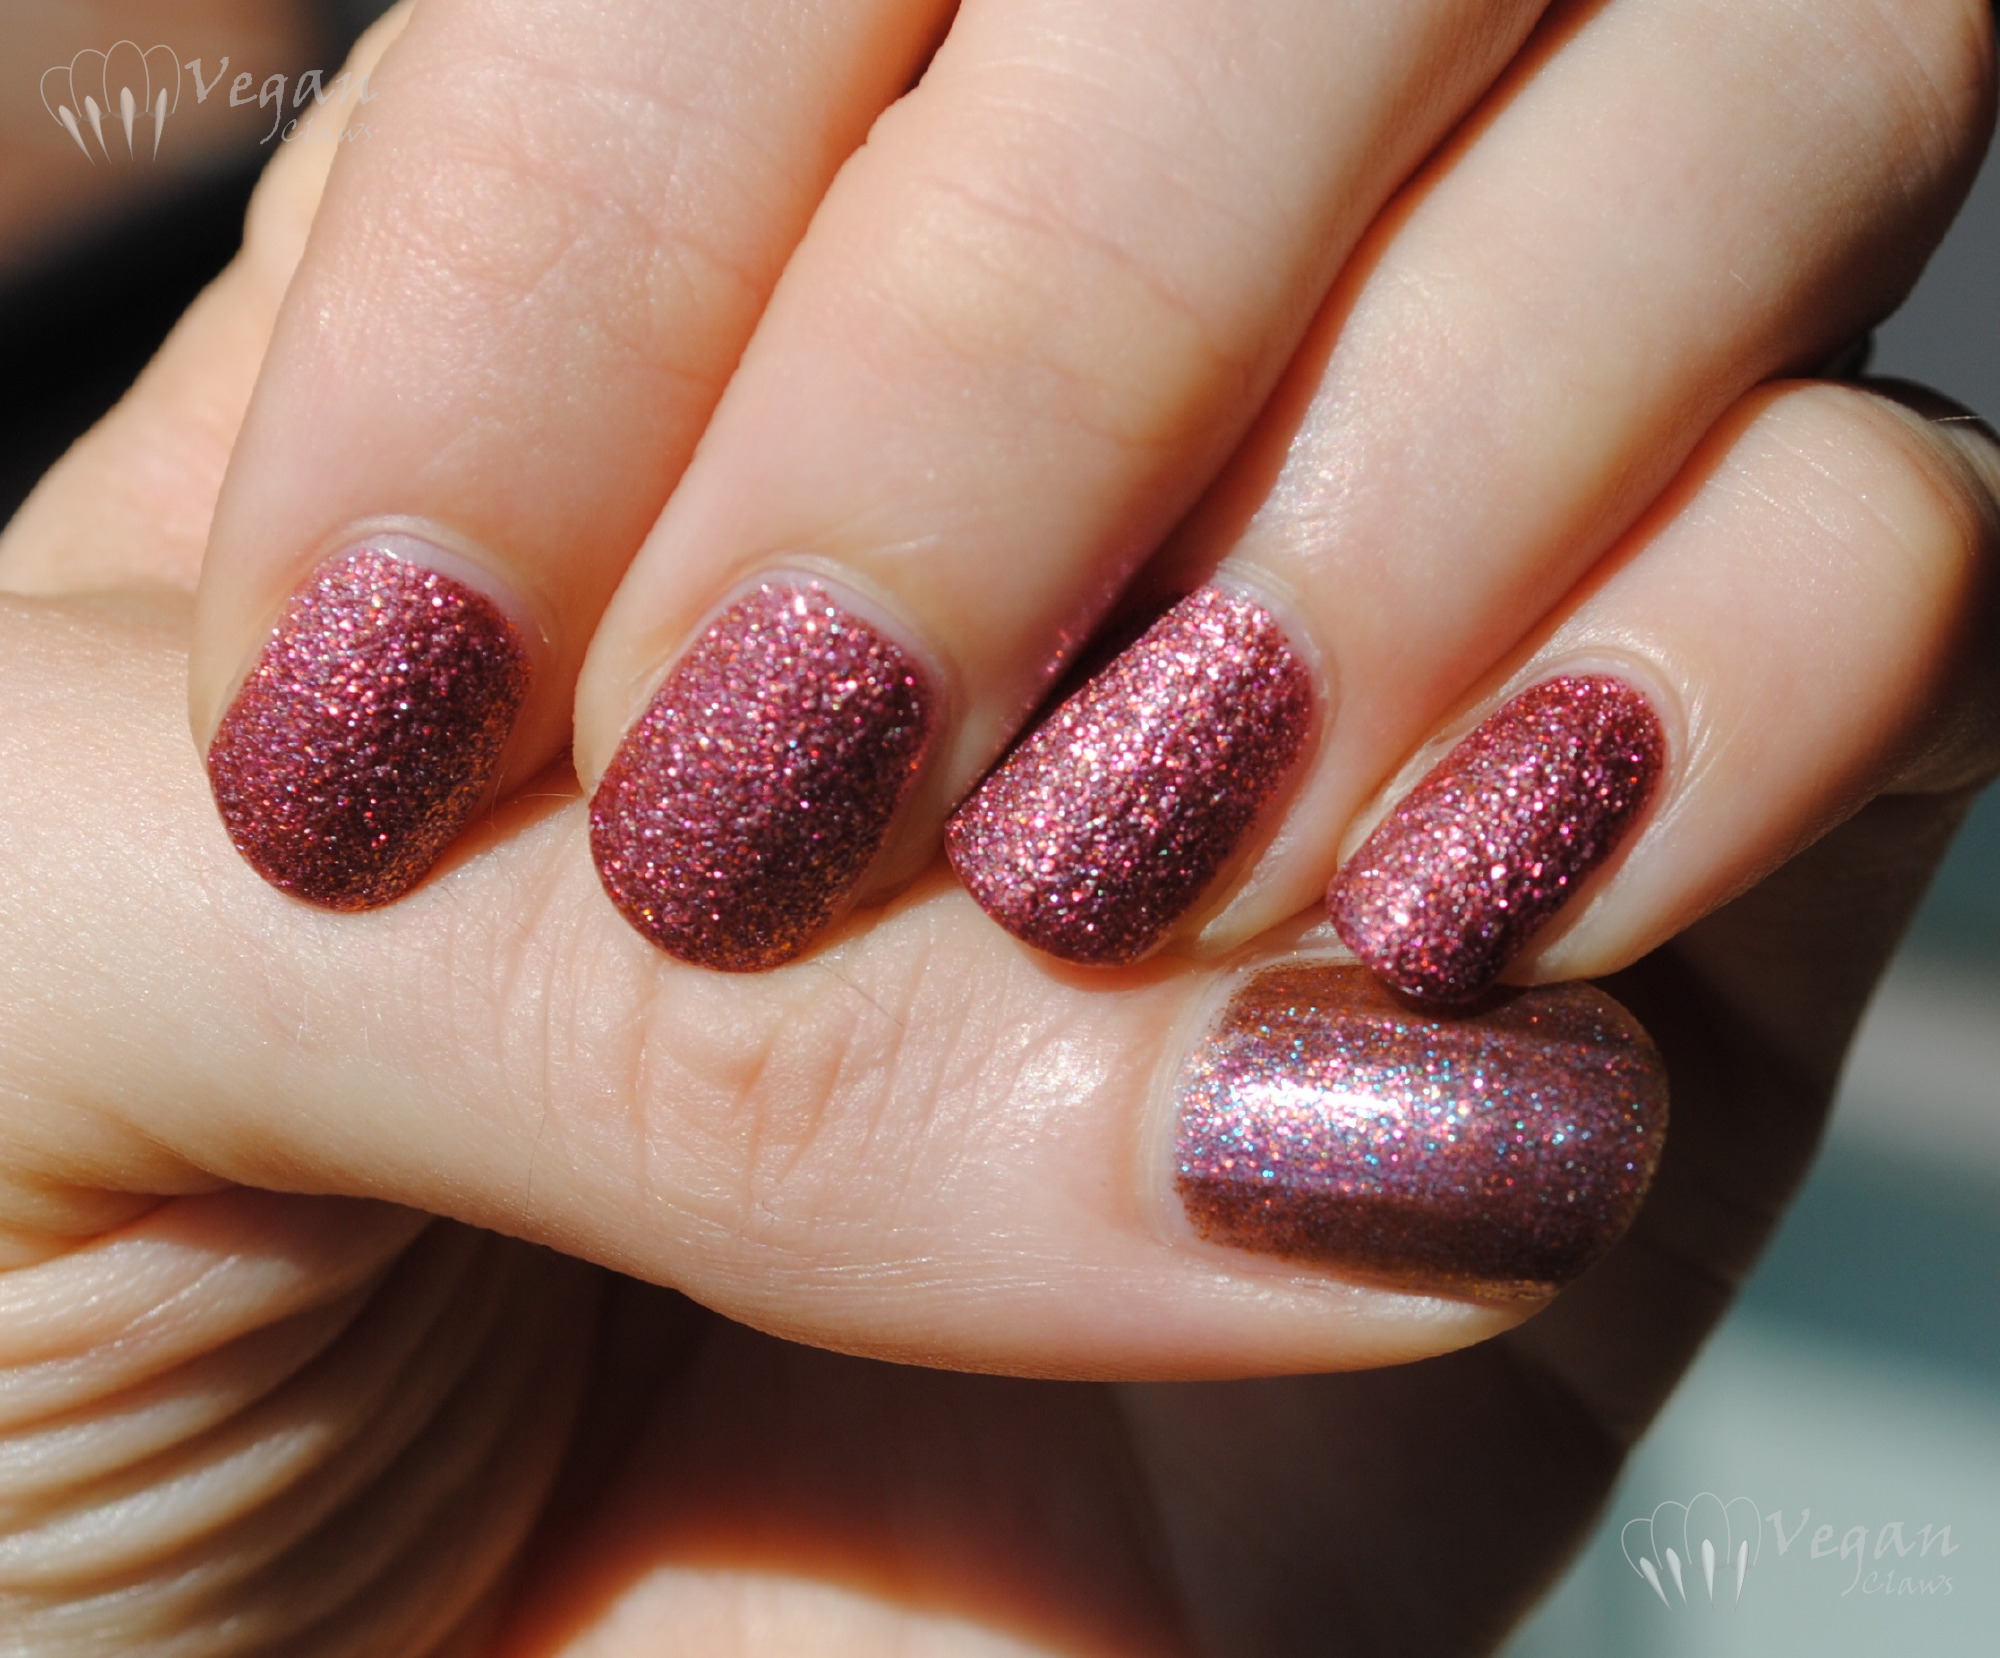
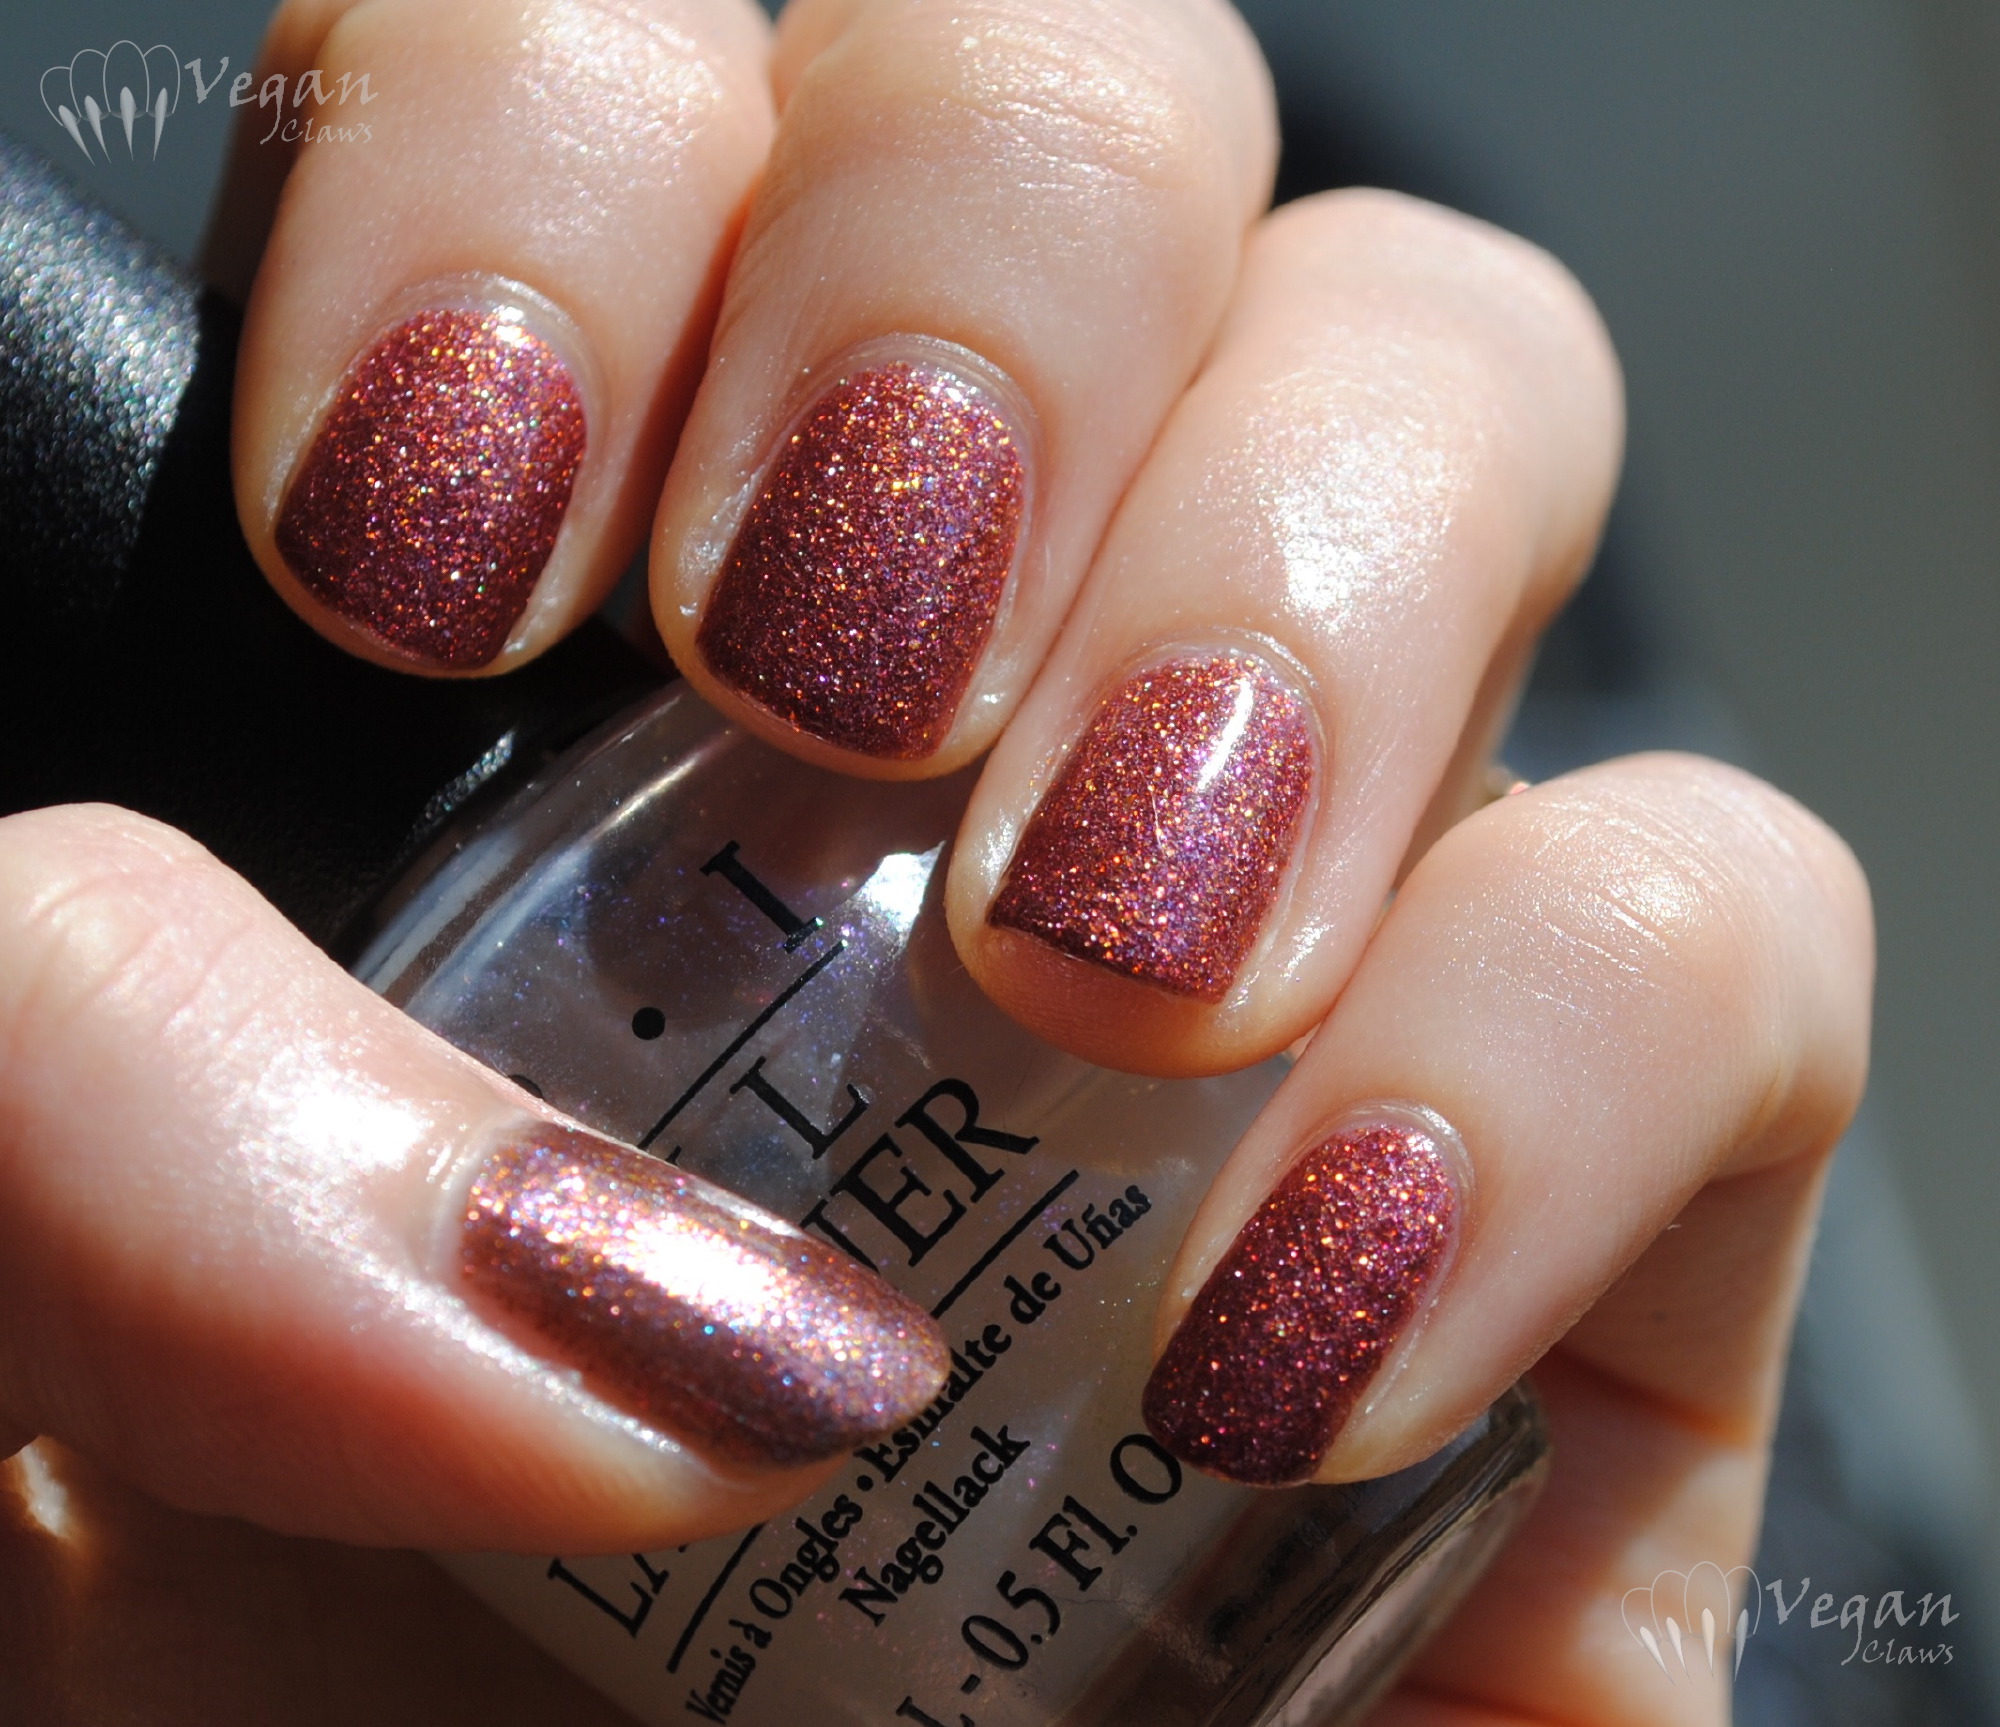
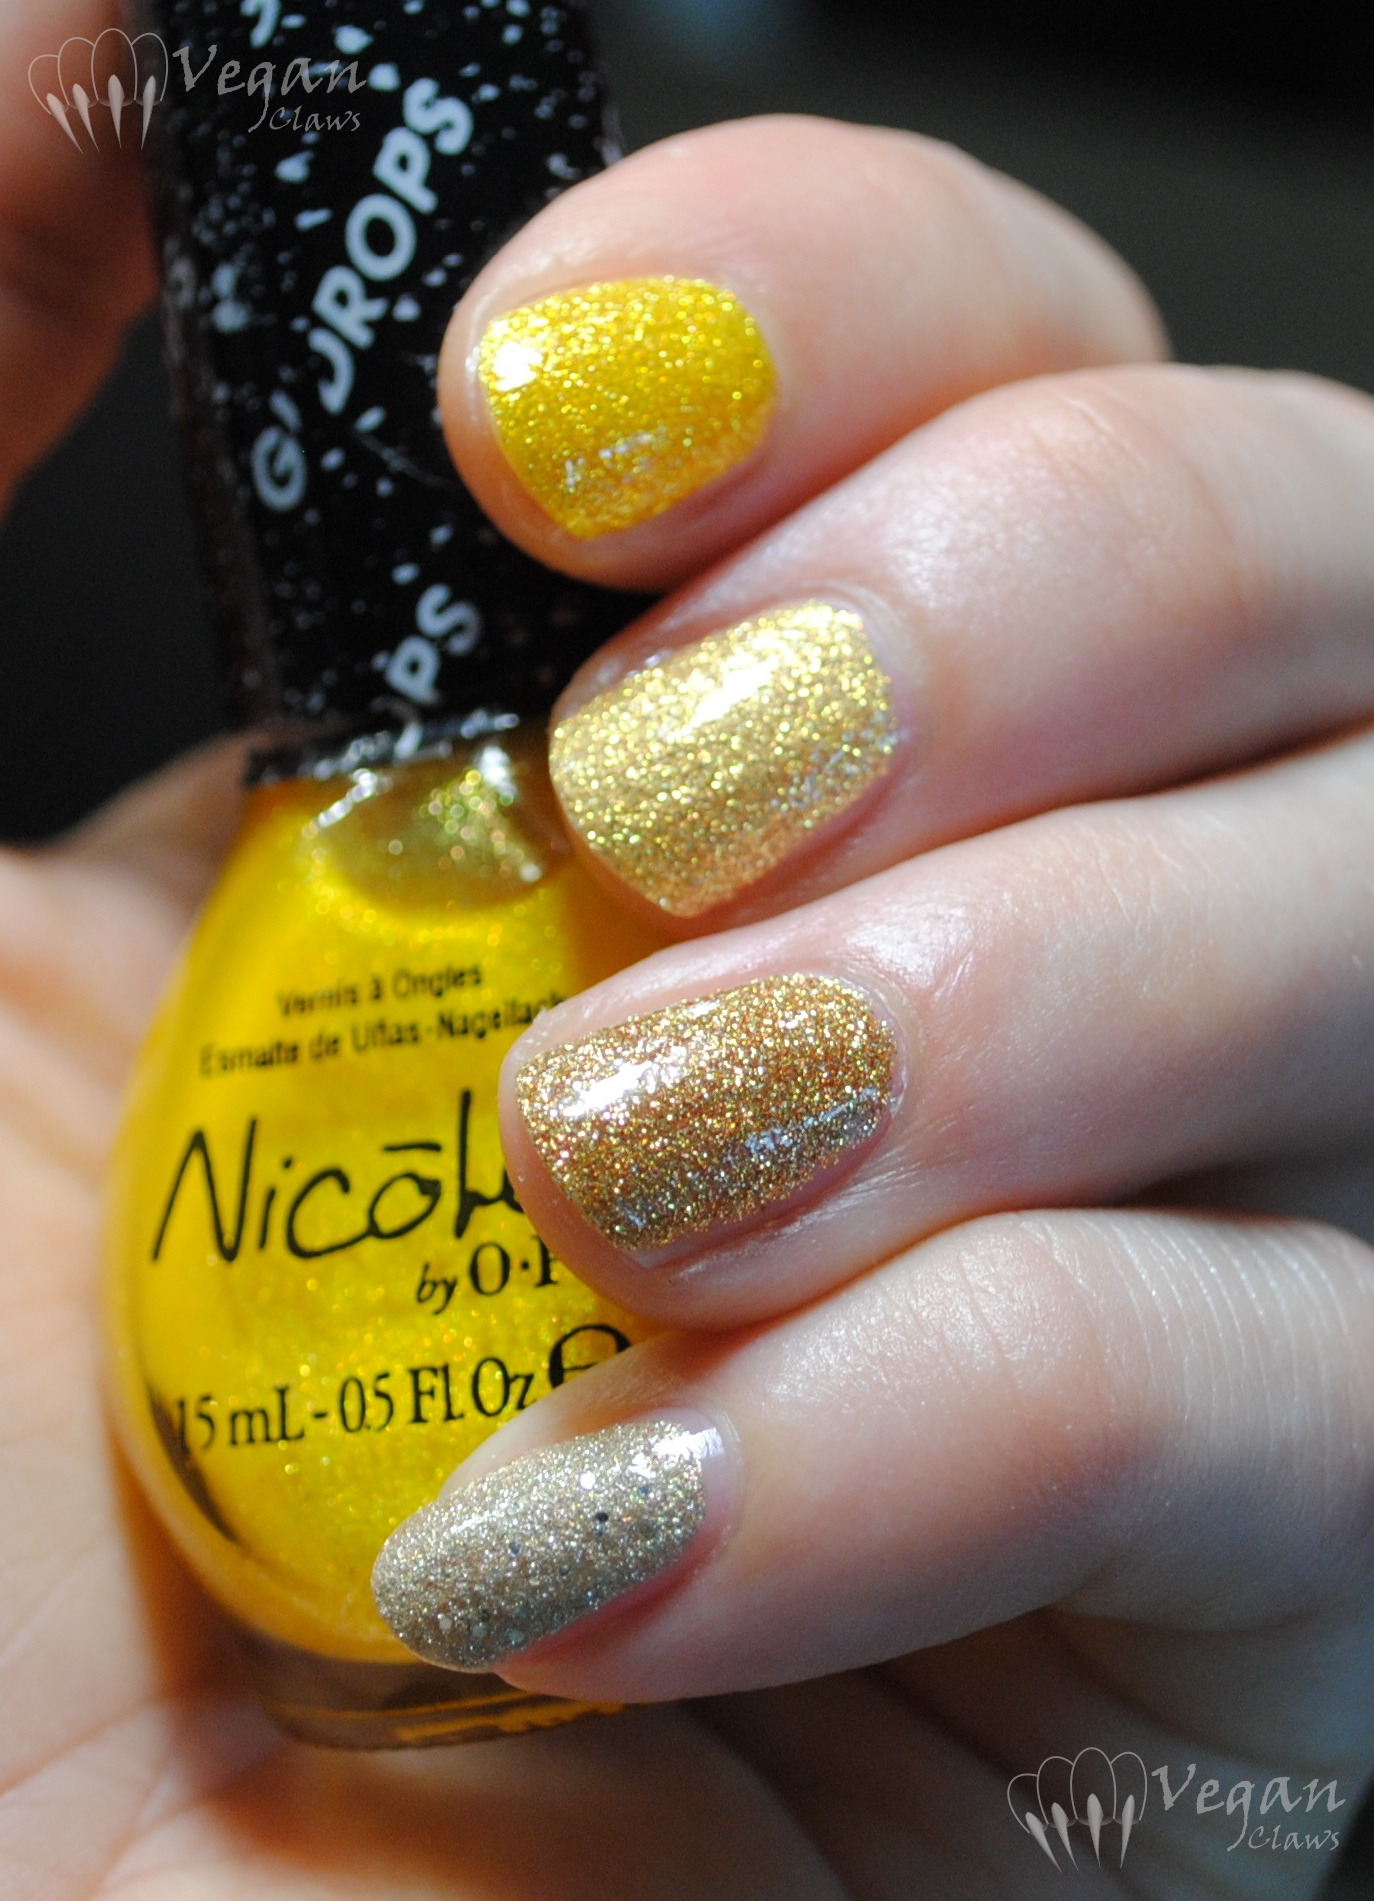
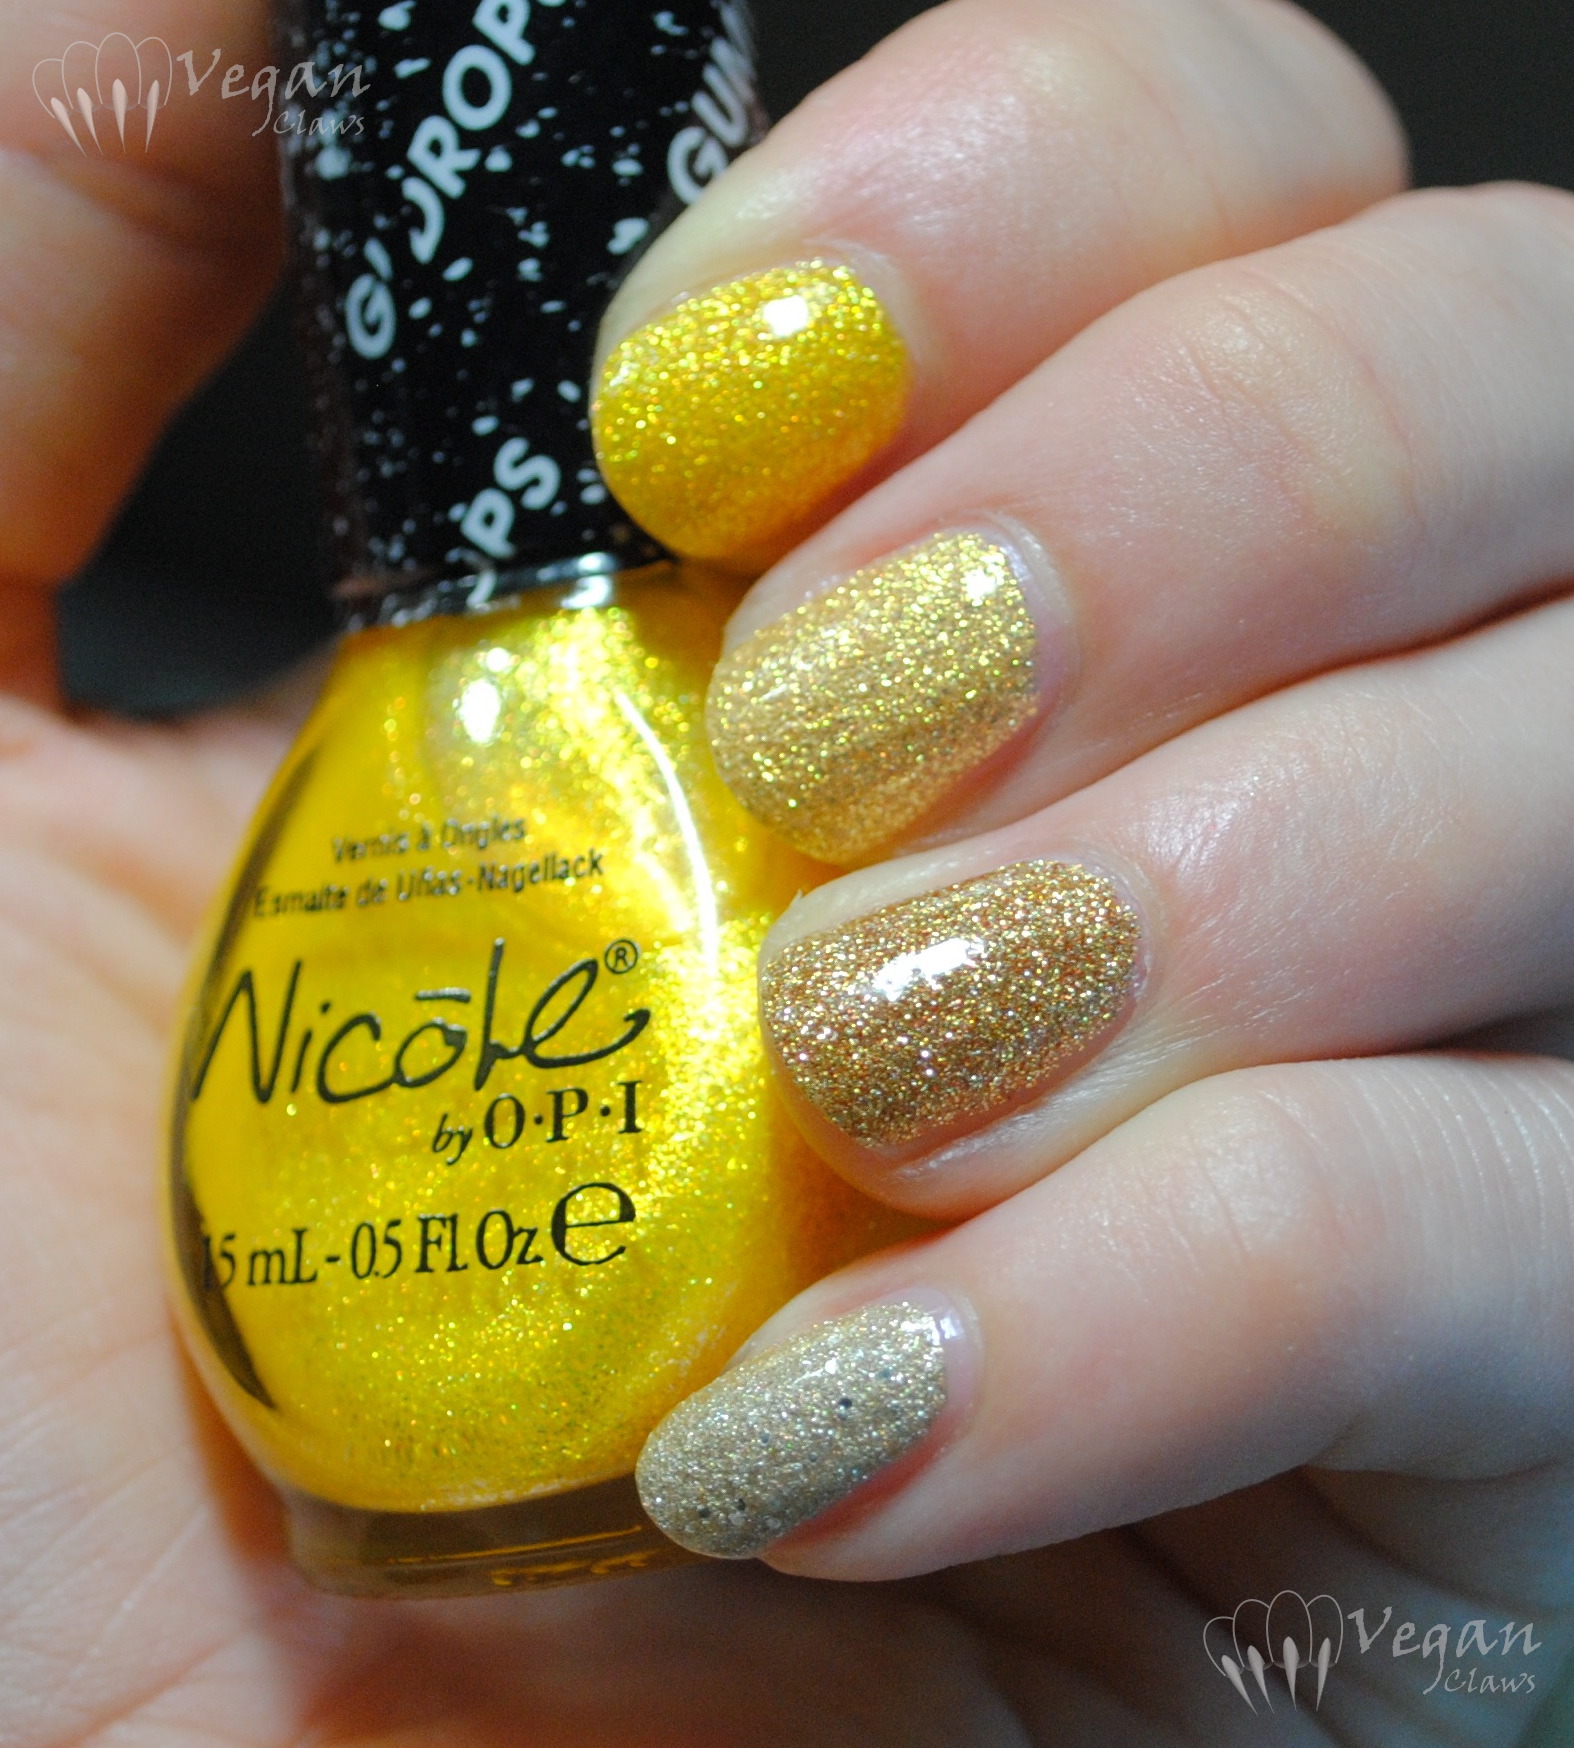
I received a bottle of Seche Vive “Instant Gel Effect” top coat to review from the folks at Nail Polish Canada. 🙂 I thought I’d do a post on my favourite use for Seche Vive: smoothing out texture polishes to make them glossy! Here it is over Zoya’s new pixie dust, Juniper!

IMG_20181020_185807

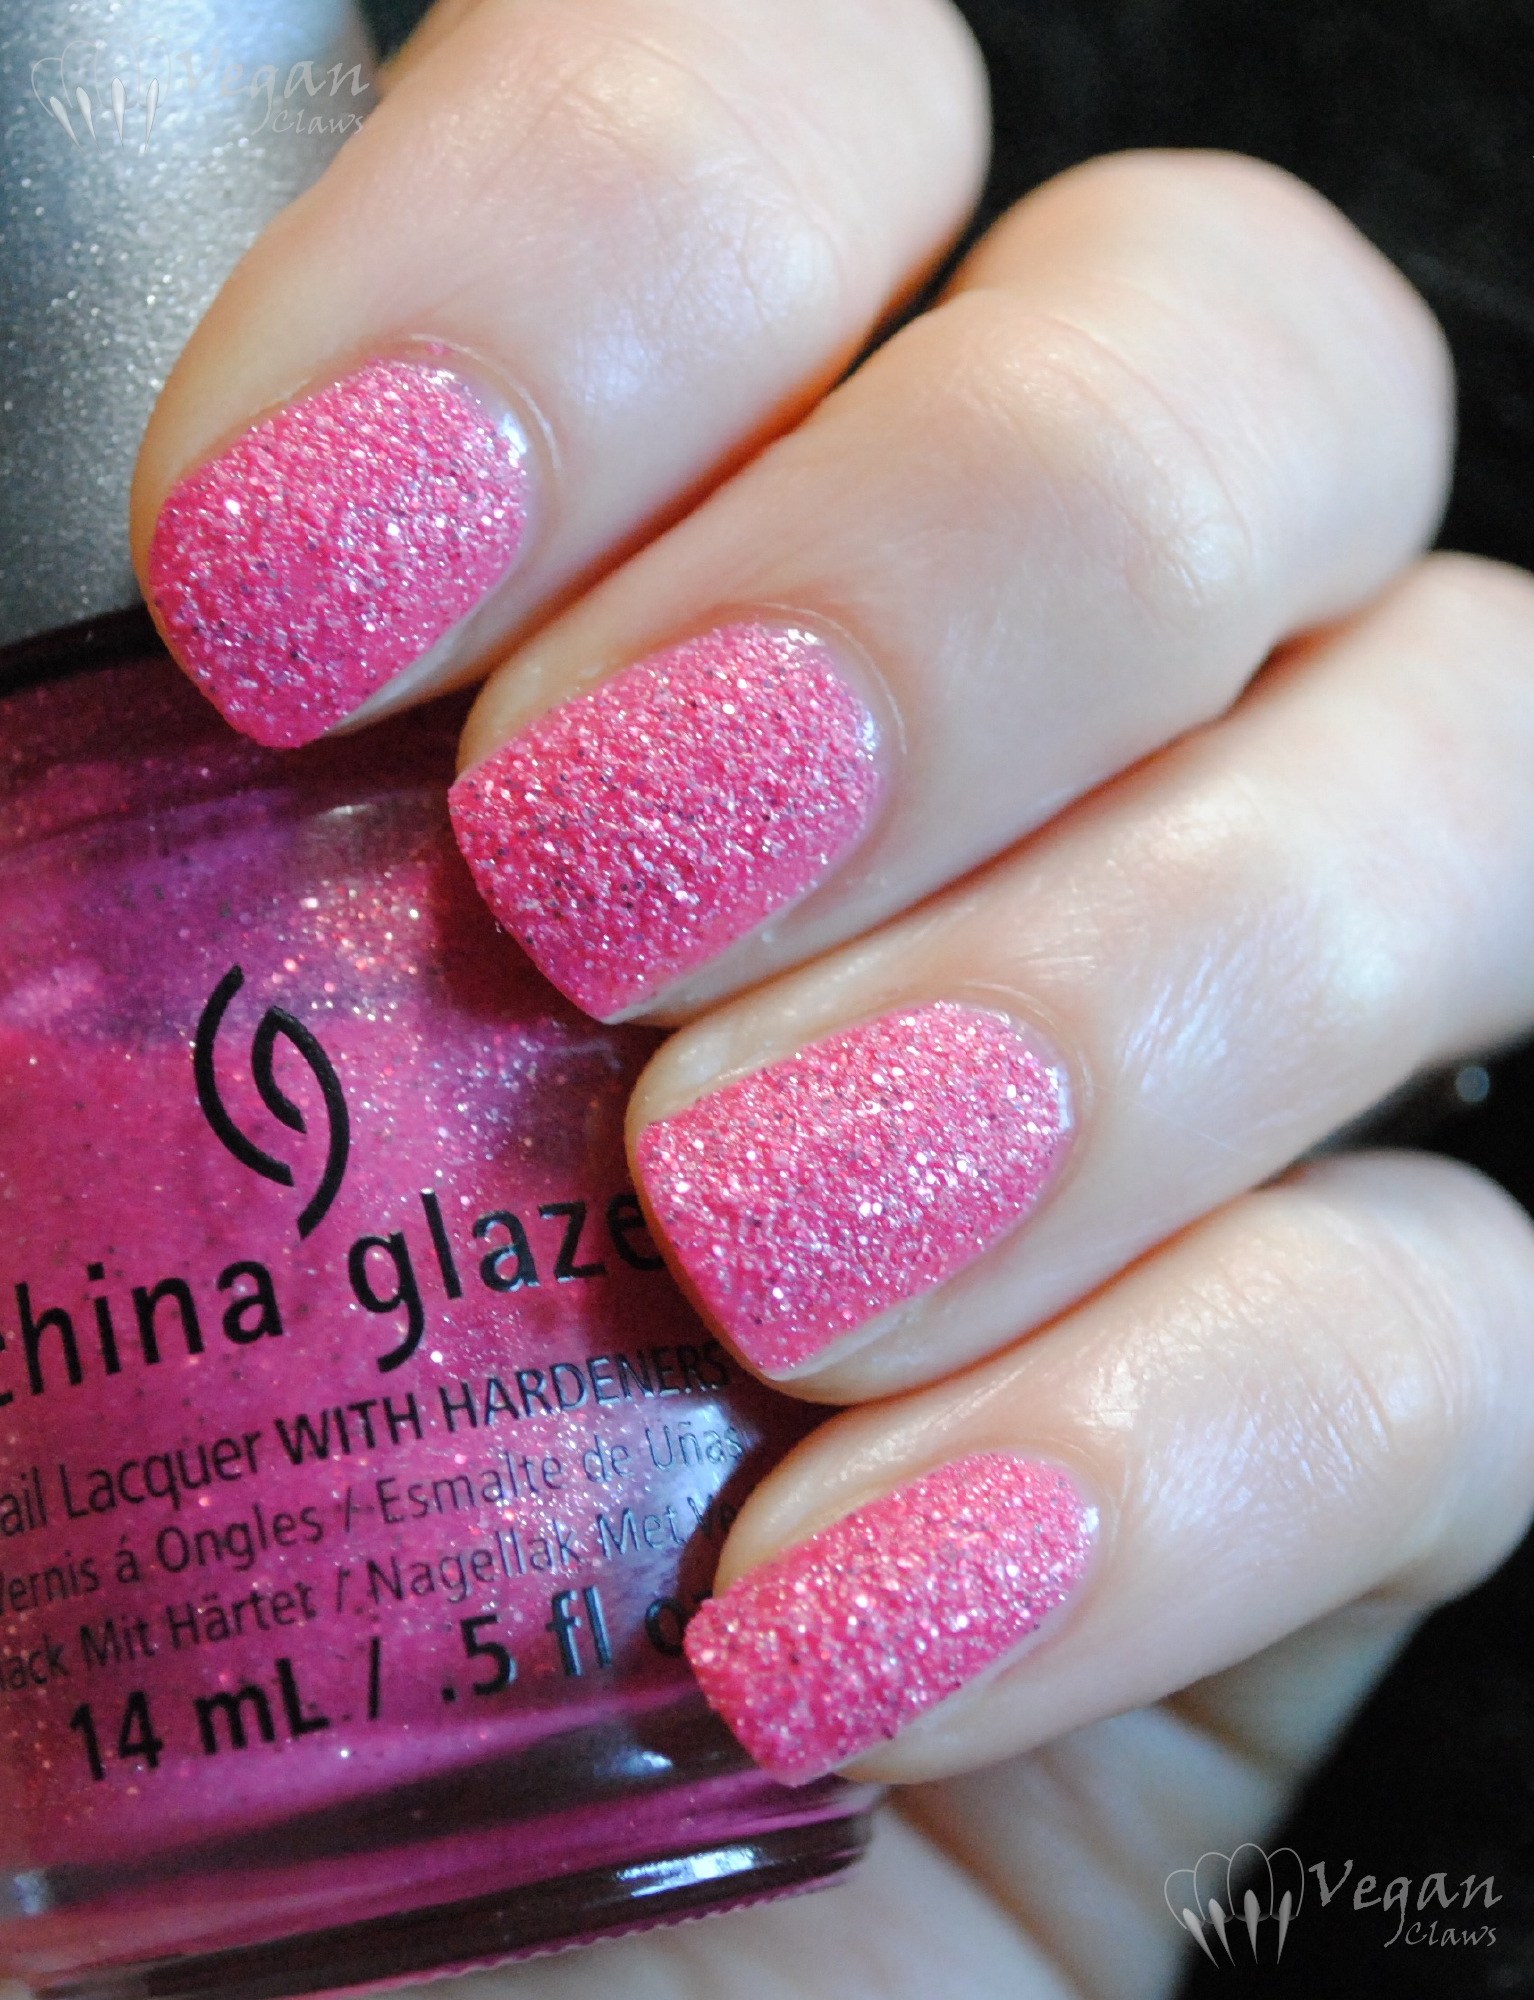
I find it works best when you let the texture polish dry (or mostly dry), then add a layer of Gelous (from Sally Beauty), followed by the Sèche Vive. (Maybe two layers of Gelous for a really stubborn textured polish!)

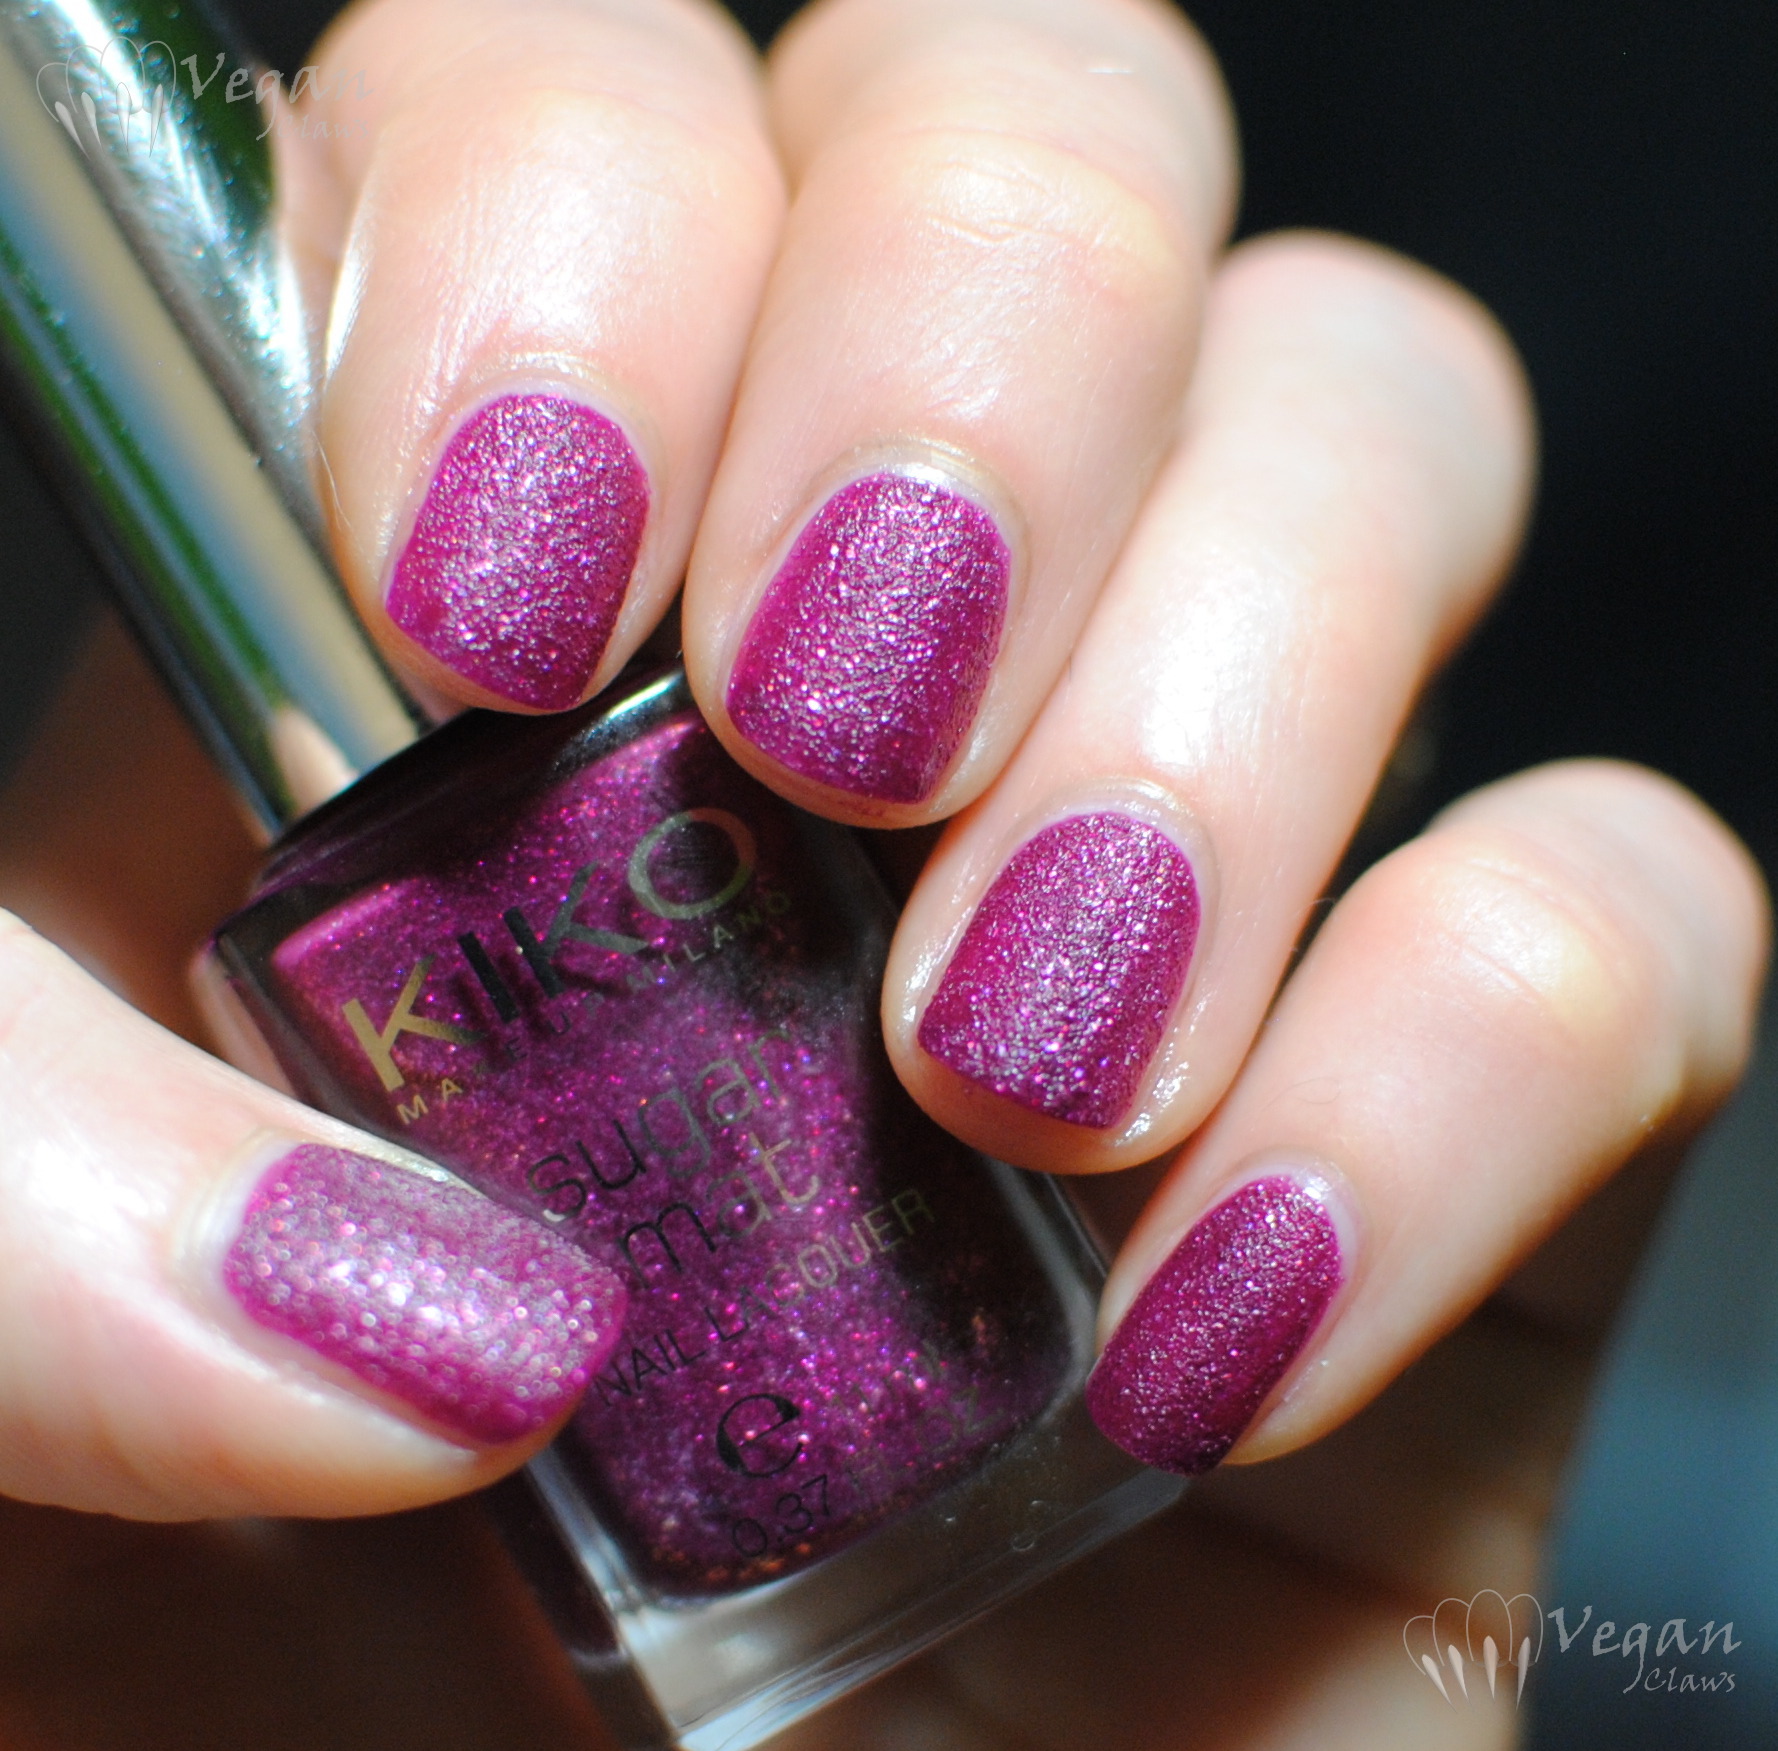
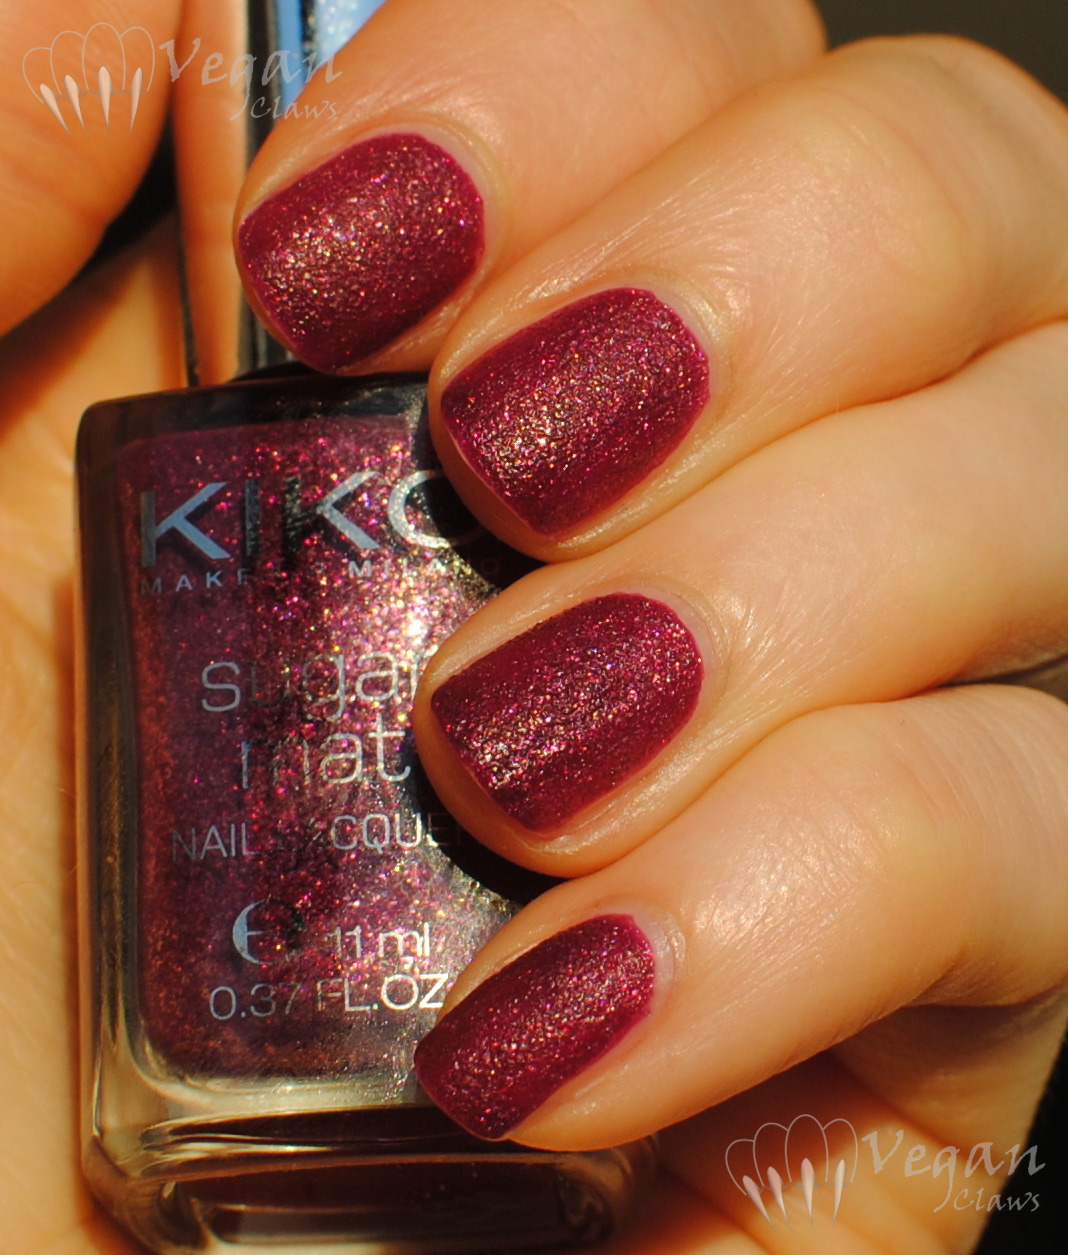
Unlike Seche Vite which needs to go over wet polish, Vive is supposed to be used over dry(er) polish. So I let the Gelous dry for a couple minutes before adding the Seche Vive.

IMG_20181020_185843

IMG_20181020_185938

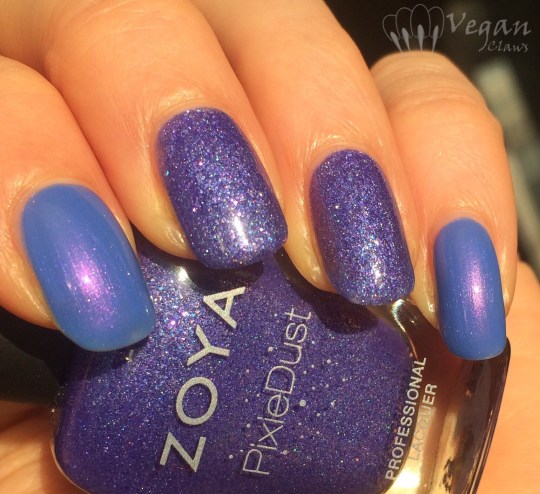
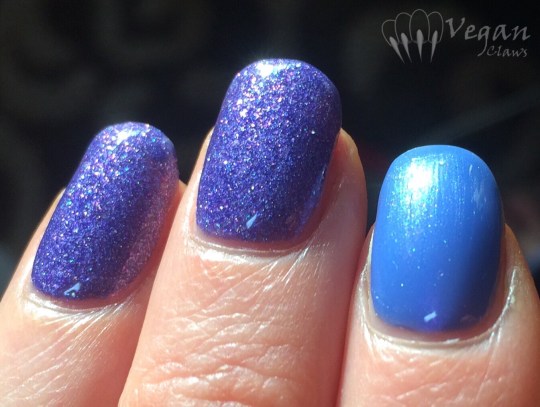
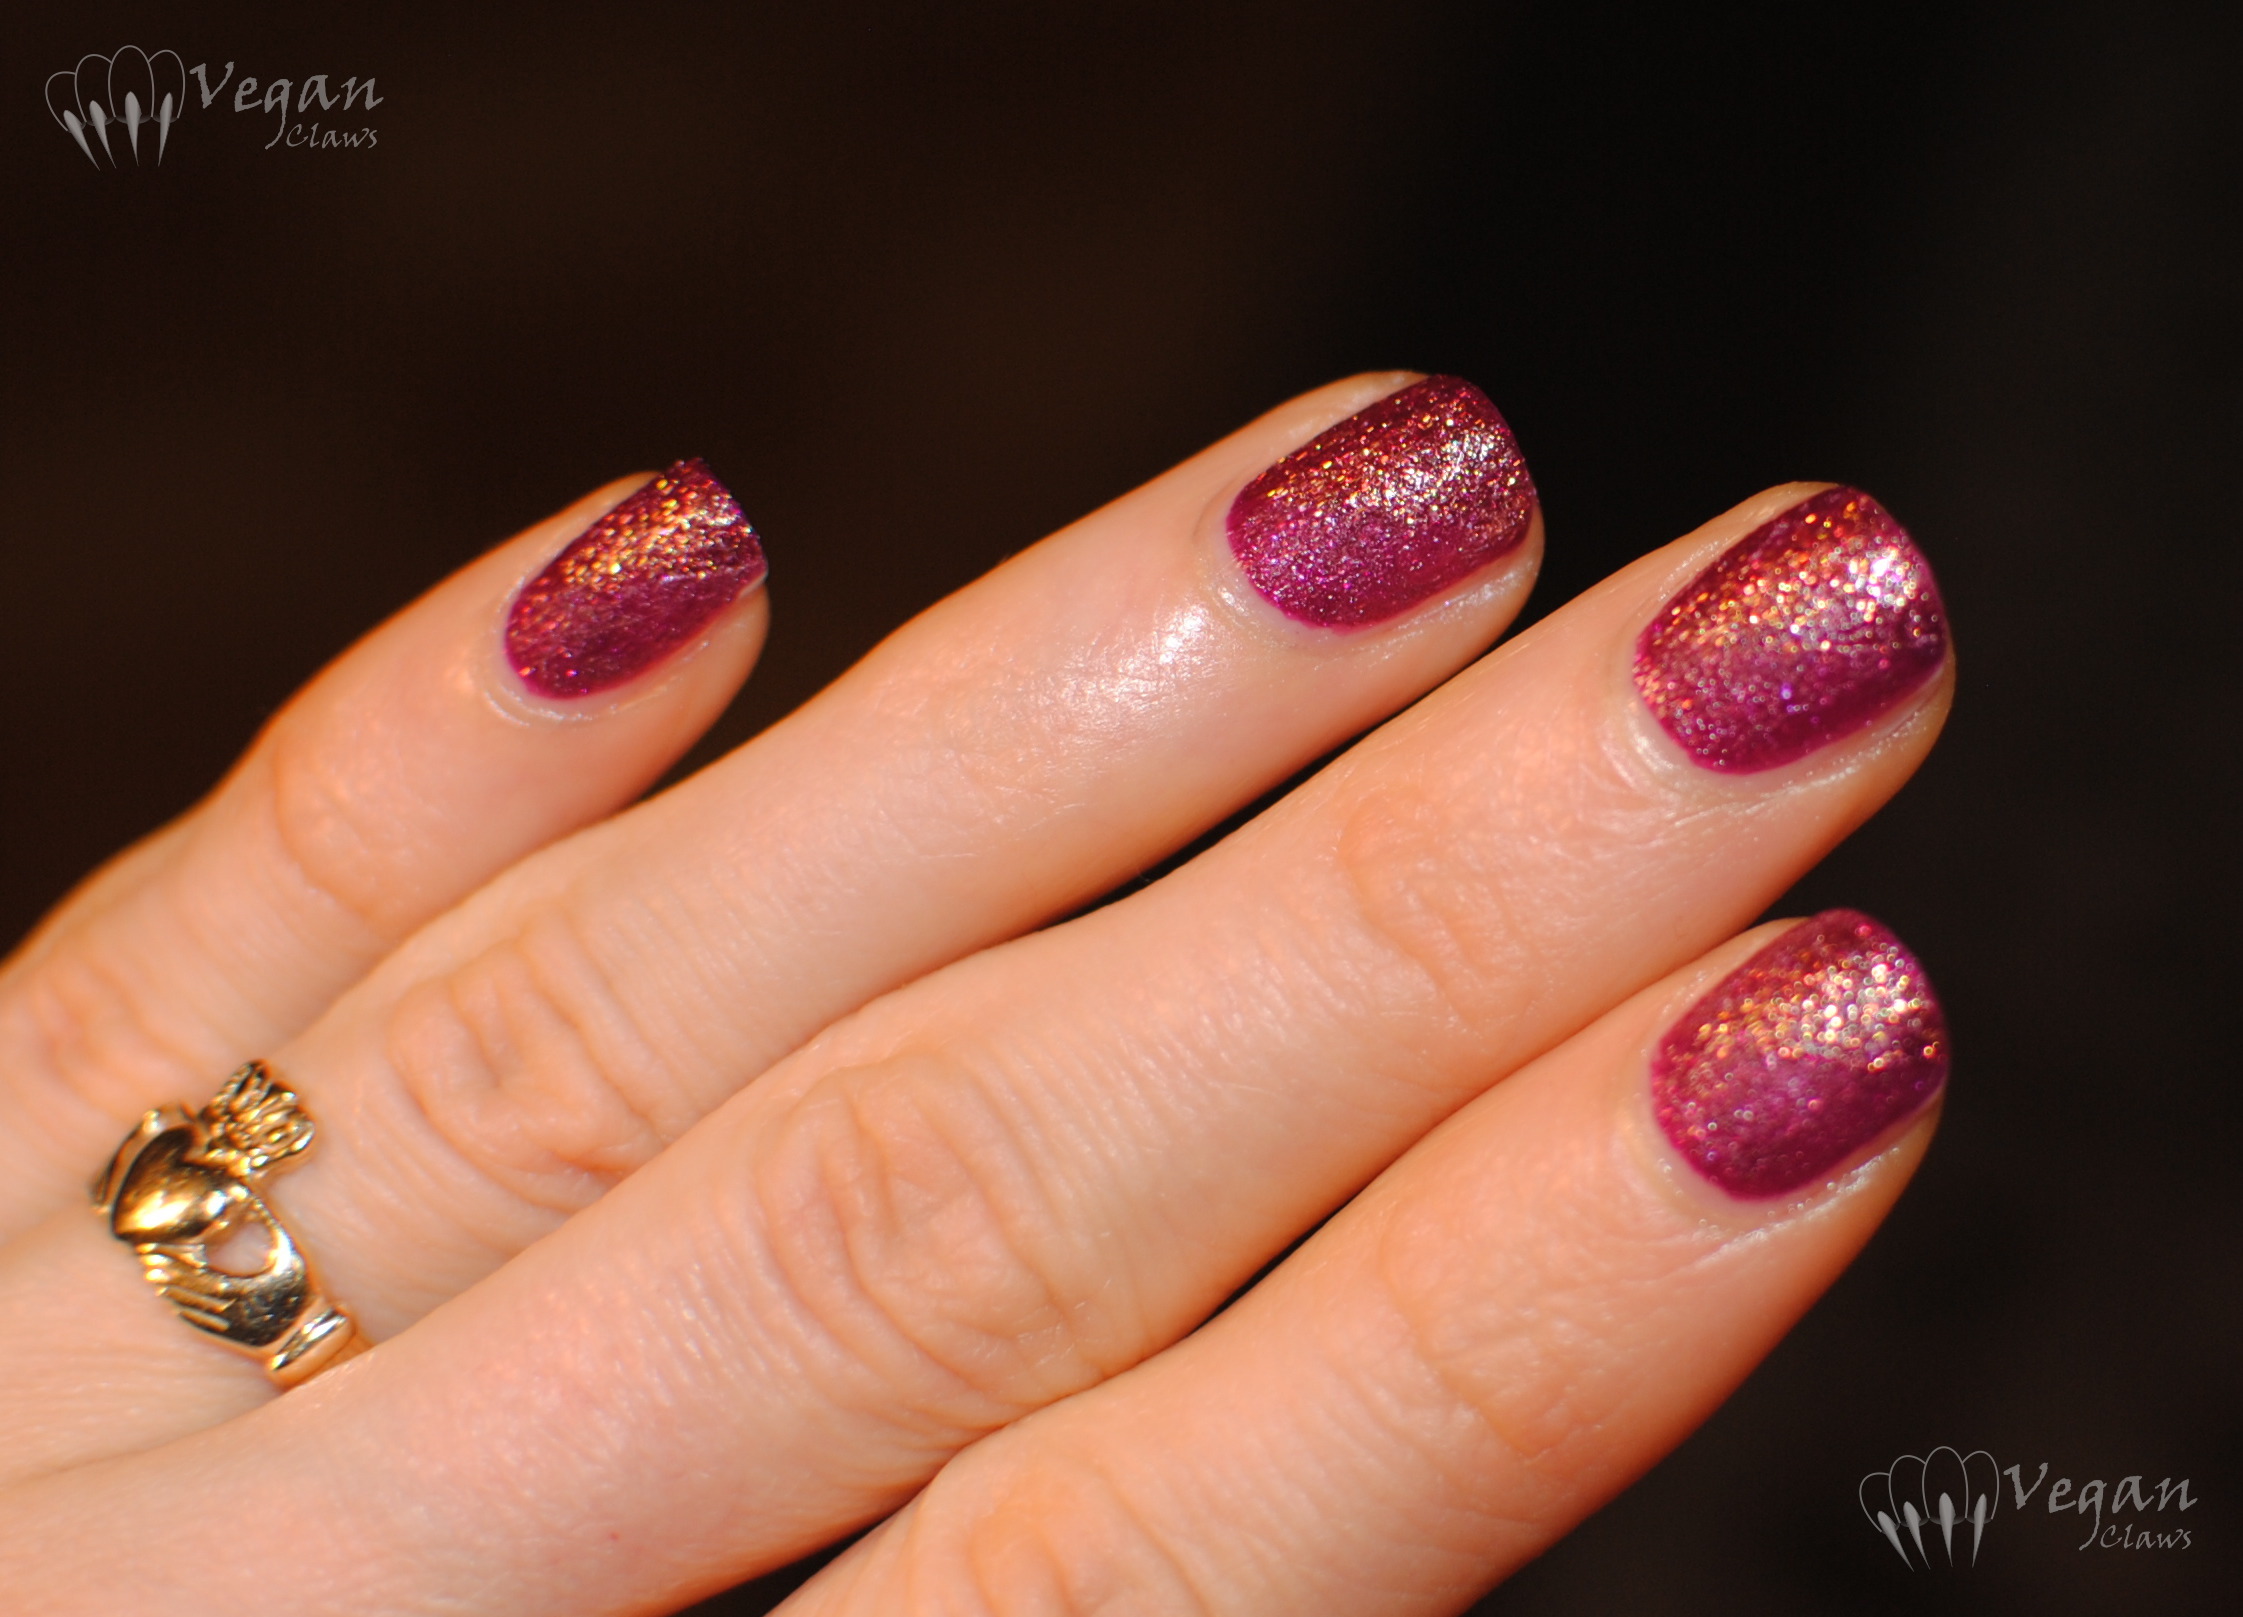
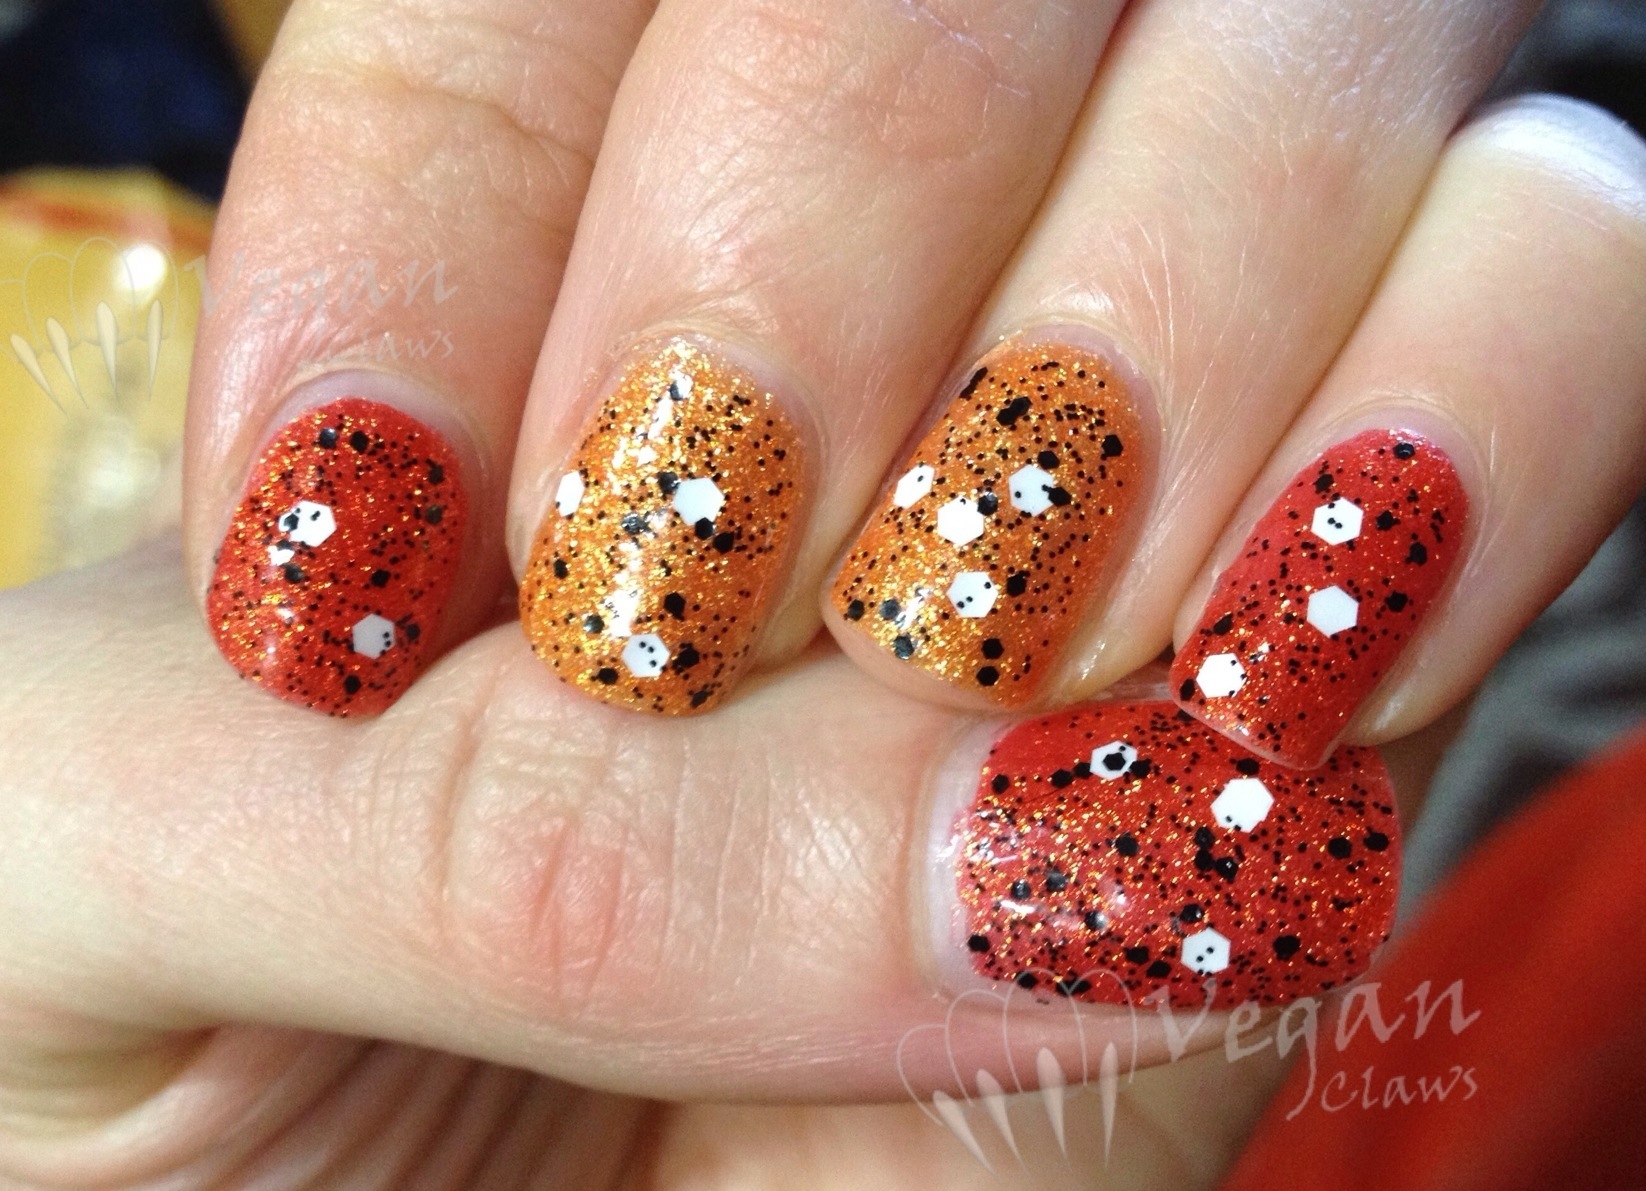
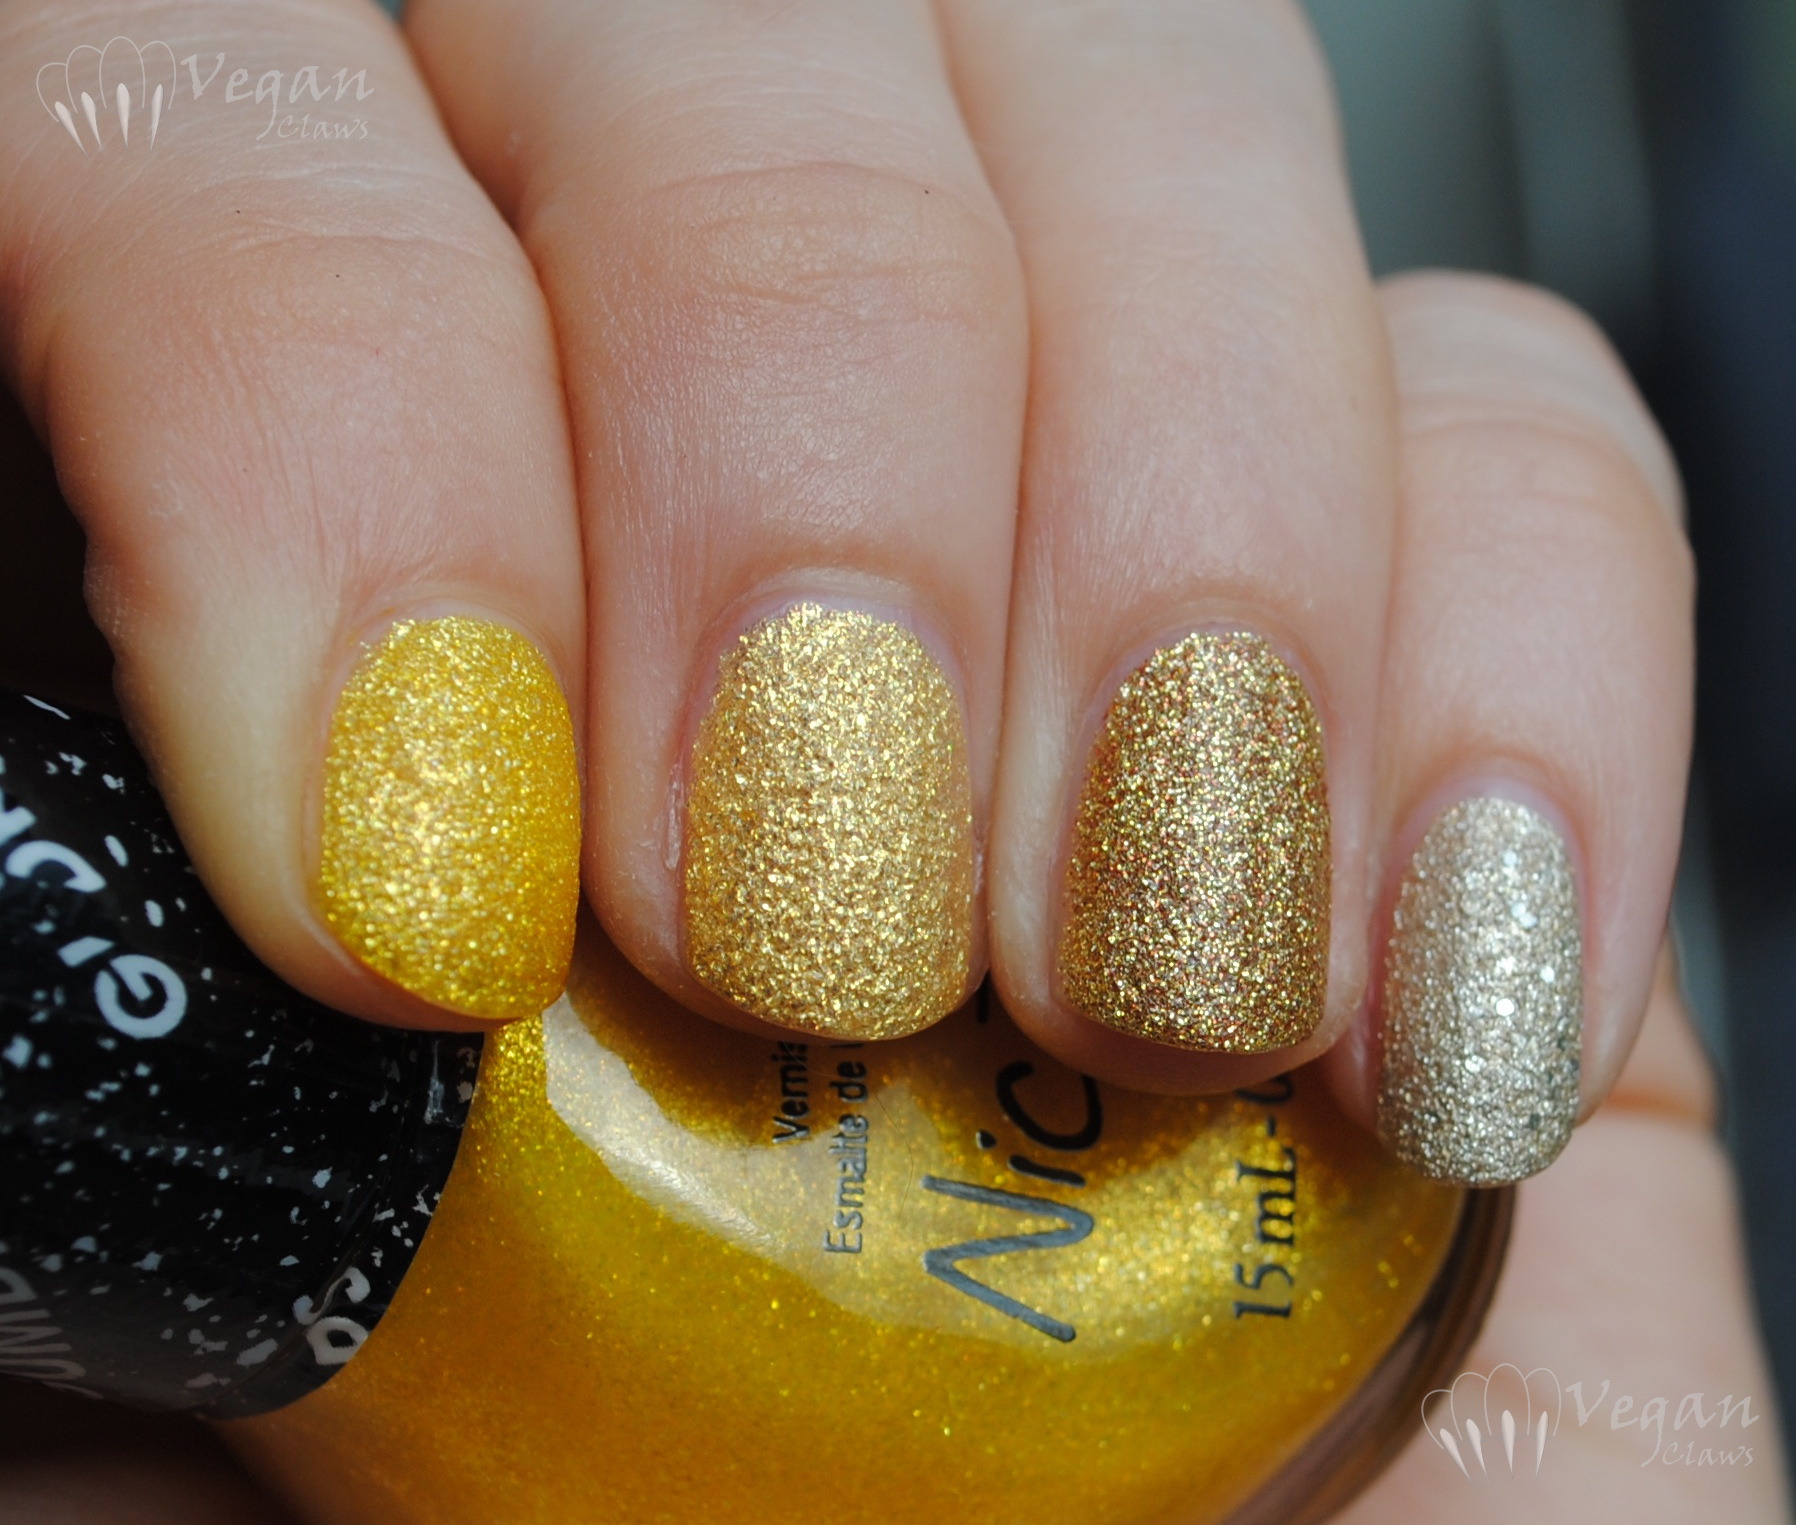
And here is an older mani with Zoya Saint and Alice, where Alice has been topcoated using the Gelous/Sèche Vive combo.

IMG_8048

Thor in the next pic!

IMG_8050IMG_8054IMG_8052

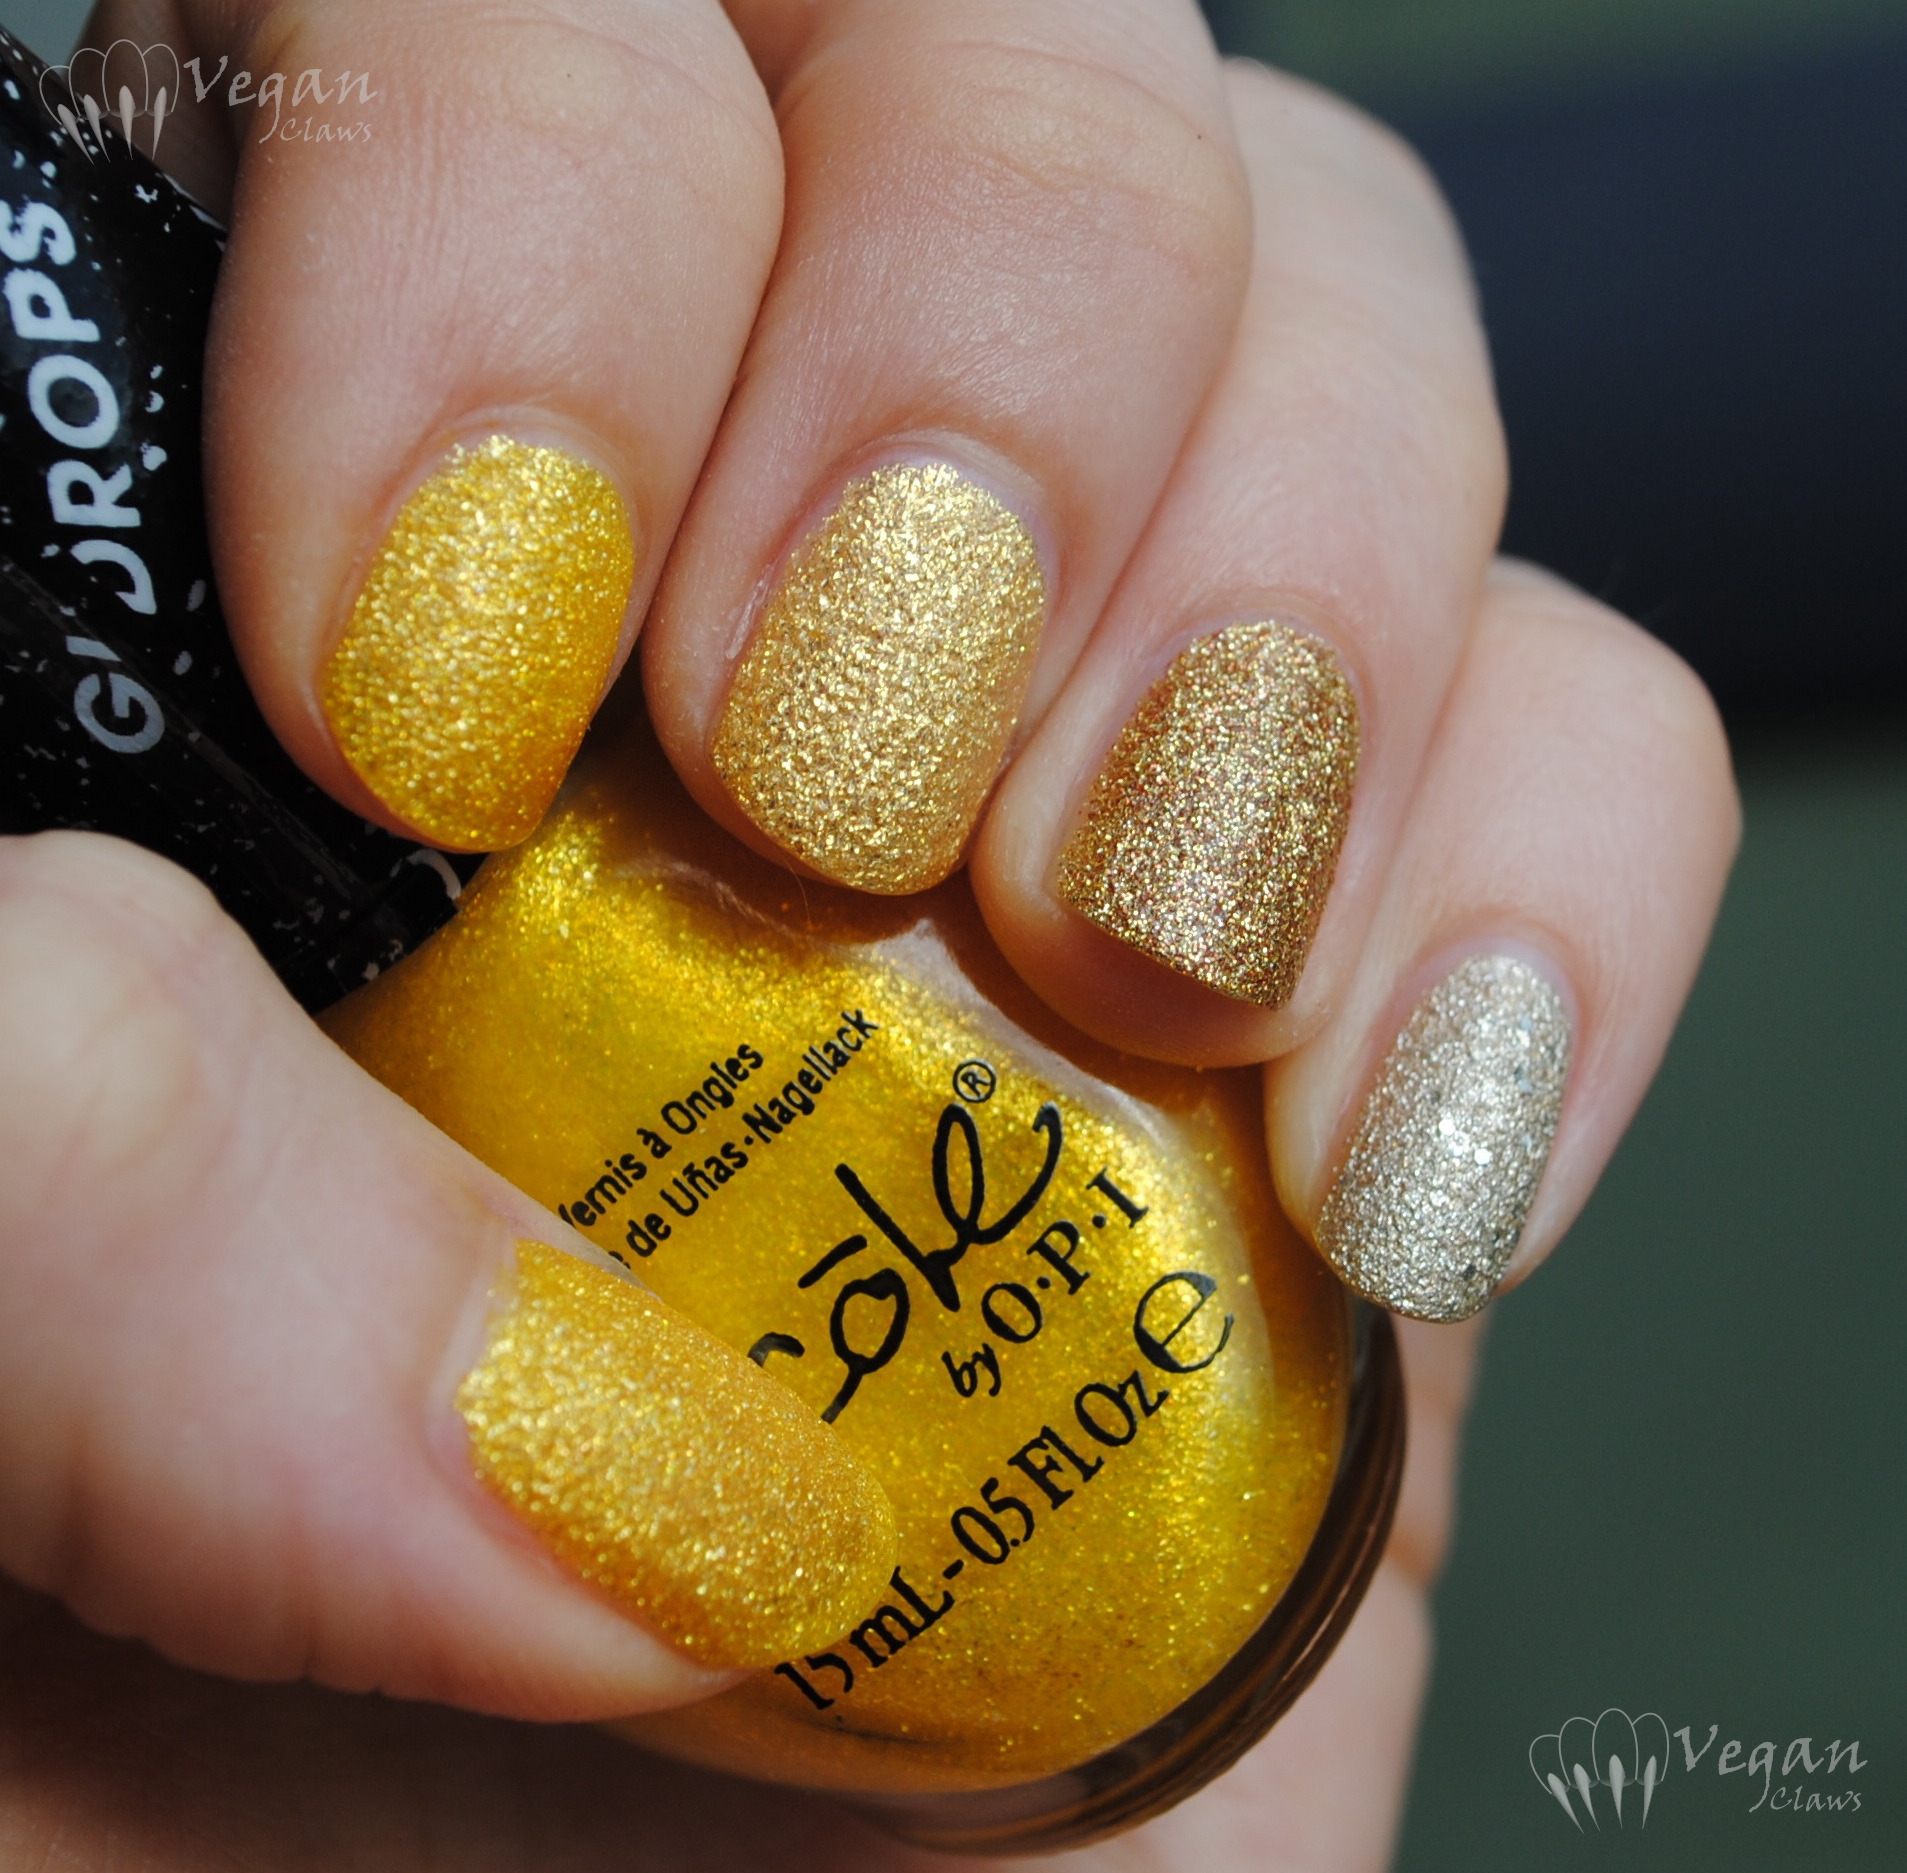
One caveat, the instructions say to put Sèche Vive over dry polish, but the reason I said dry(er) above is that I find it works best over semi-dry, but not fully dry polish. At least, when I tried to put a second layer of it over itself on Zoya Saint, this wrinkling happened:

IMG_8055

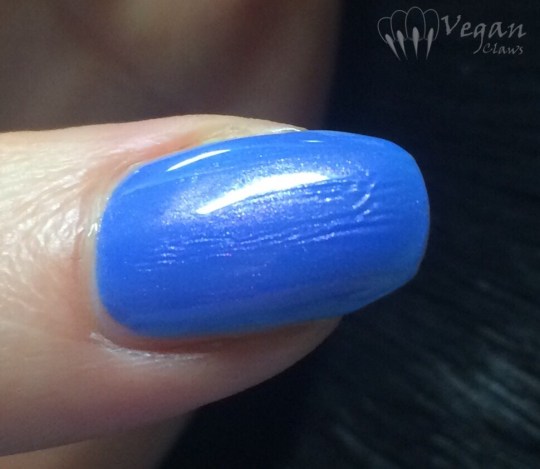
So, I’m not positive if that was because it was dry before I applied more, or if Sèche Vive just doesn’t like going on top of itself!

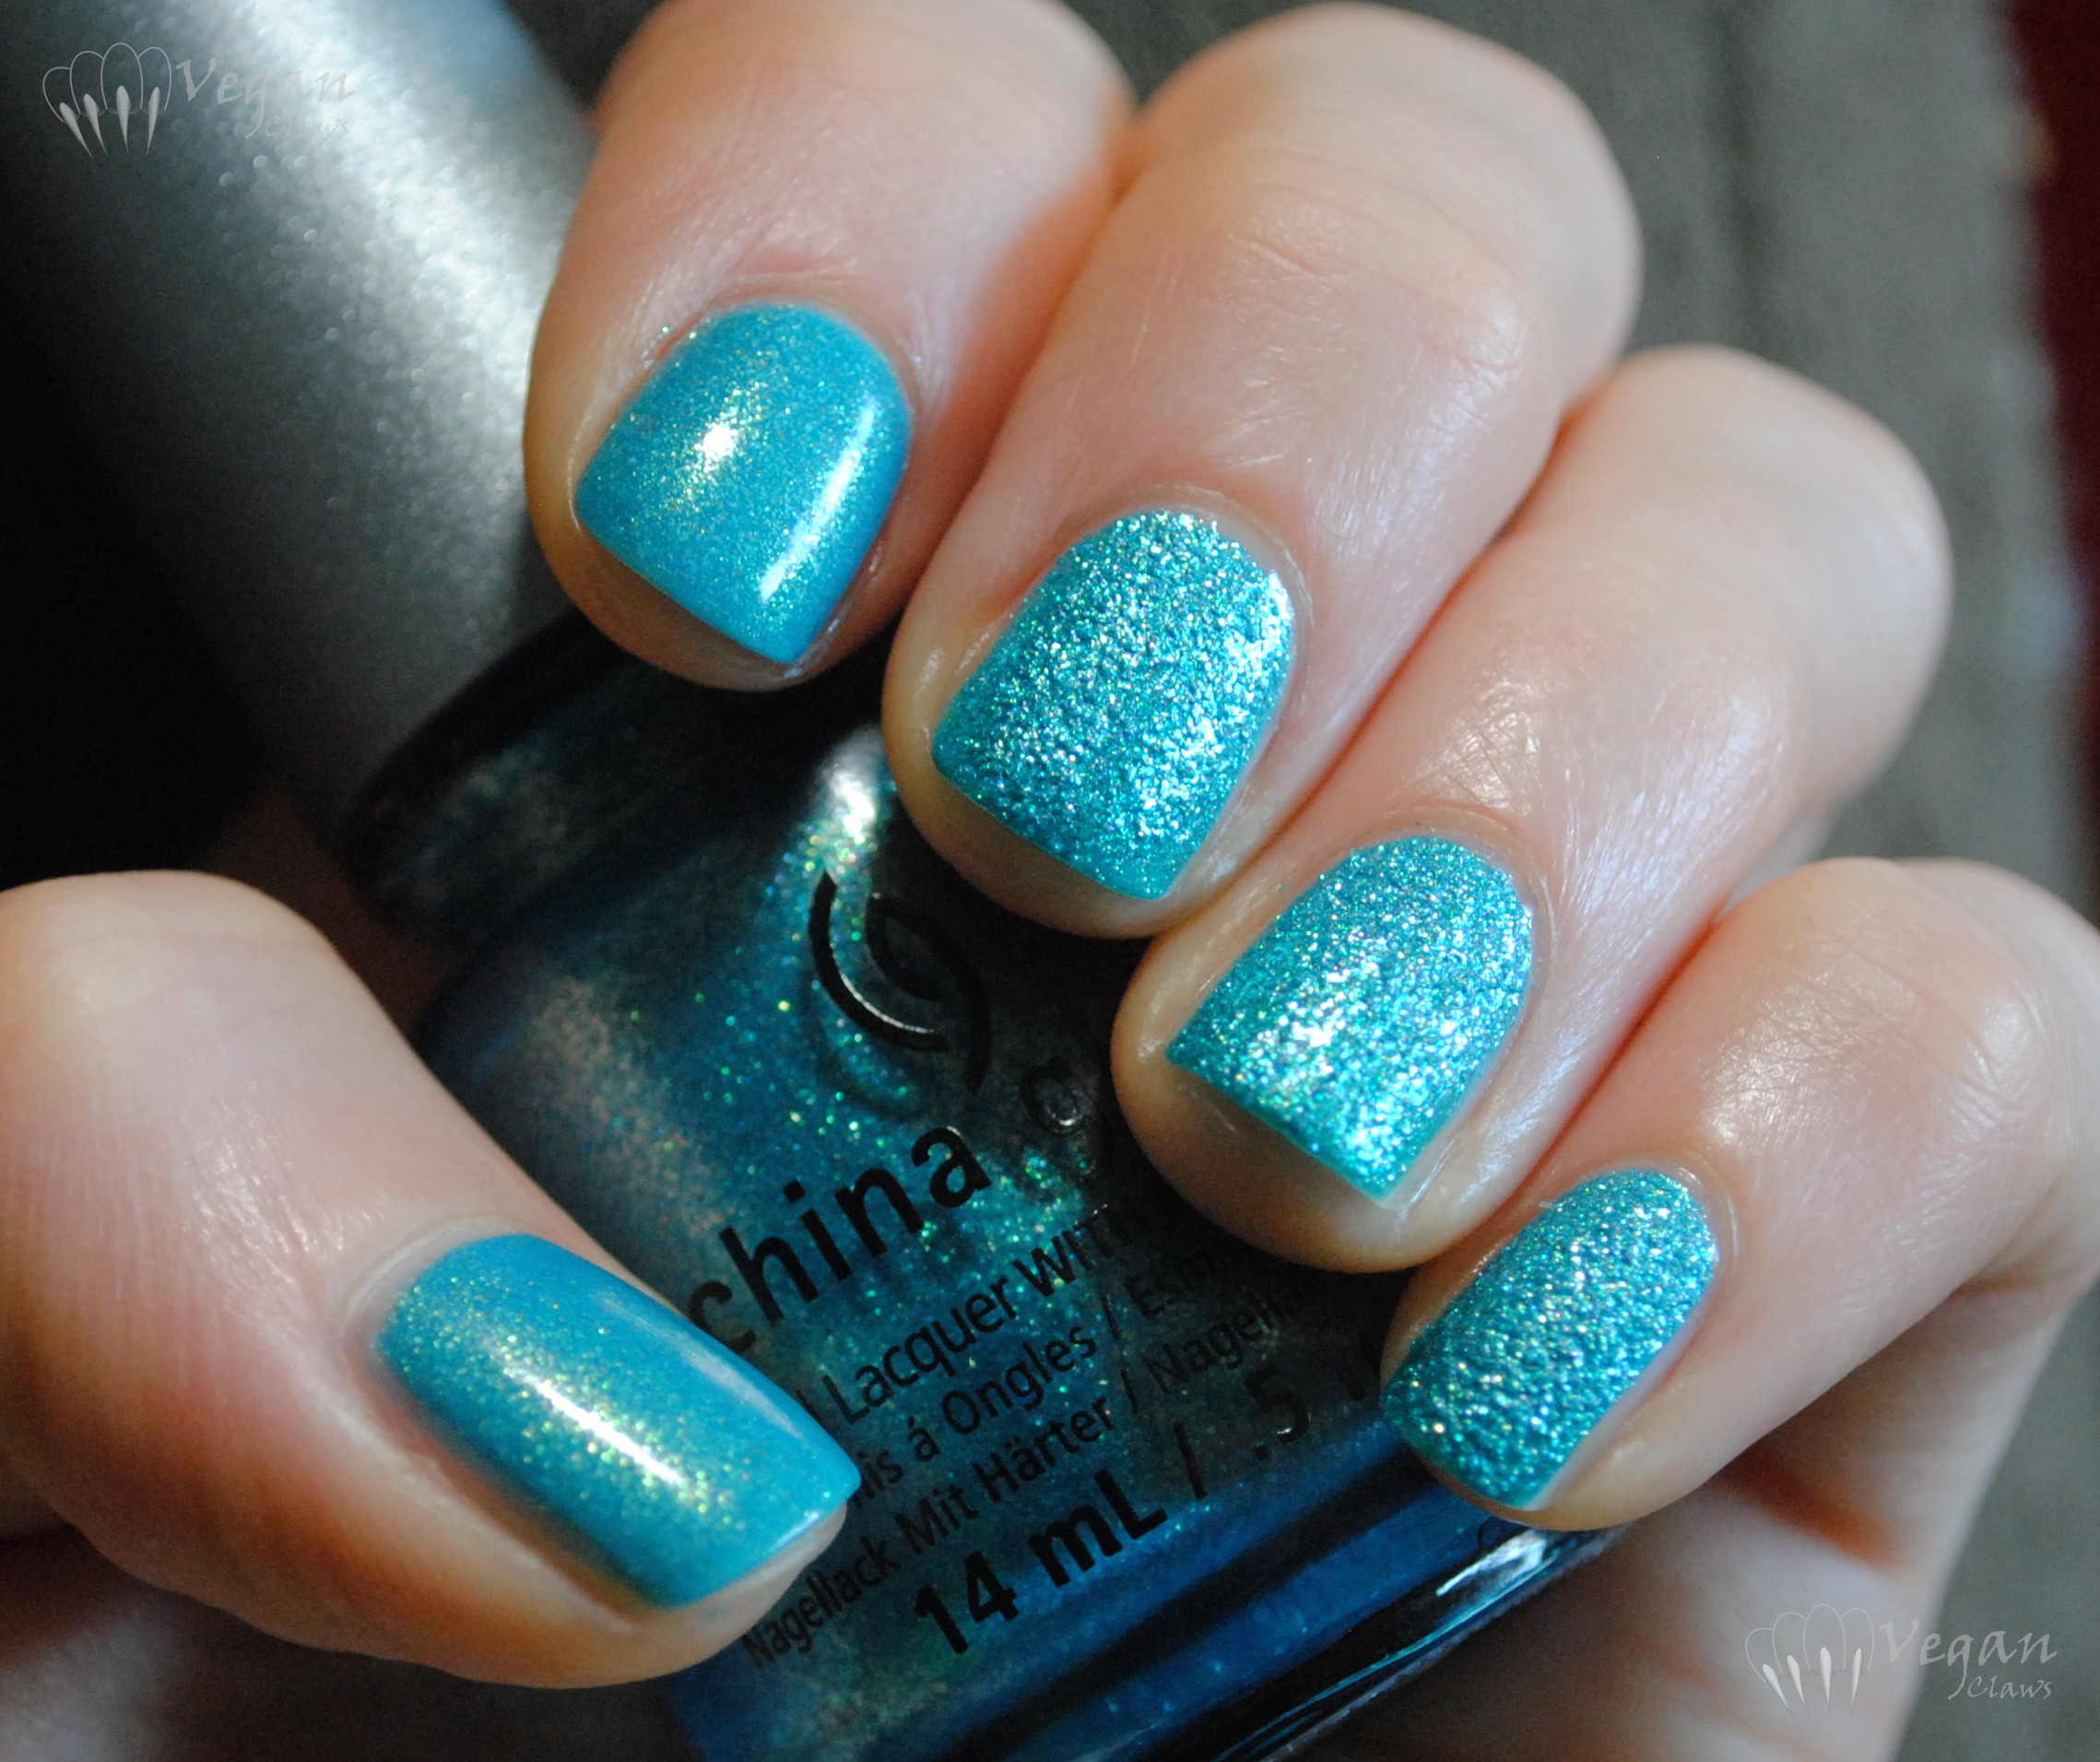
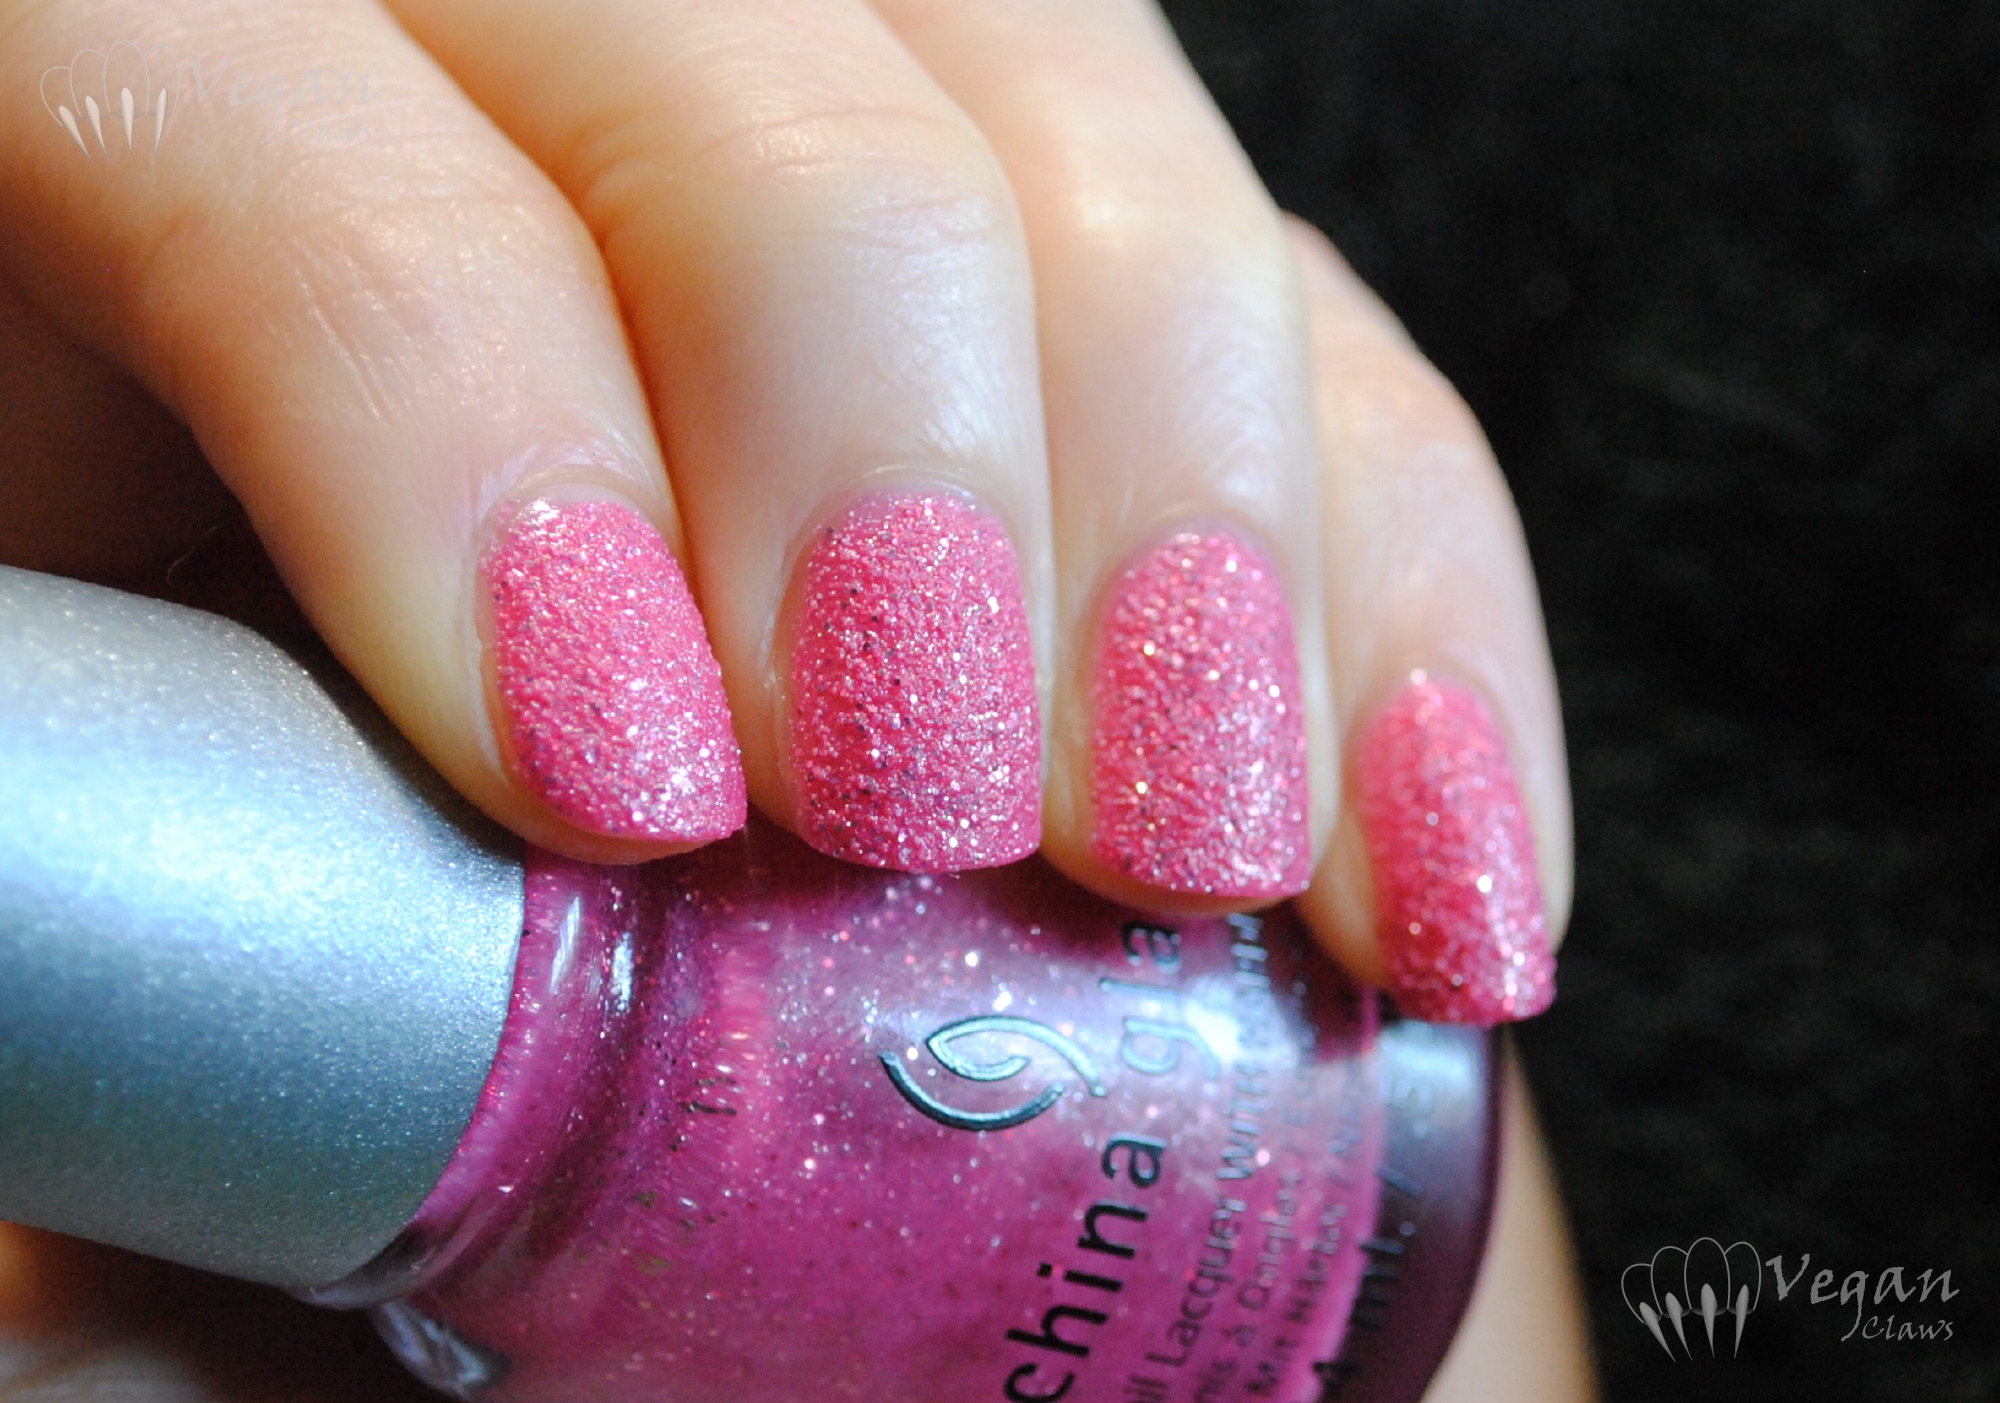
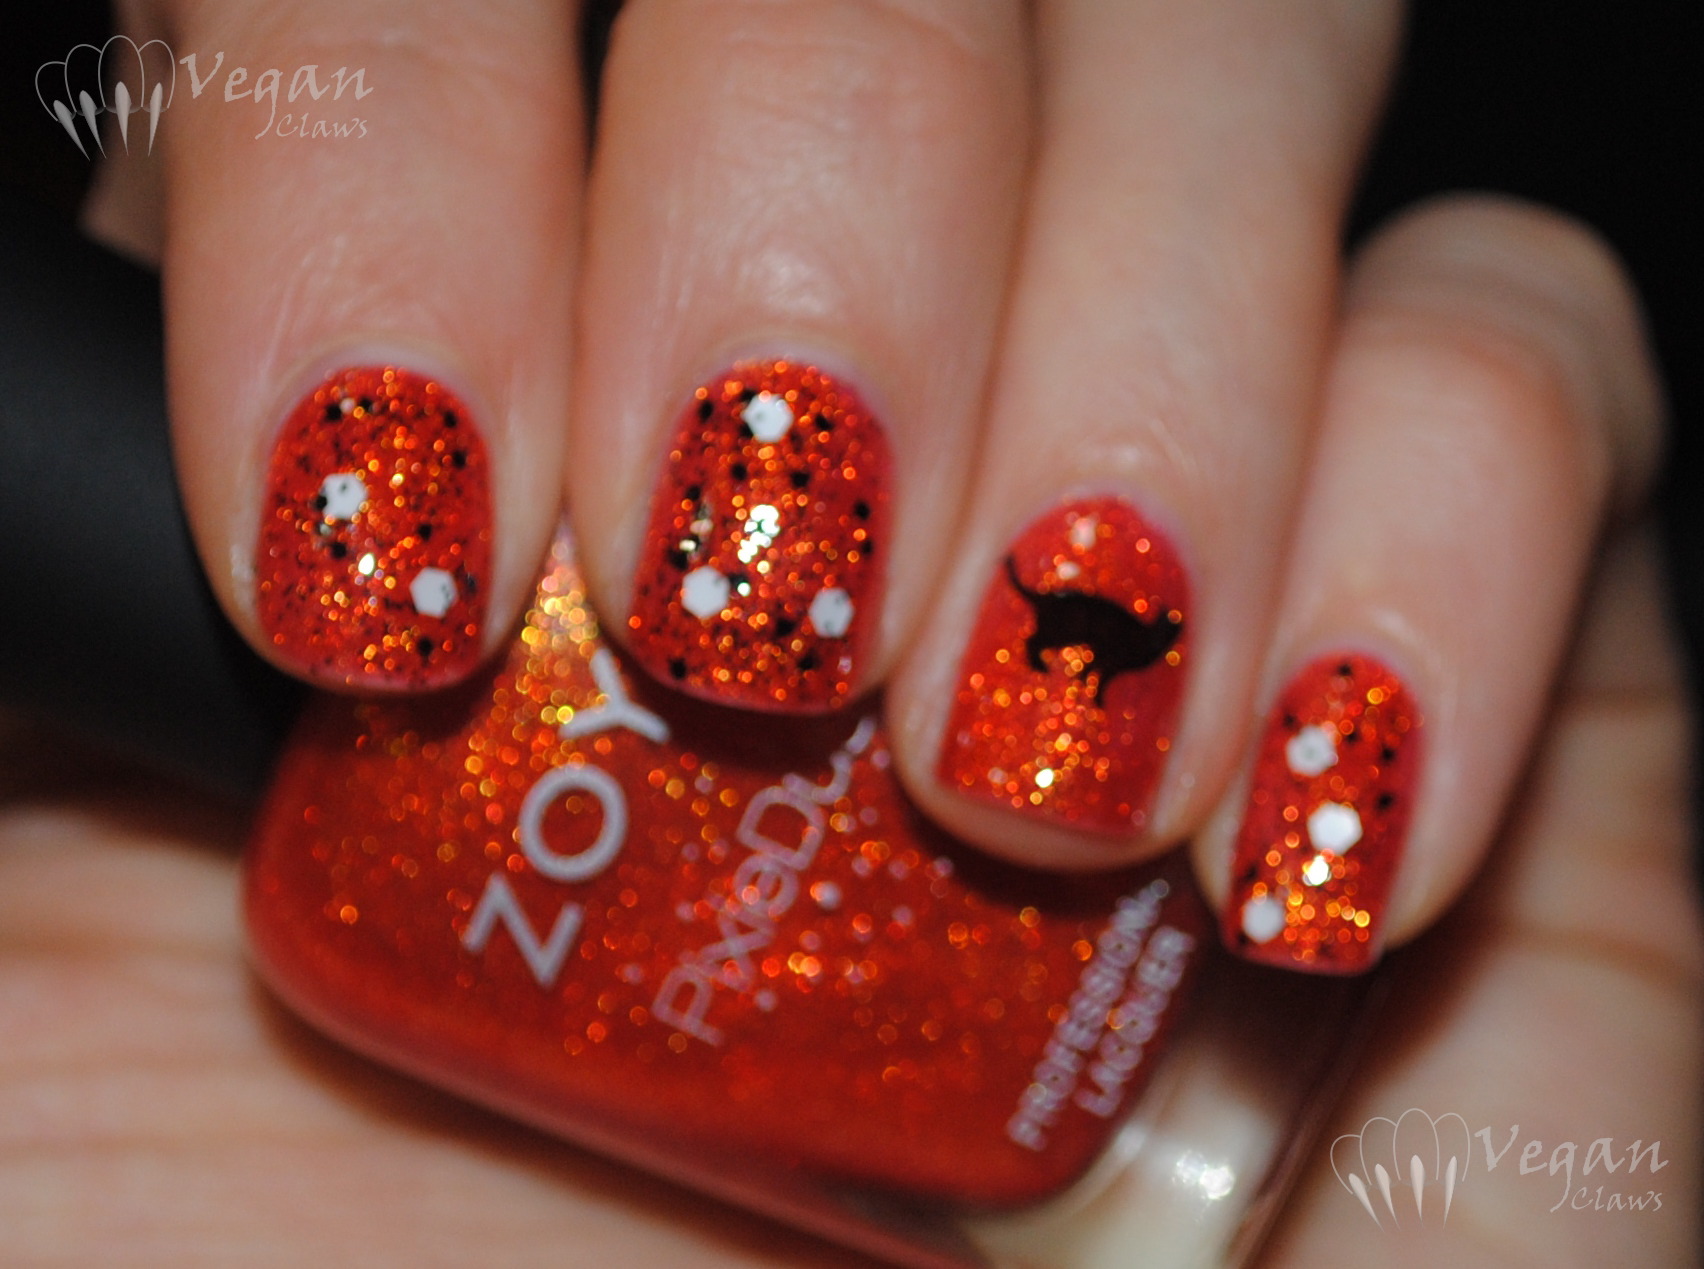
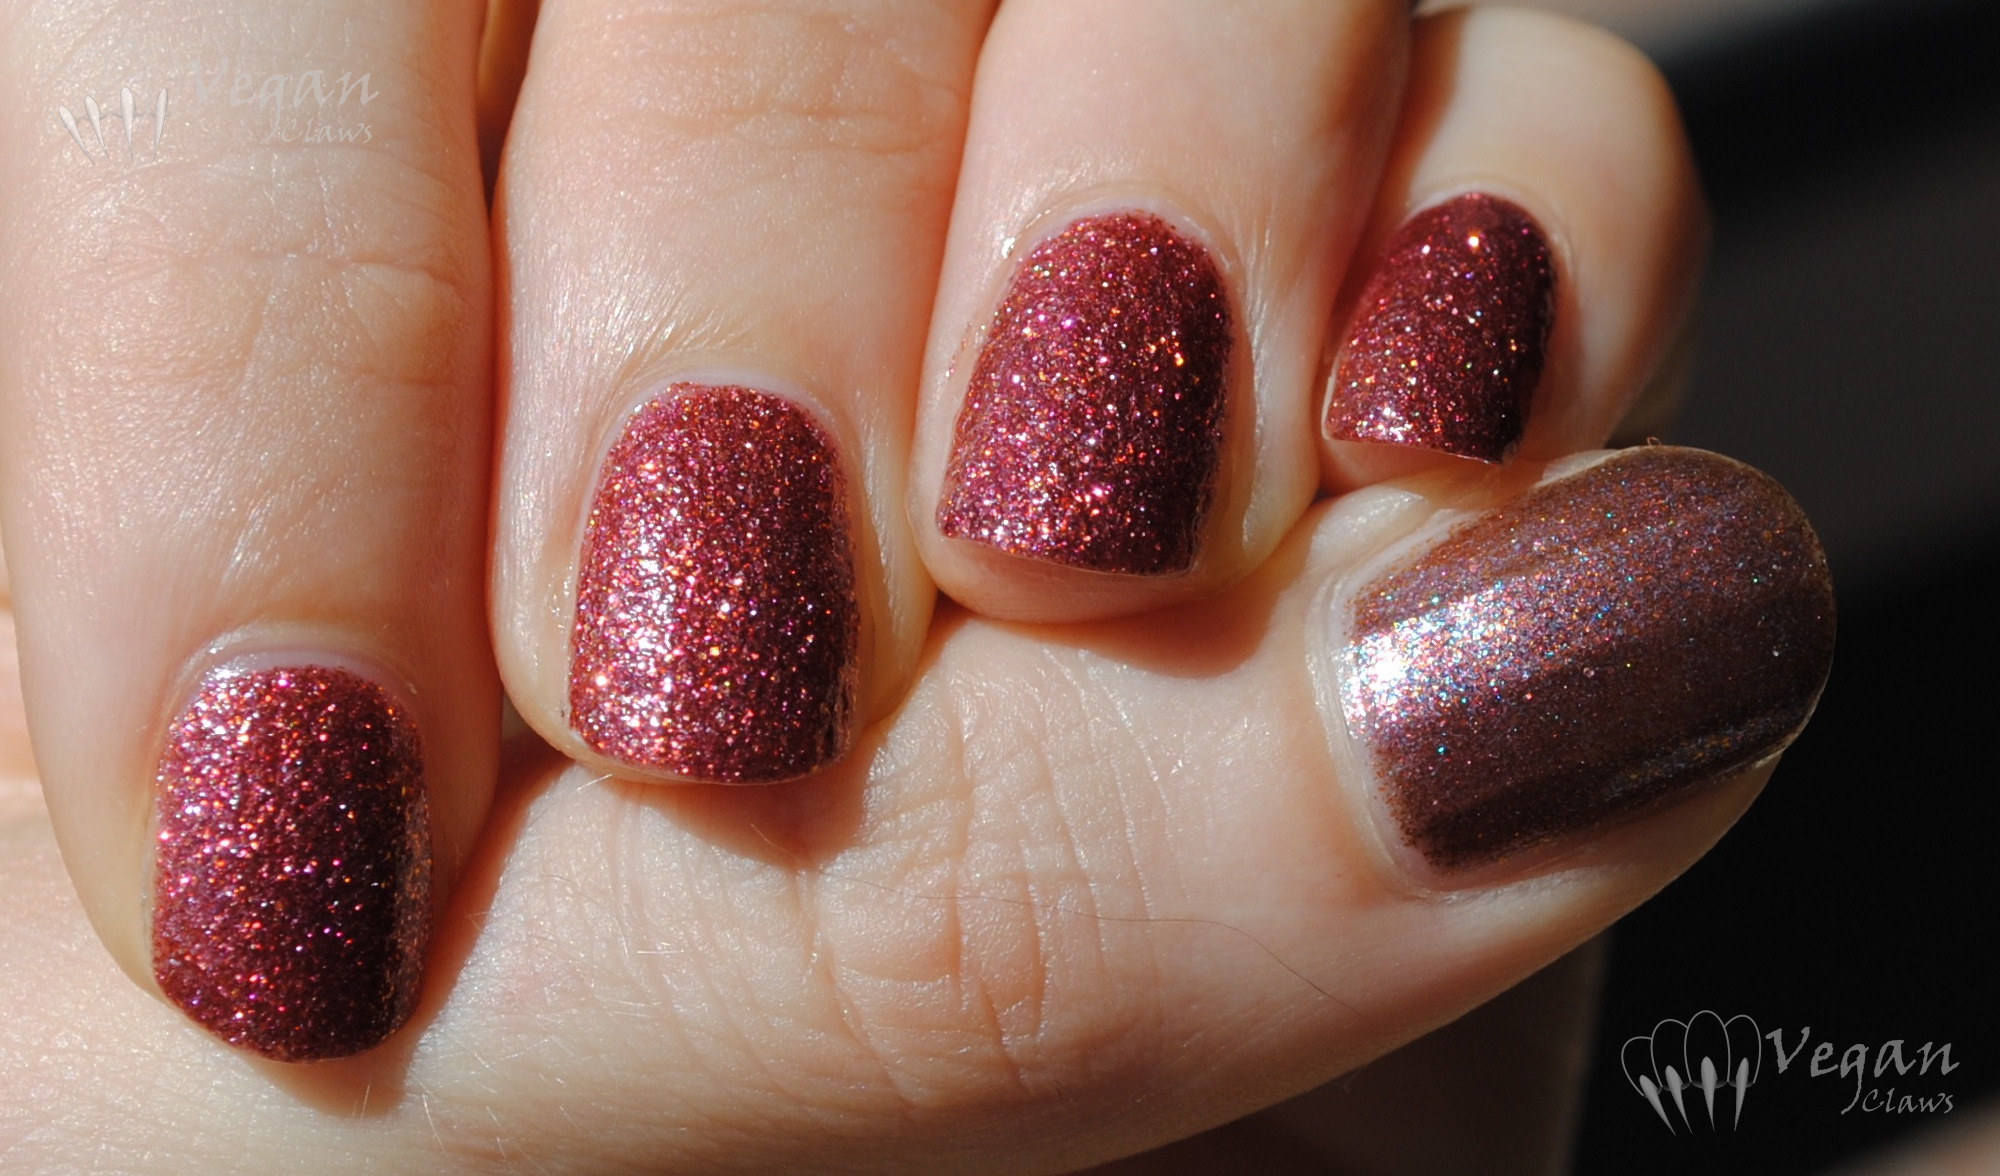
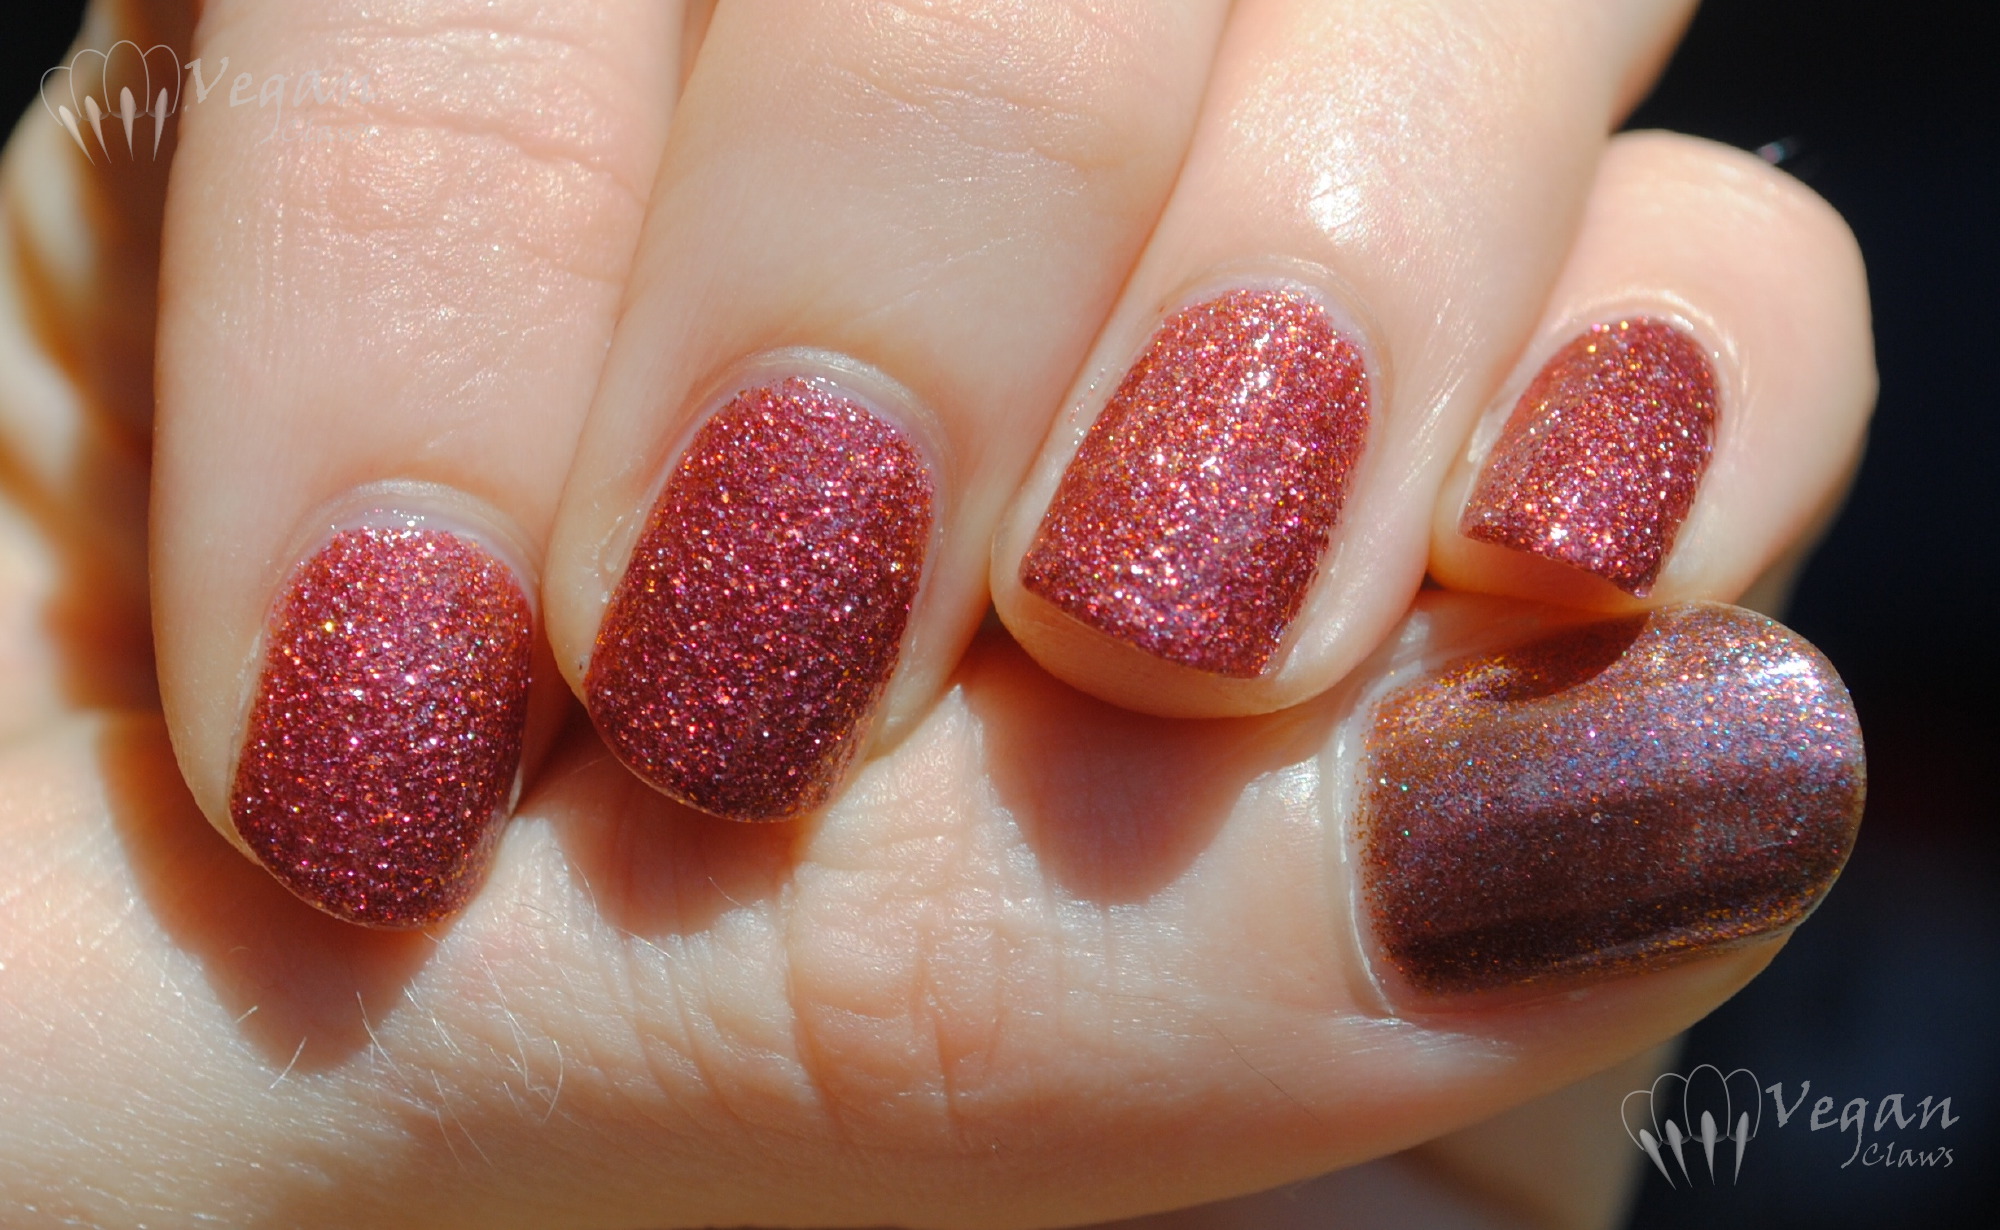
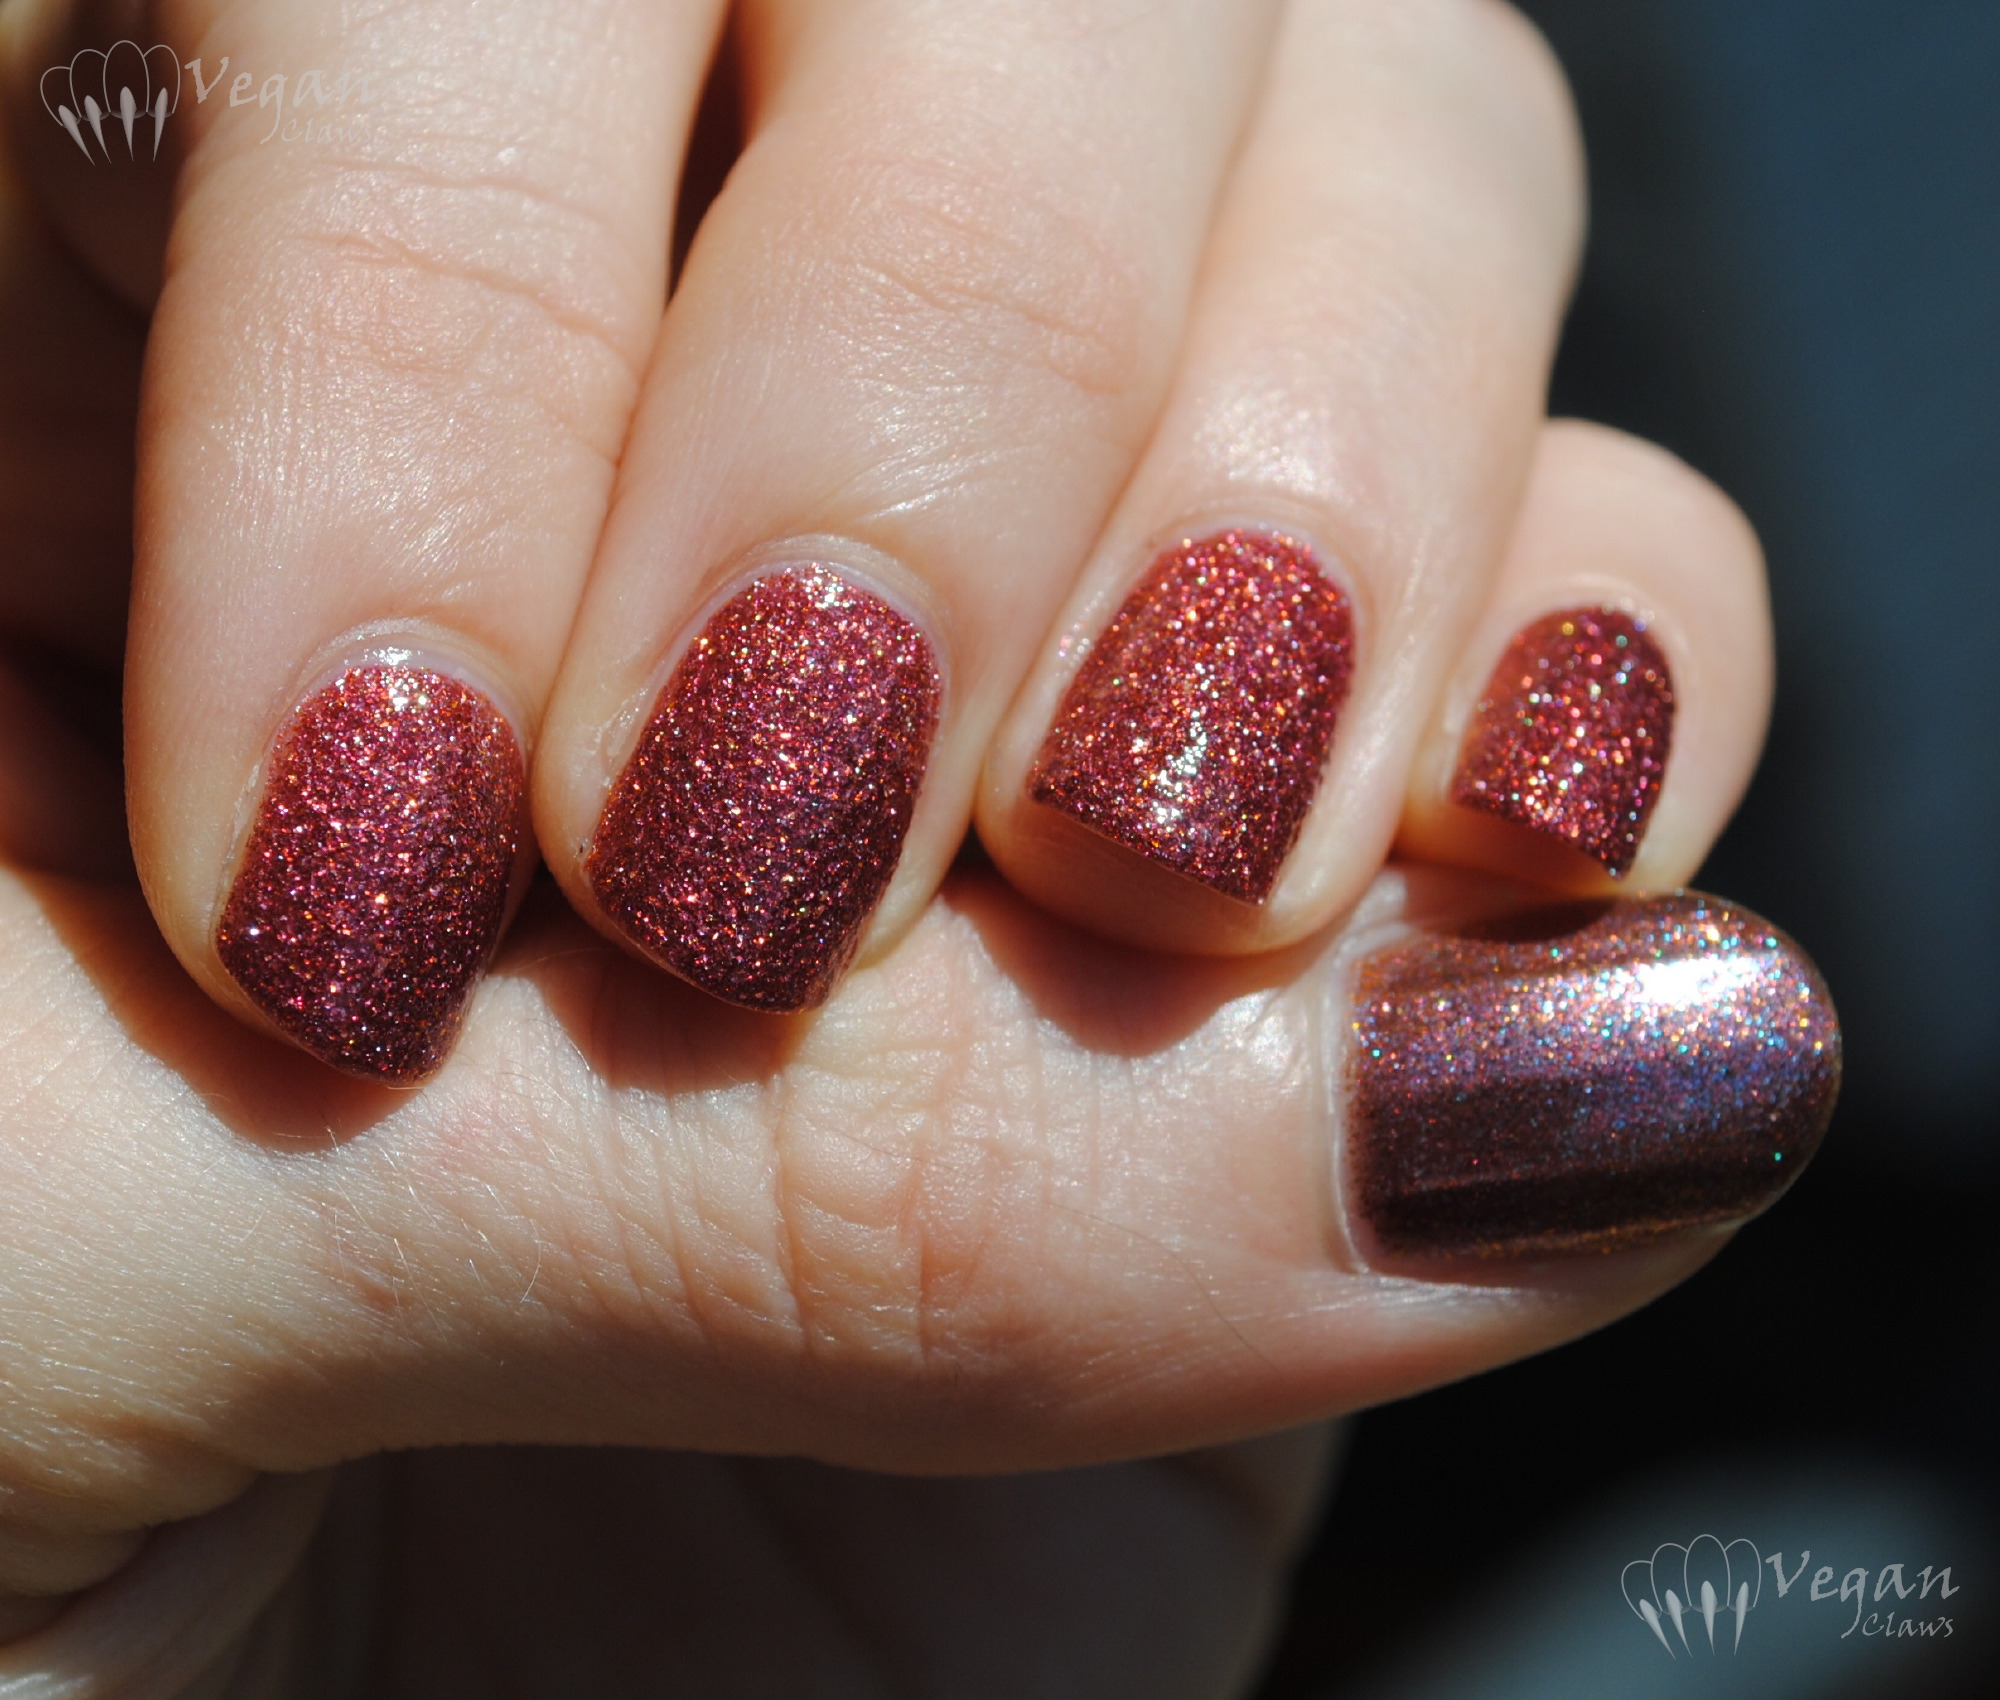
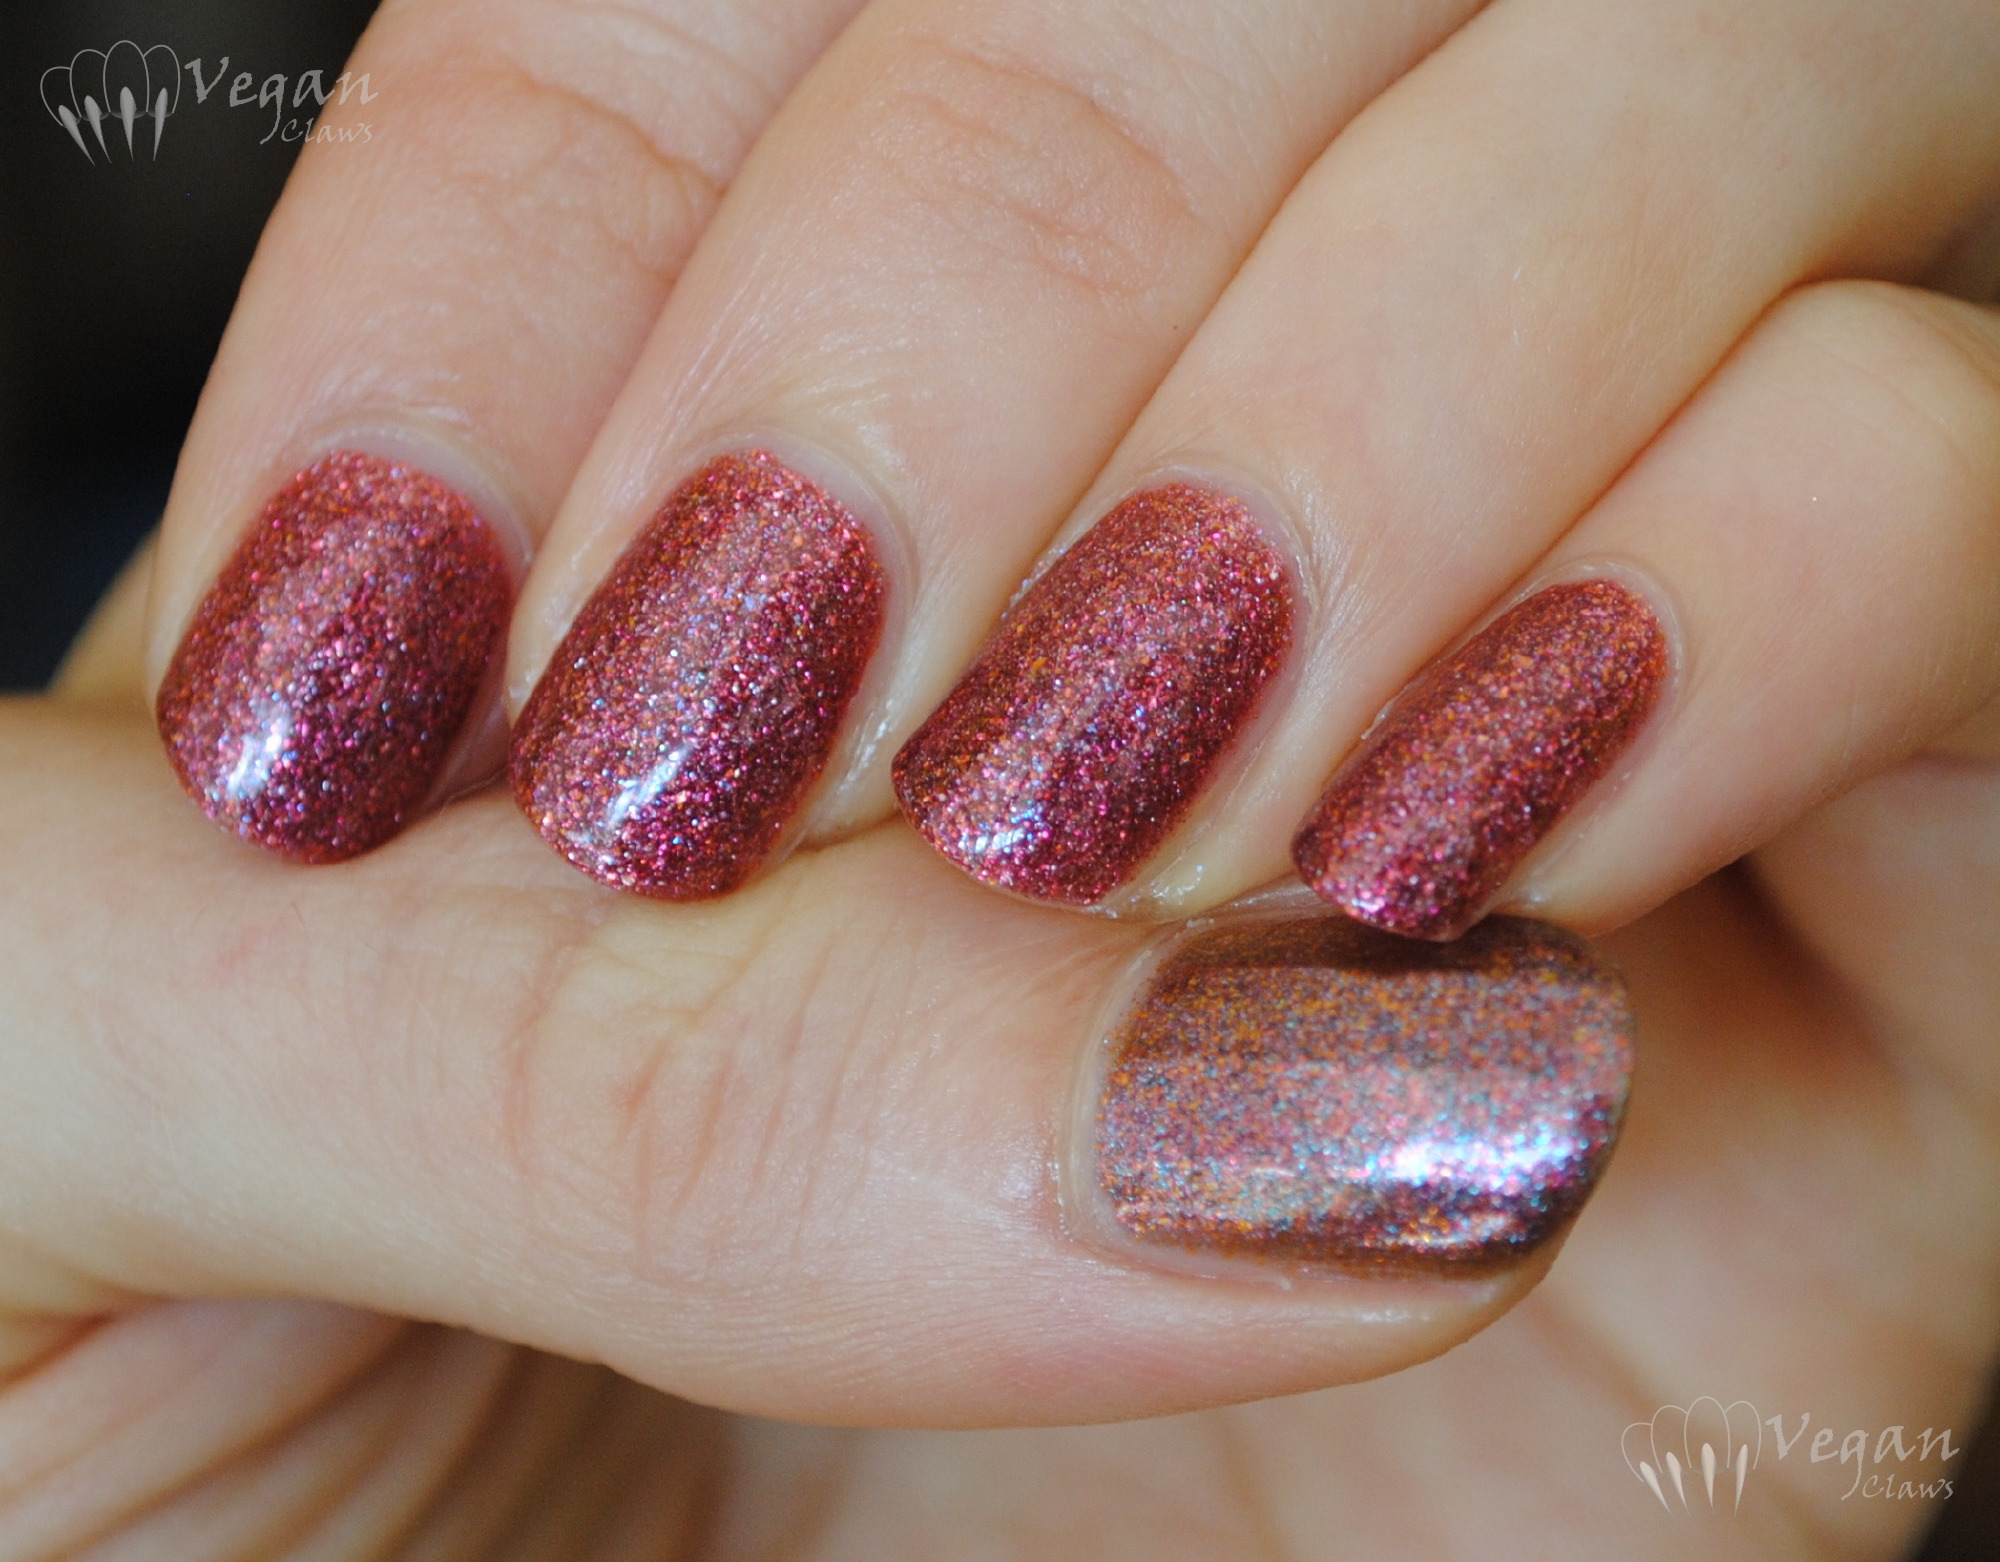
One last pic, this is Zoya Roxy with Kissy on the tips, all smoothed with Sèche Vive. In addition to texture polishes, it does a great job on regular glitters that tend to be a bit gritty!

IMG_8126

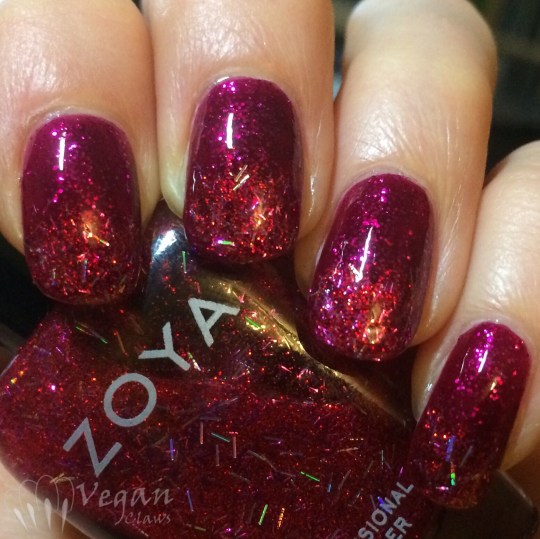
All that to say, although I don’t use it with every mani, I really like the Sèche Vive gel effect and it’s my go-to for smoothing glitters and textures!

Advertisement

Kiko Sugar Mat 454 and some simple tape art

This magenta glittery textured polish is Kiko 454 from the Sugar Mat line. Two easy coats. With flash:

kiko_sugarmat454_flash

kiko_sugarmat454_flash2

Under Ott lite:

kiko_sugarmat454_ott

In the setting sun (a bit too warm-toned):

kiko_sugarmat454_sun

The second day, I decided to add some very simple nail art by blocking off my nails diagonally with tape and adding one coat of P2 Lovesome. The base colour of Lovesome is a lighter pink-red than 454 so it doesn’t really show, but the gold glitter in Lovesome sure stands out! All photos of the combo with flash.

kiko_sugarmat454_p2_lovesome_flash

kiko_sugarmat454_p2_lovesome_flash2

kiko_sugarmat454_p2_lovesome_flash3

Maya Cosmetics Reef and China Glaze Seahorsin’ Around

Another mani from last year, another Maya Cosmetics polish! This is Maya Cosmetics Reef, a great turquoise blue creme with heavy gold flakes, shown in two coats plus top coat. The texture polish is China Glaze Seahorsin’ Around, also two coats. Under Ott Lite:

maya_reef_chg_seahorsin_ott

With flash:

maya_reef_chg_seahorsin_flash4

maya_reef_chg_seahorsin_flash3

maya_reef_chg_seahorsin_flash2

maya_reef_chg_seahorsin_flash

Roughles Frankendupe Attempt

I’ve been tempted by these Nicole by OPI “Roughles” textured polishes that came out this spring, but didn’t want to spend full price on them (10.99 each here in Canada!). Since they seem to be starting to disappear from some of the drugstores without being put on clearance I decided to try my hand at frankening something similar.

Nicole-by-OPI-Roughles-Collection-Swatches

Here are the ingredients I used to try to dupe the yellow one, Sand in My Shoe: mostly Color Club Coastline (white texture) with Jordana Yellow Madness (yellow texture) added, along with one drop of the green China Glaze In The Rough and three drops of the orange Toe-tally Textured, and one small scoop of tiny coral-pink matte glitter.

roughles_franken_ingredients

I think maybe it could use a touch more of the matte coral-pink glitter, but overall I’m pretty happy with it! 😀

roughles_franken4

roughles_franken3

roughles_franken2

roughles_franken

roughles_franken_shade

China Glaze Shell We Dance?

China Glaze Shell We Dance is from their new textured collection, Sea Goddess. It’s a medium pink sparkly texture with some slightly larger metallic pink hex glitter in there.

Two coats, and it applied fine. I like it a lot! First and last photos are with flash, others with Ott Light.

China Glaze Shell We Dance?

China Glaze Shell We Dance?

China Glaze Shell We Dance?

China Glaze Shell We Dance?

China Glaze Shell We Dance?

Valentine’s Day mani featuring LA Girl Sand Blast polishes

Sorry for the lack of posts lately, things have been busy! And now, I’ve got a cold, blech, but anyway…

I signed up for Nail Polish Canada’s Valentine’s Day Nail Art Challenge, and here is the mani I did. Two versions of it, actually, as I added some stamping later!

Milani White On the Spot with gradient of LA Girl Sandals and Sand Dune

I started with my favourite plain white polish, Milani White On the Spot, and then sponged on a textured gradient using two LA Girls Sand Blast polishes, Sandals (pink) and Sand Dune (red).

Milani White On the Spot with gradient of LA Girl Sandals and Sand Dune

I originally wanted the heart on the middle finger to be a sort of reverse-gradient with the two colours in the opposite order, but it didn’t quite work out that way, so I dabbed on some more white after removing the heart shape I had cut out of masking tape.

Milani White On the Spot with gradient of LA Girl Sandals and Sand Dune

I like how it ended up even though it wasn’t what I had originally planned.

Milani White On the Spot with gradient of LA Girl Sandals and Sand Dune

Later, I added some stamping using Bundle Monster plate BM-H16. I received this plate in the mail recently from Nail Polish Canada.

Milani White On the Spot with gradient of LA Girl Sandals and Sand Dune

The note in the package didn’t mention the blog so I’m not sure if it was sent for review purposes or just as a thank you for spending so much money in their store (ha ha!) or what, but either way I thought it was very sweet! Thanks, NPC! 🙂

Milani White On the Spot with gradient of LA Girl Sandals and Sand Dune

The roses design on the ring finger didn’t really turn out so well what with the bumpy textured base polish, but I like how the flowers on stems on the other fingers look!

Milani White On the Spot with gradient of LA Girl Sandals and Sand Dune

The first, simpler version with just the gradient and speckled/sponged heart is going to be my entry for the challenge. You can visit the Valentine’s Day Nail Art Challenge page here to vote for your favourite!

Disclosure: the stamping plate in this post was provided free of charge by Nail Polish Canada.

Halloween Nails, Part 2

My Halloween mani from yesterday had gotten a few chips by the end of the day, so I decided to redo those nails while leaving the others as they were.

20131101-225922.jpg

I used Zoya Beatrix, Zoya’s lighter orange texture shade (two coats for this one, as opposed to the one coat for Dhara), and then a layer of the black and white glitter franken that I already had over Zoya Dhara. Followed by topcoat of course, to smooth out all that texture and glitter.

20131101-230054.jpg

Love these two orange Zoyas together!

Happy Halloween! with Zoya Dhara

Happy Halloween! 😀

Zoya Dhara with topcoat under Ott Lite

Here’s my Halloween mani, featuring Zoya Dhara, my black and white glitter franken, and black cats! (In that first picture the bottle I’m holding is Beatrix, not Dhara, because I grabbed the wrong one!)

Zoya Dhara with topcoat and flash

Here are some photos of Dhara before the additions. Zoya Dhara is a deep orange texture polish with gold glitter, from the fall 2013 Pixie Dust collection.

Zoya Dhara in overcast light

This is just one coat! I’m really glad I got this polish, it’s awesome!

Zoya Dhara in overcast light

Zoya Dhara in overcast light

I had some sun during the late afternoon so I went outside to get sun photos with my phone camera:

Zoya Dhara in sun

Zoya Dhara in sun

As mentioned, the black and white glitter I added to most of the nails is my own frankenpolish. On the ring finger, I first used a layer of topcoat to smooth out the texture, and then stamped a black cat using Kleancolor Black and stamping plate HB49, which is made by HB Nails and has a bunch of cat designs. I ordered the plate from Amazon UK, not sure if it’s still available there.

Zoya Dhara with topcoat and flash

Finally, a blurry shot to show all the sparkle that topcoat brings out in Dhara!

Zoya Dhara with topcoat and flash

Nicole by OPI Cinna-man of My Dreams

Breaking the silence with a texture polish! This is Nicole by OPI Cinna-man of My Dreams (what’s with all the stupid “man of my dreams” names? They already had “snow-man of my dreams” in one of the winter collections, sheesh! heheh). Anyway, this is a great polish!

Nicole by OPI Cinna-man of My Dreams

It’s a sparkly multicoloured texture, with predominantly brick red and burgundy tones and little sparks that appear orange and blue in the light. Very complex and deep polish!

Nicole by OPI Cinna-man of My Dreams

Shown are two coats; it has a great formula. As usual any of the photos can be clicked on to see the full size versions that show the sparkly detail of the texture!

Nicole by OPI Cinna-man of My Dreams

Nicole by OPI Cinna-man of My Dreams

Here it is with topcoat. I added a third coat before the topcoat because I had a bit of tip wear from already having the polish on for a while.

Nicole by OPI Cinna-man of My Dreams

I did an accent thumb nail in Nicole by OPI Just Busta Mauve since they seem like such complementary polishes!

Nicole by OPI Cinna-man of My Dreams and Just Busta Mauve

Nicole by OPI Cinna-man of My Dreams and Just Busta Mauve

With topcoat over Cinna-man:

Nicole by OPI Cinna-man of My Dreams and Just Busta Mauve with OPI I Juggle Men

Nicole by OPI Cinna-man of My Dreams and Just Busta Mauve with OPI I Juggle Men

Nicole by OPI Cinna-man of My Dreams and Just Busta Mauve with OPI I Juggle Men

Busta Mauve is kind of like the foily fleck version of Cinna-man, but it does have a lot more blue and purple in it. That, and the fact that the texture “ate” my first coat of topcoat pretty well, inspired me to add OPI I Juggle Men overtop.

Nicole by OPI Cinna-man of My Dreams and Just Busta Mauve with OPI I Juggle Men

Love this combo!!

Nicole by OPI Cinna-man of My Dreams and Just Busta Mauve with OPI I Juggle Men

Yellow and Gold Textured Ombré

More texture! This is a mani I did a few weeks ago featuring four textured polishes. Actually, one of them is not really a textured polish, it’s a glitter striping polish, but it doubles as texture really well!

The polishes are Nicole by OPI Lemon Lolly (yellow jelly based texture), Zoya Solange (yellow-gold texture), LA Colors Art Deco striper in 24K Glitter (medium gold complex-looking glitter), LA Girl Sands of Time (white gold texture with some medium hexes). Love this! Photos in overcast light.

Nicole by OPI Lemon Lolly, Zoya Solange, LA Colors Art Deco striper in 24K Glitter, LA Girl Sands of Time

Nicole by OPI Lemon Lolly, Zoya Solange, LA Colors Art Deco striper in 24K Glitter, LA Girl Sands of Time

I did Lemon Lolly on my thumb as well as on my index.

Nicole by OPI Lemon Lolly, Zoya Solange, LA Colors Art Deco striper in 24K Glitter, LA Girl Sands of Time

Nicole by OPI Lemon Lolly, Zoya Solange, LA Colors Art Deco striper in 24K Glitter, LA Girl Sands of Time

With topcoat, photos taken under Ott lite:

Nicole by OPI Lemon Lolly, Zoya Solange, LA Colors Art Deco striper in 24K Glitter, LA Girl Sands of Time

Nicole by OPI Lemon Lolly, Zoya Solange, LA Colors Art Deco striper in 24K Glitter, LA Girl Sands of Time, with topcoat

Sparkly!

Nicole by OPI Lemon Lolly, Zoya Solange, LA Colors Art Deco striper in 24K Glitter, LA Girl Sands of Time

Nicole by OPI Lemon Lolly, Zoya Solange, LA Colors Art Deco striper in 24K Glitter, LA Girl Sands of Time, with topcoat