A vegan nail polish blog. A celebration of colour and light, as well as of justice for nonhuman animals.

Posts tagged ‘nude’

Maya Cosmetics Turbo Classy

This lovely beige/taupe/nude polish is Turbo Classy by Maya Cosmetics! It’s a creme base with plenty of subtle shimmer in it. I used two coats plus top coat here; the formula was smooth and easy to apply.

Under halogen light:
Maya Cosmetics Turbo Classy

Overcast natural light:
Maya Cosmetics Turbo Classy

With flash:
Maya Cosmetics Turbo Classy

And again with halogen light:
Maya Cosmetics Turbo Classy

Kunimitsu Chocolate Point Siamese and Cinnamon Raisin

Kunimitsu Nail Potions is a new-to-me indie brand sold on Etsy, that I just recently learned makes vegan-only polishes (and lip glosses too!). A bunch of the polishes are inspired by cats, and the brand name is in memory of one of the creator’s cats. All these photos are taken with flash and under the Ott lite, since it was dark out.

Kunimitsu Chocolate Point Siamese and Cinnamon Raisin

These two polishes are Chocolate Point Siamese and Cinnamon Raisin (the ring finger accent). I thought they complemented each other really well, having the same base colour but with different glitters.

Kunimitsu Chocolate Point Siamese and Cinnamon Raisin

Chocolate Point Siamese is a nude beige slightly shimmery base with brown and holo light blue medium hex glitter, very small brown glitter, and tiny gold sparkles. Cinnamon Raisin has the same base and the two sizes of brown glitter, but also purple and lilac medium hexes and small gold hexes. They both seem to have some holo microglitter in there too, but it’s sort of hard to tell! But there are tiny little flashes of holo-looking sparkle sometimes.

Kunimitsu Chocolate Point Siamese and Cinnamon Raisin

Shown are two coats of each polish, and I found they covered well and the base was smooth. I did have to do some shaking and tilting of the bottle to get out a good amount of glitter, and do some dabbing to distribute it where I wanted it.

Kunimitsu Chocolate Point Siamese and Cinnamon Raisin

Drying time was very good! All photos do include a layer of topcoat. Overall I’m really impressed with these and looking forward to trying the others I got!

Don’t you love the awkward hand pose clutching two mini bottles? Haha πŸ˜€

Kunimitsu Chocolate Point Siamese and Cinnamon Raisin

From the Vault

I still have some really old photos from when I started blogging, so I thought I would post them in a few installments!

This first one is a fall mani that I really loved! Thumb to pinkie: Finger Paints Sketchy Character, a mustard yellow frankenpolish, Kleancolor Fashionista, China Glaze Brownstone, Joe Fresh Pumpkin. The glitter gradient over everything was done with Nubar Lime Green Glitter and Orange Glitter.

fall1

Next, Orly Wild Wisteria with China Glaze Brownstone accent:

wild_wisteria_brownstone

I’ll finish up this first vault post with swatches of the creme half of the Color Club Back to Boho collection, along with a couple of layering combos using them.

Shabby Drab:

shabbydrab2

With Color Club Jingle Jangle overtop:

shabbydrab_jinglejangle

Color Club Earthy Angel:

cc_earthyangel

cc_earthyangel2

Color Club New Bohemian:

cc_newbohemian

cc_newbohemian2

Color Club Nomadic in Nude:

cc_nomadicnude

cc_nomadicnude2

Color Club Rad Nomad:

cc_radnomad

cc_radnomad2

Color Club Red-ical Gypsy – gotta say, the stereotypical gypsy-themed polish names just make me think of cultural appropriation… This is a nice red though, and look! An appearance from my little Thor!

cc_redical_thor

cc_redical2

With an accent of Cult Nails Hypnotize Me and Nubar V matte top coat:

redical_hm_matte

redical_hm_matte2

Ruby White Tips Kim

I’ve got a great polish to show you today: Kim by Ruby White Tips! I recently made my first real Indie polish purchase on Etsy, when I noticed that Laura, the creator of Ruby White Tips, advertises that all her polishes are vegan!

Ruby White Tips Kim

Kim is a beautiful nude creme with subtle holo. It’s a rose-beige-mauve nude shade; at least on my skin tone it leans mauve but I’ve seen some other swatch photos where it looks more beige.

Ruby White Tips Kim

I used two coats over ridge filler, three coats on my middle finger though, because I smudged the tip. You can see that the colour became a bit deeper at three coats; two was perfect for coverage though.

Ruby White Tips Kim

The formula was smooth but a little thick, although the thickness probably had something to do with the heat and humidity the day I wore it!

Ruby White Tips Kim

I love this polish!

Ruby White Tips Kim

I’ve got some more Ruby White Tips polishes to post about as well, so that should be coming soon.

Ruby White Tips Kim

Ruby White Tips can be found at http://www.rubywhitetips.com/ πŸ™‚

Ruby White Tips Kim

Zoya Jacqueline

Zoya Jacqueline is from the spring Lovely collection, and is my new favourite nude polish from Zoya! It originally came out in one of the Peter Som fashion week collaboration trios last year, and I remember hoping that they would re-release it in a regular collection since I didn’t have access to the trio. Happily for me, they did!

Zoya Jacqueline

It’s a very pale, pastel yellow with a hint of beige, creme polish with just the tiniest hint of hidden shimmer in it.

Zoya Jacqueline

I used three coats over a layer of ridge filling basecoat. Two coats would probably have been enough if not for my ridges (even with the ridge filler…). I also have topcoat on in these photos.

Zoya Jacqueline

The formula was a little thick, but didn’t really give me any trouble. I love this shade!

Zoya Jacqueline

Soulstice Spa St. Tropez

A quick post featuring a great nude polish! This is St. Tropez by Soulstice Spa, a yellow-toned light beige with pearly shimmer. This shade was released in their spring/summer collection earlier this year.

Soulstice Spa St. Tropez

I found the polish a little sheer, but smooth and even at just one coat. The photos show three thick coats, although I could have gotten away with two if I had used a ridge-filling basecoat underneath. The formula is slightly thick, but it self-levels pretty well.

Soulstice Spa St. Tropez

I really love this colour, and was impressed with the nice formula! Here it is in the shade:

Soulstice Spa St. Tropez

No Miss Casselberry Cream and comparisons

Today I have a polish from No Miss to show you. No Miss is one of the traditionally vegan brands of nail polish often sold by online vegan stores.

No Miss Casselberry Cream

This is Casselberry Cream, a peachy off-white jelly polish. Shown are four coats of polish over two coats of ridge-filling base coat.

No Miss Casselberry Cream

It applied really nicely, not streaky like a lot of pale sheer polishes are, and it self-levels. The four coats were just to build up the colour so my stained nails didn’t show through (even with the ridge filler, they’re kind of orange these days, too many bright coral polishes!), not because of streaks.

No Miss Casselberry Cream

There is no top coat here; it’s a very glossy polish on its own.

No Miss Casselberry Cream

I was really pleasantly surprised by this polish; it doesn’t look like much in the bottle, yet another pale sheer nude, but I really like its jelly finish and the formula was unexpectedly good for this type of shade!

No Miss Casselberry Cream

I compared Casselberry Cream to some other similar polishes I have: from left to right, No Miss Casselberry Cream, Zoya Lucy, OPI Barre My Soul, and Orly My Beau.

No Miss Casselberry Cream, Zoya Lucy, OPI Barre My Soul, Orly My Beau

Again, I did two coats of ridge filler before applying the polishes, and used four coats of each polish for comparison’s sake.

No Miss Casselberry Cream, Zoya Lucy, OPI Barre My Soul, Orly My Beau

Left to right: No Miss Casselberry Cream, Zoya Lucy, OPI Barre My Soul, Orly My Beau

As you can see, they each have a different off-white tone; Casselberry Cream is more peach, Lucy is white with slight yellow undertones and is also the most sheer of the bunch, Barre My Soul has a pink undertone, and My Beau is the yellowest and the most opaque at four coats. My Beau was also the streakiest of them, and needed the fourth coat to smooth out all the patchiness. I didn’t wait all that long between coats since it was just a comparison, and by the end I had a few bubbles starting to form, mainly but not only in the OPI (but I find bubbles develop more easily on my ridgey ring finger in general, so that’s probably not the OPI’s fault). So, I recommend waiting several minutes between coats, although I suppose that’s pretty much a given when you’re applying four coats of any polish!

No Miss Casselberry Cream, Zoya Lucy, OPI Barre My Soul, Orly My Beau

Left to right: No Miss Casselberry Cream, Zoya Lucy, OPI Barre My Soul, Orly My Beau

And here is Azrael on top of my Helmers! ❀

China Glaze Fast Track

China Glaze Fast Track is a taupey-beige nude with heavy golden shimmer flakes. It was released last spring in the Hunger Games collection.

China Glaze Fast Track

Shown are two thick coats. In the sun photos, there’s also a layer of topcoat. As evidenced by the sideways watermark, these pics were also taken using my phone, haha!

China Glaze Fast Track

I found the formula a little thick but didn’t have any problems with application.

China Glaze Fast Track

The sun photos didn’t quite catch all the tiny sparks of different colours, little flashes of orange and green, that are often reflected in the sparkle of this awesome polish!

Here it is in the shade:

China Glaze Fast Track

China Glaze Fast Track

As a bonus here is what I ended up doing to this mani after a couple of days, mainly because I didn’t want to take the time to remove Fast Track first, and then I just kept adding things, haha…

China Glaze Fast Track with

Over Fast Track is a coat of Orly Nite Owl, an opaque taupe with silver shimmer, then two layers of Glitter Gal Buckled Bronze, Nubar Petunia glitter on the tips, and Spoiled by Wet n Wild’s Trust Fund Baby over it all!

China Glaze Fast Track with

I Won a Giveaway!

Not too long ago the awesome Lauren and Loren at Lacquer and Lashes held a giveaway with an amazing prize… And I won! πŸ˜€

China Glaze Emerald Sparkle and OPI Opening Night Gold

The prize was two bottles of discontinued nail polish, OPI Opening Night Gold and China Glaze Emerald Sparkle!! I had wanted Opening Night Gold for ages, but figured it was something I would never see in person since I wasn’t ready to pay crazy ebay prices for it! So needless to say, I was very excited to win the giveaway. Thank you so much, Lauren and Loren!!!

China Glaze Emerald Sparkle and OPI Opening Night Gold

Opening Night Gold is an oldie, from the 2003 Holiday on Broadway collection. It’s a gorgeous golden beige linear holo!

OPI Opening Night Gold

The swatches show three coats. The formula is thin and smooth. It’s from before the switch by OPI to “Big 3 Free” polishes, so it does contain those ingredients. Which personally doesn’t really bother me; I try not to huff my polishes while applying them either way! πŸ˜‰ Opening Night Gold dries very quickly, like a lot of similar holographic polishes do!

OPI Opening Night Gold

There’s not much more to say except I LOVE THIS! πŸ˜‰

OPI Opening Night Gold

OPI Opening Night Gold

OPI Opening Night Gold

OPI Opening Night Gold

OPI Opening Night Gold

OPI Opening Night Gold

The other polish, China Glaze’s Emerald Sparkle, is not as hard to find as the OPI but is also discontinued. Apparently this was first released in China Glaze’s 2008 holiday season collection, and there are two versions in existence. This one is the “good” version! πŸ˜‰

China Glaze Emerald Sparkle

Shown are two coats of this deep green jelly with green glitter. It dries a little dull and rough on its own due to all the glitter, so a nice thick topcoat is in order for this one! The first two photos show it with topcoat added.

China Glaze Emerald Sparkle

These last two are pre-topcoat; if you click on the photos to see the large versions you can see the difference in texture.

China Glaze Emerald Sparkle

China Glaze Emerald Sparkle

Both of these polishes are awesome and I highly recommend picking them up if you should happen to run across them! Emerald Sparkle can also usually be found for a reasonable price on ebay.

Thanks again, Lauren and Loren!! You guys rock! πŸ™‚

Fixing a Break

A couple of weeks ago I had a nail tragedy involving my index finger and a new adjustable patio chair (horrors!! haha!). So I thought I would document what I did to fix it in order to turn my misfortune into something useful! Warning for the faint of heart: if you don’t like photos of nails broken off, you may not want to look at the third pic! (no blood was involved, though, so it’s really not so bad!) πŸ˜‰ And to end on more pleasant images, the last part of the post will feature nails of the day as well as a kitty! πŸ˜€

The items I used to fix the break are: rubbing alcohol, polish remover pad, buffing block, nail file, nail glue, small scissors, fiberglass nail wraps.

The two main tools are of course the wraps and the glue. The glue I used is by Beauty Secrets, and the fiberglass wraps are “the Rap Fiber Mesh” by Originails. I got both at Sally Beauty Supply.

And, the promised photo of what I was up against:

Yikes! Right at the quick!

The first thing I did was to clean the nail using the remover pad and some rubbing alcohol (no photo of that step). Then, I applied a little nail glue to the broken surface and glued down the loose edge.

Since that edge gluing probably wouldn’t last very long on its own, the next step was to get out the fiberglass wraps. I’ve heard you can also use a piece of a tea bag for this, which is a cheaper option, and more convenient if you don’t happen to have wraps on hand!

These wraps consist of strips of different widths pre-cut into each piece of wrap, so first I chose the strip whose width most closely matched my nail and cut a small piece off the end. I then trimmed a little bit off the side to get the exact width I needed.

Next, I peeled off the backing and applied the sticky side of the wrap to the nail. This part needs to be done gently as the wrap material is very soft and flexible and could easily lose its shape and become unravelled or stuck together.

I used the scissors to trim as much as I could of the excess wrap over the end of the nail.

Time to get out the glue again. This particular glue comes in a tube with a long yellow stopper built into the cap that is supposed to prevent the opening of the tube from getting blocked by dried up glue.

I dabbed a layer of glue over the whole surface of the wrap, using just enough to saturate the mesh.

It dries fairly quickly.

Once the glue was dry, I filed the edge of the nail to remove any roughness and lumpiness.

I then lightly filed the top of the nail for the same reason.

I also applied a tiny bit of glue under the free edge at each side using the long yellow stopper, right on the underside of the break. (This could have been done before starting to file but I didn’t think of it until then!)

I used the point of my nail file to make sure I wasn’t getting glue all over my hyponychium (the skin right under the free edge of the nail).

Here is the result after I finished lightly filing down the lumpy spots.

Next, to smooth out the wrap’s surface as much as I could, I used a four-sided buffing block.

I used each of the four sides in succession from coarse to fine. You have to be careful to find that balance between having an uneven surface versus filing and buffing so much that you’ve actually filed off the wrap that was just applied!

VoilΓ ! The fixed nail after buffing.

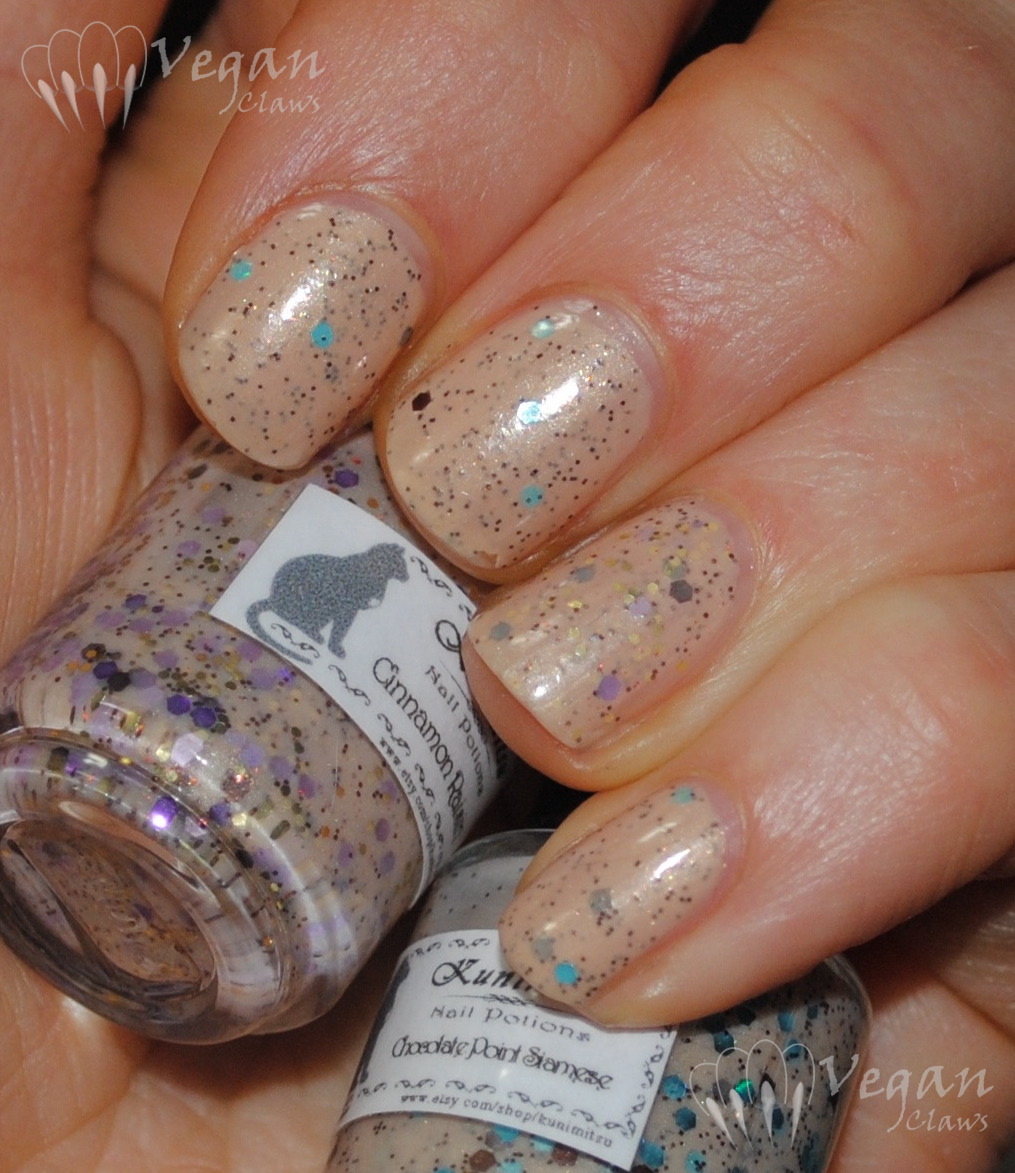
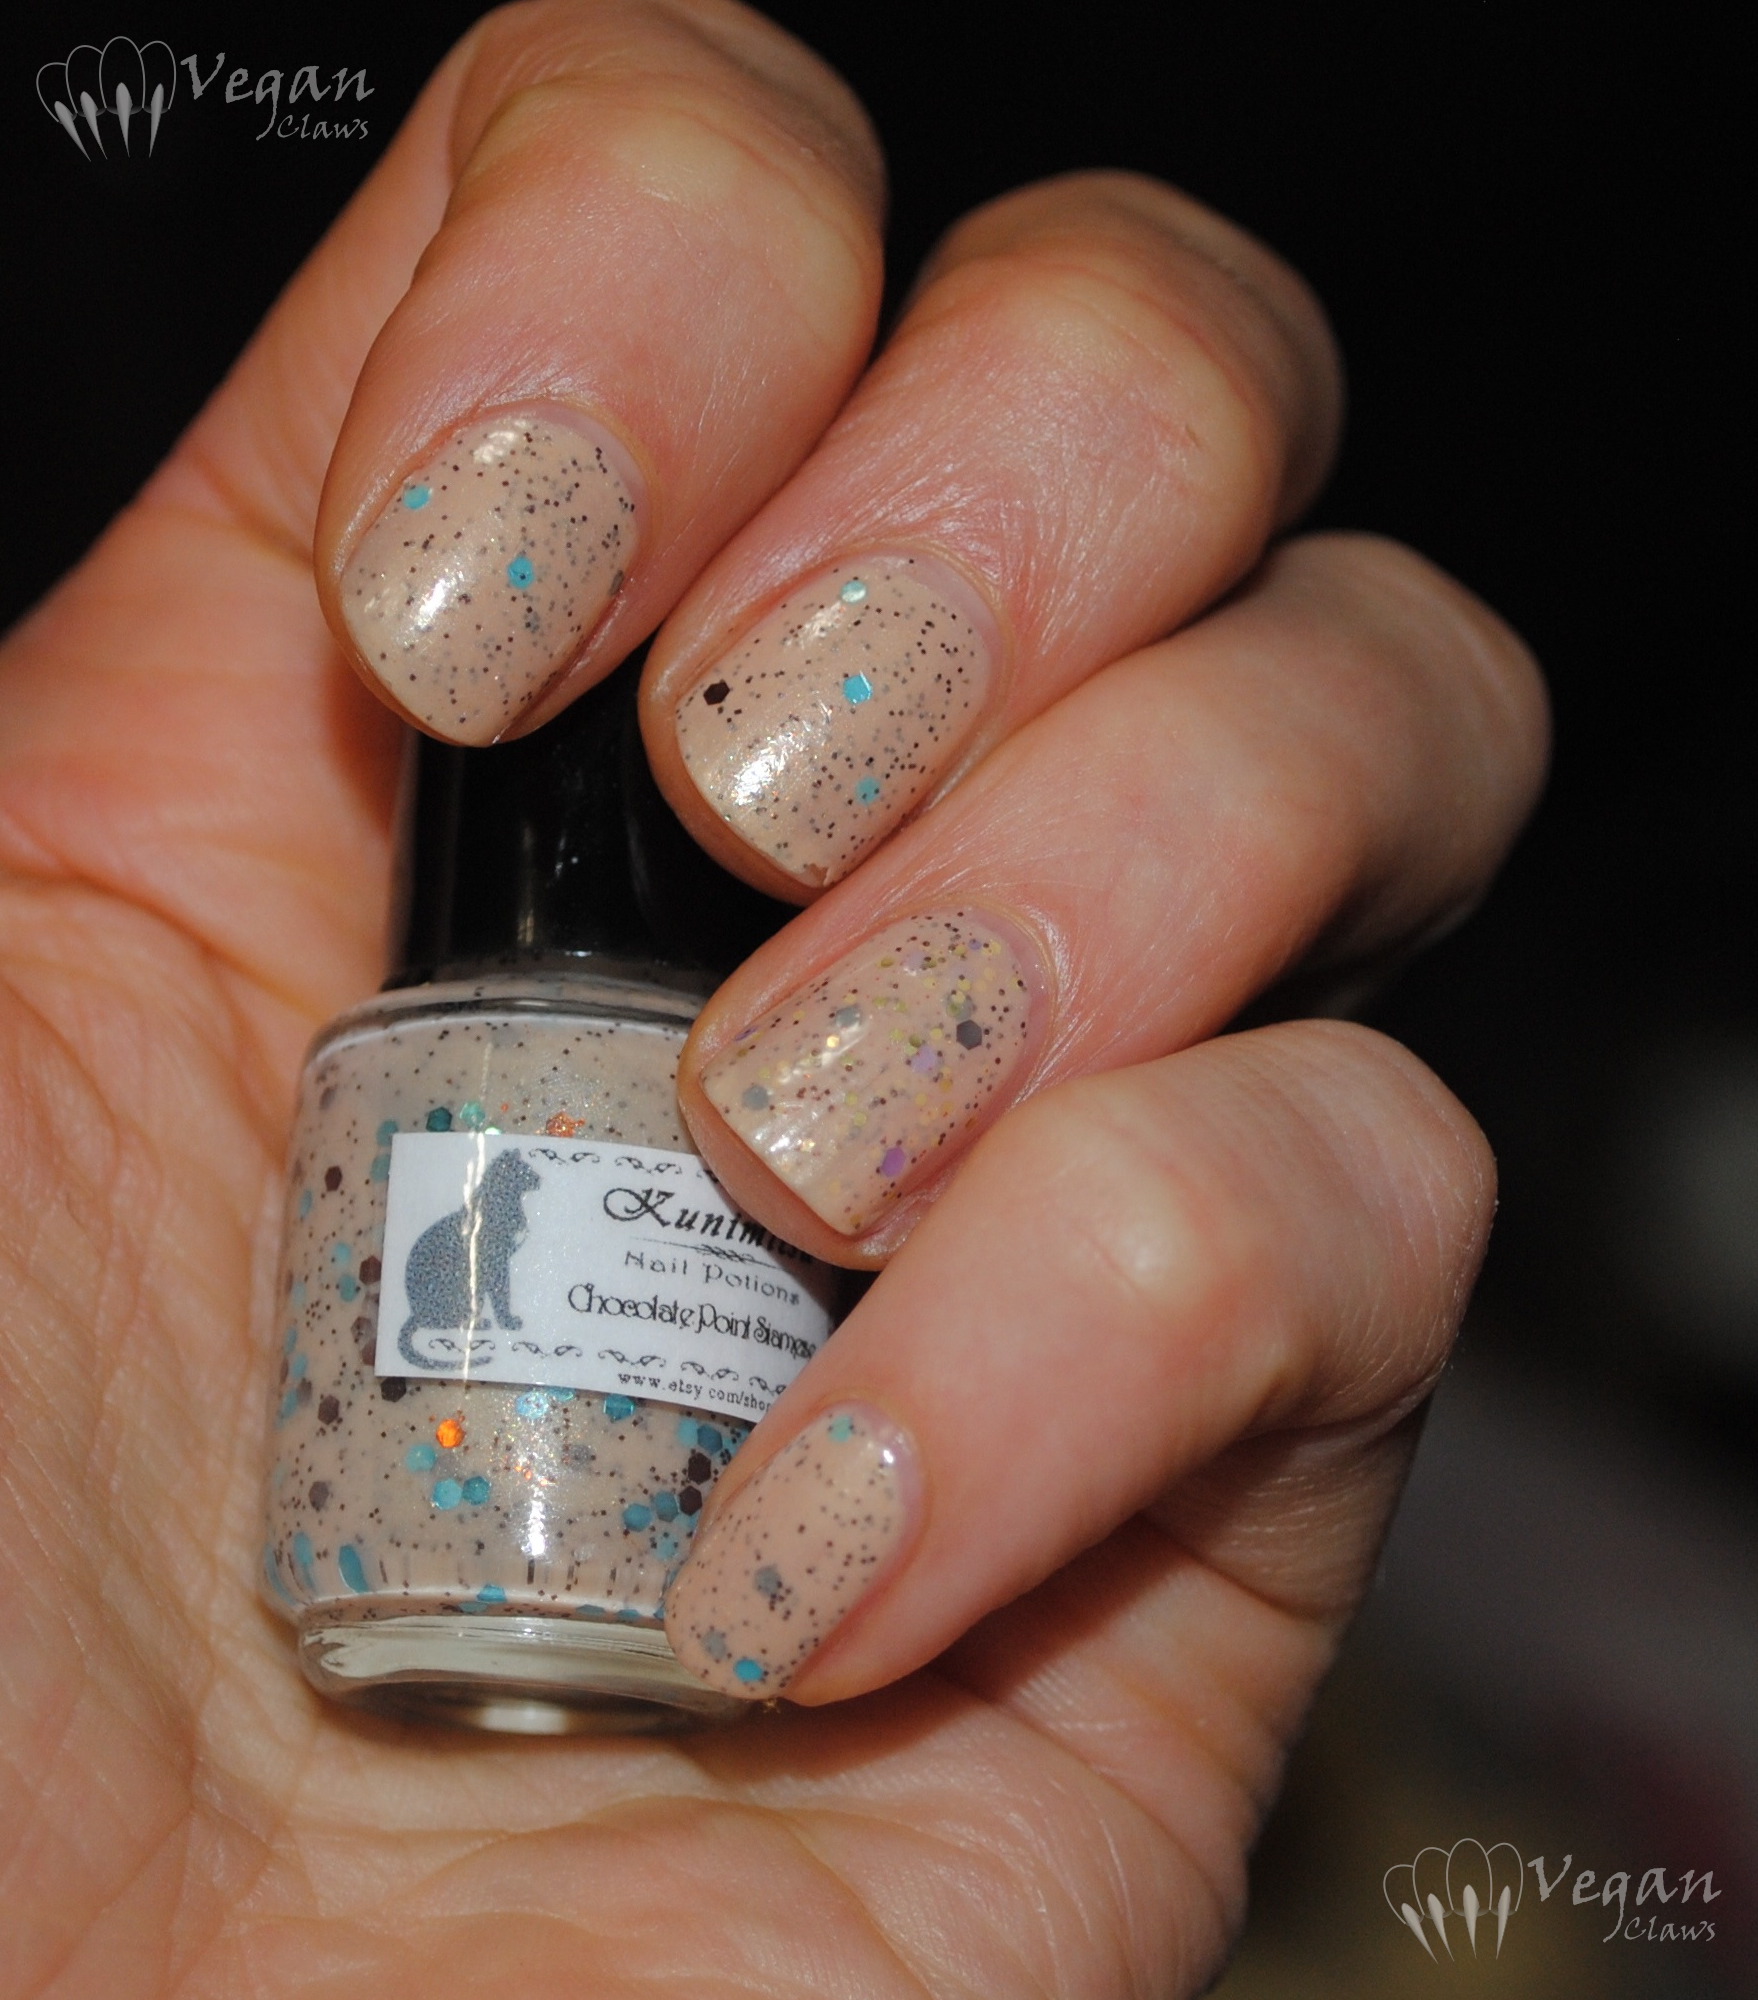
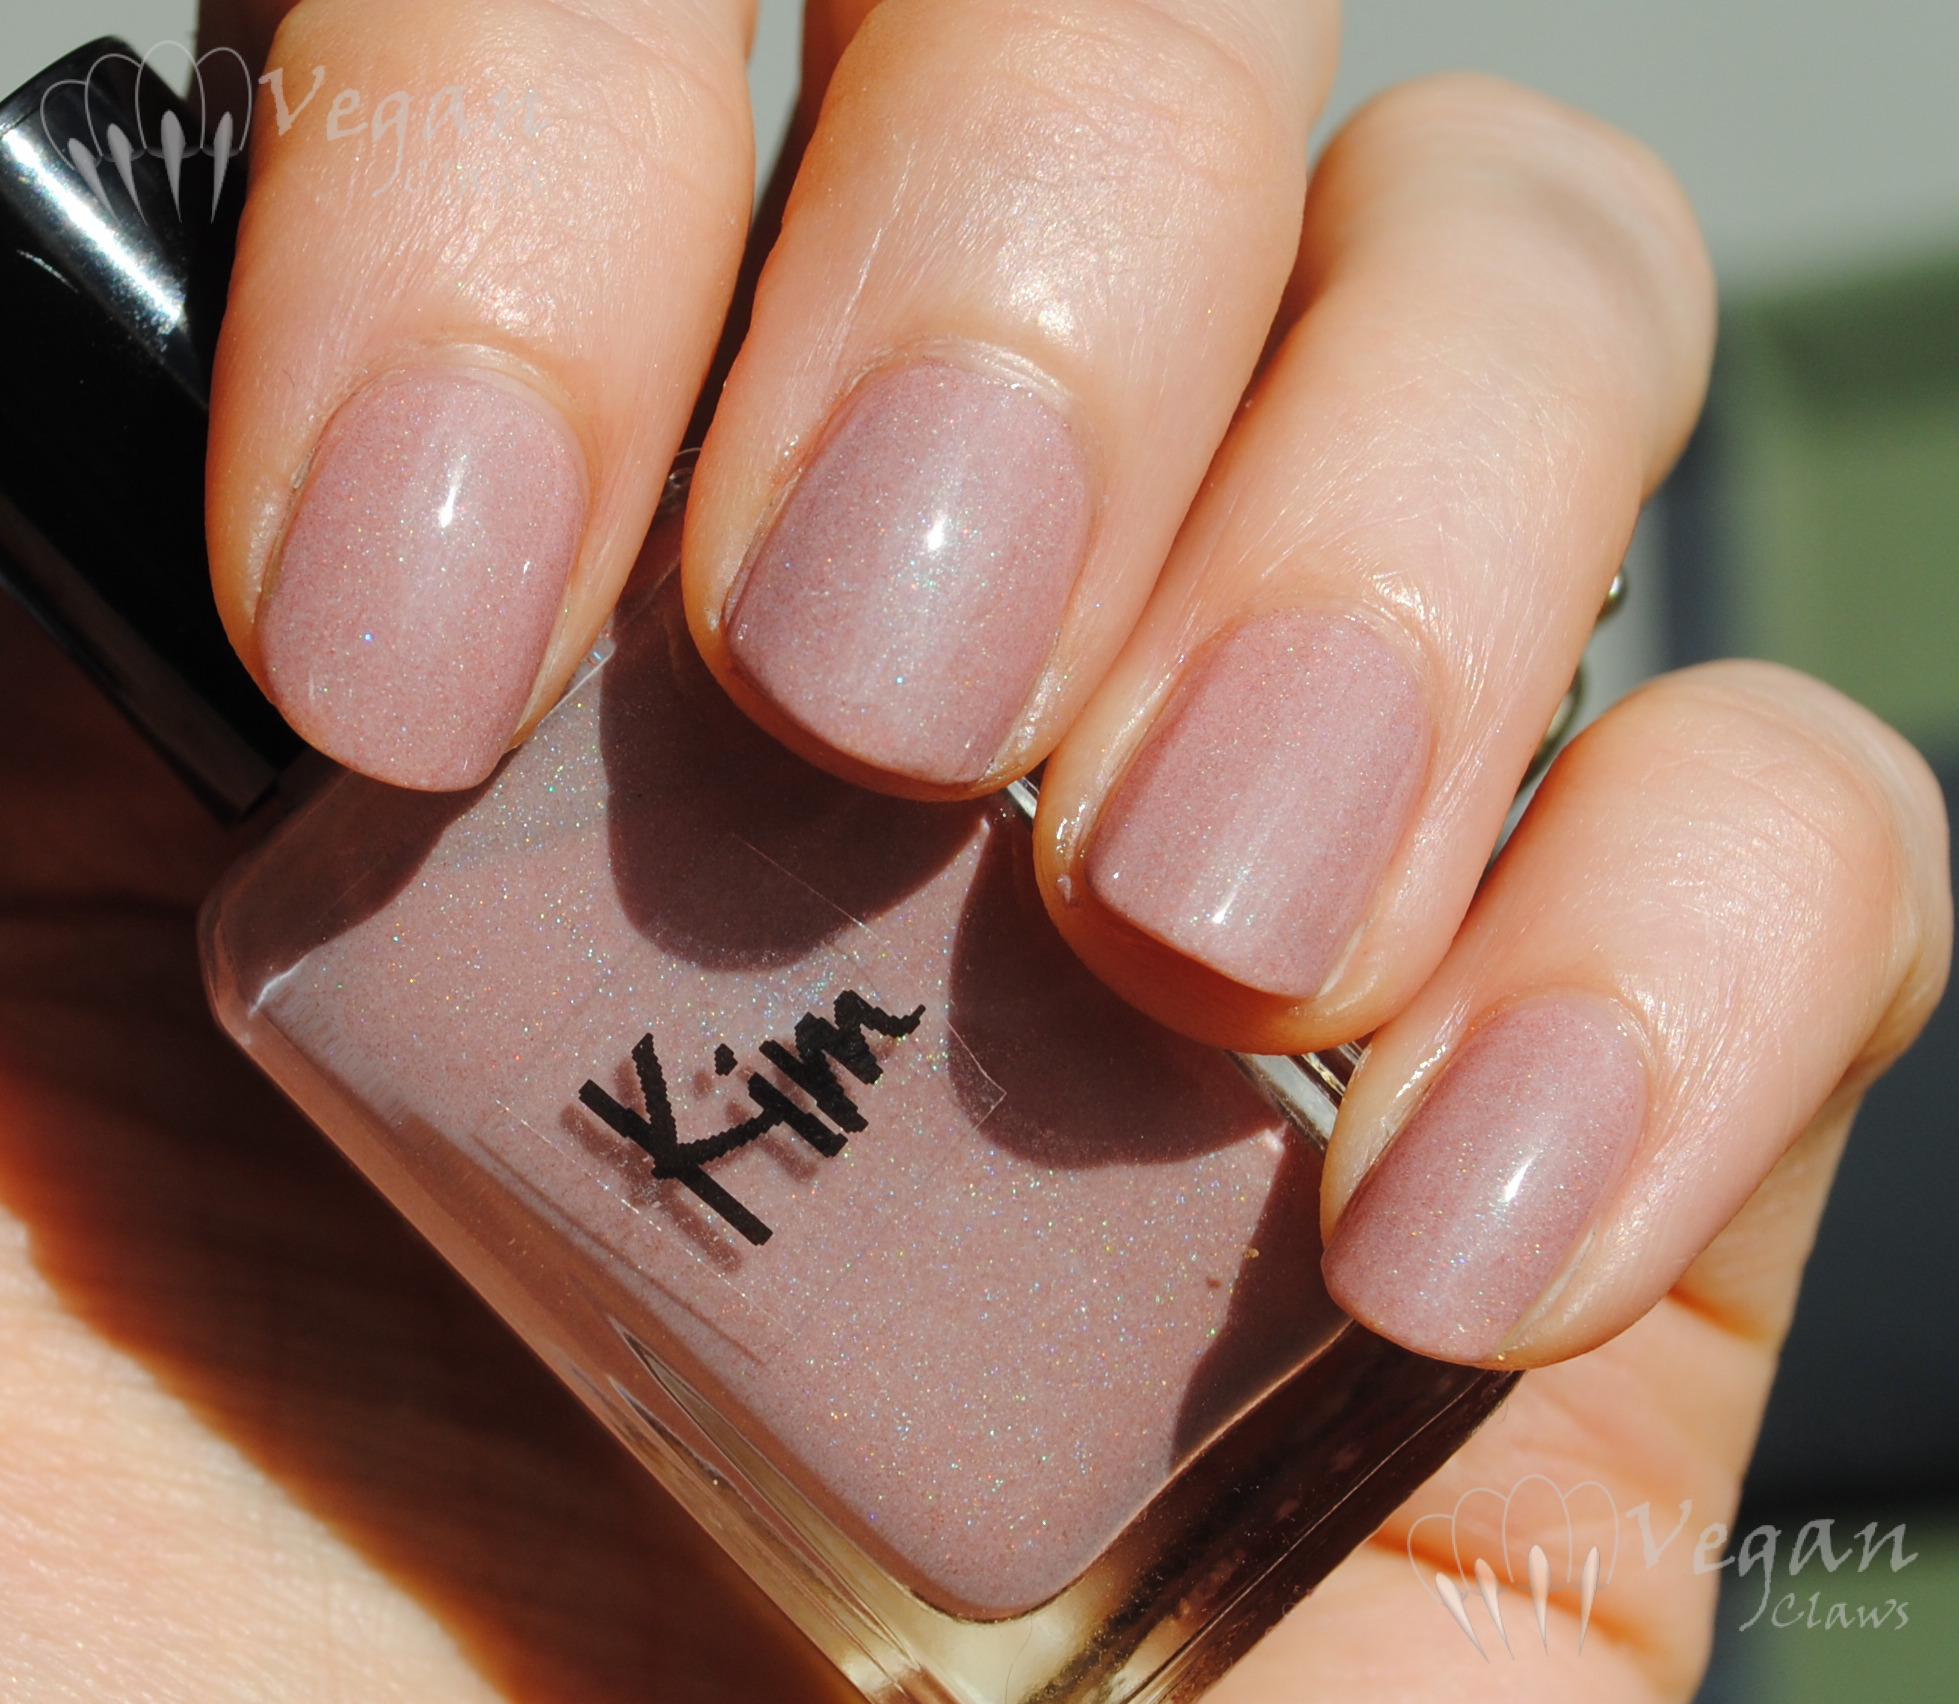
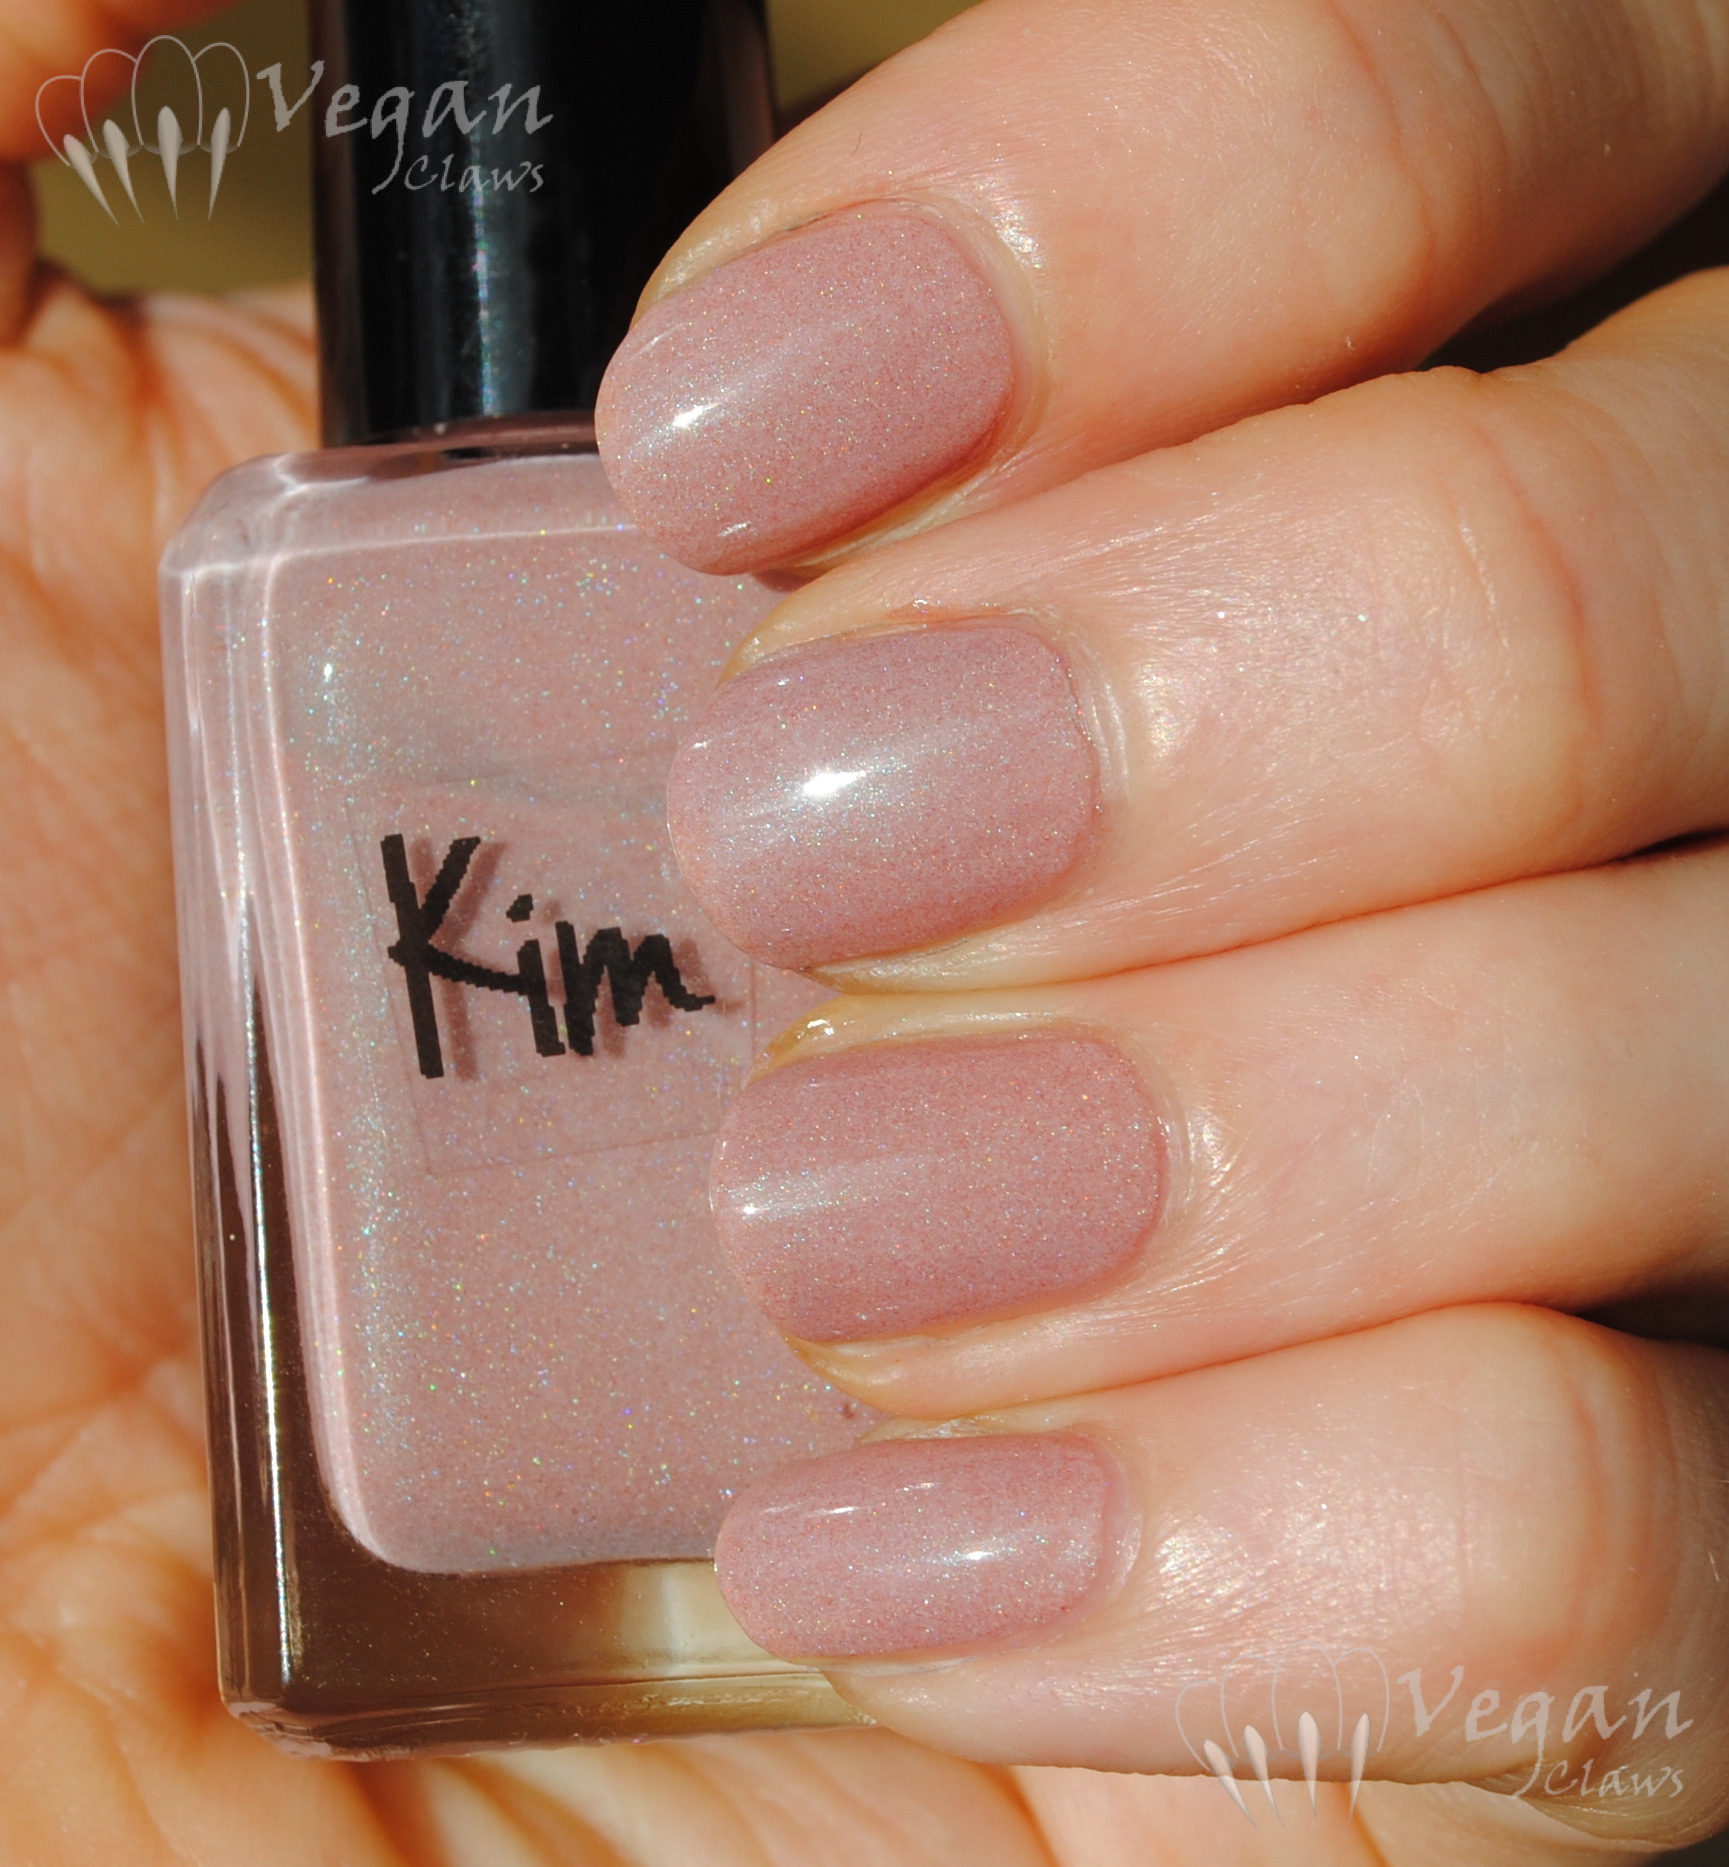
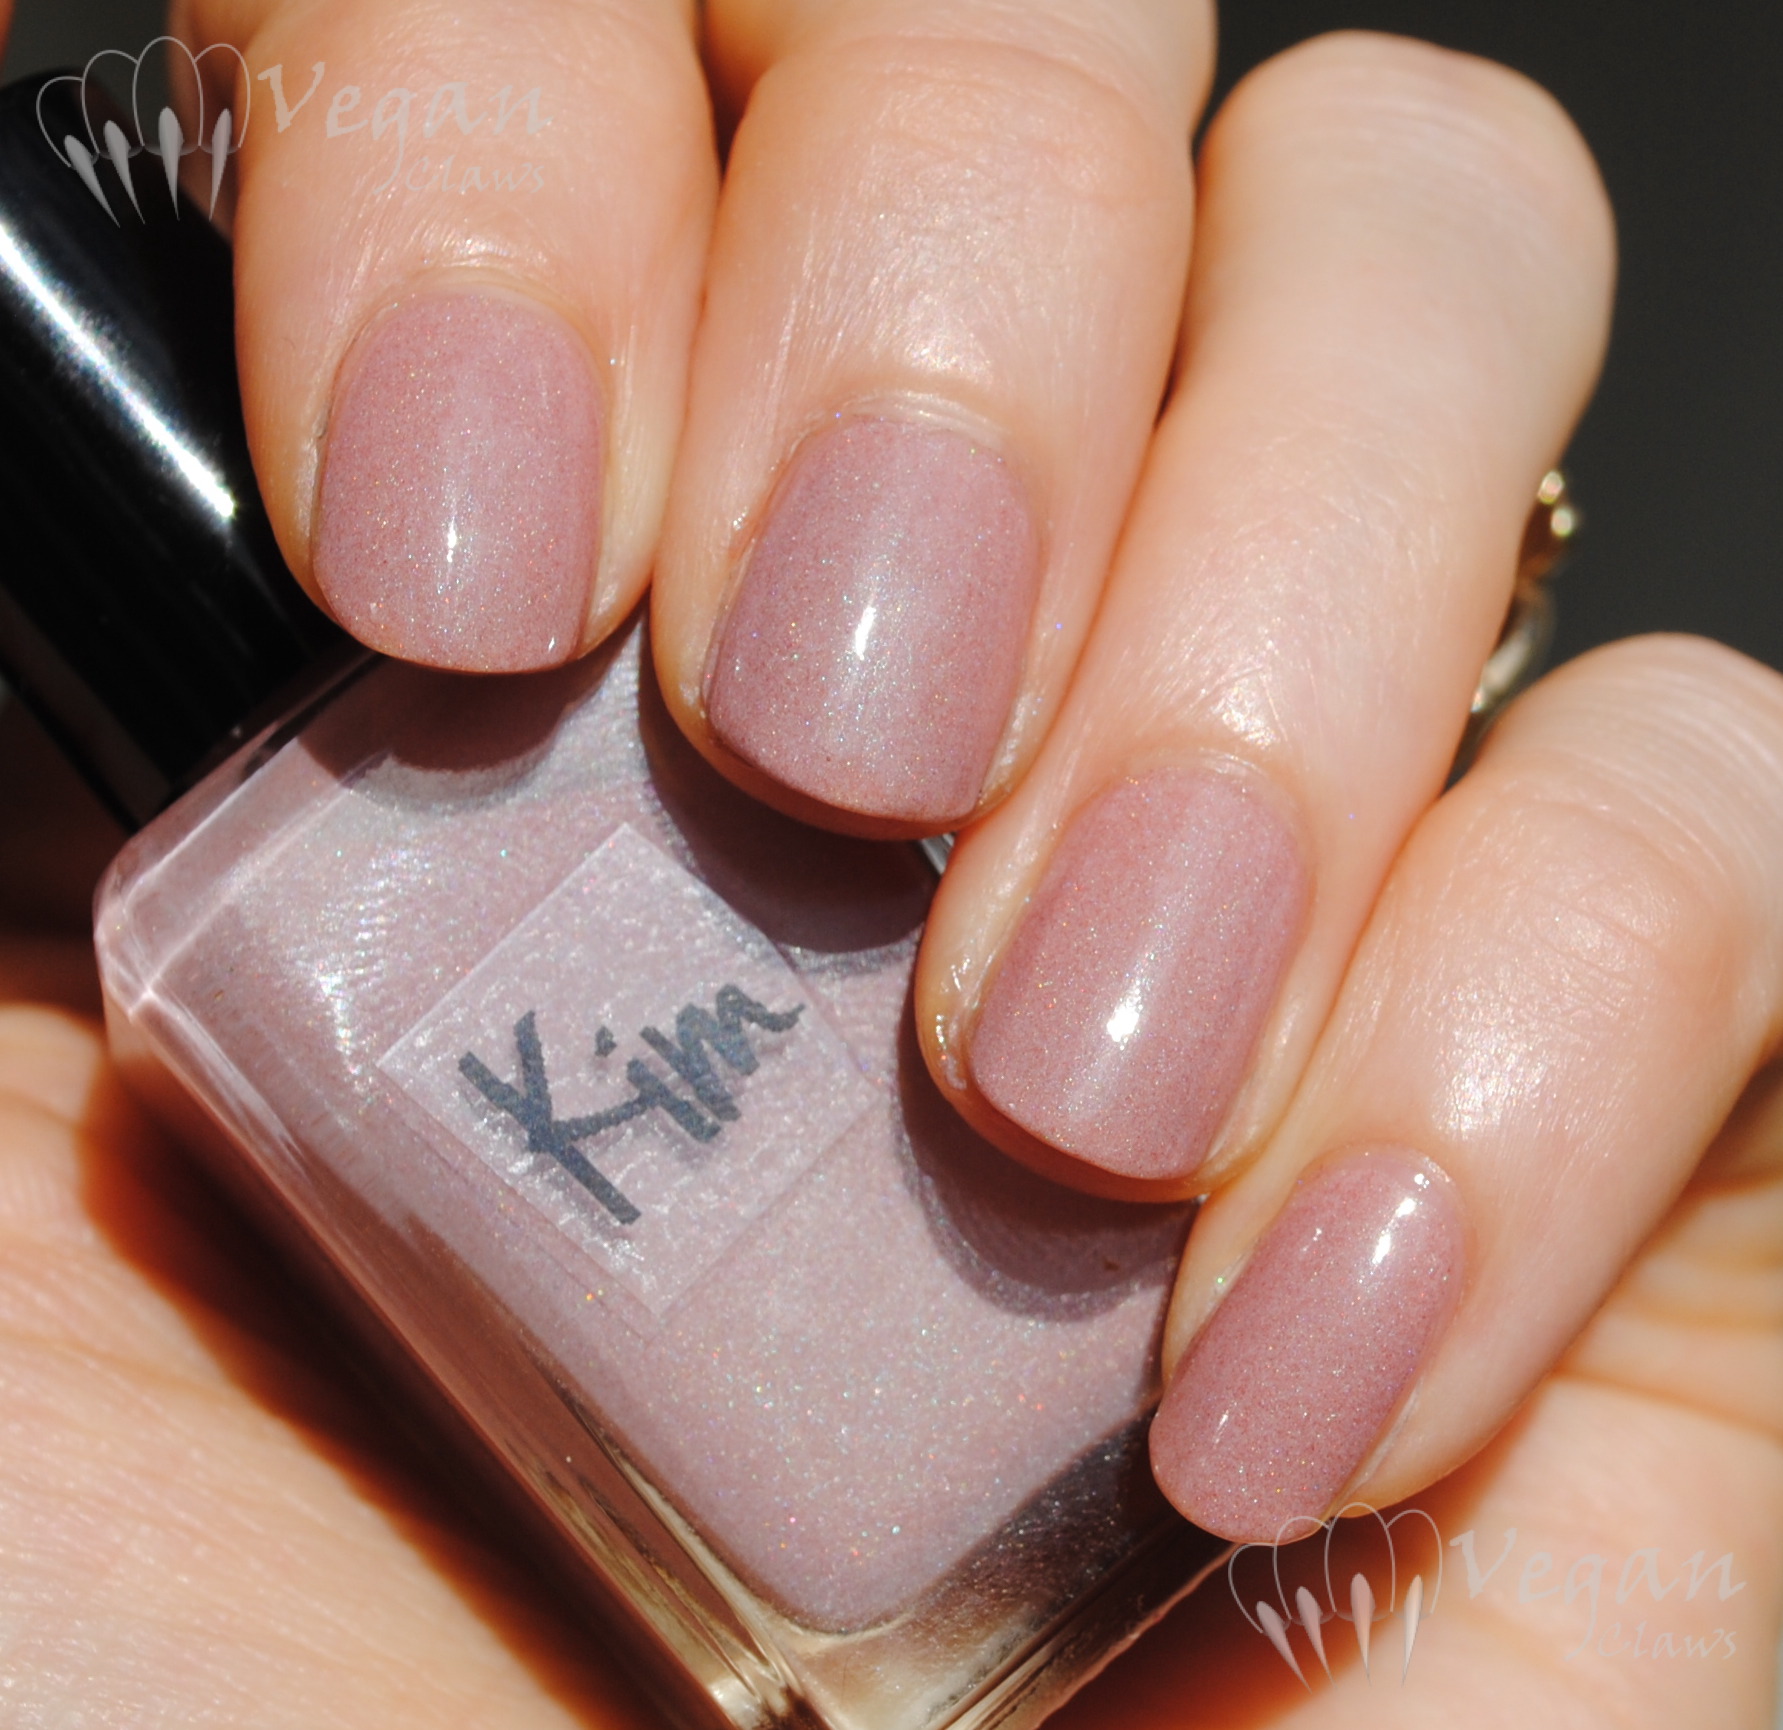
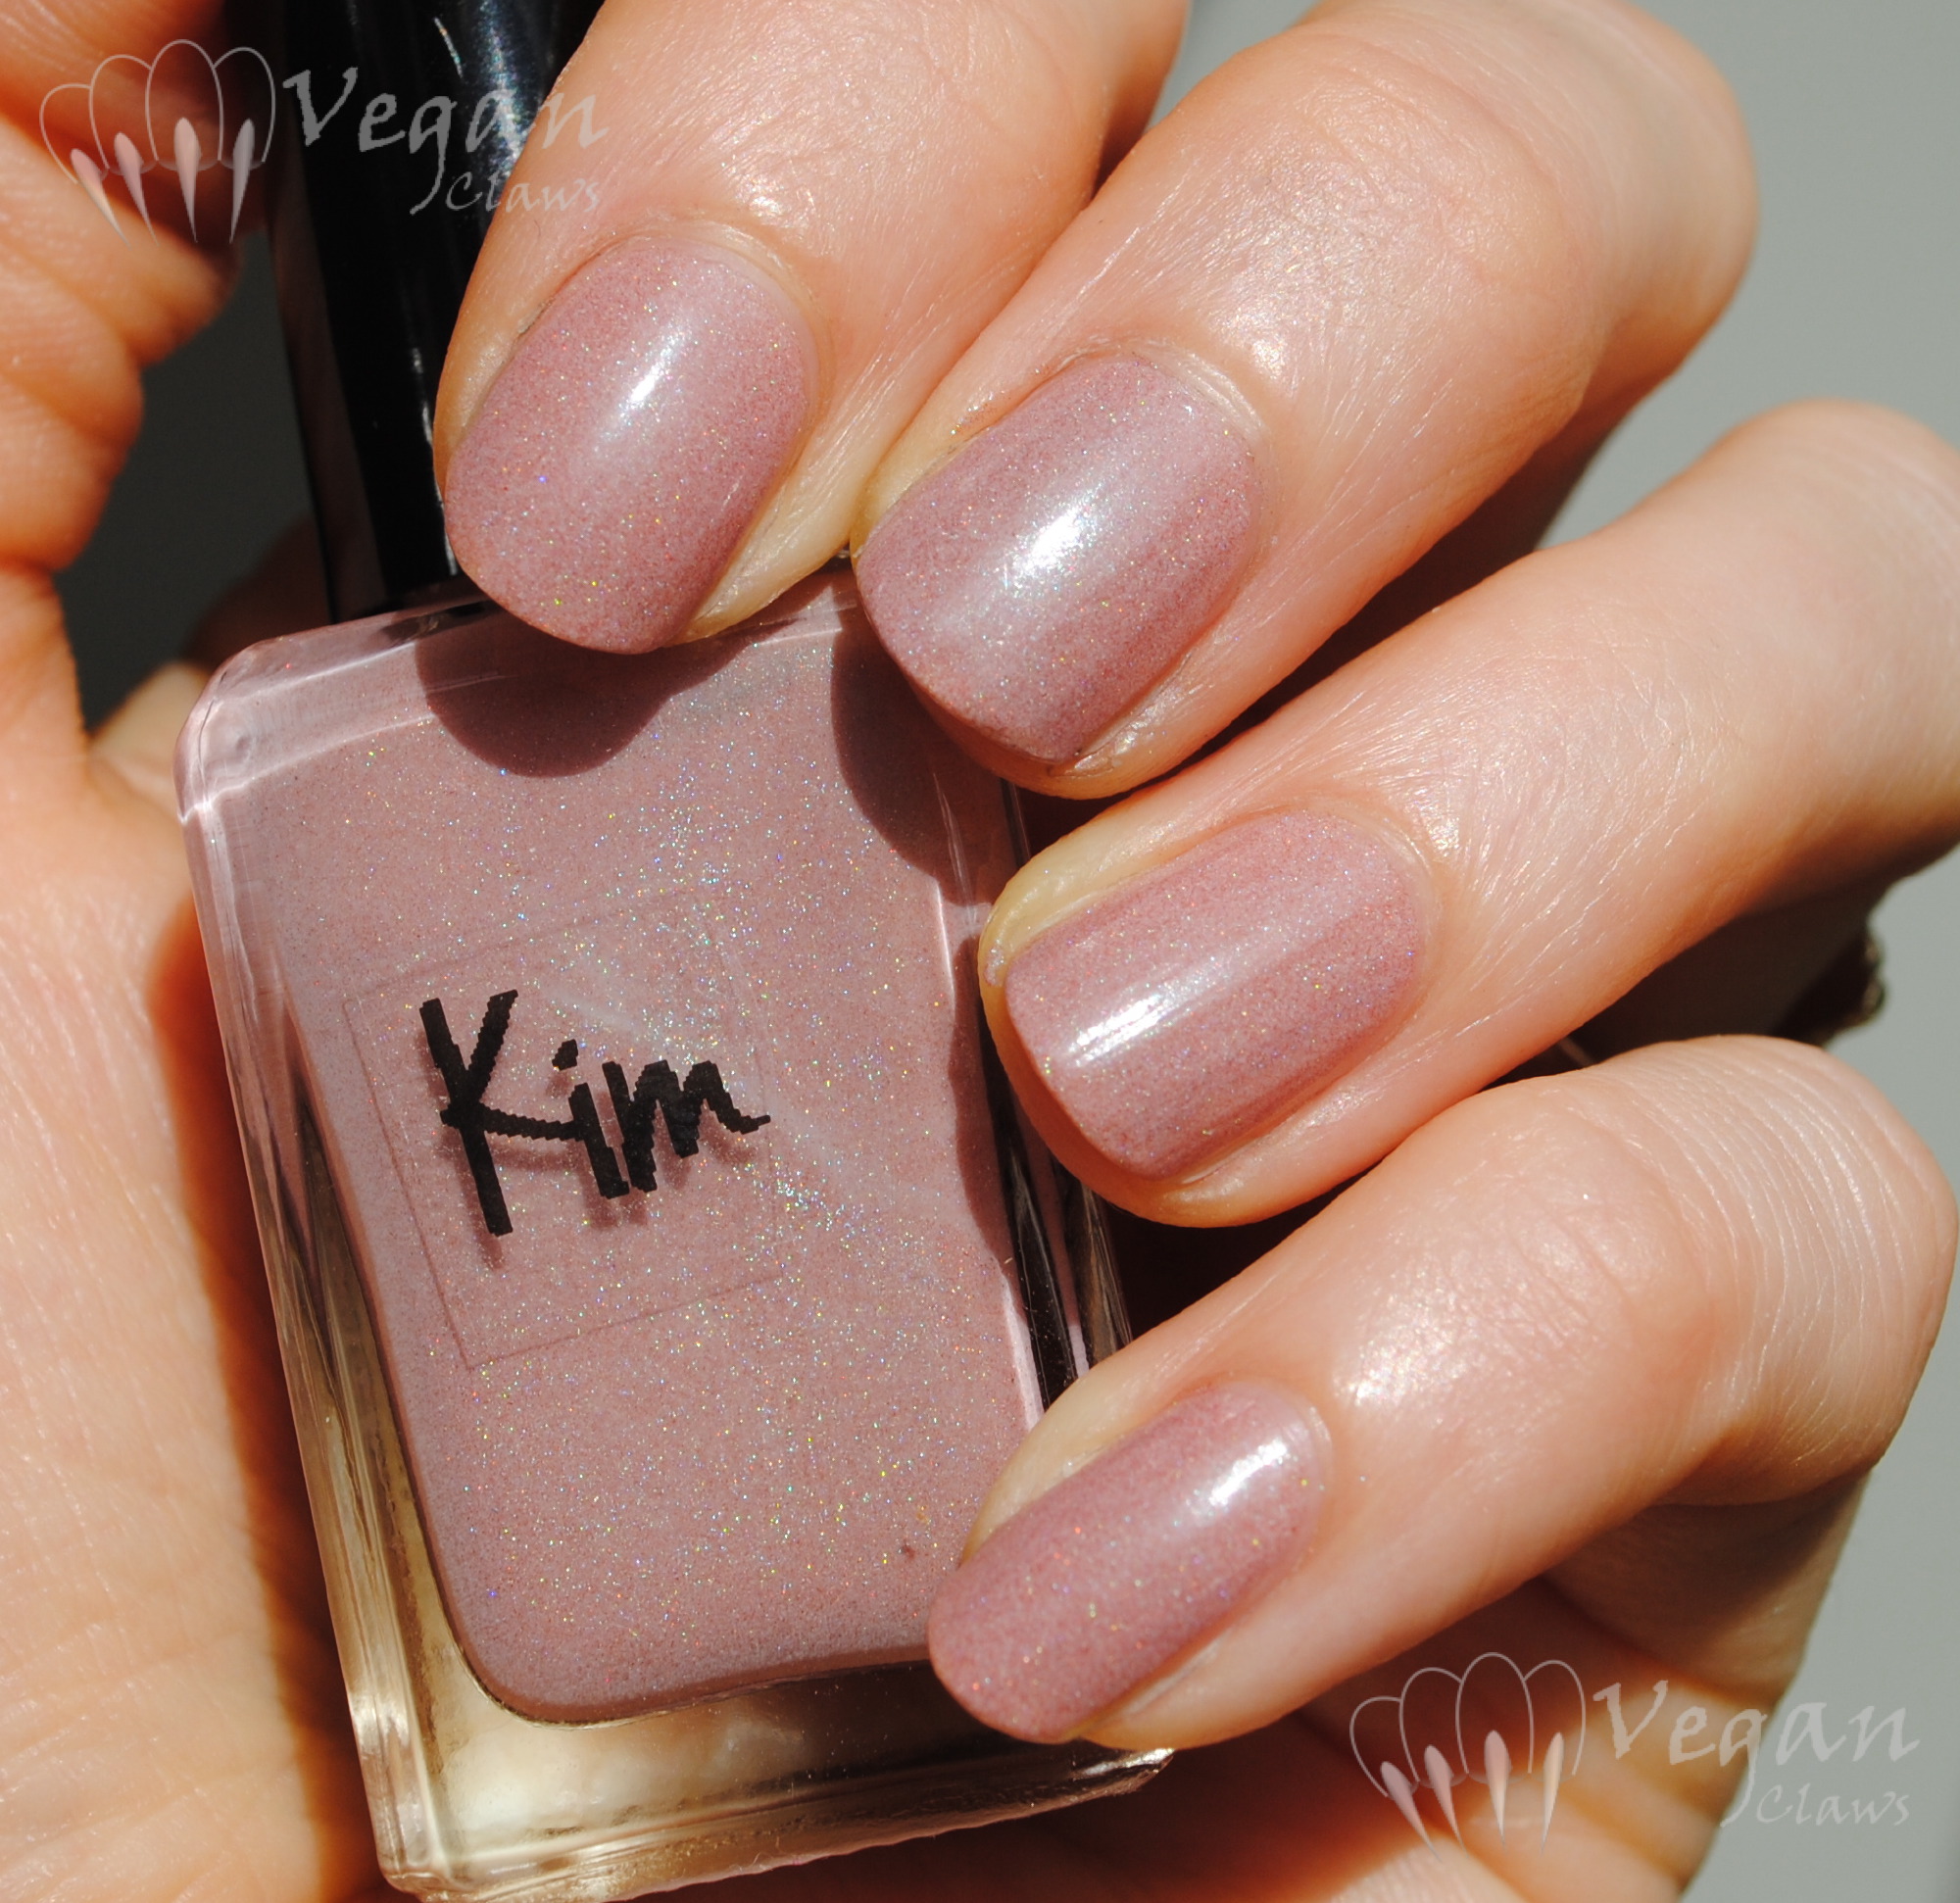
To show the fix in action, here is the manicure I did right after fixing the nail!

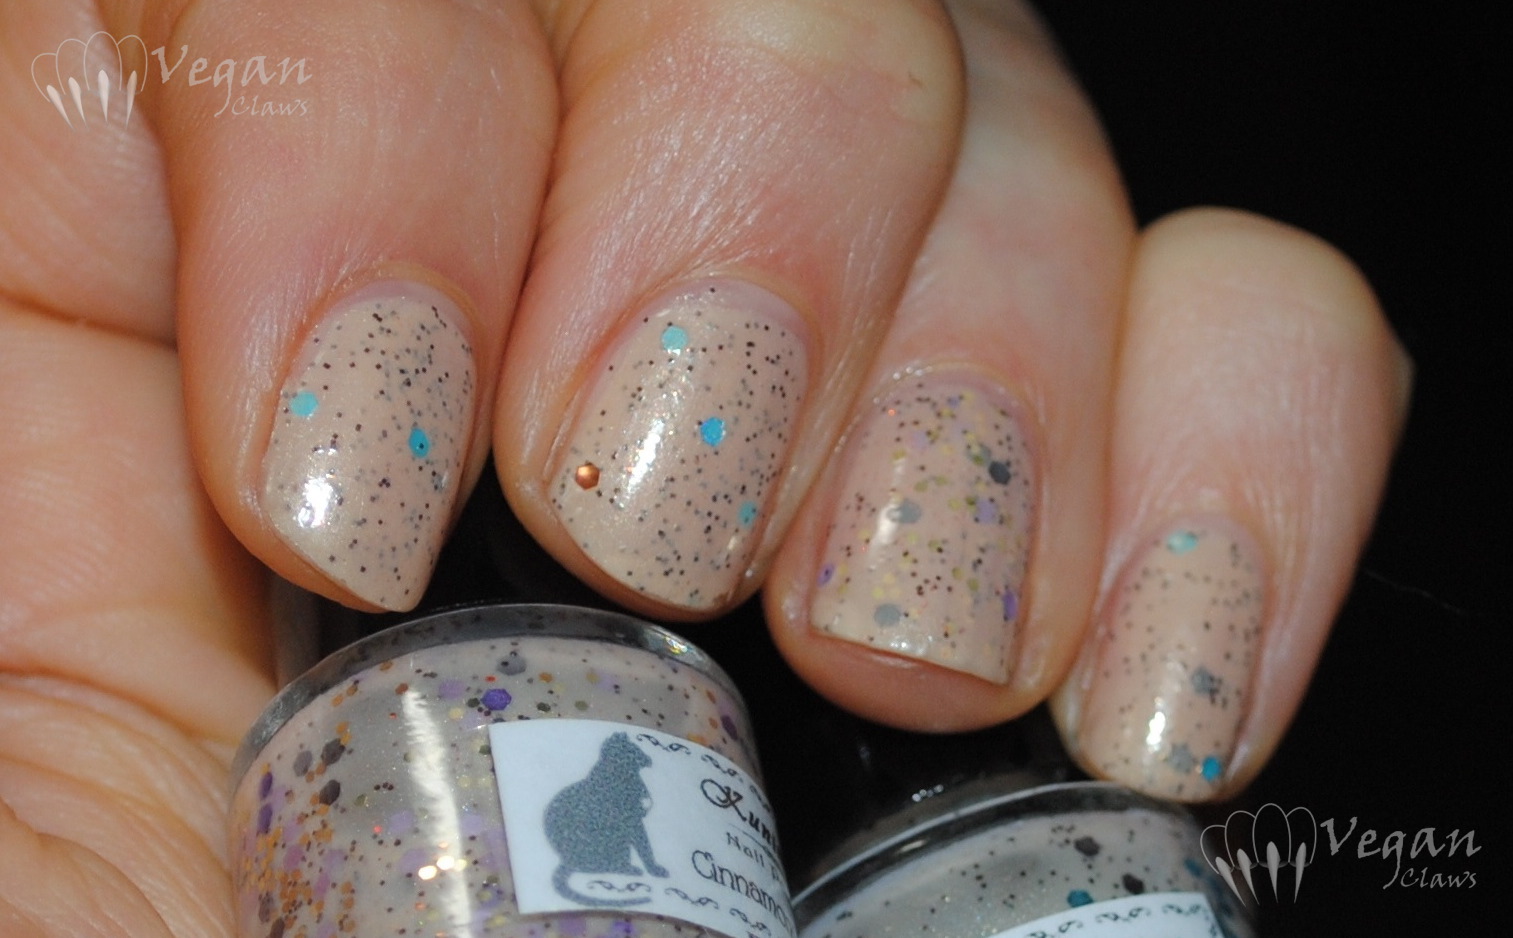
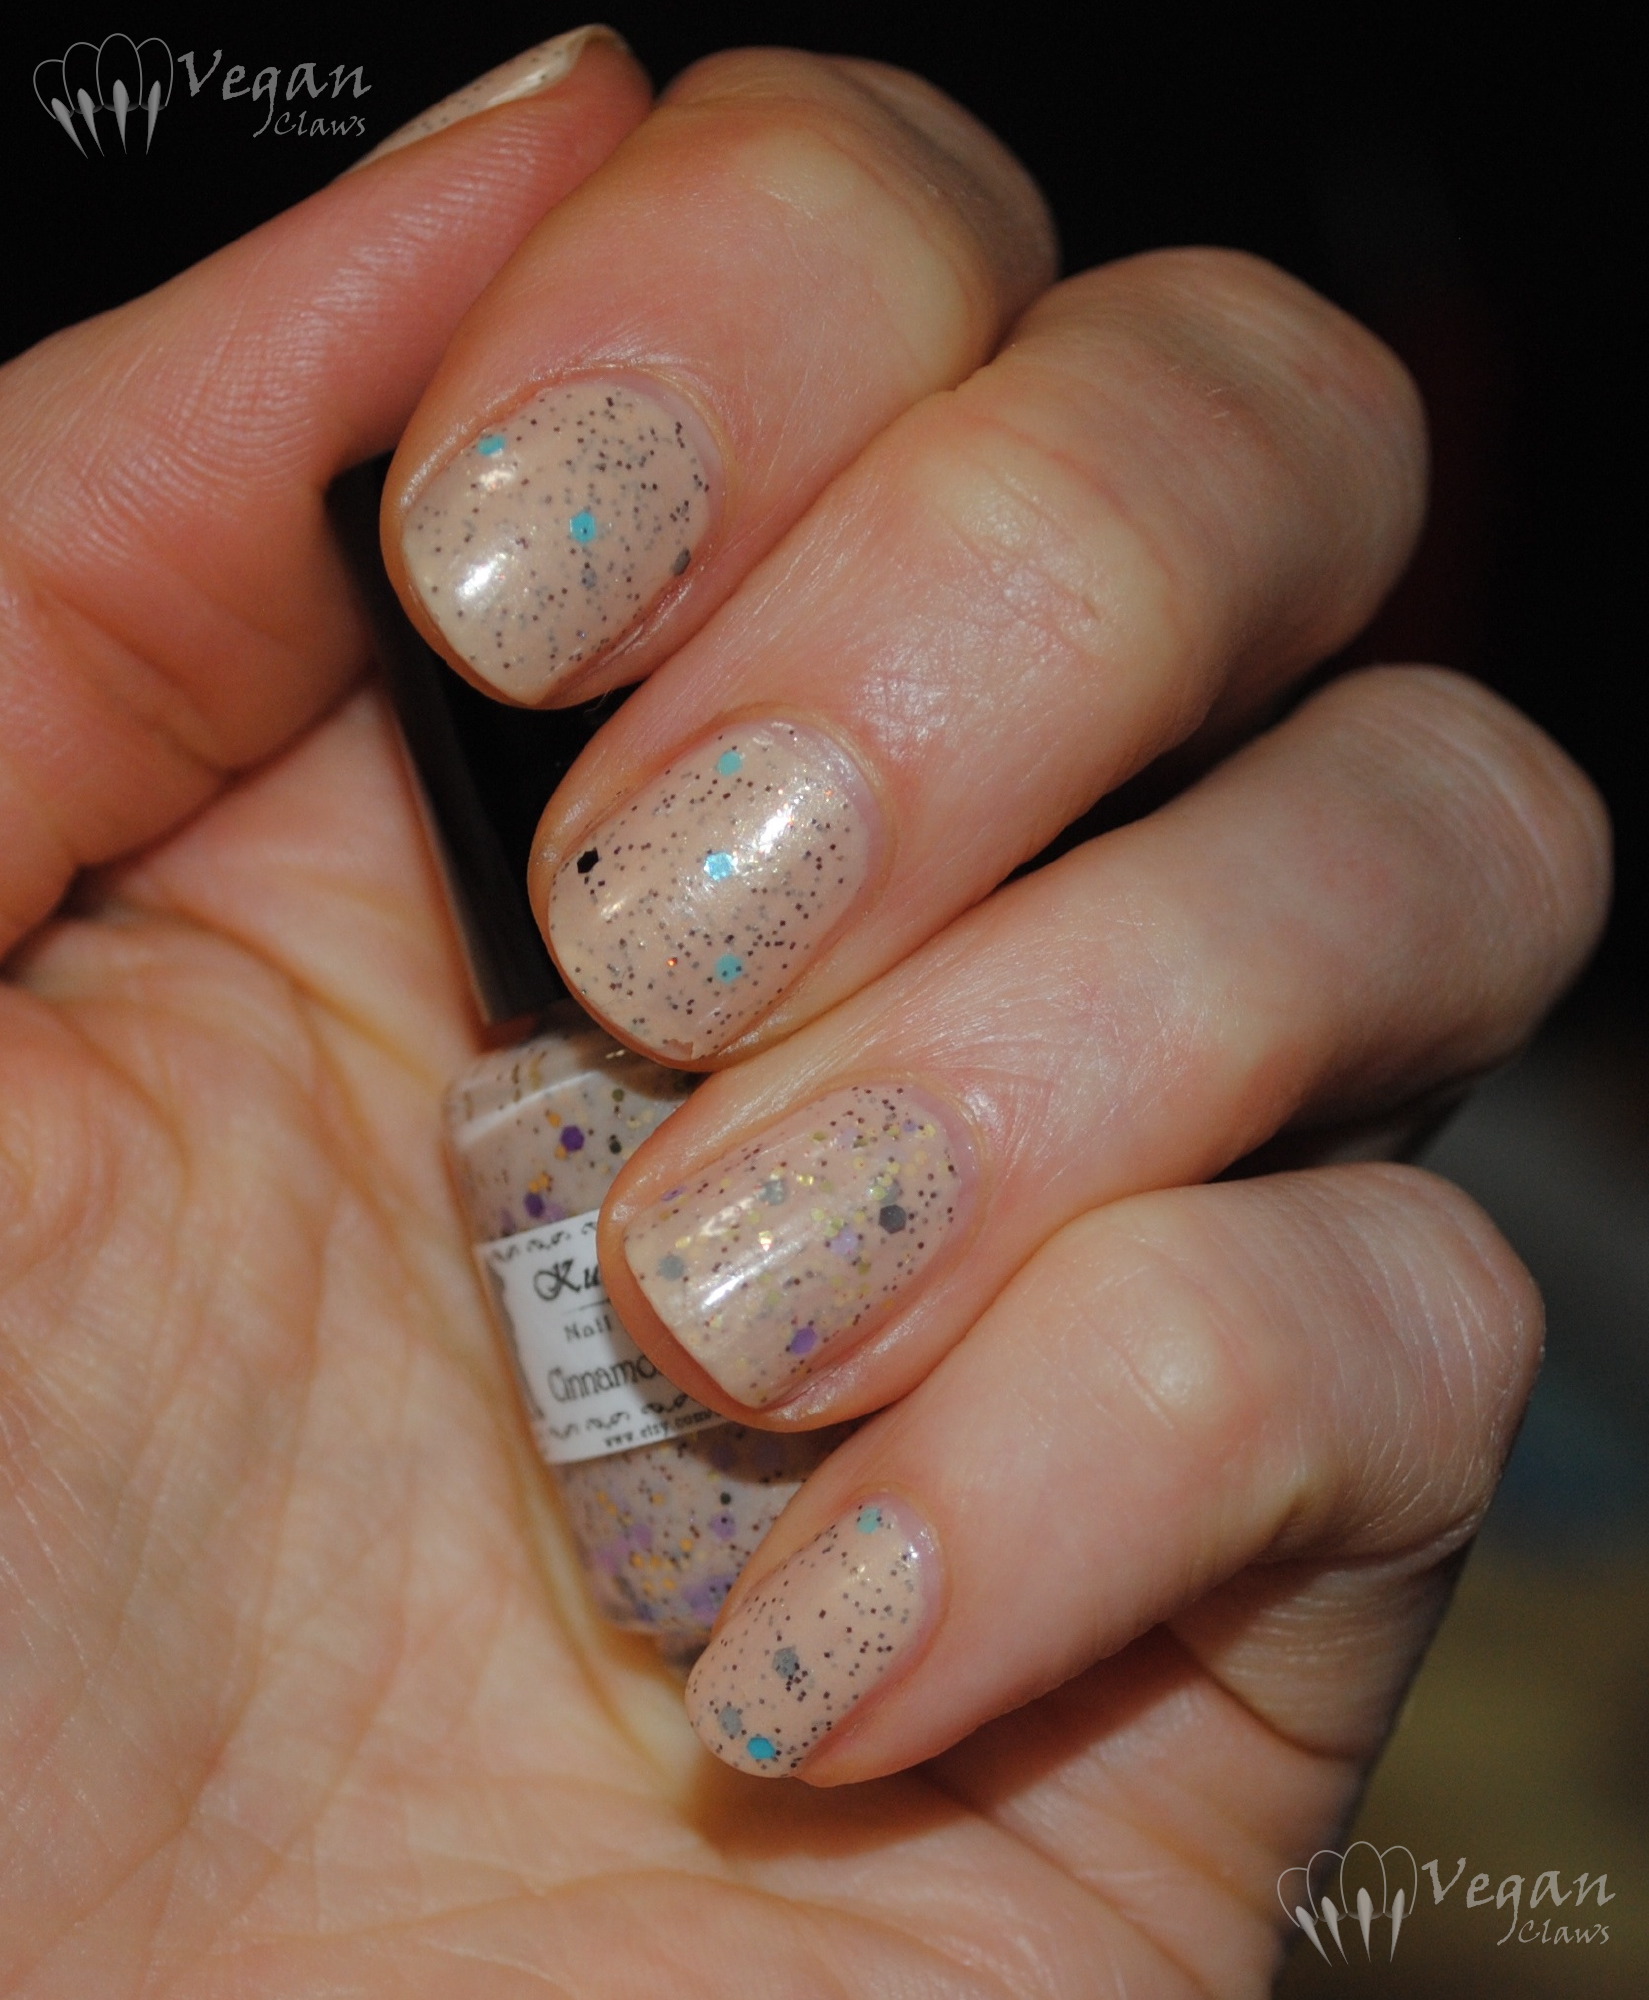
I did a bit of a jelly sandwich, but then added more glitter on top because it was too subtle for my mood. Unfortunately there was no sun so these photos are in overcast natural light.

This is two coats of OPI Barre My Soul from the spring Ballet collection, followed by a coat of Orly Spazmatic from the recent Glam FX glitter collection. Then one more coat of the OPI and one more coat of the Orly glitter. Spazmatic also has tiny little flecks of iridescent blue shimmer in it, which makes it pretty unique and interesting!

When changing my polish, I used non-acetone remover on the index finger with the nail wrap, since acetone would break down the nail glue more quickly. It lasted for about a week fully intact until it peeled up a little at the cutucle edge and I broke off the peeled-up part (a couple millimetres) and buffed the rough edge a bit. But, around then I also started not bothering with the non-acetone remover anymore, and the wrap started disintegrating quicker. Now it’s mostly gone, but my nail has also grown out a bit. I may apply another wrap just to the end of the nail to hold it for another week or two until I can file off all the remaining evidence of the break.

So there you have it, my nail-fixing method. It’s not perfect (if you notice anything unusual about my index finger in some of the posts just before and after this one, that would be why! and I did a couple of marathon swatching sessions while I had this wrap on, so these posts will be appearing for a while! I’m curious whether the wrap is noticeable in the pics…) but hey, it works pretty well!

And now, I leave you with my little helper, Julius! πŸ˜€