A vegan nail polish blog. A celebration of colour and light, as well as of justice for nonhuman animals.

Posts tagged ‘nail art’

Picture Polish Paris and stamping

Picture Polish Paris is a beautiful jellyish coral pink with the signature PP scattered holo particles. Two coats plus top coat. Love this shade! With flash:

picturepolish_paris_flash2

picturepolish_paris_flash

In shade:

picturepolish_paris_shade 

I did a stamped accent using Misa Blueberry Blast and the damask pattern from Konad plate M83.

picturepolish_paris_misa_blueberryblast_stamping_flash3

It didn’t really turn out as blue as I’d hoped; almost looks more grey without the Misa bottle right next to it. But I still like it! Blueberry Blast worked quite well for stamping, considering it’s a regular, pastel polish!

picturepolish_paris_misa_blueberryblast_stamping_flash4

picturepolish_paris_misa_blueberryblast_stamping_flash2

picturepolish_paris_misa_blueberryblast_stamping_flash

Bonne journée des Franco-Ontariens & Franco-Ontariennes!


Le 25 septembre est la journée des Franco-Ontarien.ne.s alors j’ai fait un nail art représentant le drapeau Franco-Ontarien, qui célèbre ses 40 ans aujourd’hui! J’ai utilisé la plaque M15 de Konad pour le lys et une plaque qui se nomme AT-04 trouvée sur Aliexpress pour le trille (j’en ai enfin trouvé un après de longues longues recherches!) Les vernis de base sont Hunter Green de NYX et White on the Spot de Milani, et j’ai stampé avec le même NYX pour le vert et Kind of White (S) de Colour Alike pour le blanc. Photos prises ce matin avec flash.

Apologies to my readers who don’t speak French; I thought this post should definitely be in French! 😛 Also, this is a preview of my new nail shape I’ve had for several weeks now – as usual I’m wayyyy behind on posts so I still have a bunch with my previous shape to post before getting to the newer stuff 🙂

nyx_huntergreen_milani_whiteonthespot_francoontarien4

nyx_huntergreen_milani_whiteonthespot_francoontarien3

nyx_huntergreen_milani_whiteonthespot_francoontarien2

nyx_huntergreen_milani_whiteonthespot_francoontarien

Zoya Jasmine, Zoya Blossom, and stamping

I’ve got some more nails inspired by my cat Jasmine to show you today! Her full name is actually Jasmine Blossom so I wanted to use these two polishes together for some nail art. First some swatches of the polishes used. Both are older, discontinued Zoya shades. 

zoya_jasmine_shade2 

Zoya Jasmine, three coats plus top coat. The third wasn’t strictly necessary but did deepen the colour slightly. Shown here in overcast natural light. 

zoya_jasmine_shade 

Jasmine is a shimmery metallic berry red-pink. Under Ott lite:

zoya_jasmine_ott 

With flash:

zoya_jasmine_flash

Zoya Blossom, a slightly peachy off-white with fine pink shimmer. I’m not sure if this was three or four coats; I apparently forgot to write it down! I did write down that the formula was a little thin (which makes me think it’s probably four coats) but surprisingly un-streaky for a white! Under Ott lite:

zoya_blossom_ott

Under halogen light:

zoya_blossom_halogen 

With flash:

zoya_blossom_flash3 zoya_blossom_flash2 zoya_blossom_flash

I then stamped over Blossom using Jasmine, with an image of jasmine blossoms (? that’s what I decided these flowering branches were, anyway! haha) from plate Hehe-023. Photos of the stamping are all with flash. 

zoya_jasmine_blossom_stamping4 zoya_jasmine_blossom_stamping3 zoya_jasmine_blossom_stamping2 zoya_jasmine_blossom_stamping

I loved this combo!!

And now some photos of my semi-feral Jasmine: a collage with her sitting in a box and with her brother Thor, with whom she’s very close (and Julius lolling about in the background of one!) , and then one of her on the bed (she was actually leaned up against my leg when I woke up from a nap!)


Picture Polish Douceur and stamping

Picture Polish Douceur is a very pretty pale pinkish-beige nude shade with scattered holo and small and medium magenta hex glitter. I used two coats plus top coat. With flash (as are the later photos with the accent nail):

picturepolish_douceur

Under Ott Lite:

picturepolish_douceur_ott

I stamped an scaly-patterned accent nail using Finger Paints Minimalistic Mauve (which I think would have been better named minimalistic magenta) and plate Hehe-005. 

picturepolish_douceur_stamping4

picturepolish_douceur_stamping3

picturepolish_douceur_stamping2

picturepolish_douceur_stamping

Ellagee By The Sea, Snoozing in the Hammock, Salty Breeze, Beach Bum, and watermarble accents

I recently got the entire Ellagee Beach Bum collection of sunbleached neons, and here is the first (evolving) mani I did with a few of them. Including my first successful watermarble attempts! 😀

ellagee_bythesea_snoozinginthehammock_watermarble3

Here are the three shades I started with, By The Sea, Salty Breeze, and Snoozing in the Hammock:

ellagee_bythesea__saltybreeze_snoozinginthehammock

My only previous watermarble attempt was a failure given that it was about 15 degrees Celsius in my place at the time. This time, in the summer, things went a lot better. Not without issues, my first try below had to be redone because I got too much of the polish on my fingertip and it kind of ran all over my nail covering the design I’d originally tried to pick up.

Oh and the little cup I’m using is the China Glaze shot glass from one of their holiday sets a few years ago. 😀 I also used Sticky Paws liquid latex from Eat Sleep Polish around my nail for clean up; clearly on my first try there I didn’t go far enough down my finger so I added more for the next tries! I should also mention that as base for all the watermarbled nails shown here, I used one generous coat of Milani White On The Spot.

ellagee_bythesea_snoozinginthehammock_watermarble2

The marble isn’t perfect; I did get a spot from where a water bubble got stuck in the polish, but I was happy with how it turned out!

ellagee_bythesea_snoozinginthehammock_watermarble

On my left hand I did the other fingers in By the Sea, and on my right hand in Snoozing in the Hammock. I used two coats plus top coat for each; they had a good formula that self levels pretty well.
ellagee_bythesea_snoozinginthehammock_watermarble_right3

ellagee_bythesea_snoozinginthehammock_watermarble_right2

ellagee_bythesea_snoozinginthehammock_watermarble_right


Both hands together:

ellagee_bythesea_snoozinginthehammock_watermarble_bothhands2

ellagee_bythesea_snoozinginthehammock_watermarble_bothhands


With little Wu in the background:

ellagee_bythesea_snoozinginthehammock_watermarble_bothhands_wu


For the second day I changed things up a bit by painting Salty Breeze on a couple of the nails on my left hand. It had a similar formula to the previous two and this is also two coats plus top coat:

ellagee_bythesea_saltybreeze_snoozinginthehammock_watermarble2

ellagee_bythesea_saltybreeze_snoozinginthehammock_watermarble

On my right hand I changed the watermarble as well as a couple of the plain fingers. Unlike the other photos which were in sunlight, these ones are with flash.

ellagee_beachbum_snoozinginthehammock_watermarble_right4


This time I used Beach Bum, the peach from the collection, along with Salty Breeze and Snoozing in the Hammock for the watermarble, and painted my thumb and middle finger with Beach Bum.

ellagee_beachbum_snoozinginthehammock_watermarble_right3


For Beach Bum I needed three coats plus top coat since it was still a little streaky at two, but that may have just been me not being as careful.

ellagee_beachbum_snoozinginthehammock_watermarble_right2


So far I’m loving these Ellagee polishes, and I definitely recommend them if you’re looking for pastel neons! And I was so happy to have a watermarbling success! The designs aren’t perfect but at least they went on my nails ok! Next I’ll work on making nice, smoother swirly designs. 😀

ellagee_beachbum_snoozinginthehammock_watermarble_right

Picture Polish Cherish and chevron nail art

I’ve got some nail art to show you today! I was kind of ridiculously proud of the result of this first time using nail vinyls, haha. 😀

I started with Picture Polish Cherish, a light beige creme-based scattered holo. I used three coats plus topcoat for this swatch (although two coats would probably be fine for non-ridgey nails).

picturepolish_cherish3

picturepolish_cherish2

picturepolish_cherish


I added chevron nail vinyls (the ones I used were from nailvinyls.com although I received them as a sample in a Cult Nails purchase quite a long time ago!) and then applied two other Picture Polish scattered holos, Forget Me Not on the cuticle side and Demeter on the free edge side, before removing the vinyls and applying a final topcoat. Unfortunately my camera refused to capture the true colour of Forget Me Not, but I have a phone pic at the end that shows its rich, deep blue much better.

picturepolish_cherish_forgetmenot_demeter2

picturepolish_cherish_forgetmenot_demeter4

picturepolish_cherish_forgetmenot_demeter3


I was so happy with how these turned out! Here is the more colour-accurate photo of Forget Me Not – my camera shows it much too light in the above pics!

picturepolish_cherish_forgetmenot_demeter


Polished by KPT Dichromate and stamping

Dichromate is a thermal polish from Polished by KPT, shifting from yellow when warm to orange when cold. It has lots of silver shimmer in it giving a foil effect. Shown in various degrees/various finger combinations of warm/cold. 

polishedbykpt_dichromate3

polishedbykpt_dichromate2

polishedbykpt_dichromate1

polishedbykpt_dichromate

polishedbykpt_dichromate5

polishedbykpt_dichromate4

 I stamped over it using Kleancolor Metallic Mango and a pattern from Messy Mansion plate MM-13. I really like how it turned out! 

polishedbykpt_dichromate_stamping9

polishedbykpt_dichromate_stamping8

polishedbykpt_dichromate_stamping7

polishedbykpt_dichromate_stamping6

polishedbykpt_dichromate_stamping5

polishedbykpt_dichromate_stamping4

polishedbykpt_dichromate_stamping3

polishedbykpt_dichromate_stamping2

polishedbykpt_dichromate_stamping

Echoes Polish Now You See Me and stamping

Echoes Polish is a Canadian indie that makes all vegan friendly polishes and is most well-known for their thermal polishes. Today I have Now You See Me to show you. When cold, it’s a dusty sage green colour, and it has beautiful green glass flecks throughout. Shown are three coats plus topcoat.

echoespolish_nowyouseeme


I had a couple of helpers while swatching 🙂 – Thor:

echoespolish_nowyouseeme_thor


and Seymour:echoespolish_nowyouseeme_seymour

When warm, Now You See Me changes to a taupe-beige colour, making the green glass flecks really stand out. The shade was inspired by camouflage print. Here it is in transition and fully warm:

echoespolish_nowyouseeme5

echoespolish_nowyouseeme4

echoespolish_nowyouseeme3

echoespolish_nowyouseeme2

echoespolish_nowyouseeme6

I decided to stamp it with a wavy stripe pattern from Hehe stamping plate Hehe-029, using China Glaze Con-fused (the green magnetic). Cold state, in the shade:

echoespolish_nowyouseeme_stamping_shade

With flash:

echoespolish_nowyouseeme_stamping


Mostly warm, with flash:

echoespolish_nowyouseeme_stamping2


The Great Evolving Black Dahlia Lacquer Manicure/Comparison

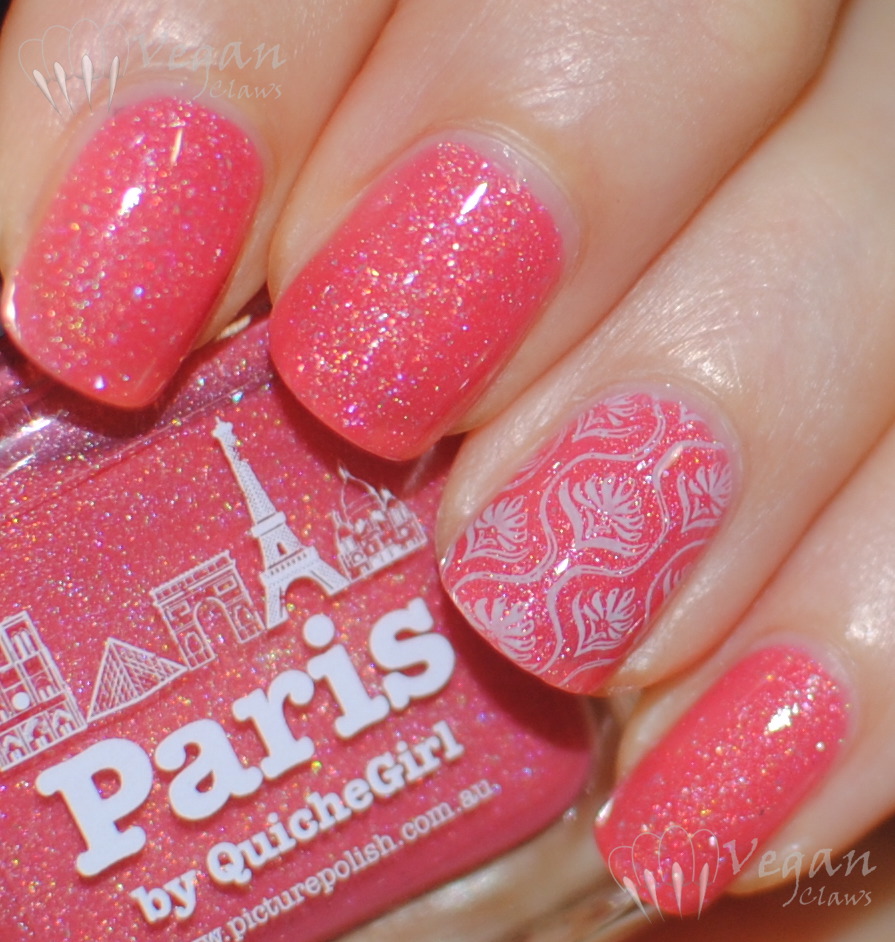
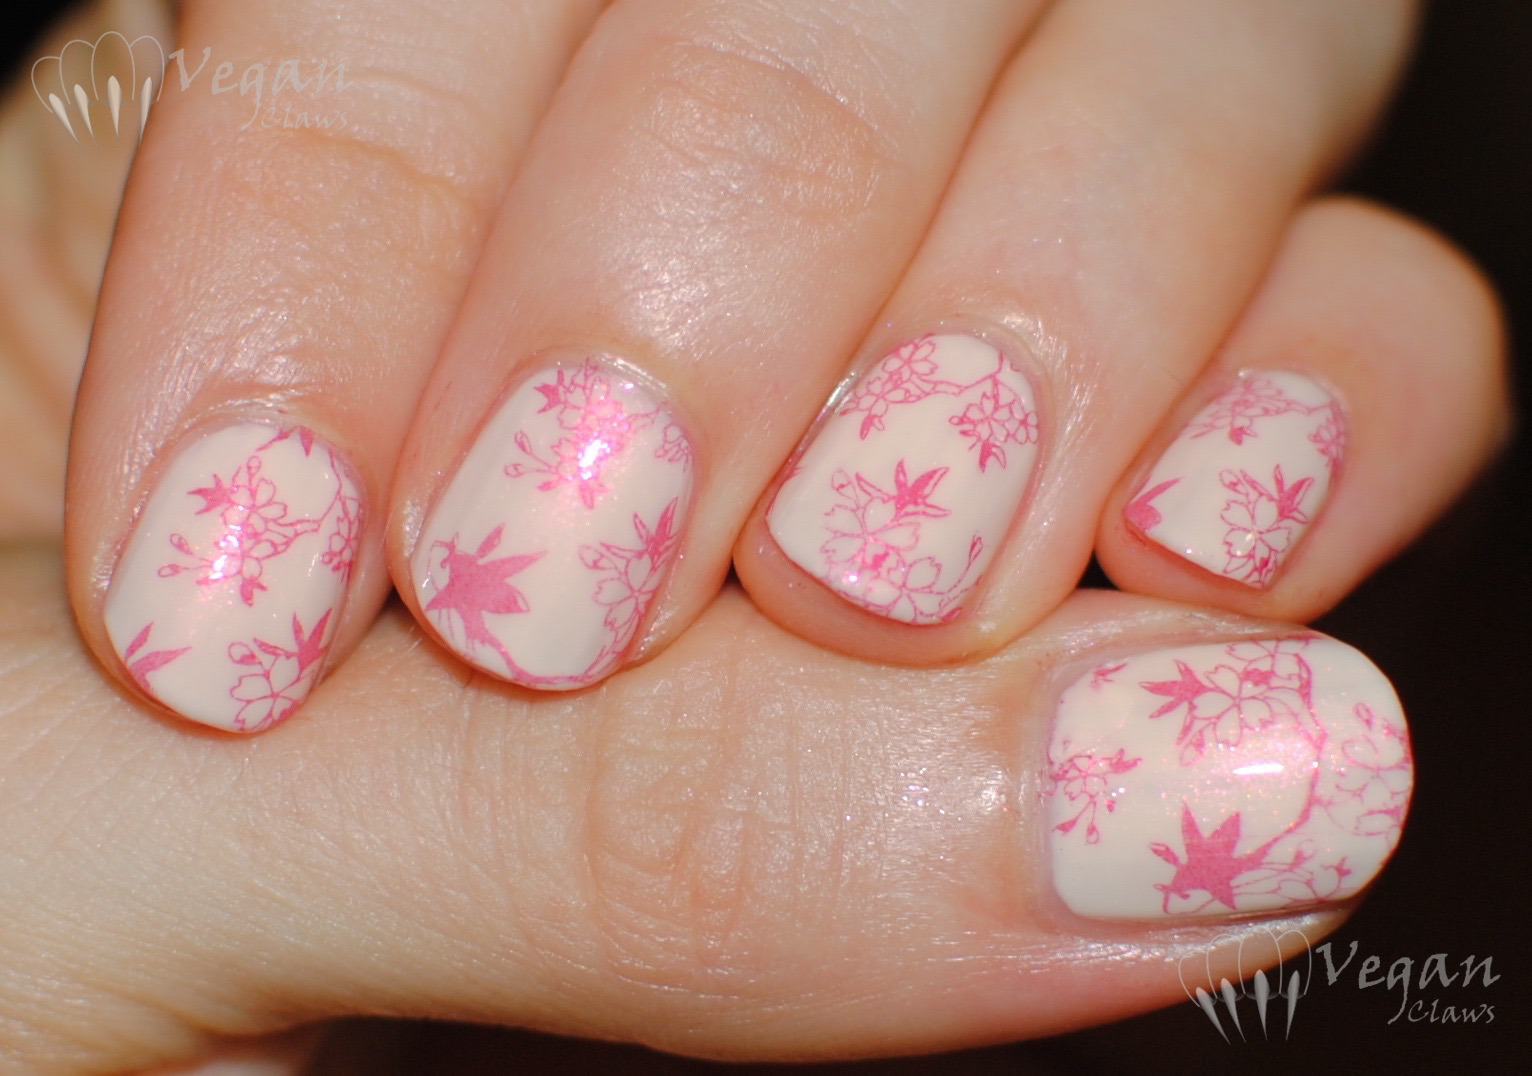
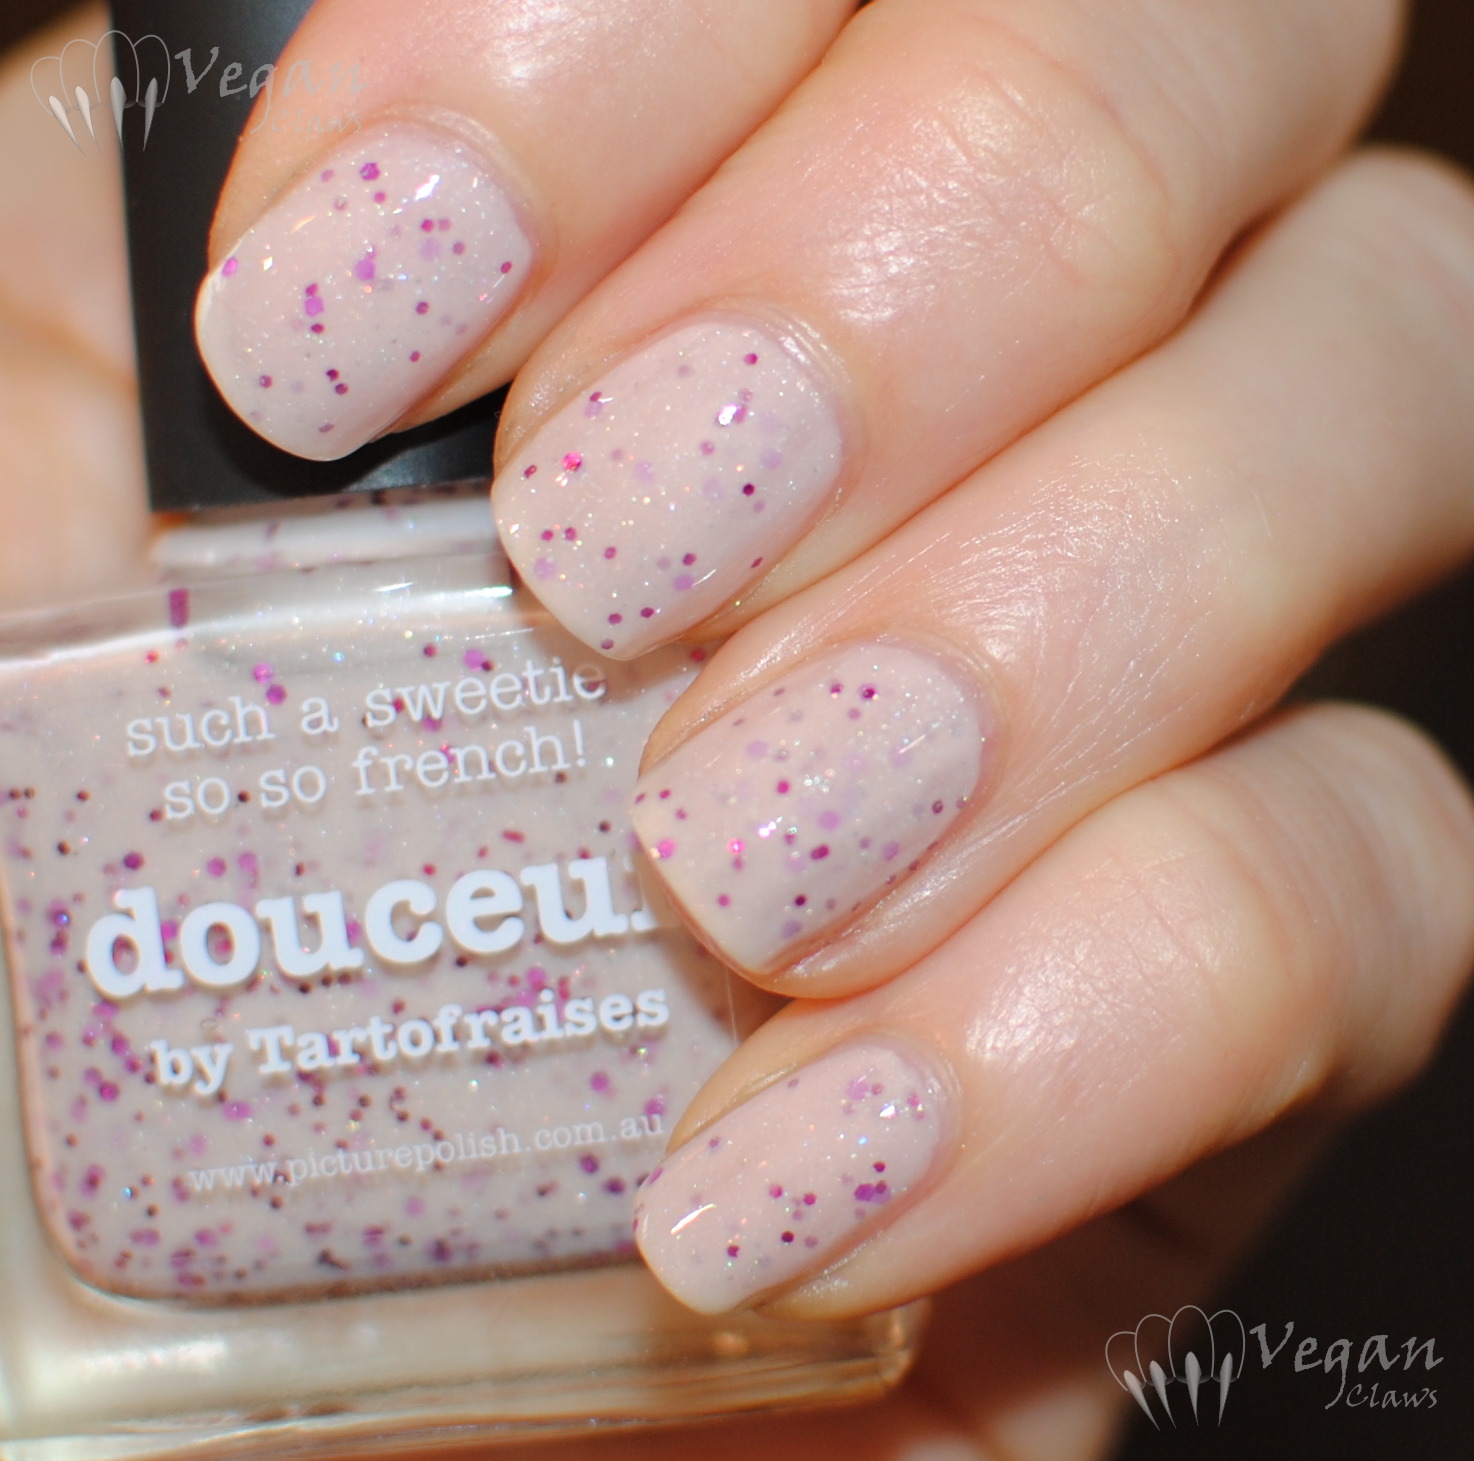
Warning, long and picture heavy post! I had a Black Dahlia Lacquer mani that just kept evolving! Except where noted, these were all two coats plus top coat.

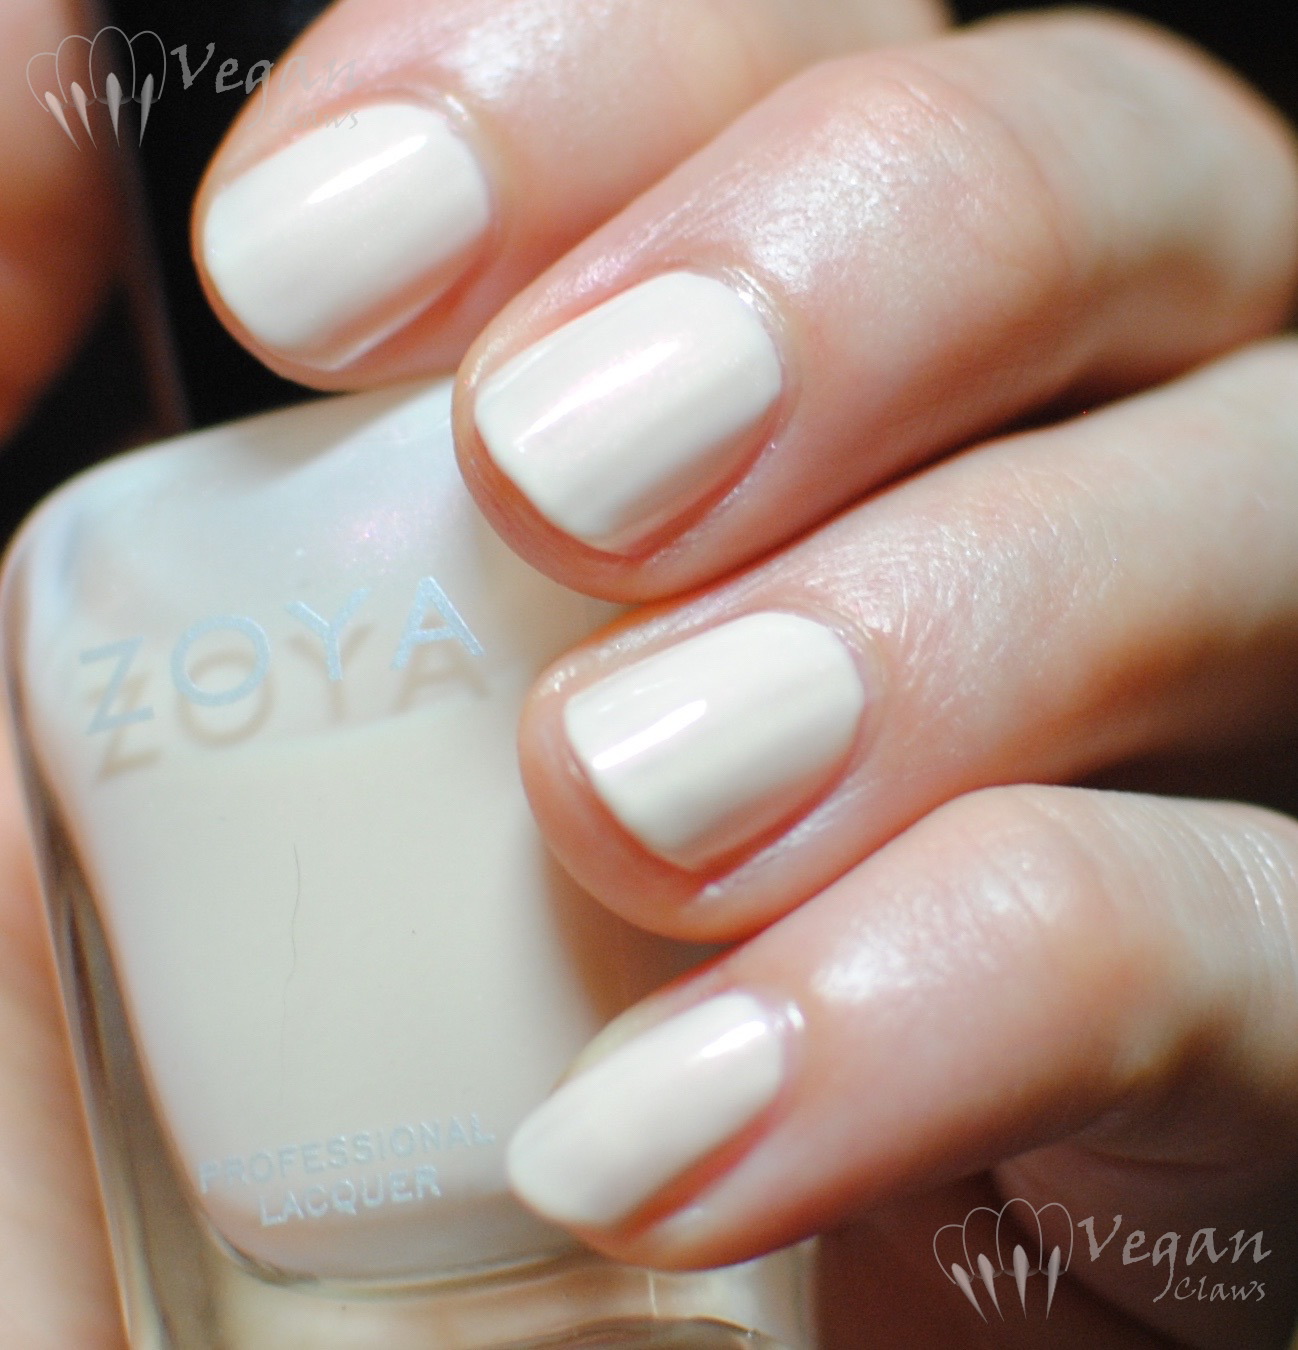
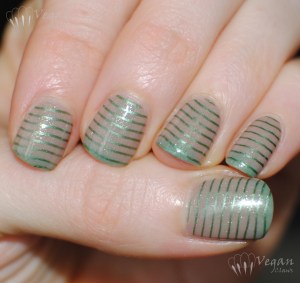
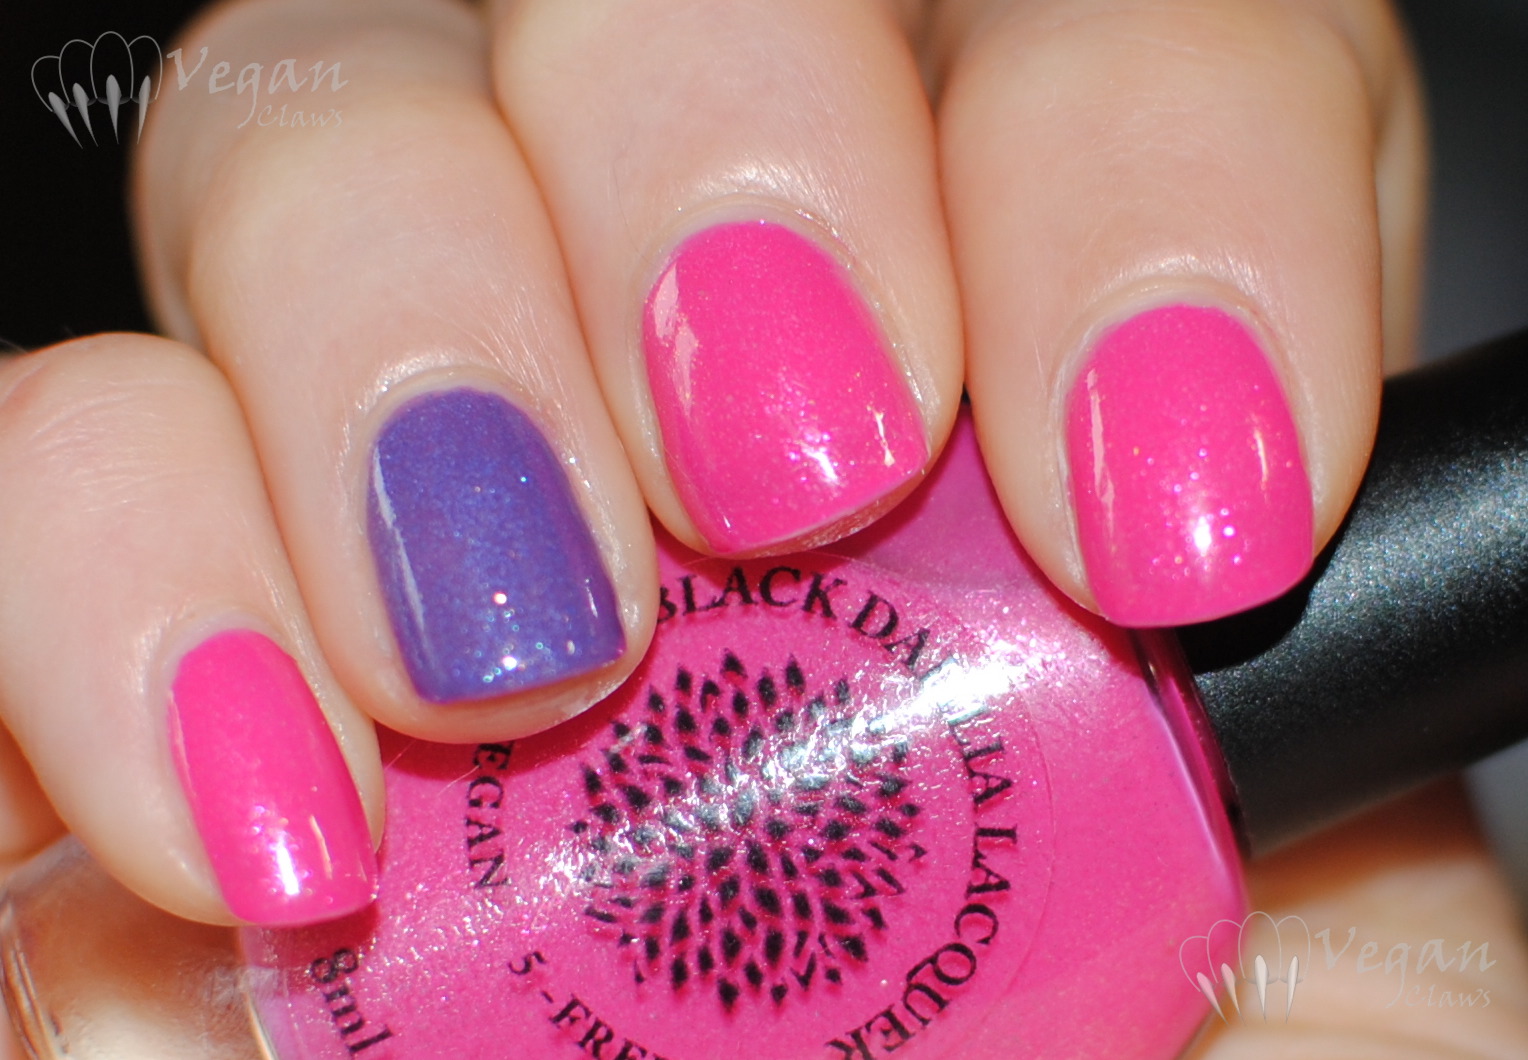
Part 1, left hand – Striped Peonies with Rose Petals, under Ottlite:

blackdahlialacquer_stripedpeonies_rosepetals_ott

With flash:

blackdahlialacquer_stripedpeonies_rosepetals_flash3


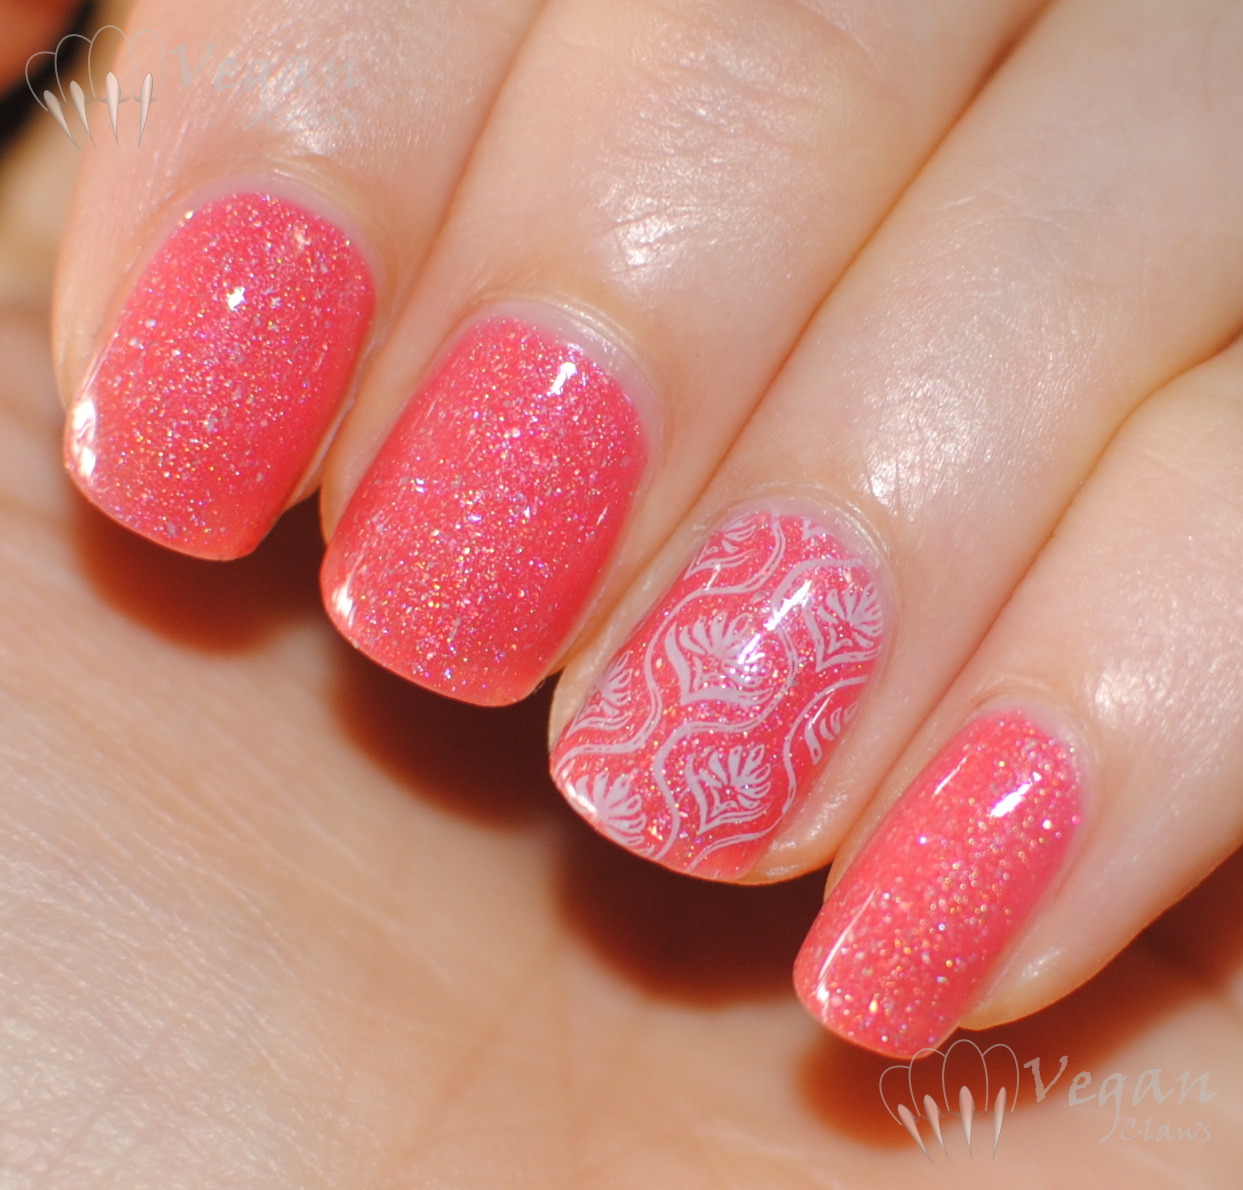
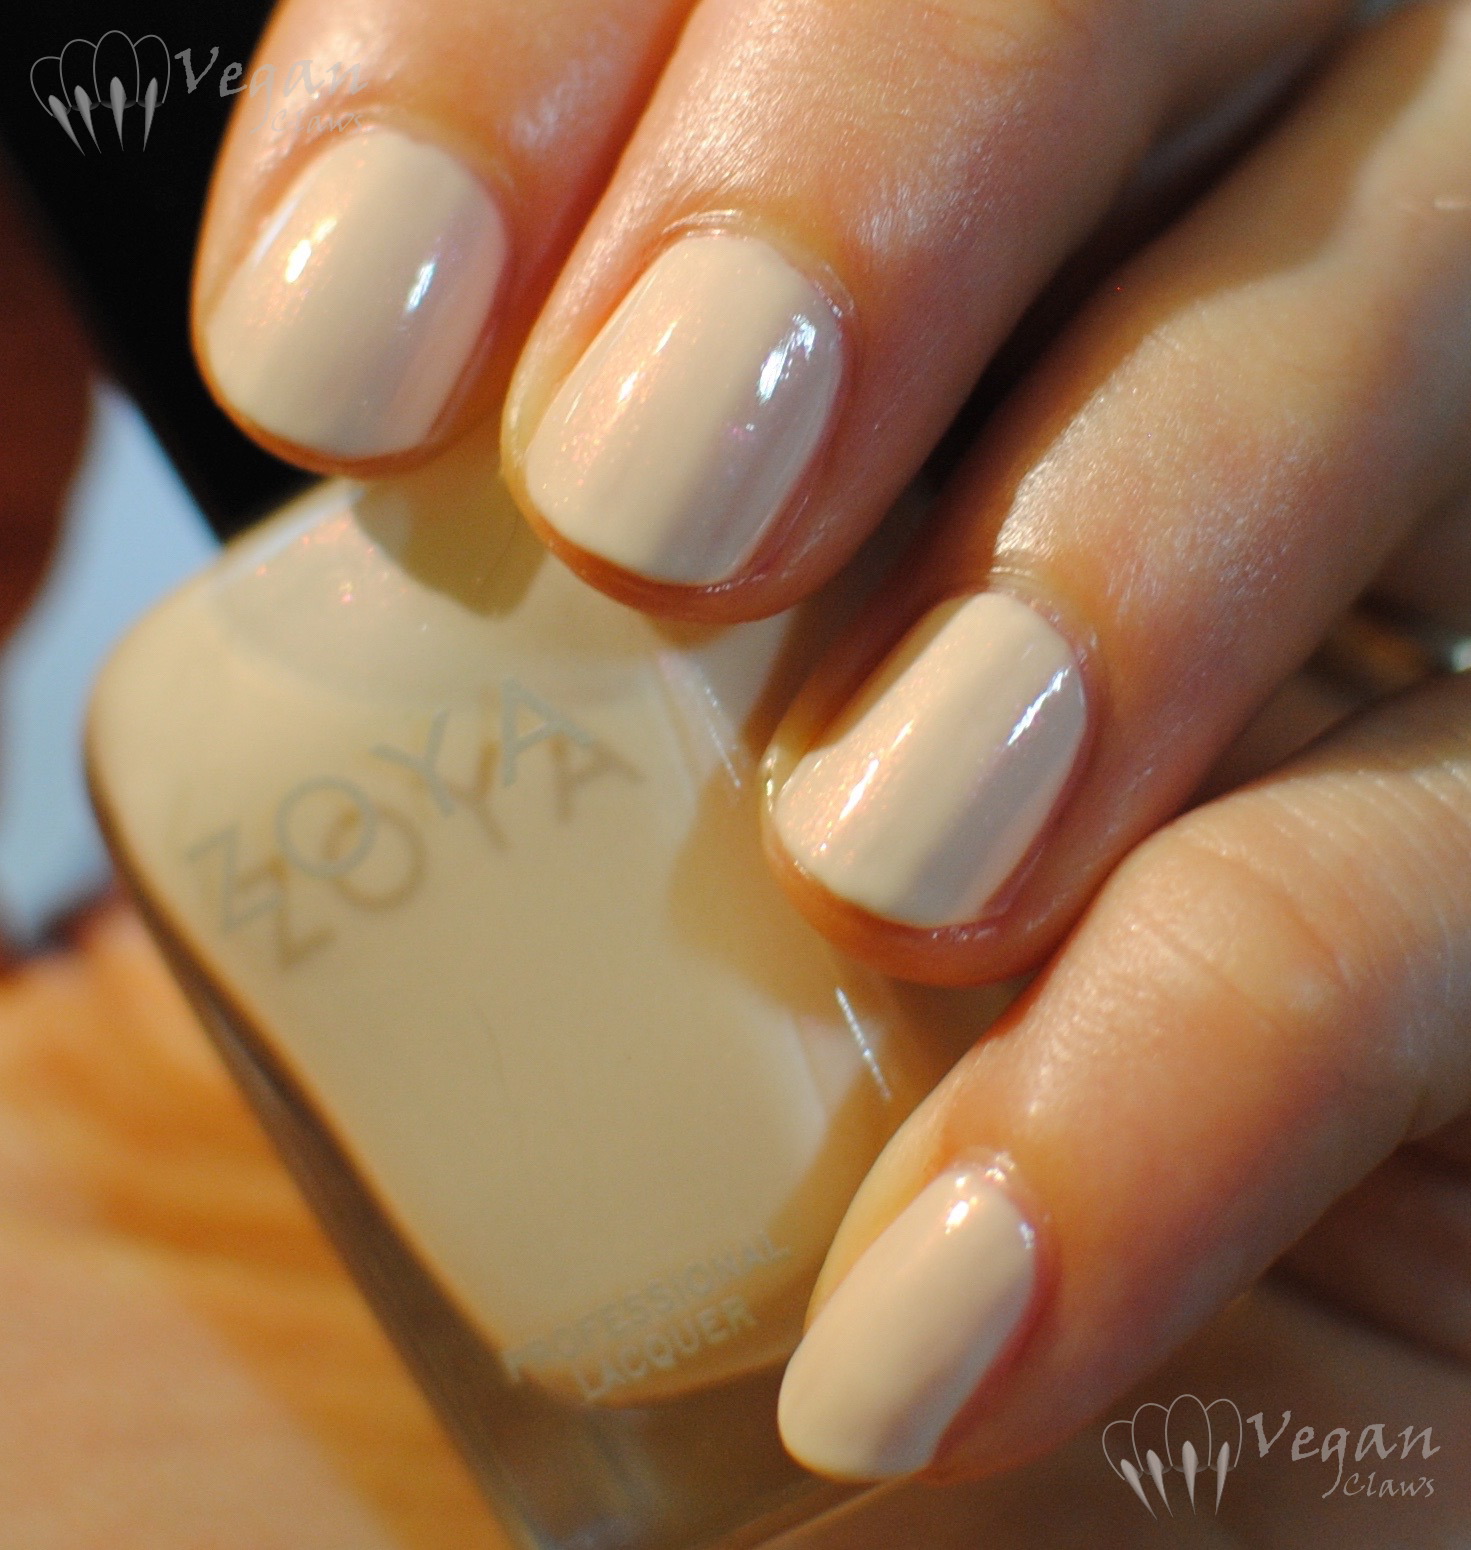
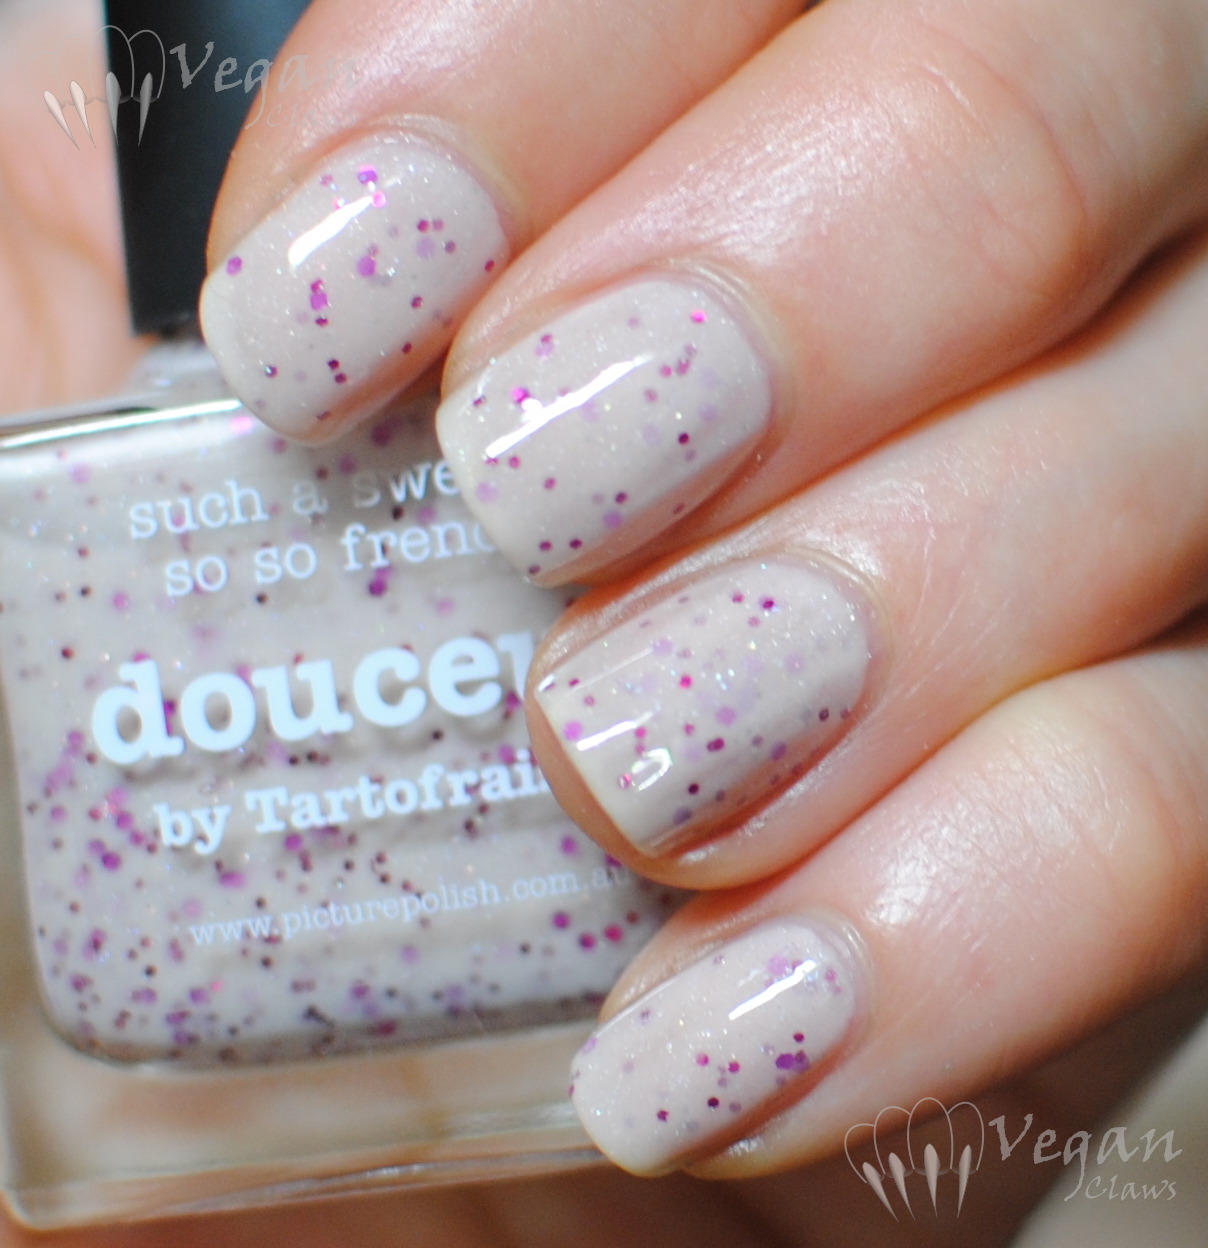
These two have a similar crelly finish with tons of colour-shifting glass fleck shimmer.

blackdahlialacquer_stripedpeonies_rosepetals_flash2

blackdahlialacquer_stripedpeonies_rosepetals_flash

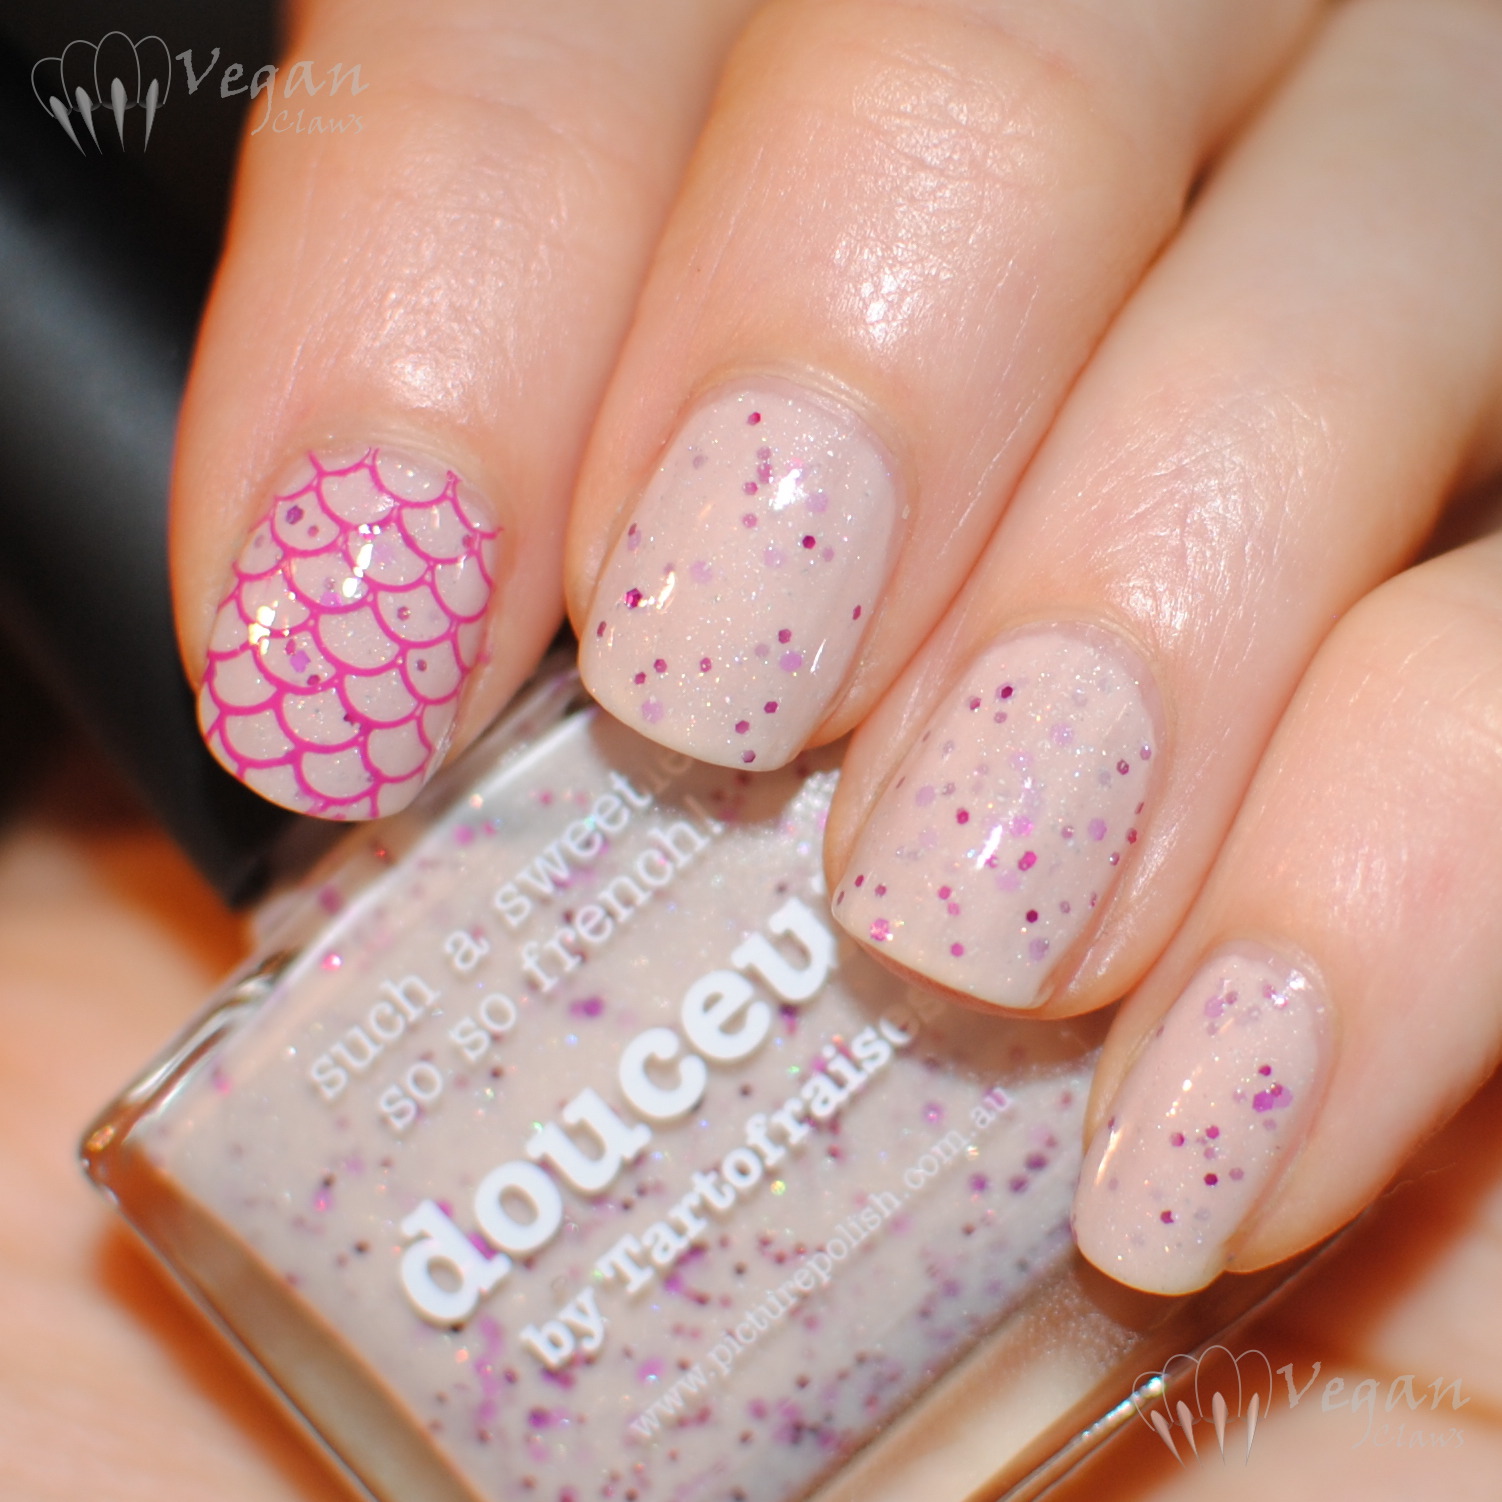
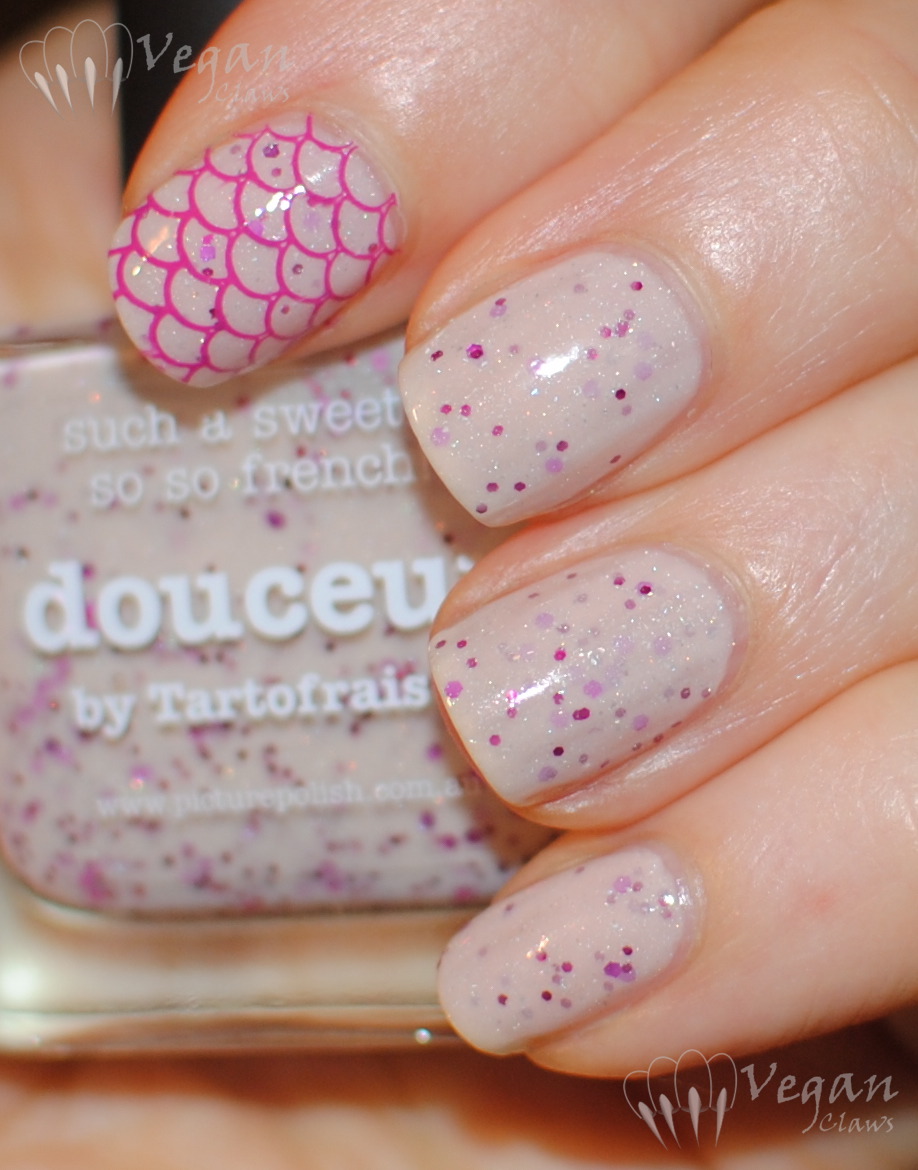
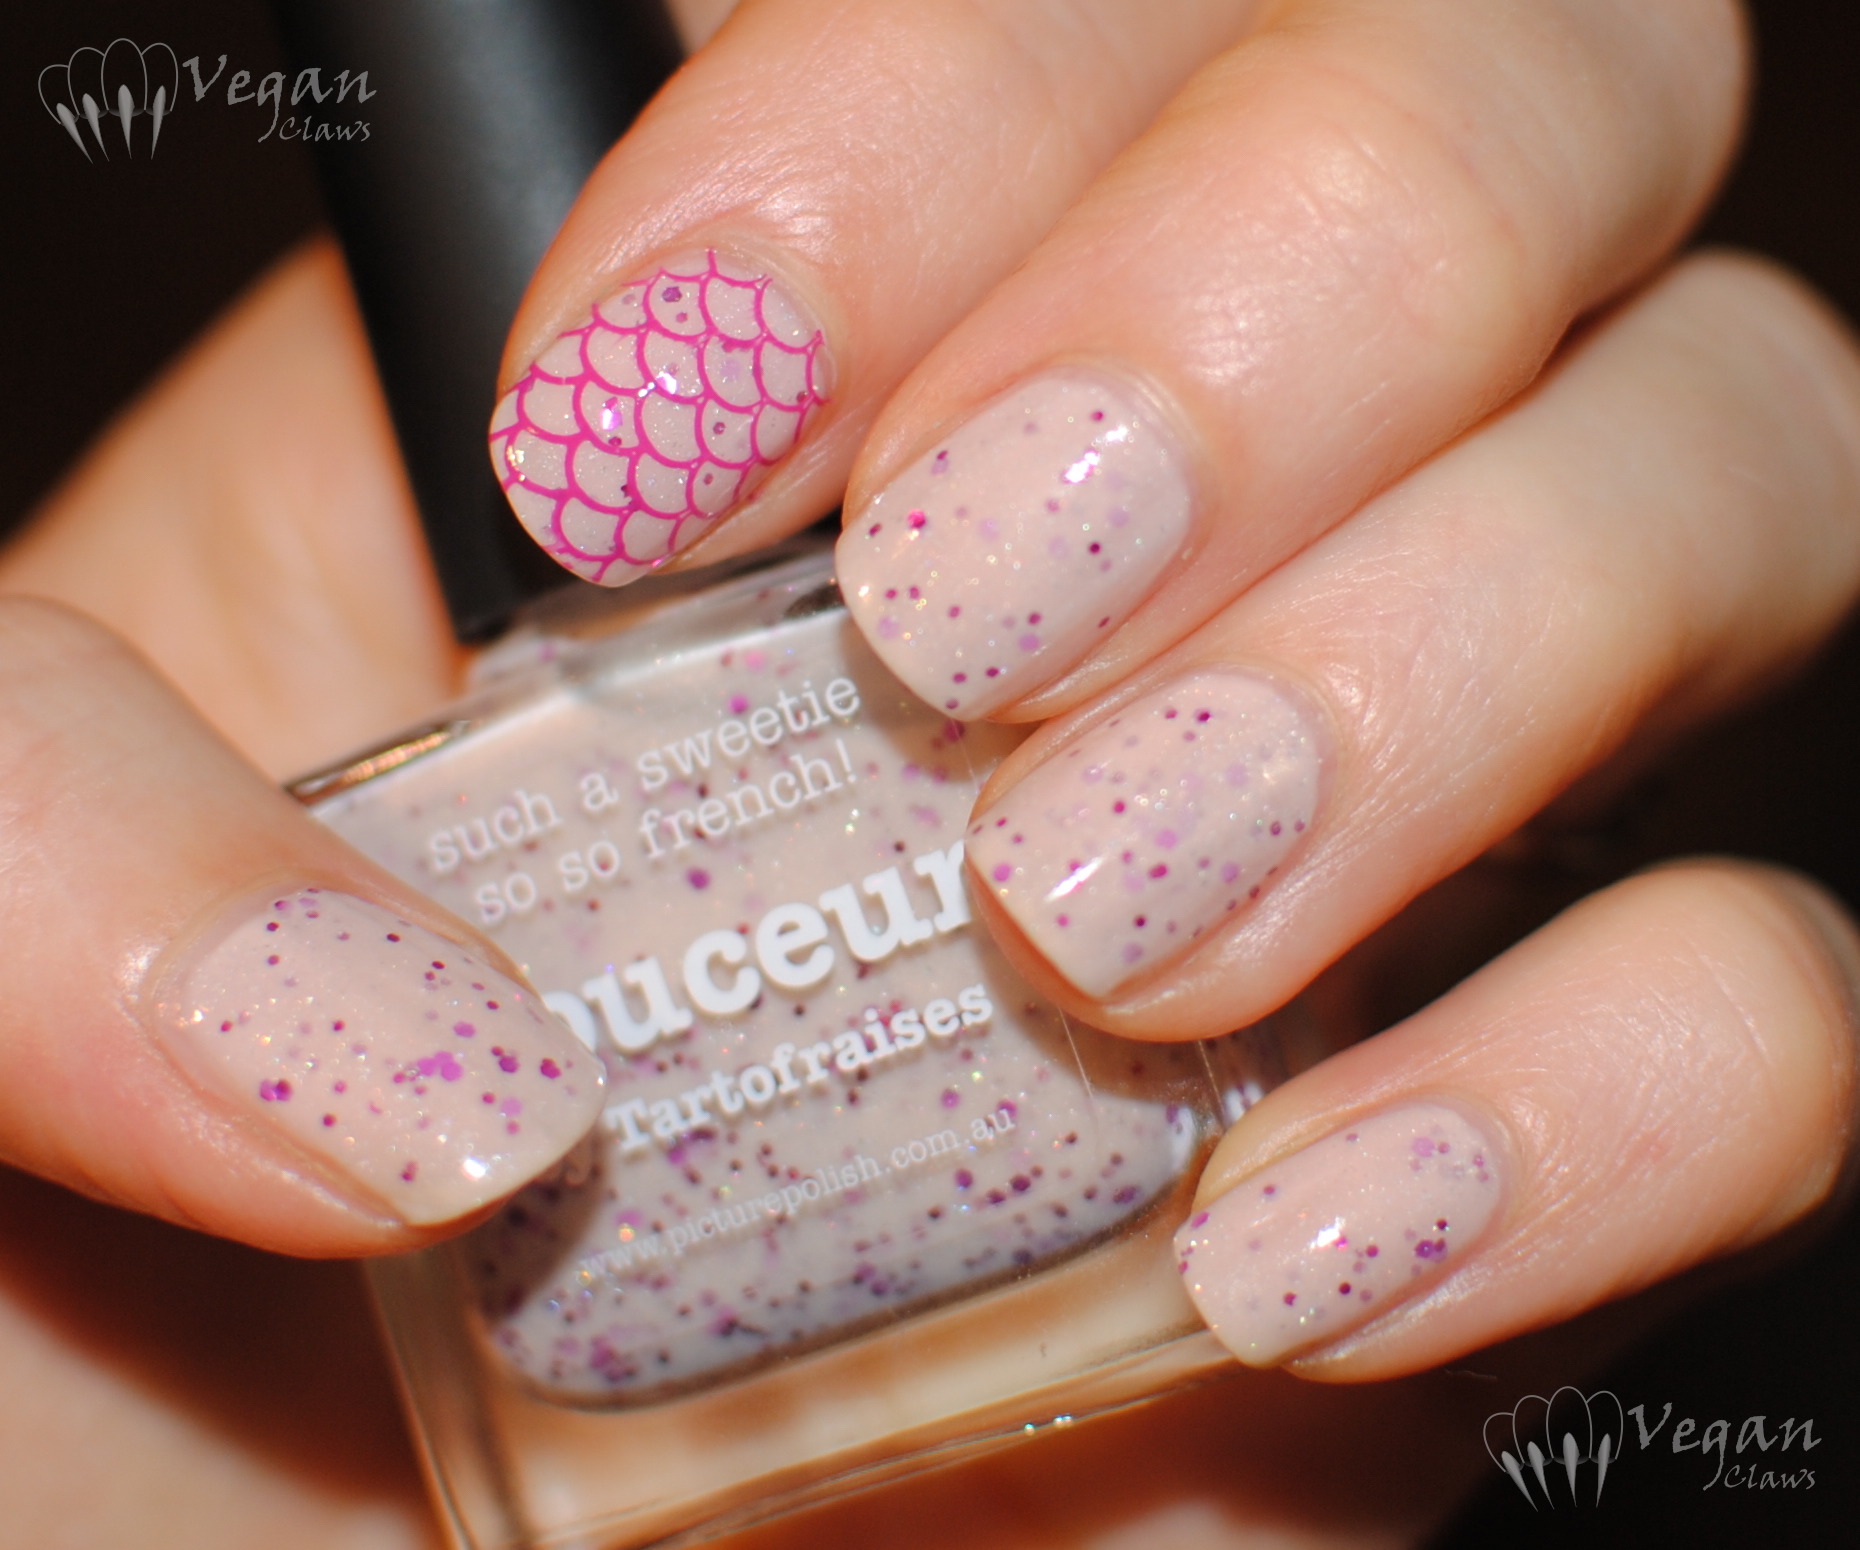
Part 1, right hand, Rose Petals with Striped Peonies, under Ottlite:

blackdahlialacquer_rosepetals_stripedpeonies_ott

With flash:
blackdahlialacquer_rosepetals_stripedpeonies_flash

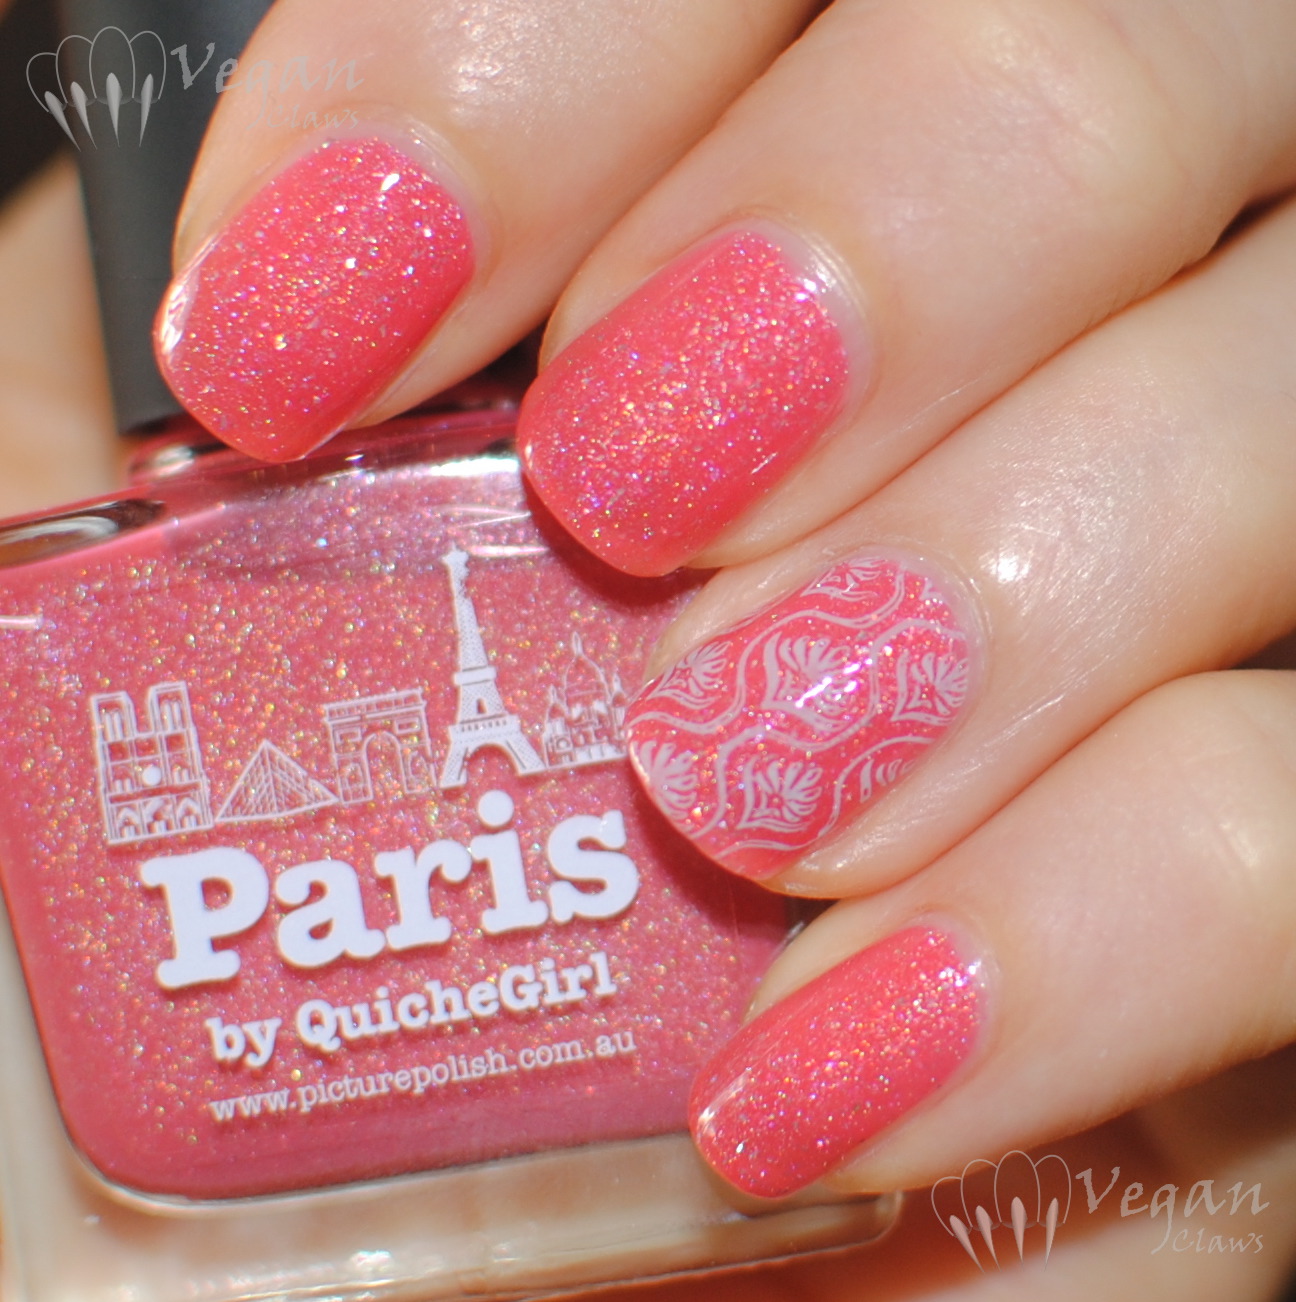
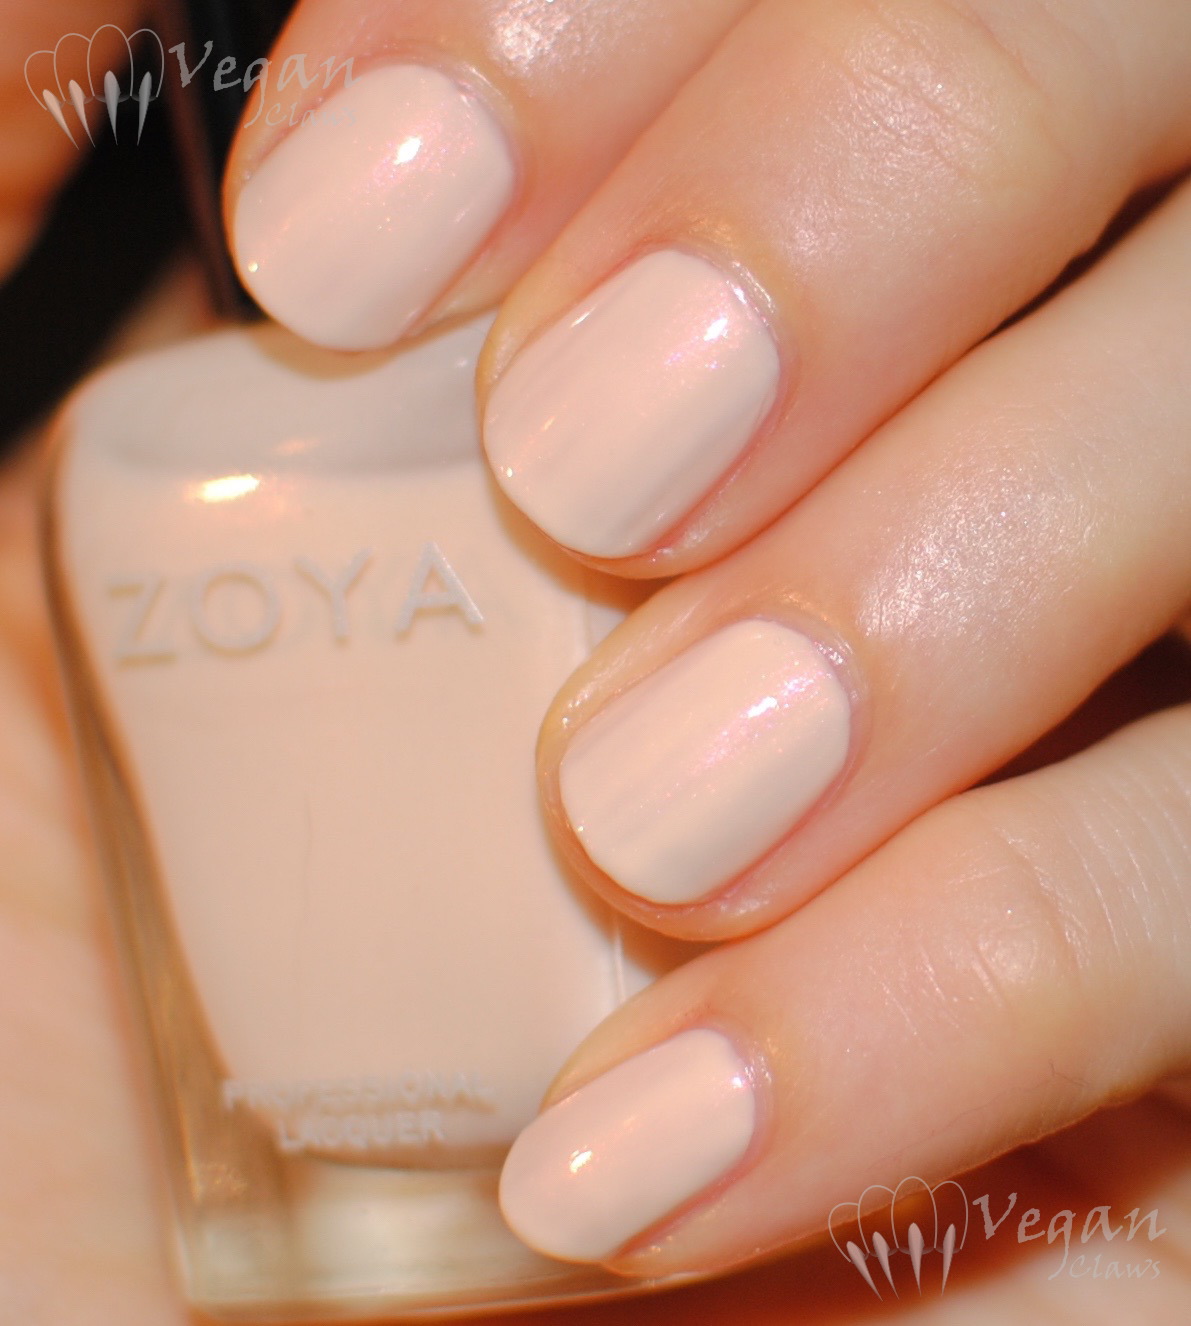
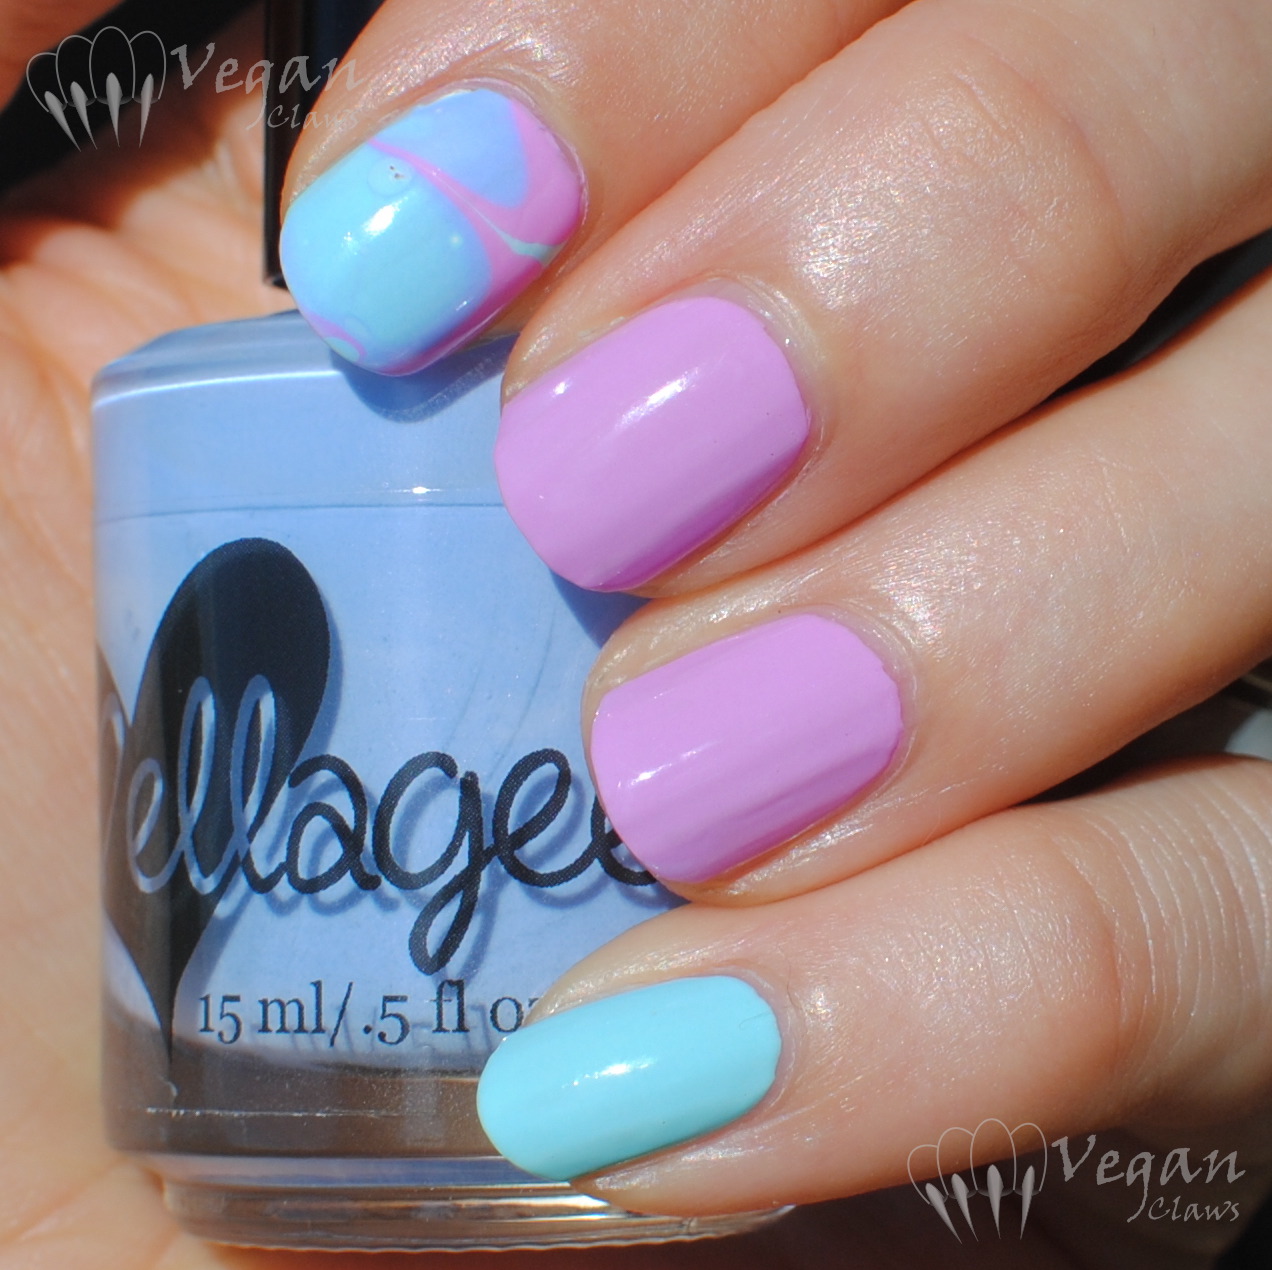
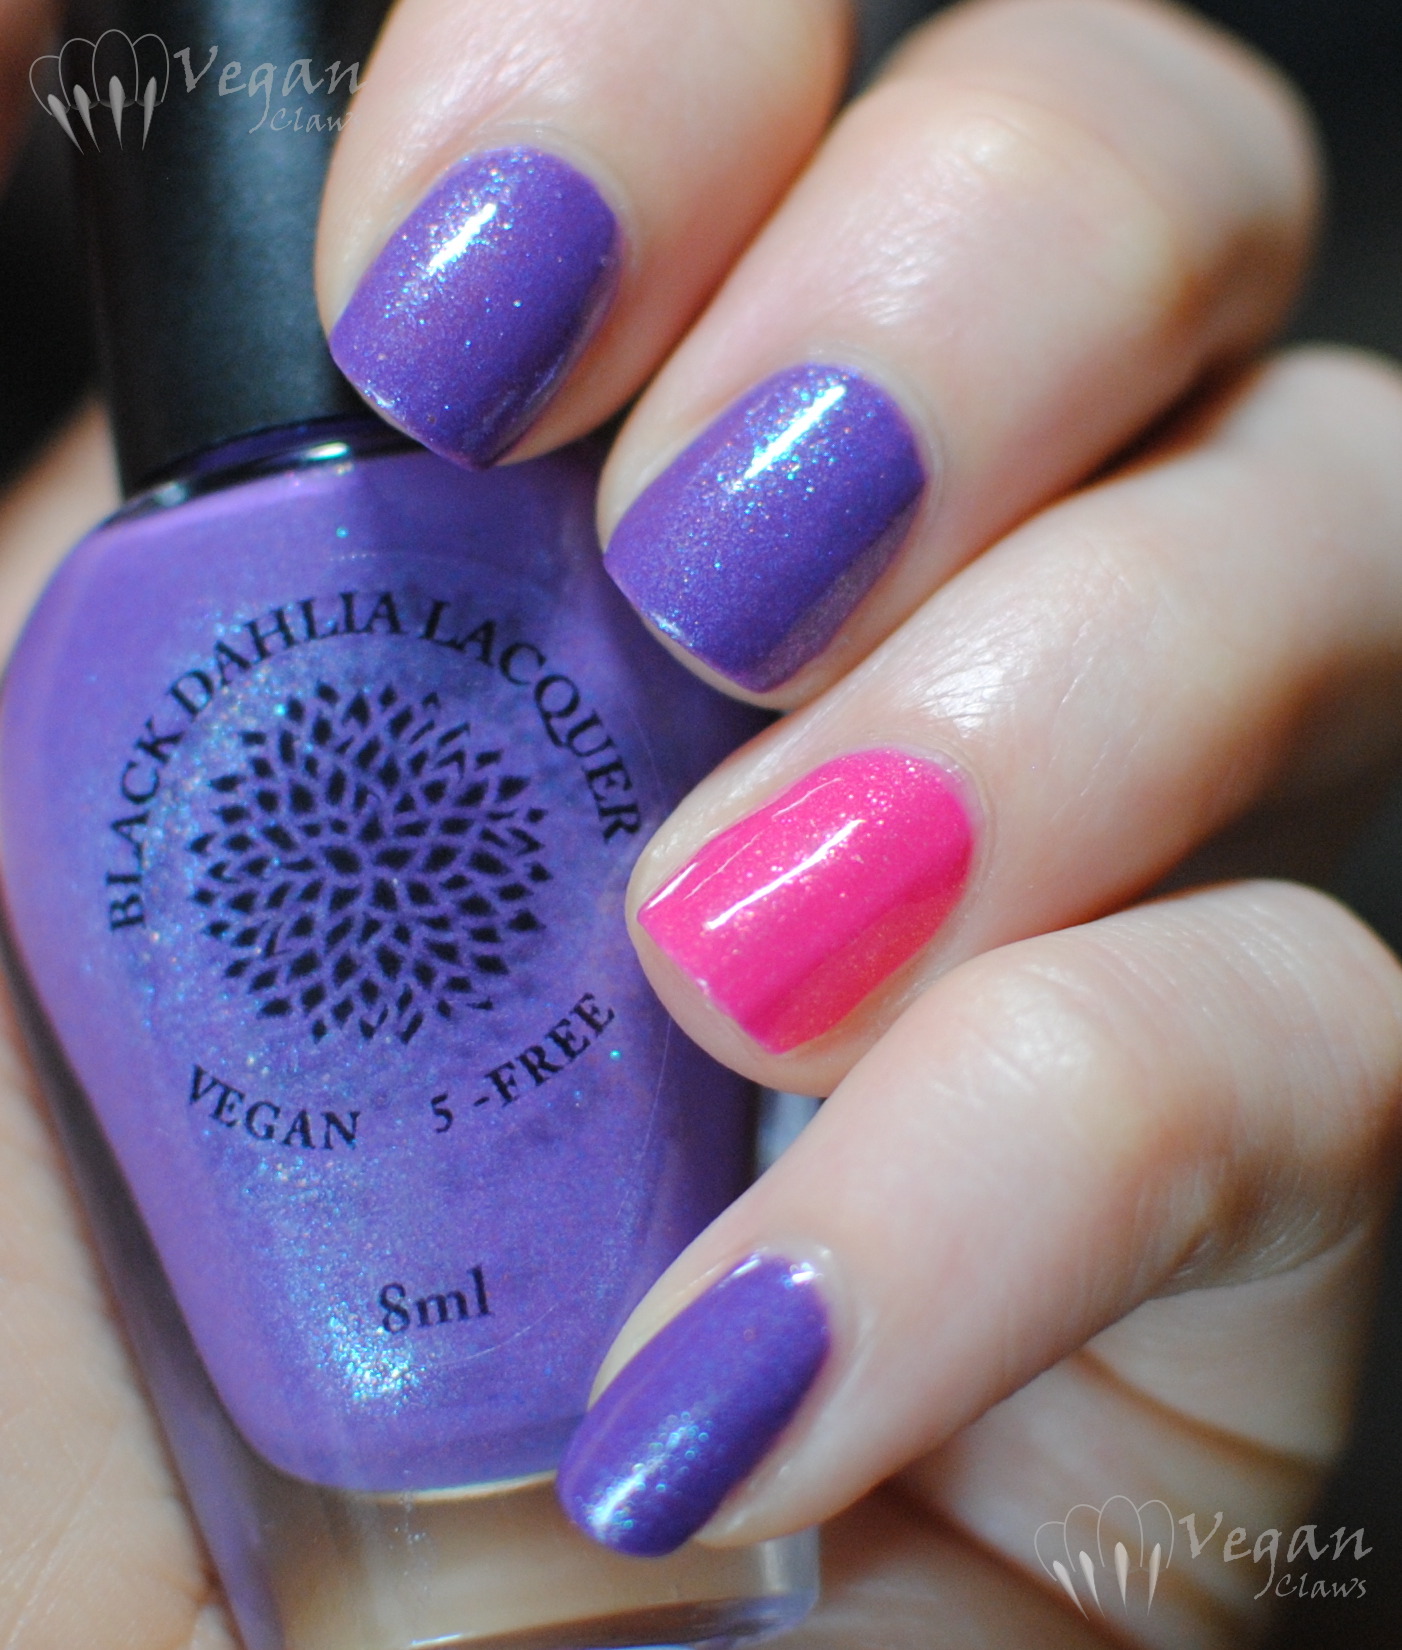
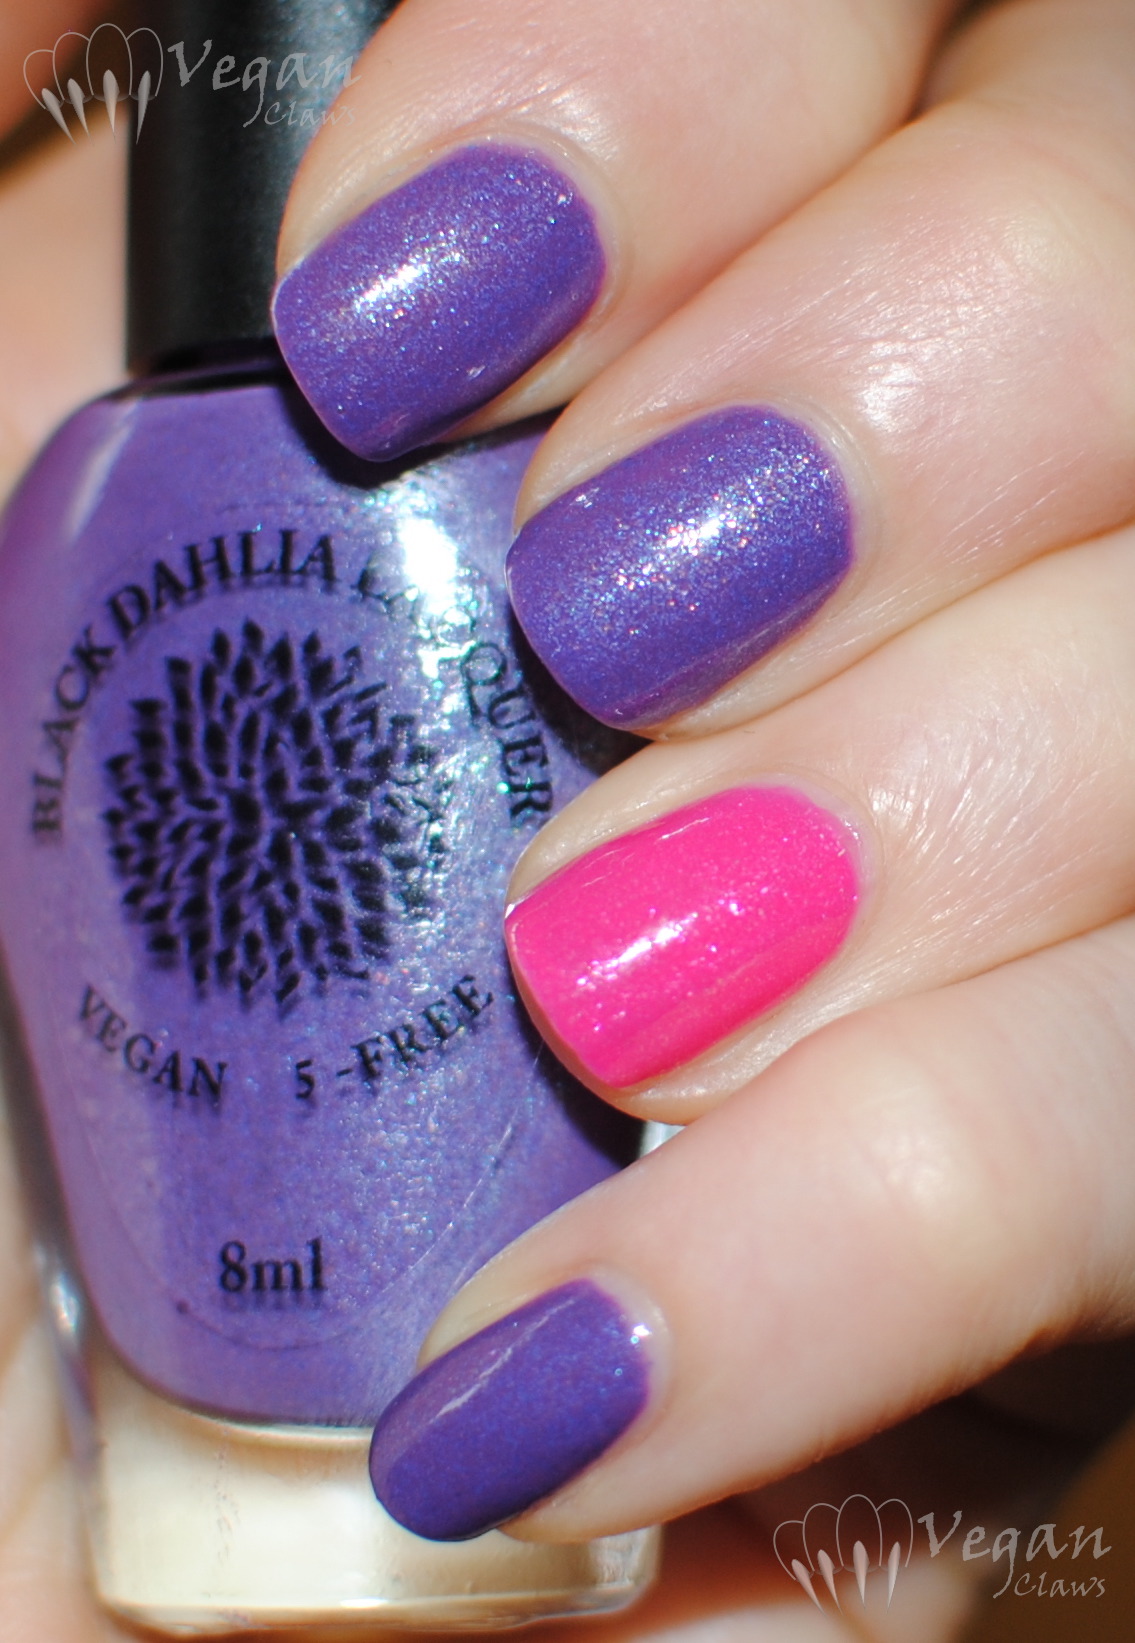
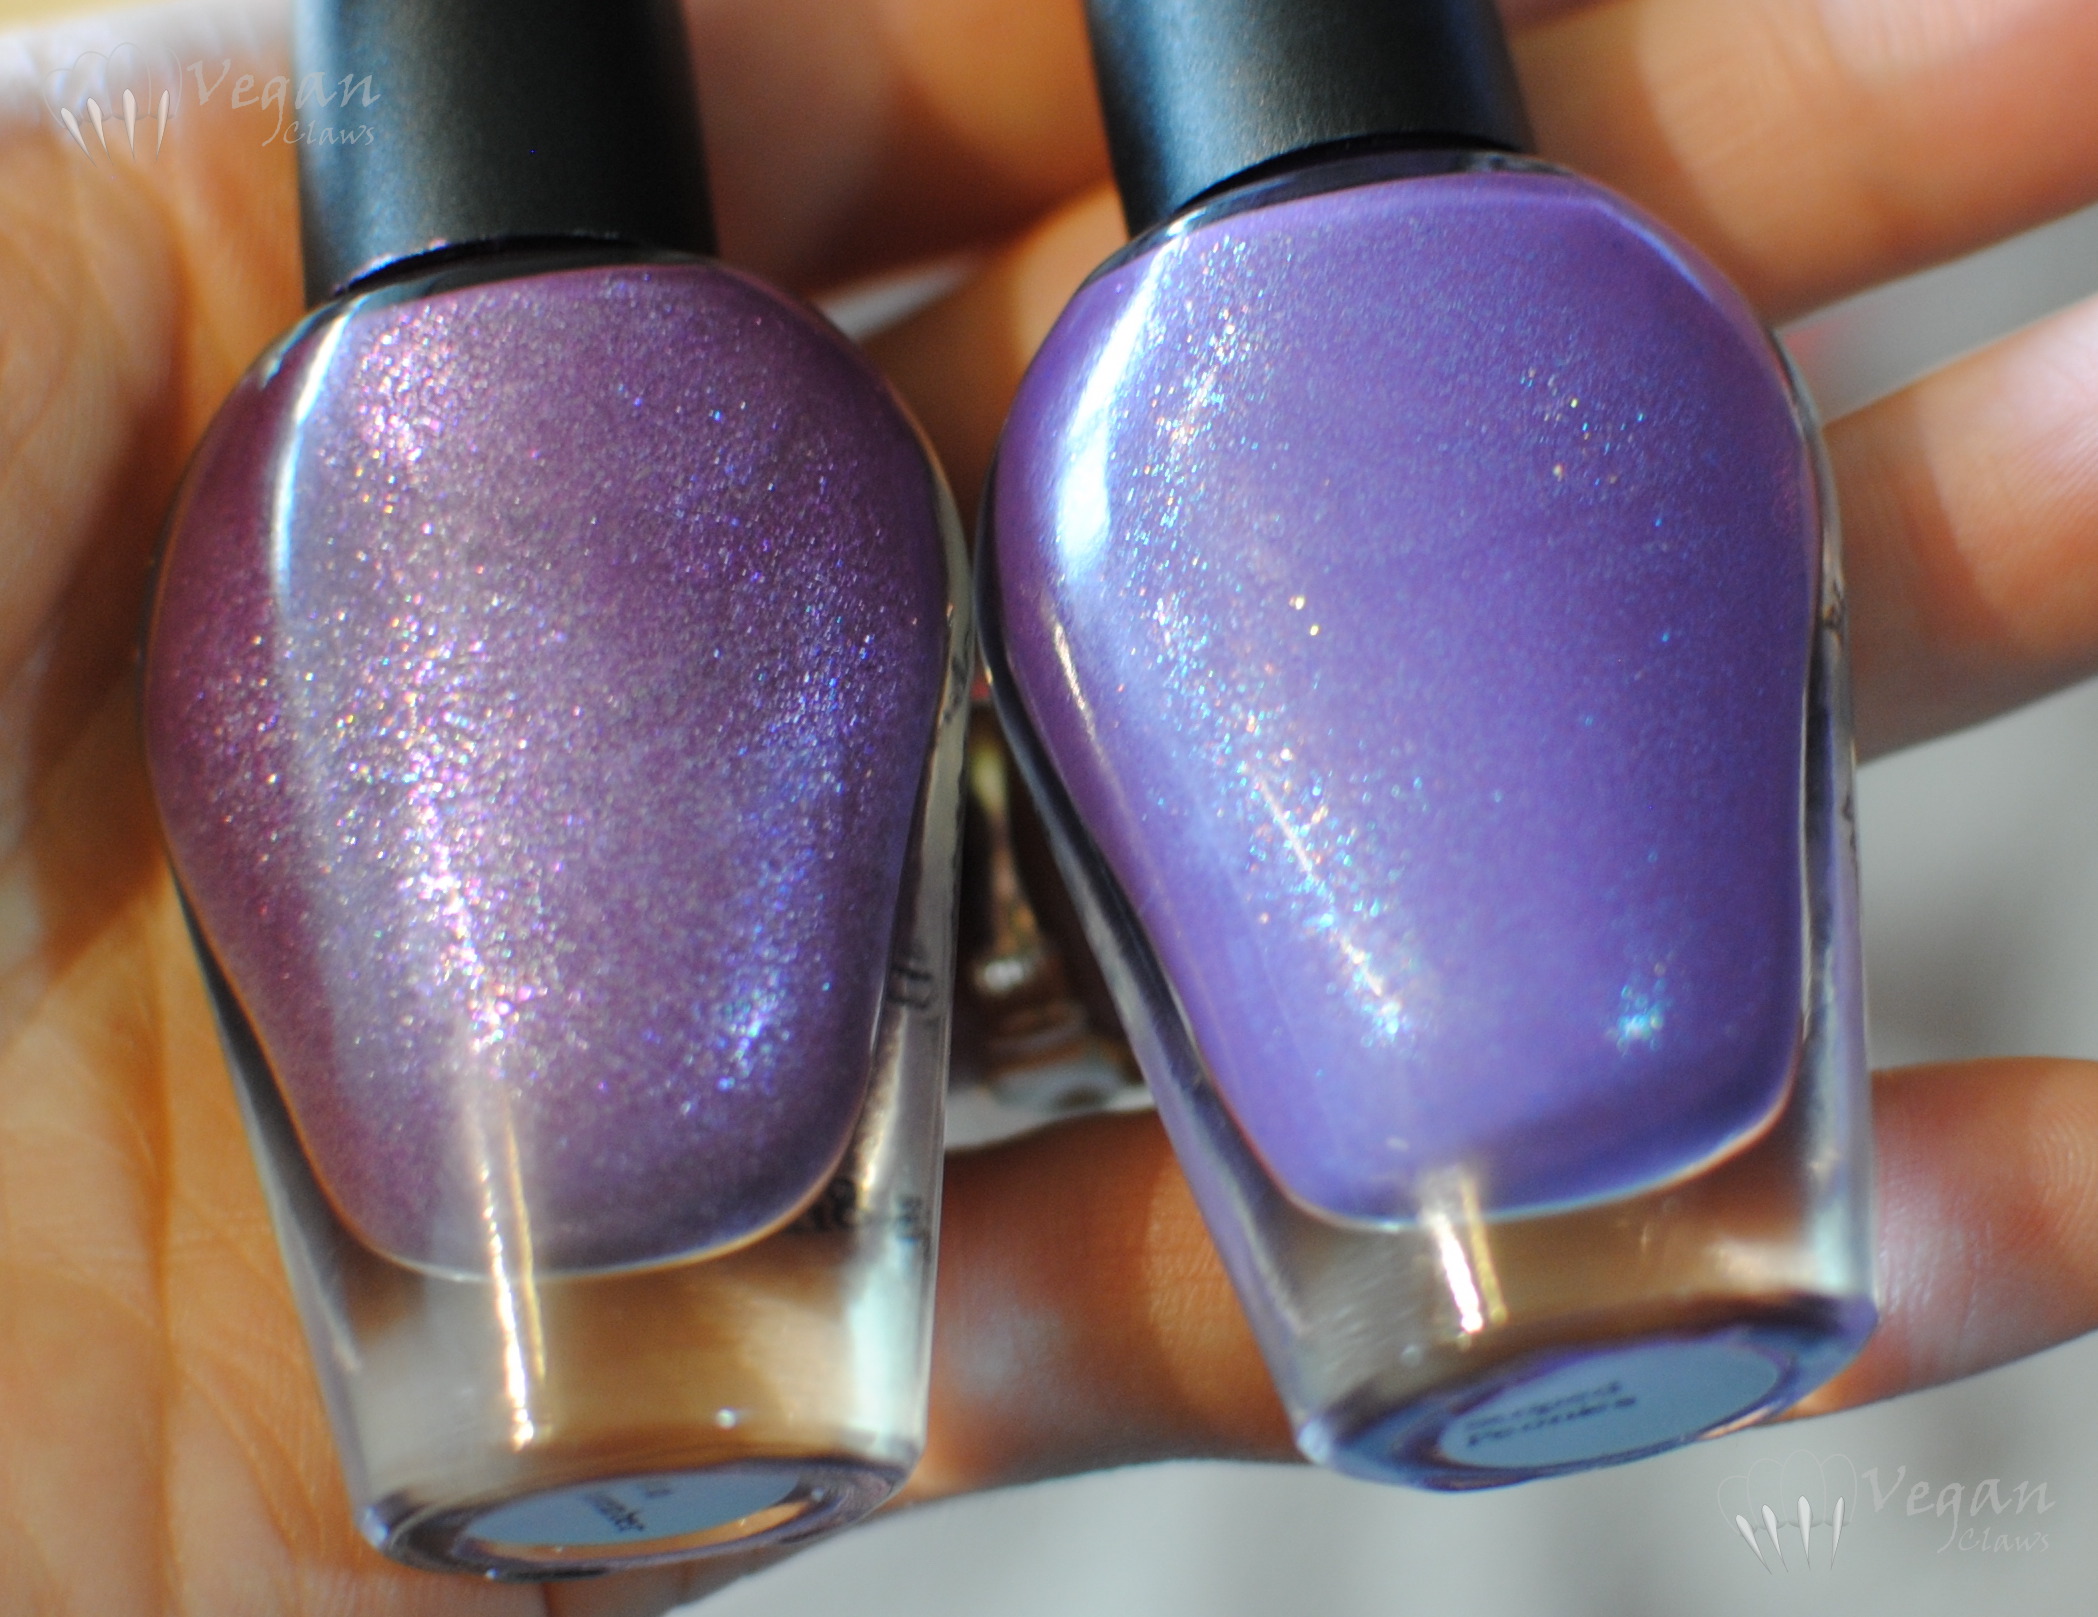
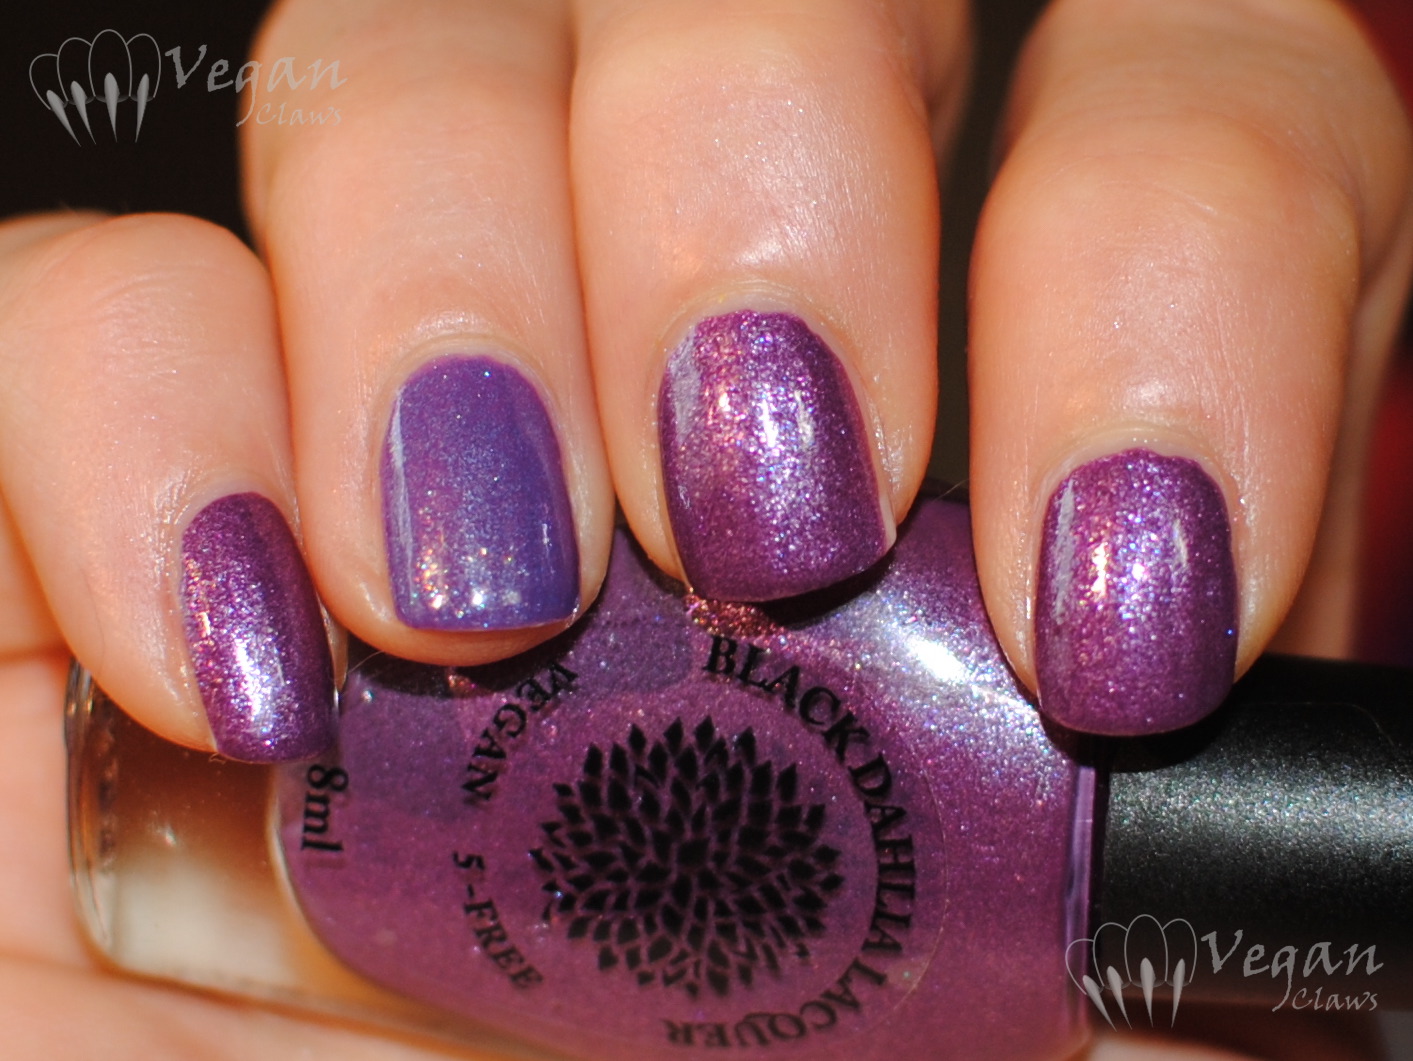
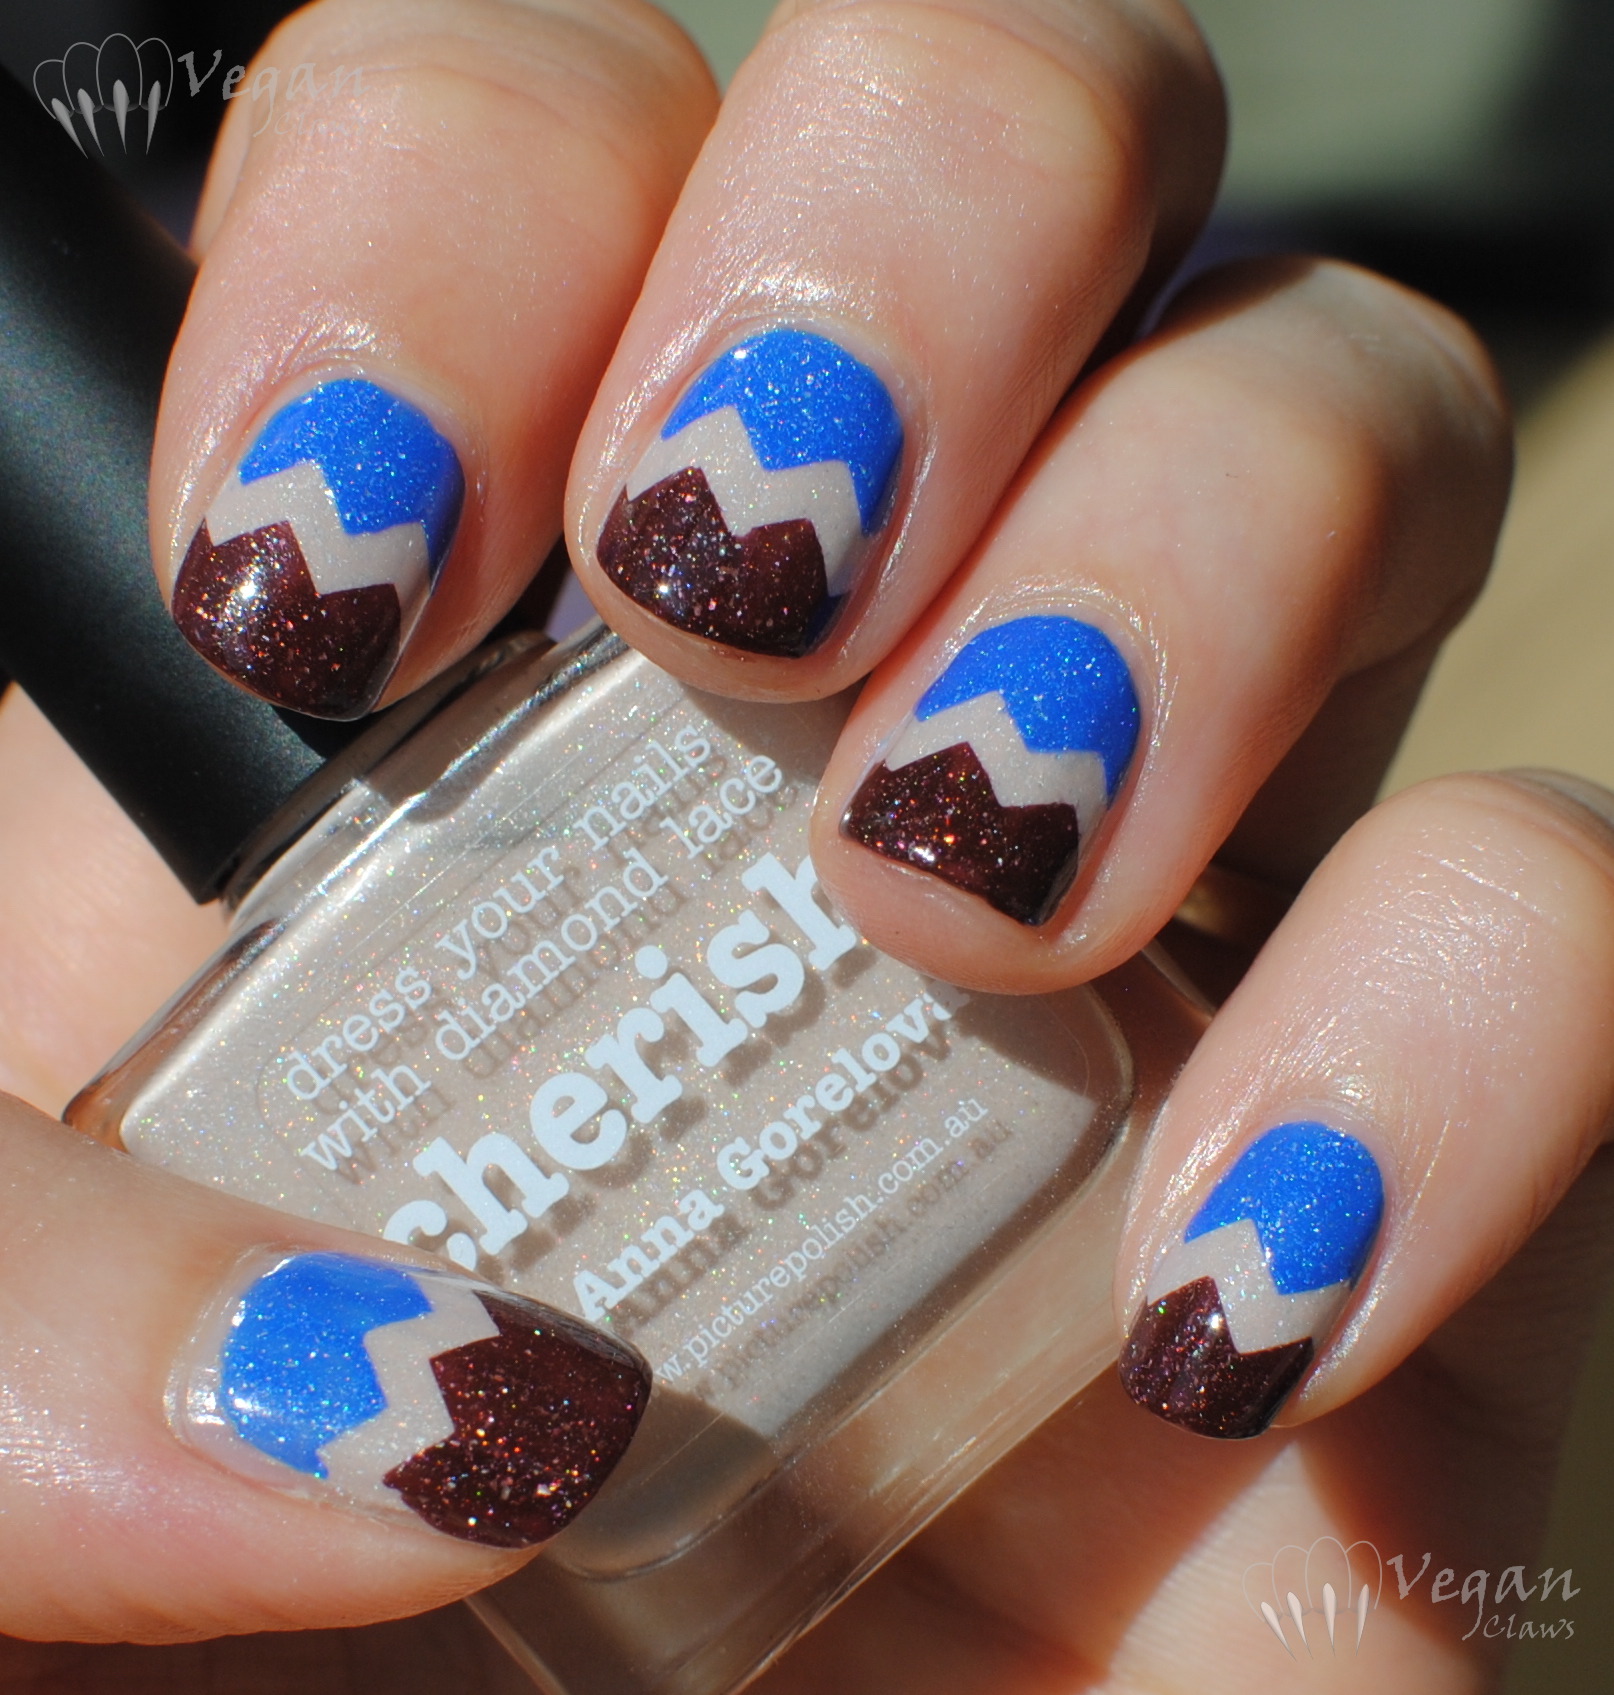
I decided to then pair Striped Peonies (on the right) with 90 in November (on the left) to do a little purple comparison – 90 in November is much warmer in tone and has a foil finish with some added glass flecks:

blackdahlialacquer_90innovember_stripedpeonies_bottles

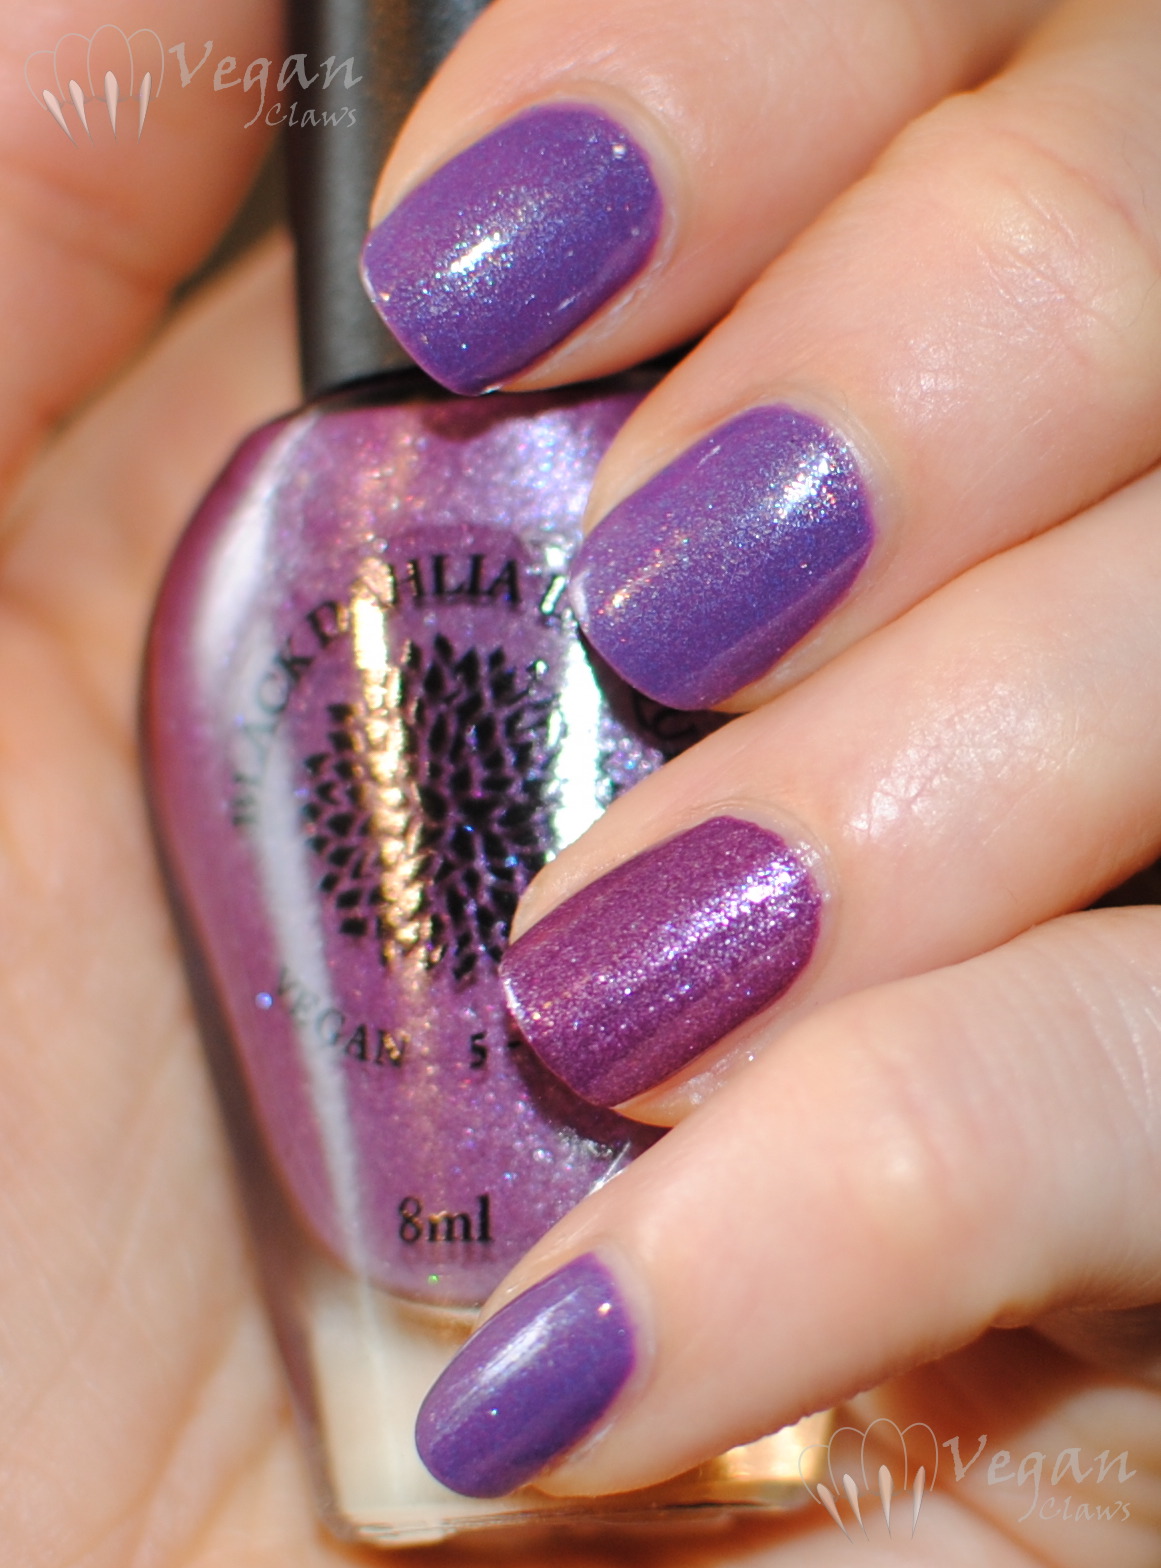
Part 2, left hand, Striped Peonies with 90 in November, under Ottlite:

blackdahlialacquer_stripedpeonies_90innovember_ott

With flash:

blackdahlialacquer_stripedpeonies_90innovember_flash

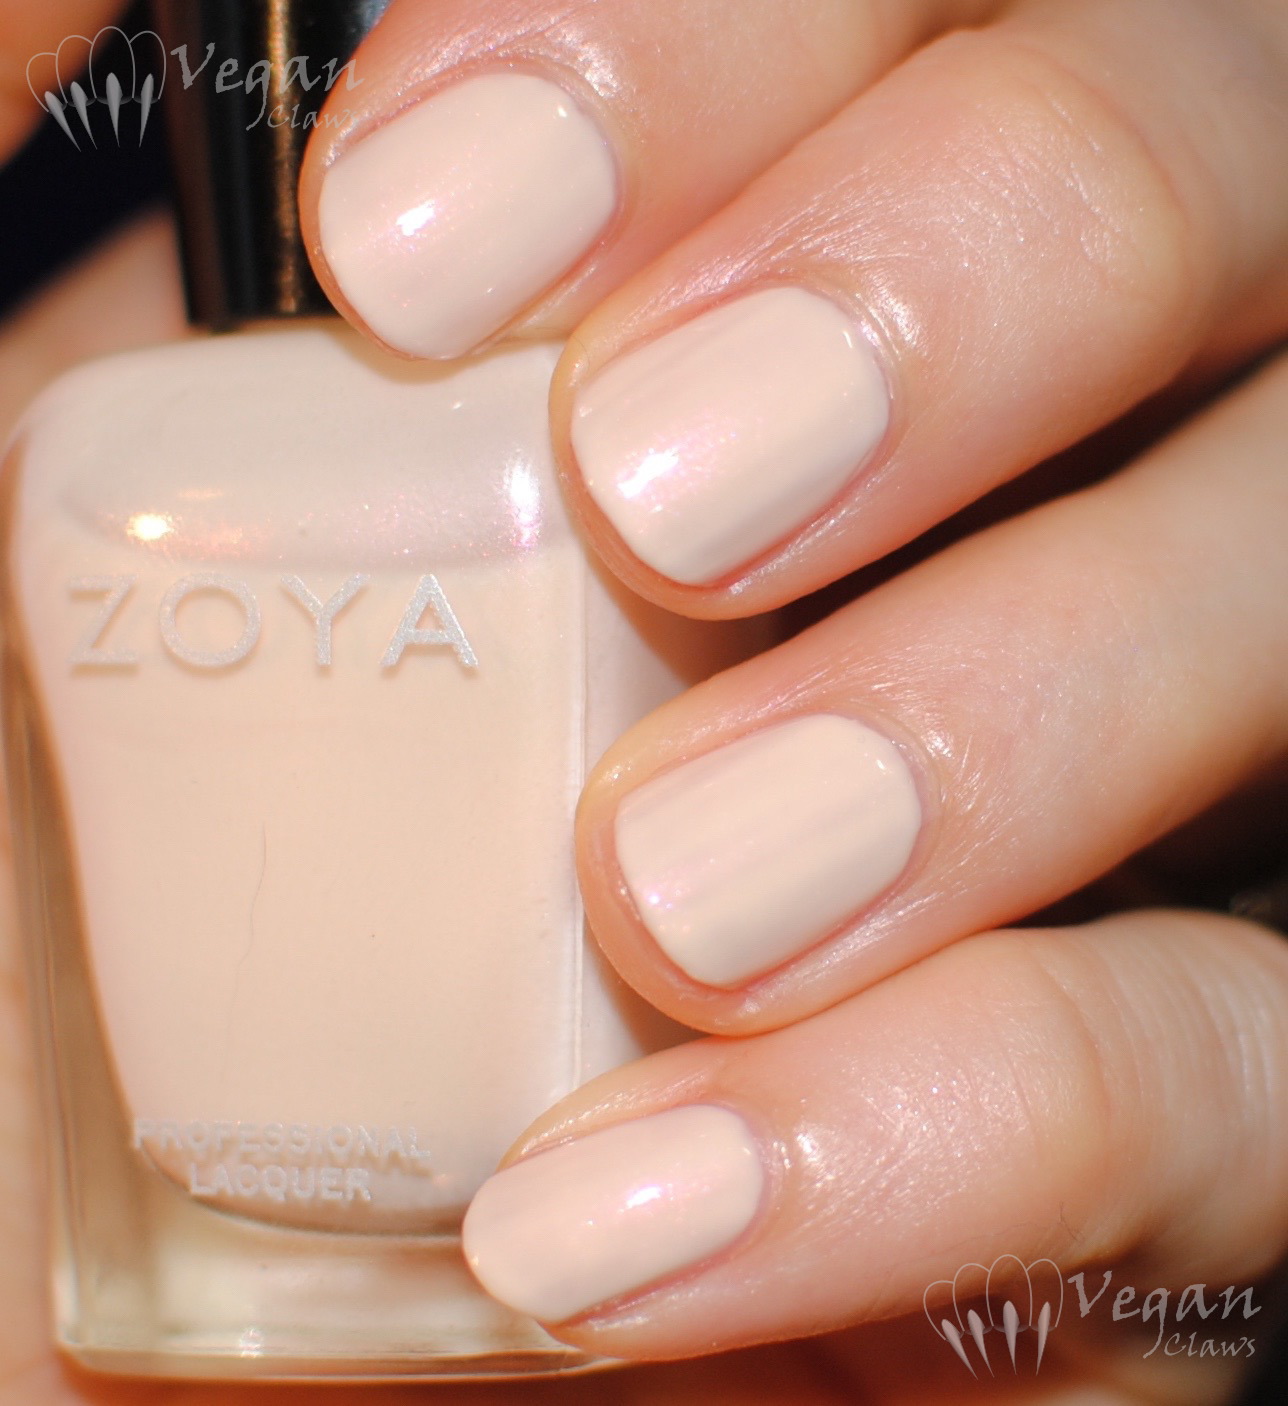
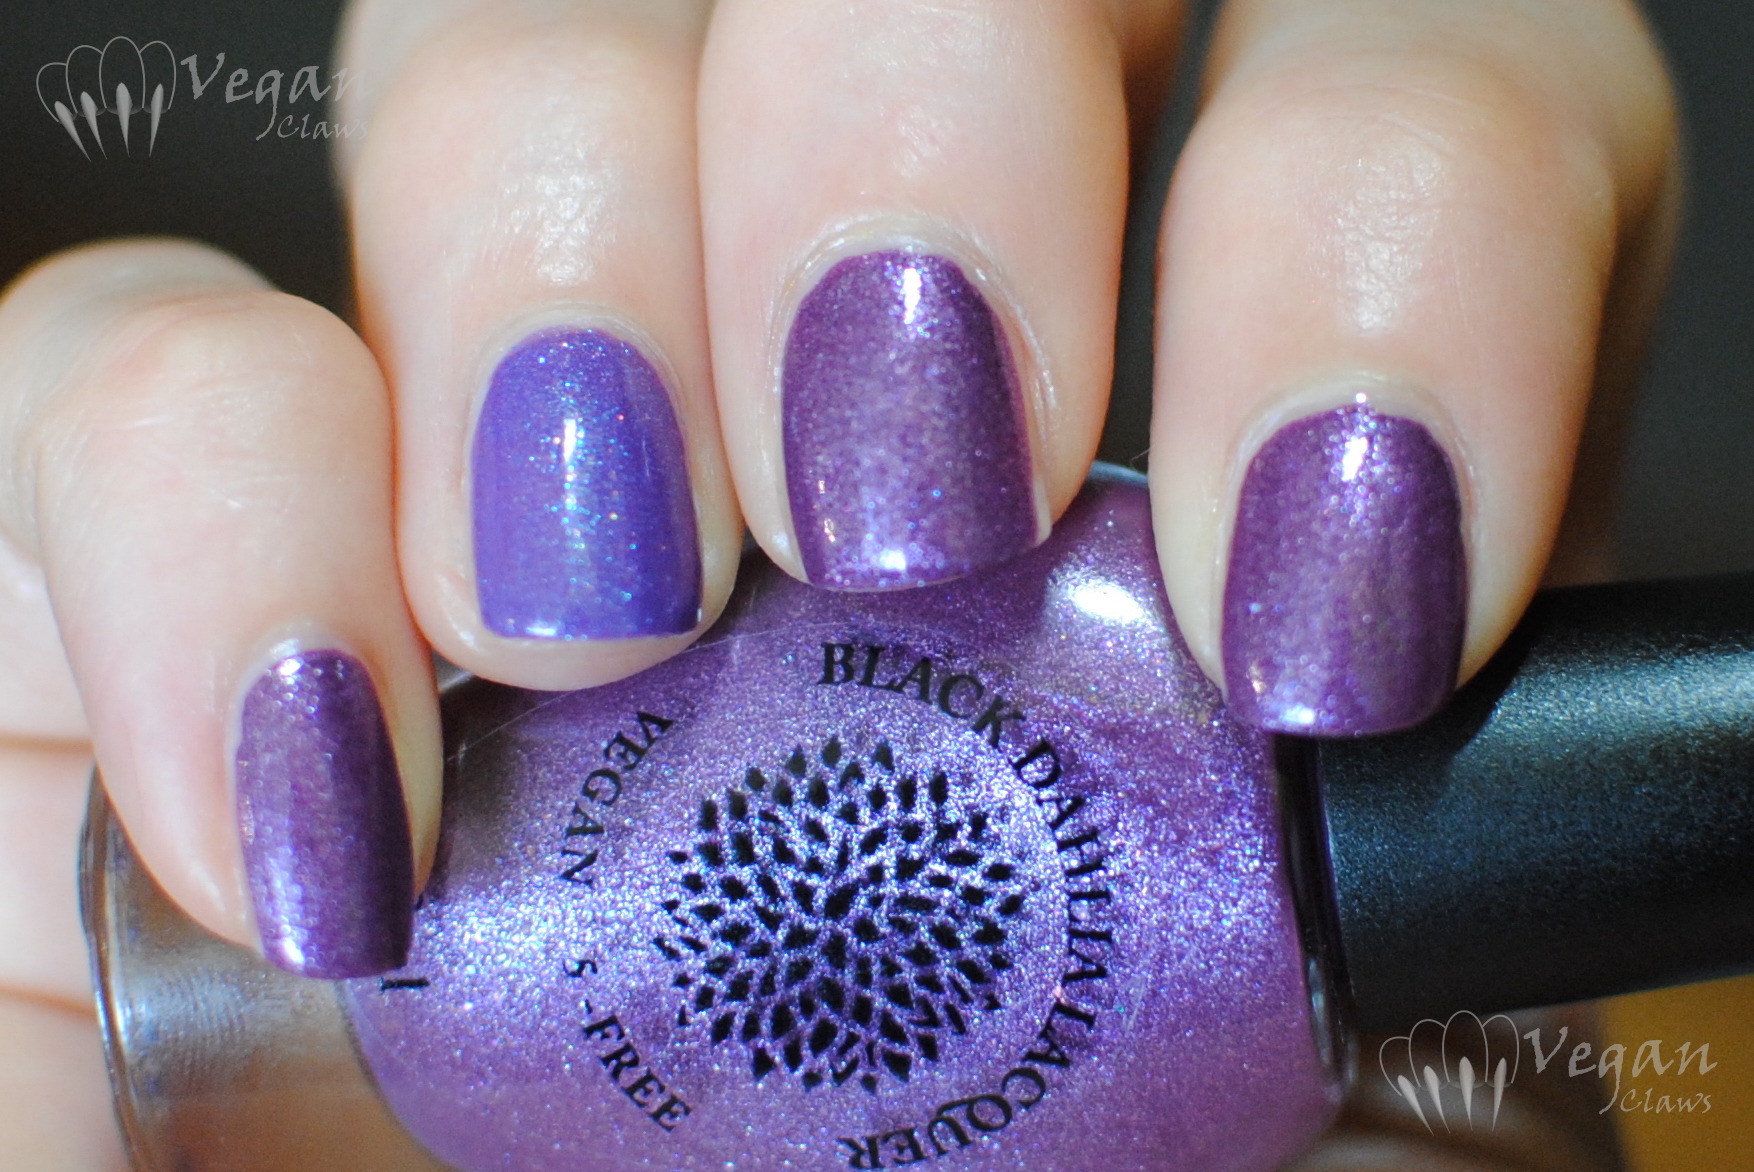
Part 2, right hand, 90 in November with Striped Peonies, under Ottlite:

blackdahlialacquer_90innovember_stripedpeonies_ott

With flash:

blackdahlialacquer_90innovember_stripedpeonies_flash

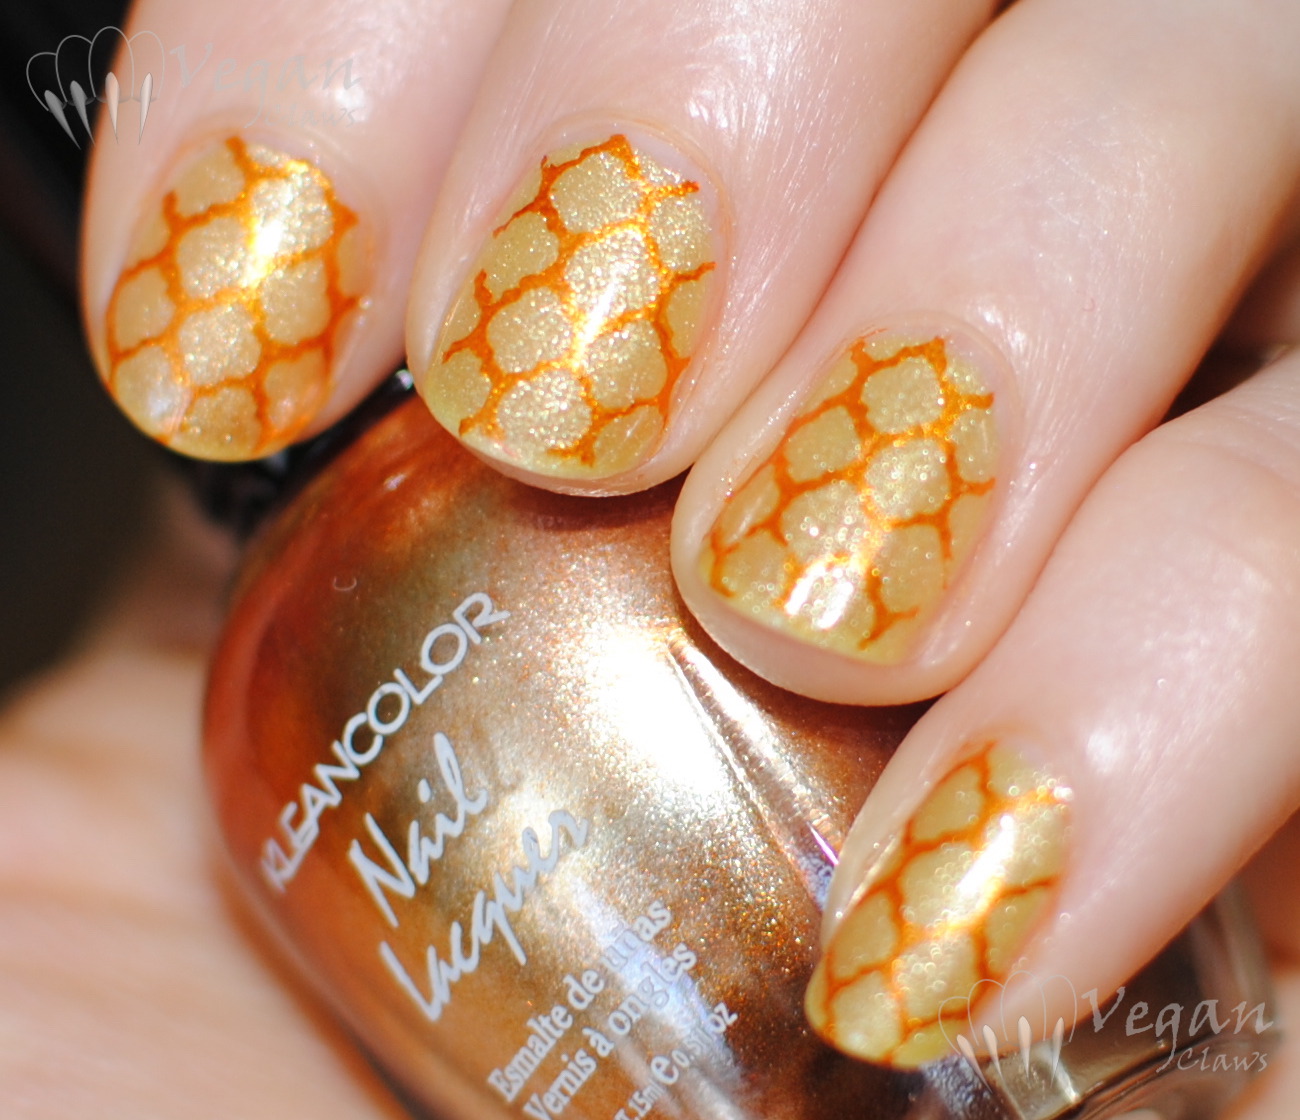
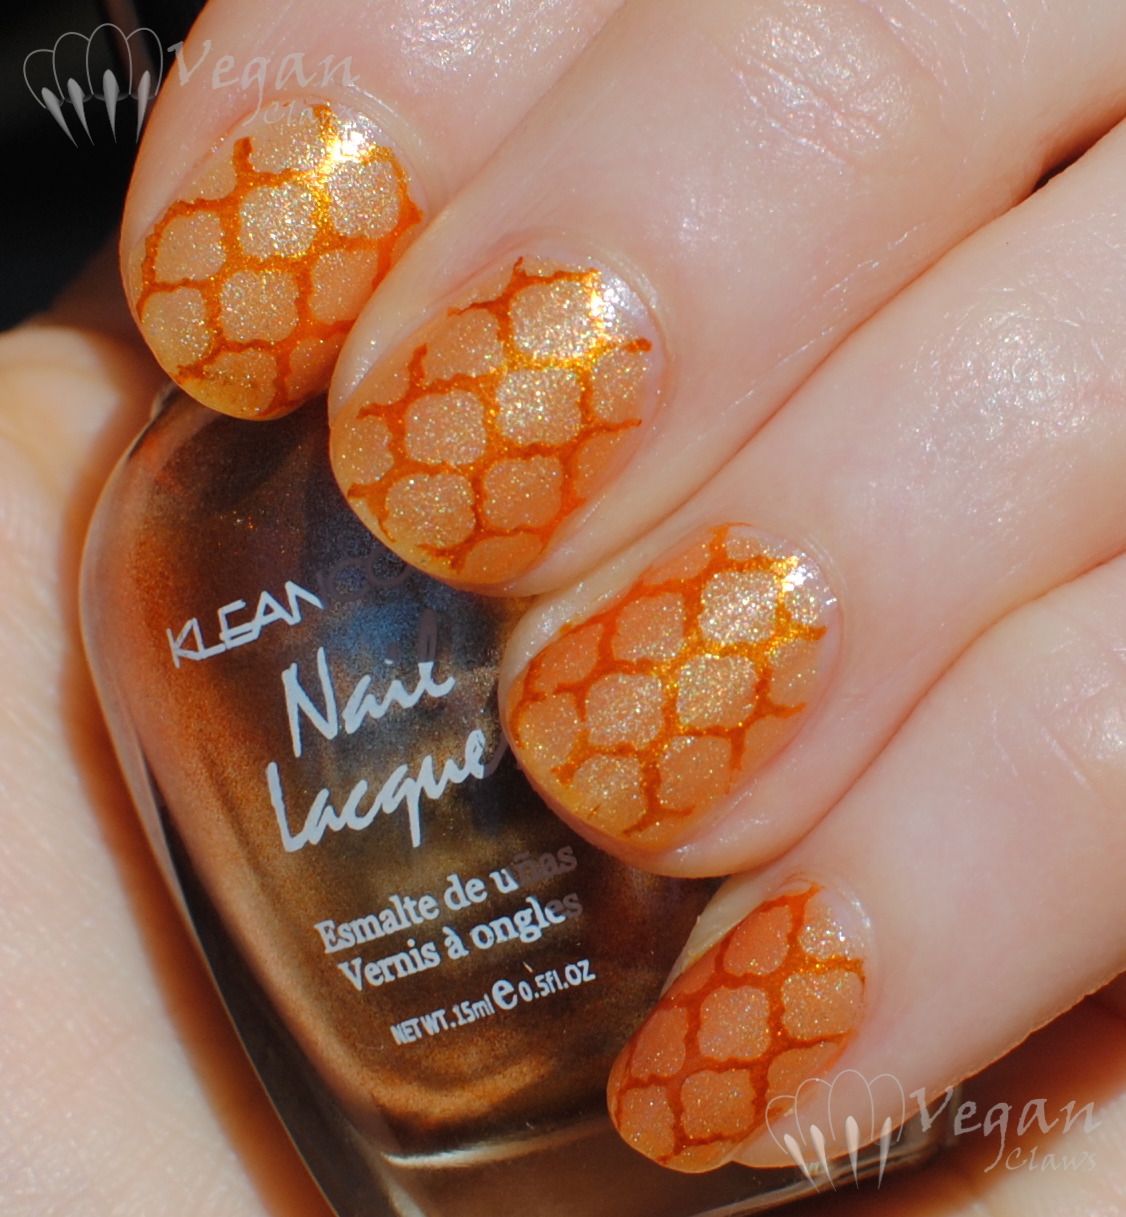
Part 3, left hand, Blooming Sunflowers with 90 in November, in sunlight:

blackdahlialacquer_bloomingsunflowers_90innovember

Under Ottlite:

blackdahlialacquer_bloomingsunflowers_90innovember_ott

With flash:

blackdahlialacquer_bloomingsunflowers_90innovember_flash

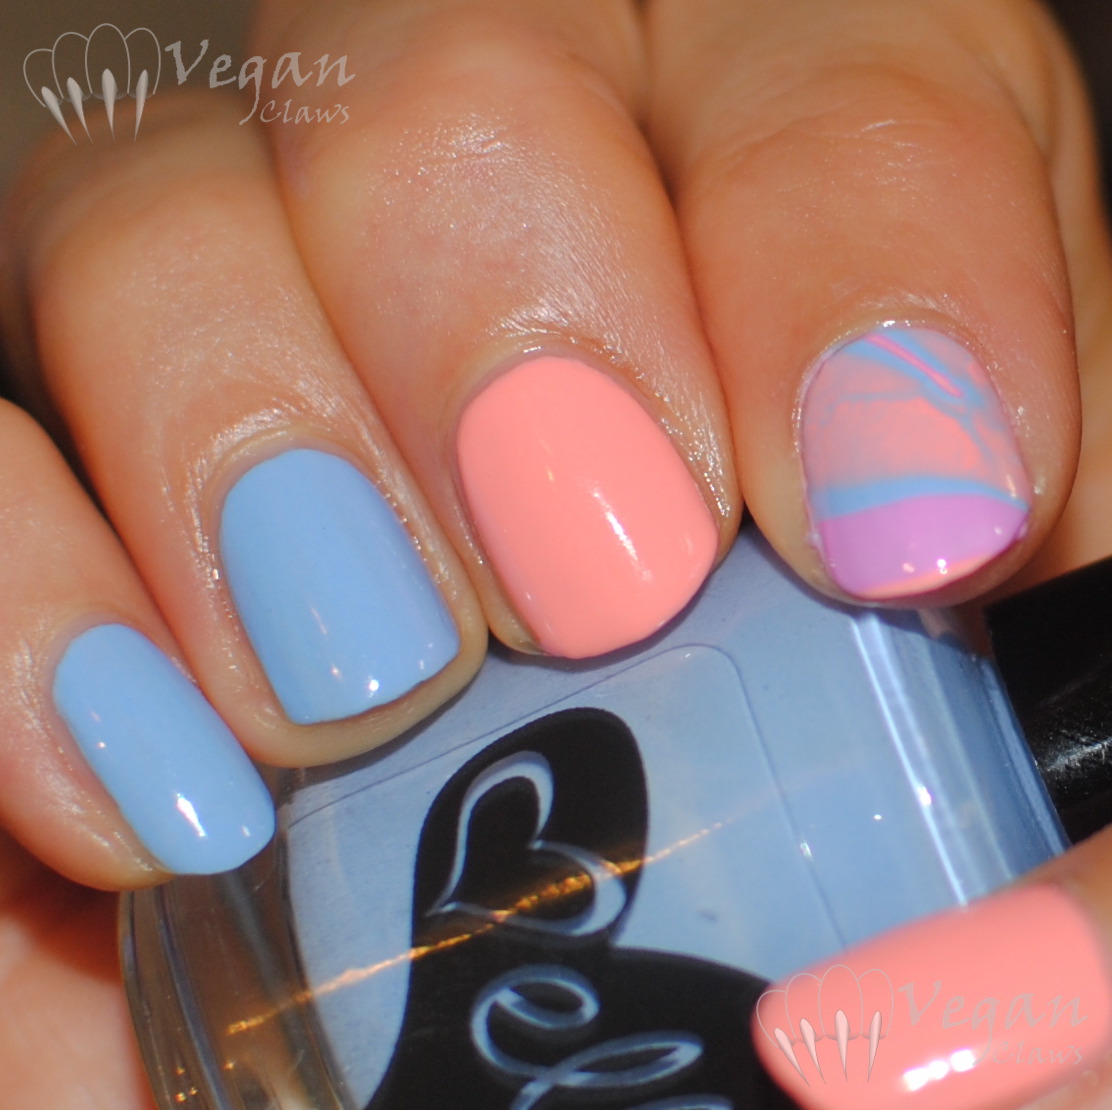
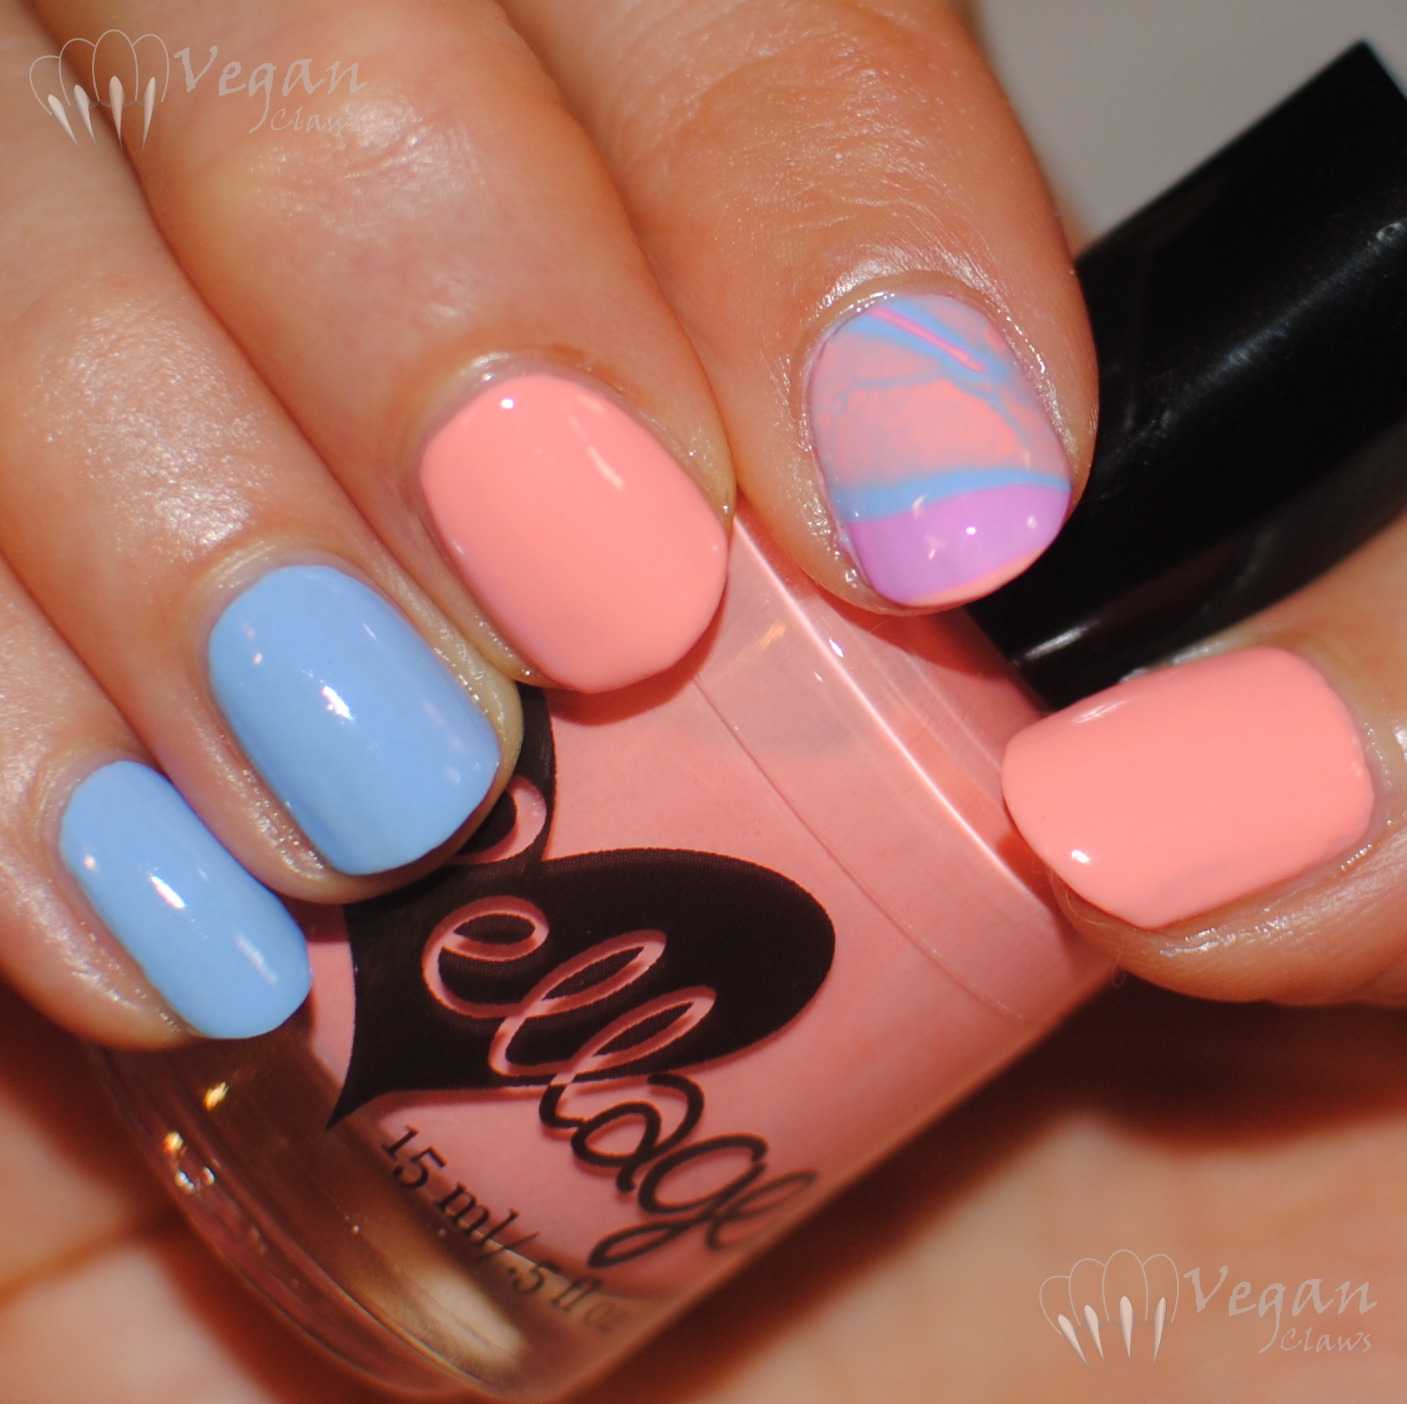
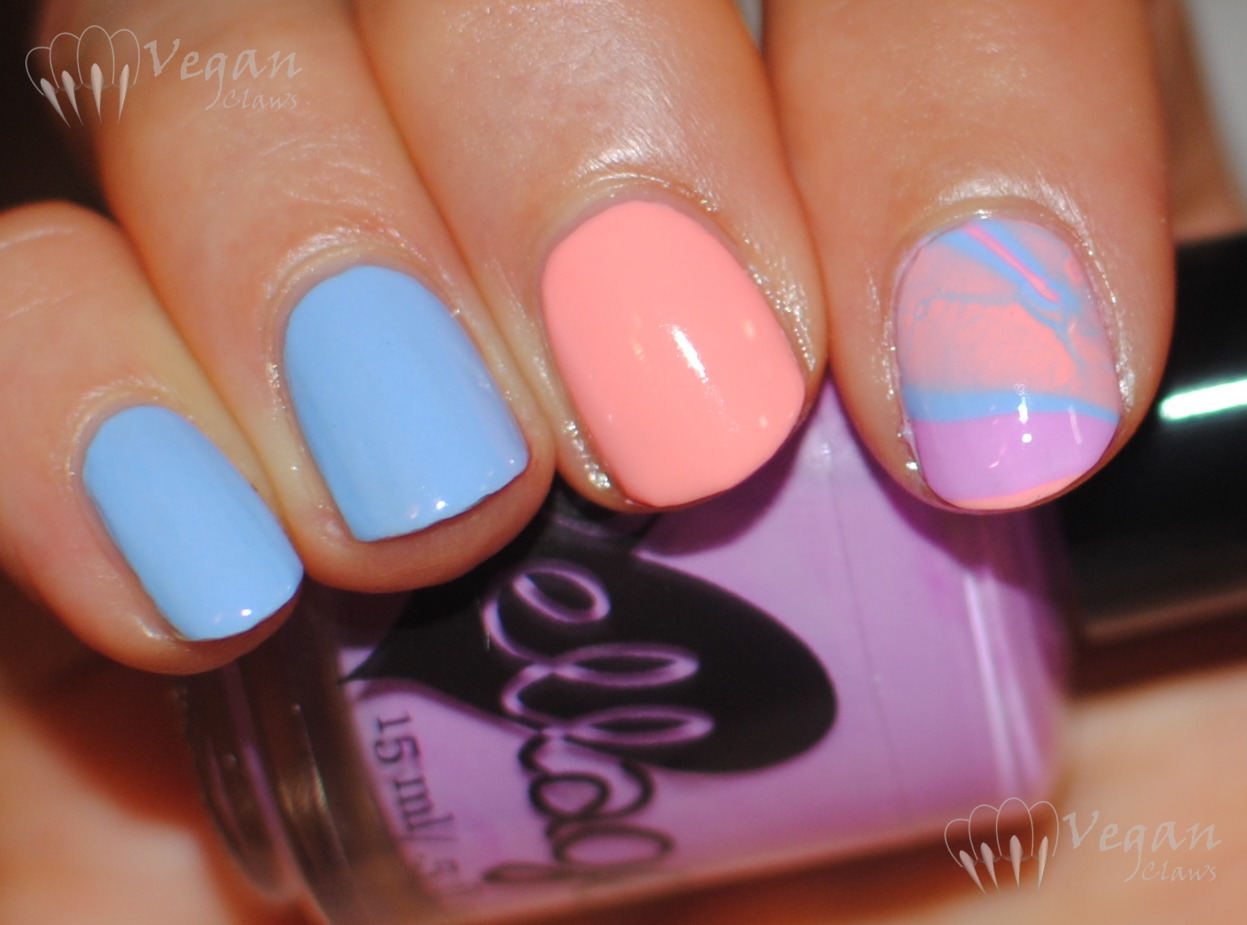
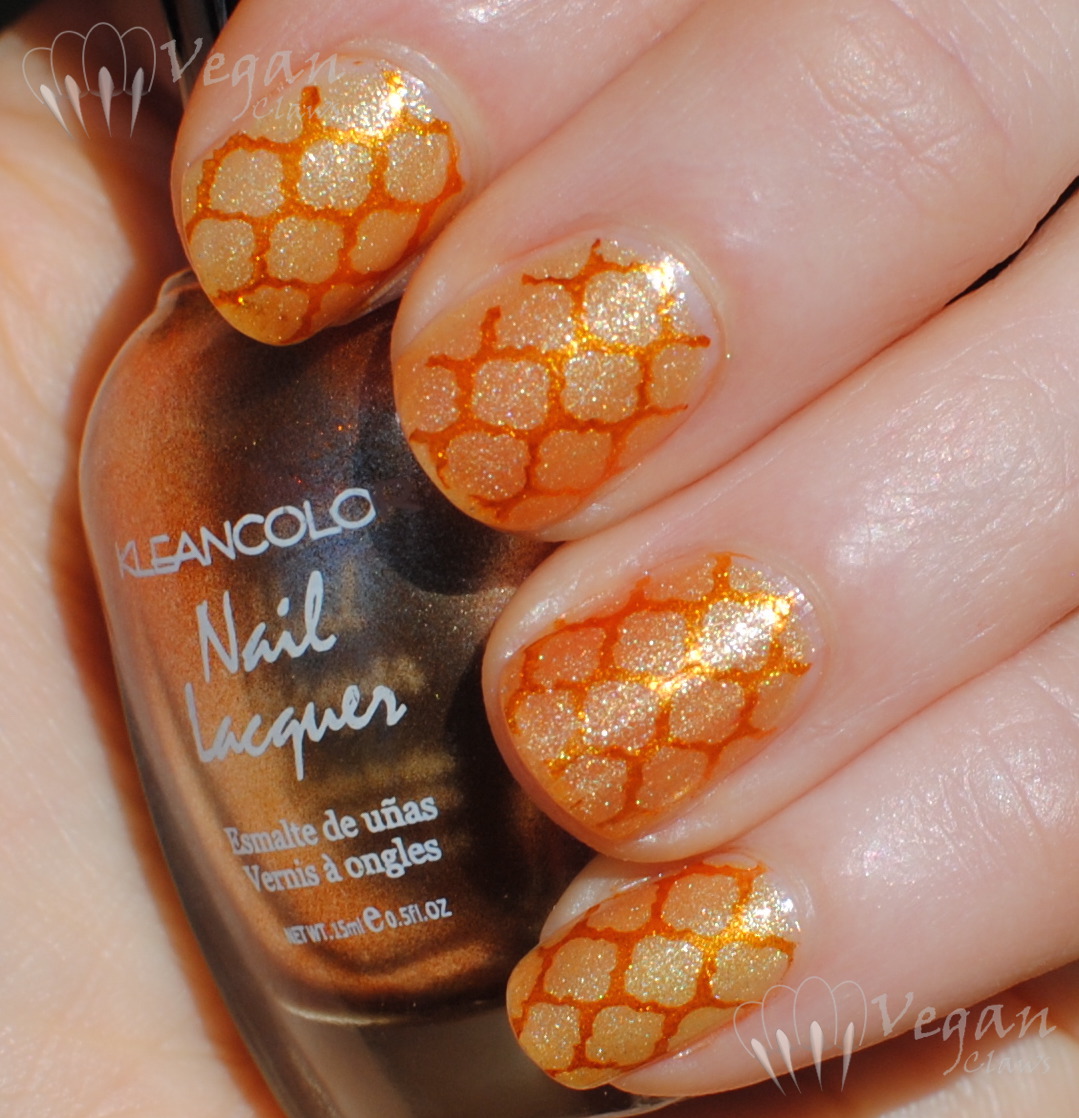
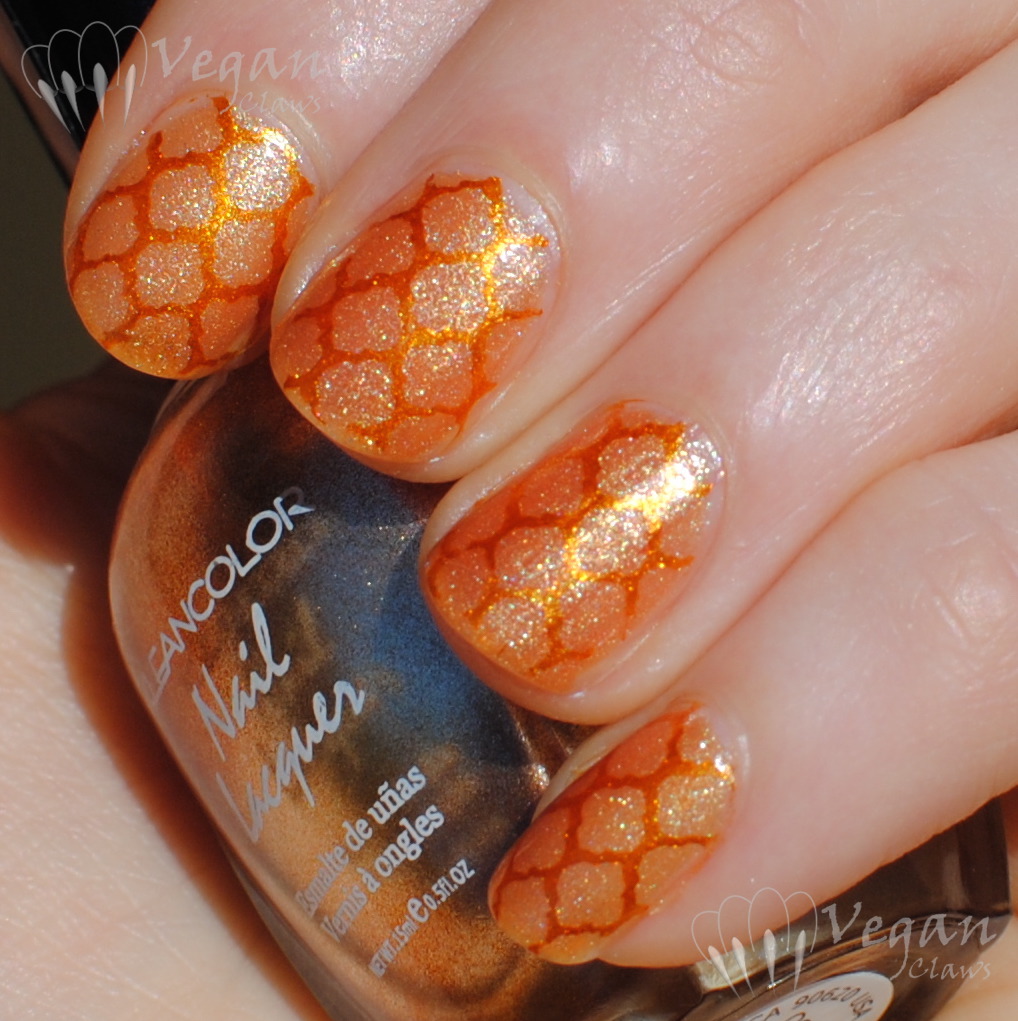
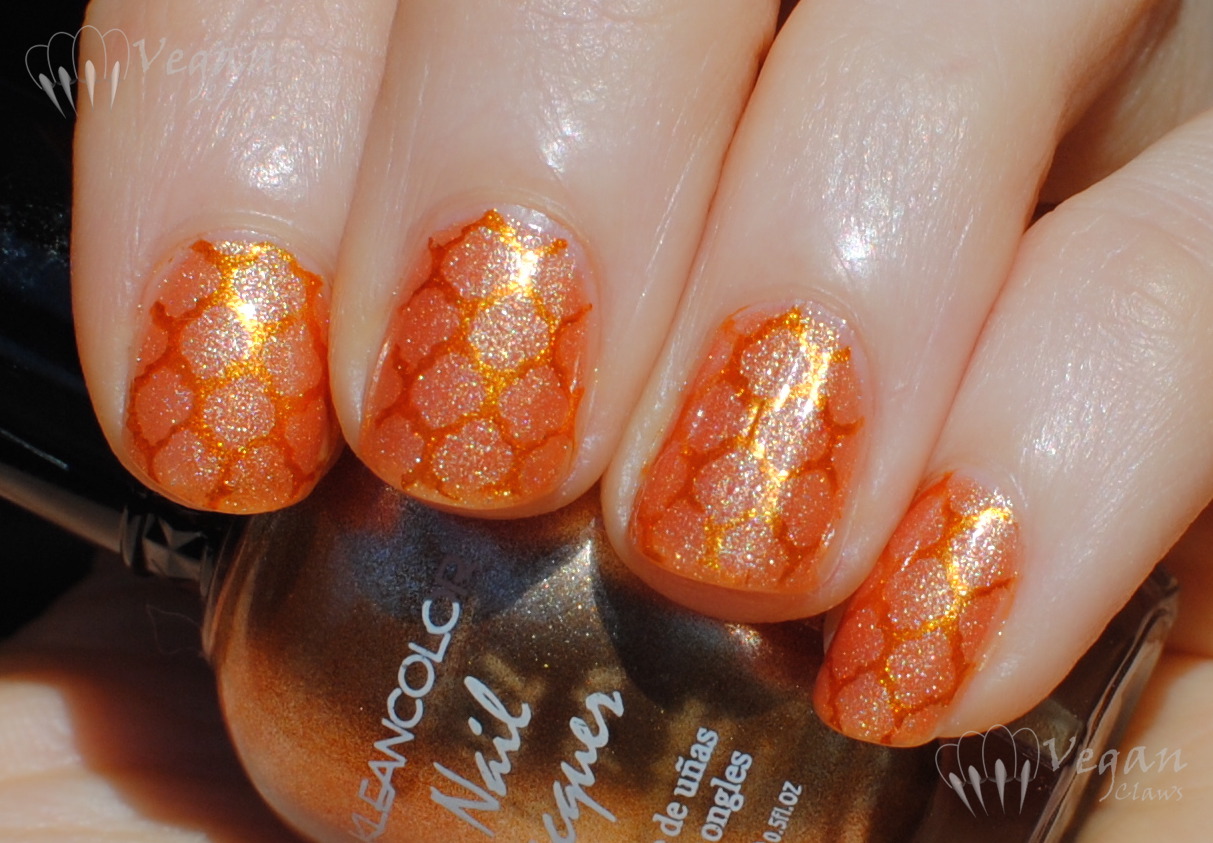
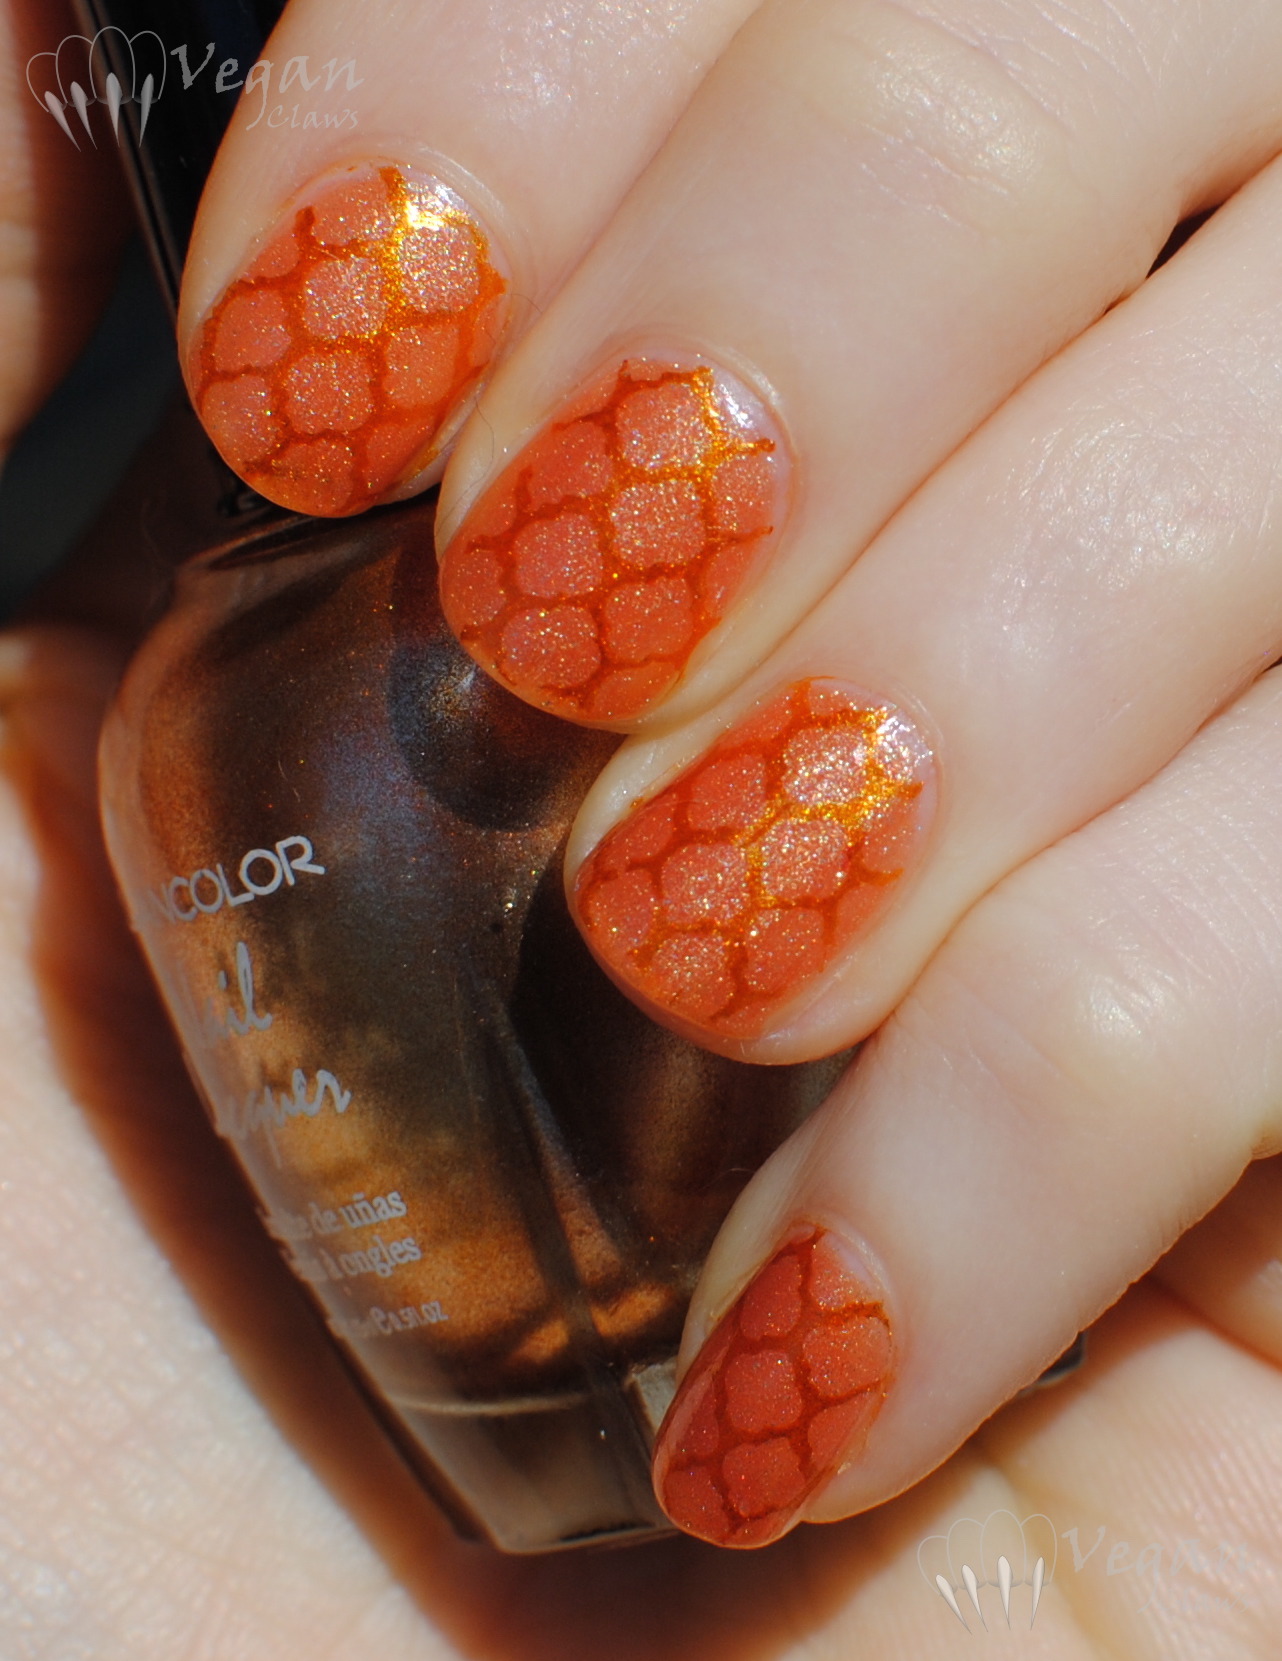
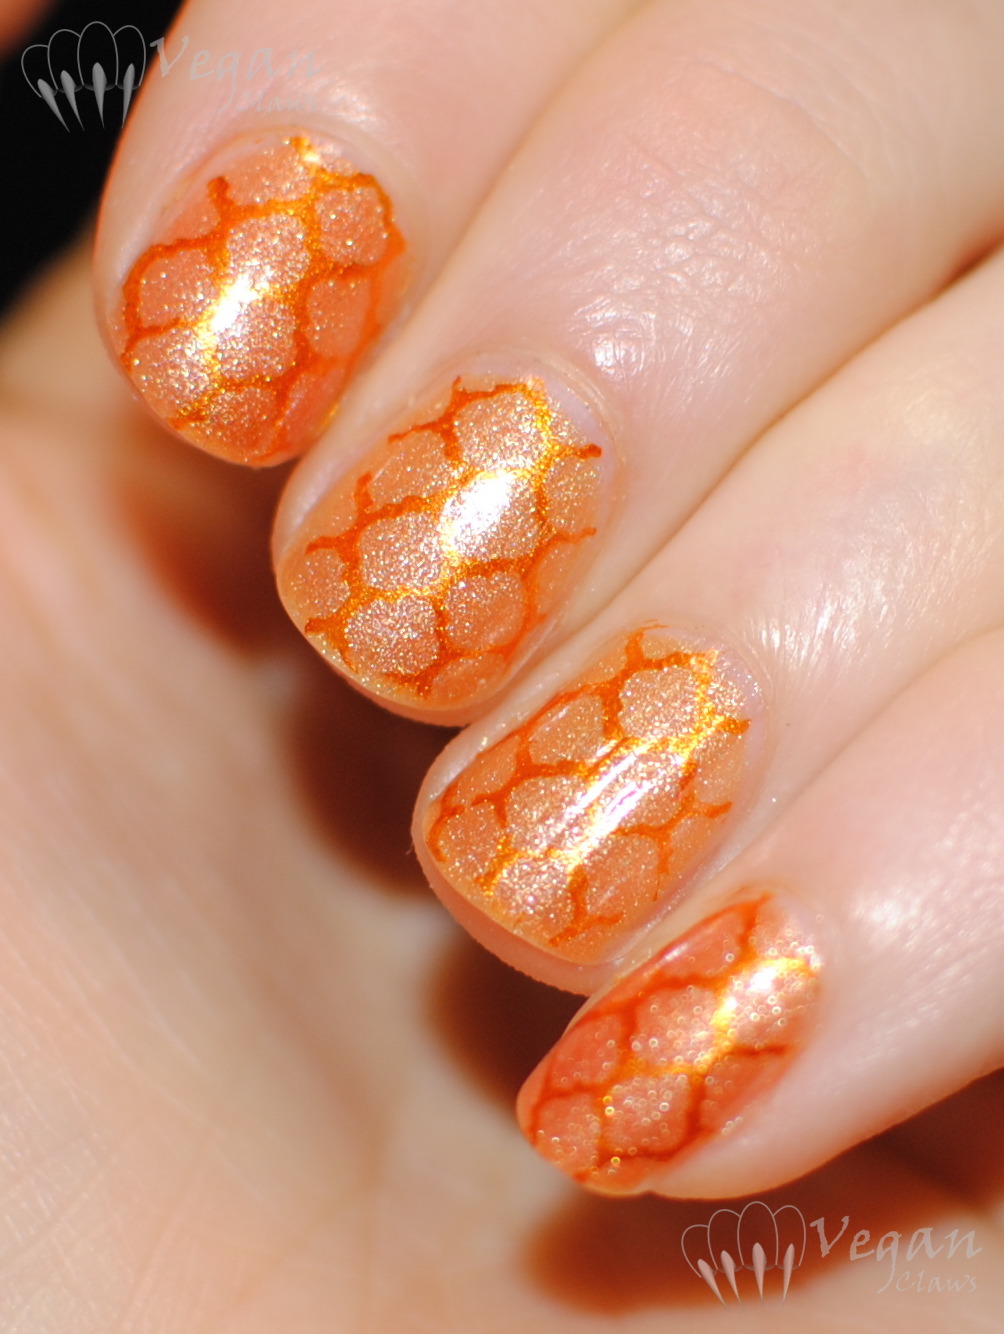
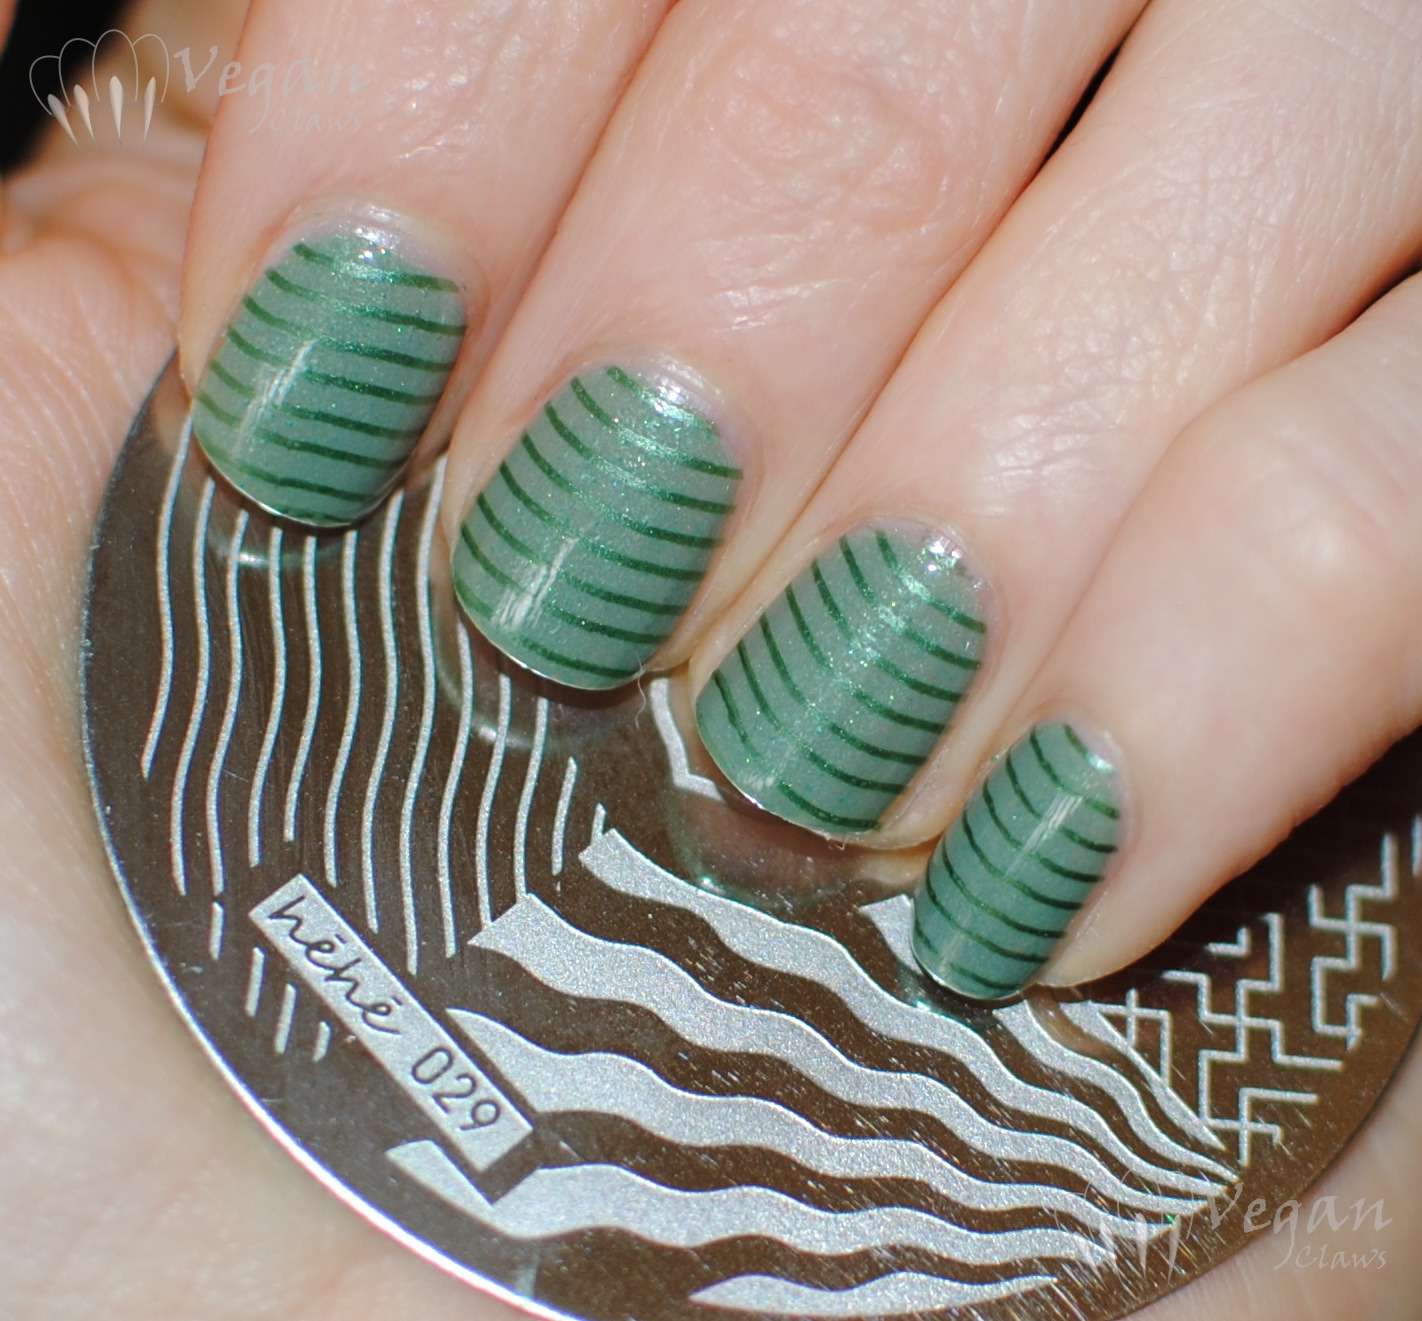
Part 3, right hand, 90 in November with Blooming Sunflowers, stamped with Fingerpaints Picturesque Purple and plate Pueen 08, in sunlight:

blackdahlialacquer_90innovember_bloomingsunflowers_stamped

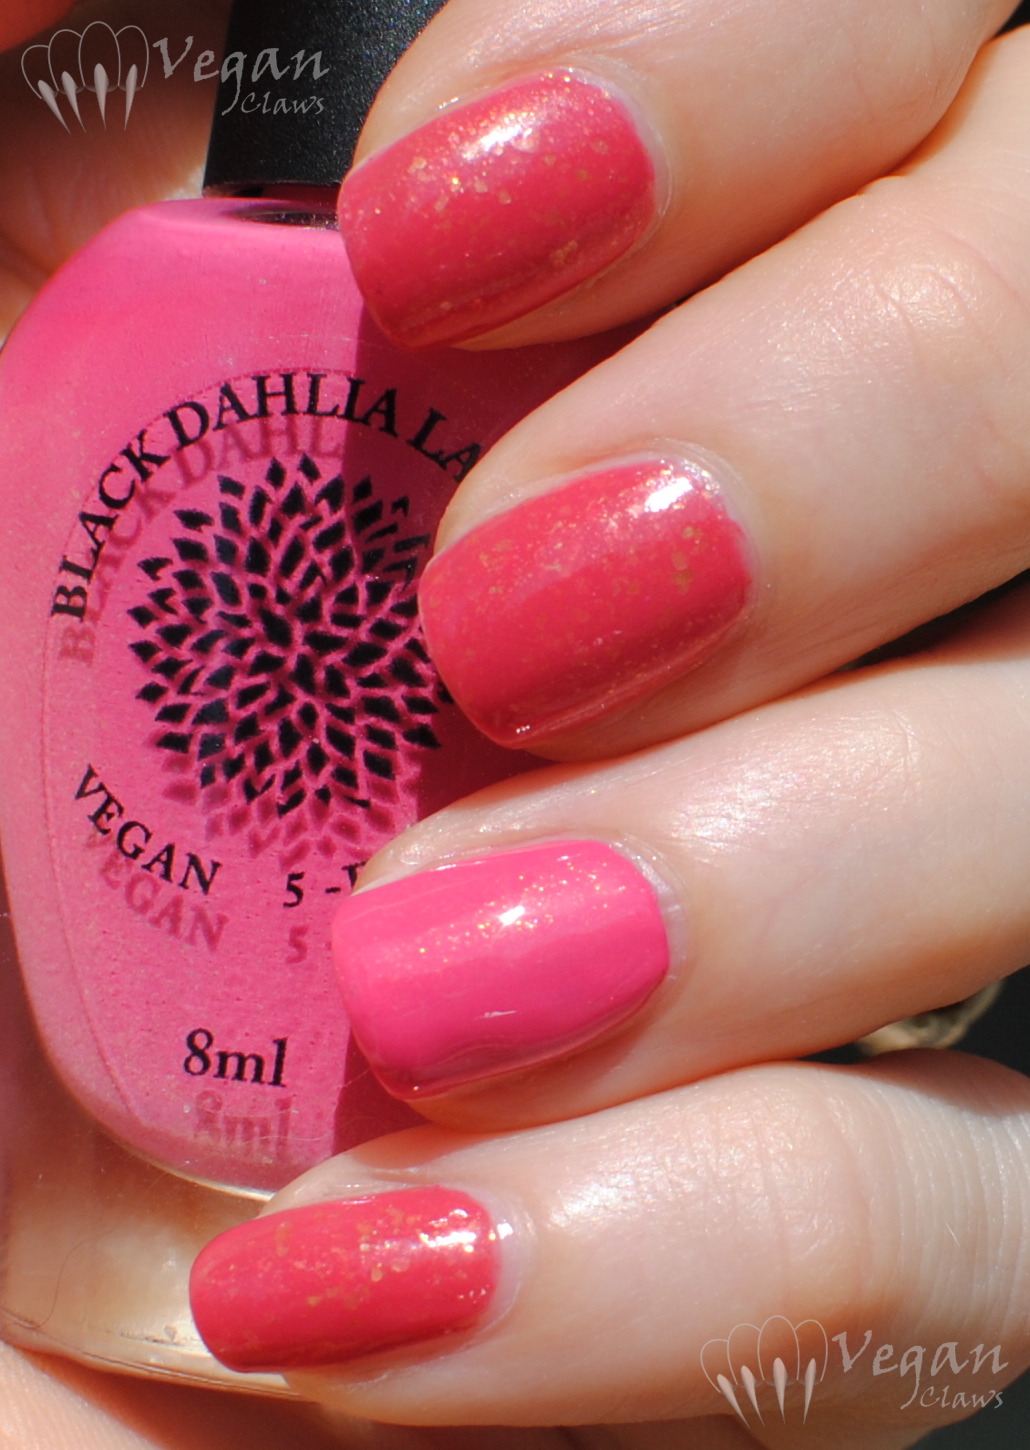
I then wanted to compare Blooming Sunflowers to Strawberry Fields; here they are in the bottles, not as close in colour as I’d thought – Blooming Sunflowers leans a lot more toward red, and its gold flakes are much larger and more prominent:

blackdahlialacquer_strawberryfields_bloomingsunflowers_bottles

Part 4, left hand, Blooming Sunflowers with Strawberry Fields. I used three coats of Strawberry Fields here, just because I smudged it a bit after the second. In sunlight:

blackdahlialacquer_bloomingsunflowers_strawberryfields2

blackdahlialacquer_bloomingsunflowers_strawberryfields


I didn’t take a picture of the right hand for Part 4.

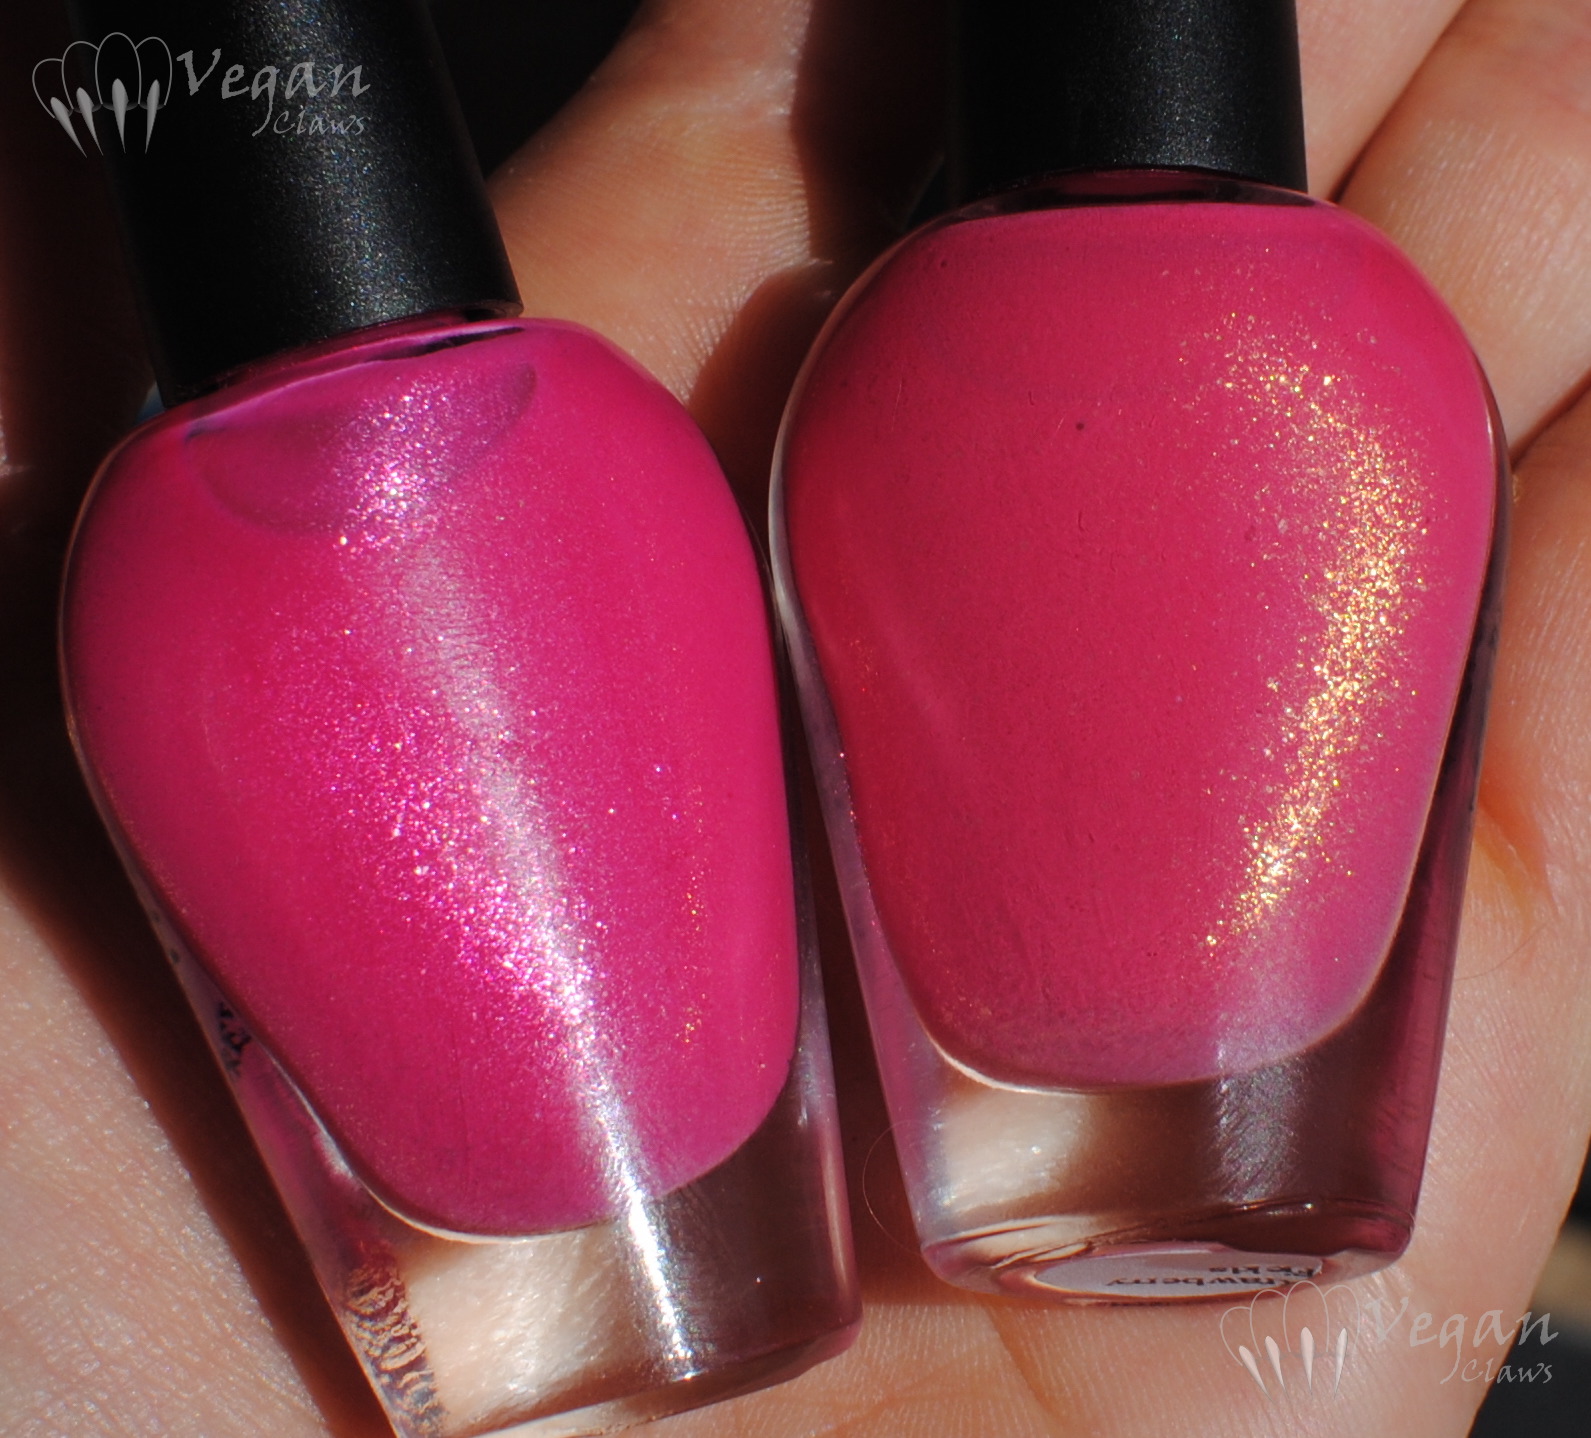
Since Strawberry Fields was a lot pinker than Blooming Sunflowers, I then decided to compare it to Rose Petals:

blackdahlialacquer_rosepetals_strawberryfields_bottles


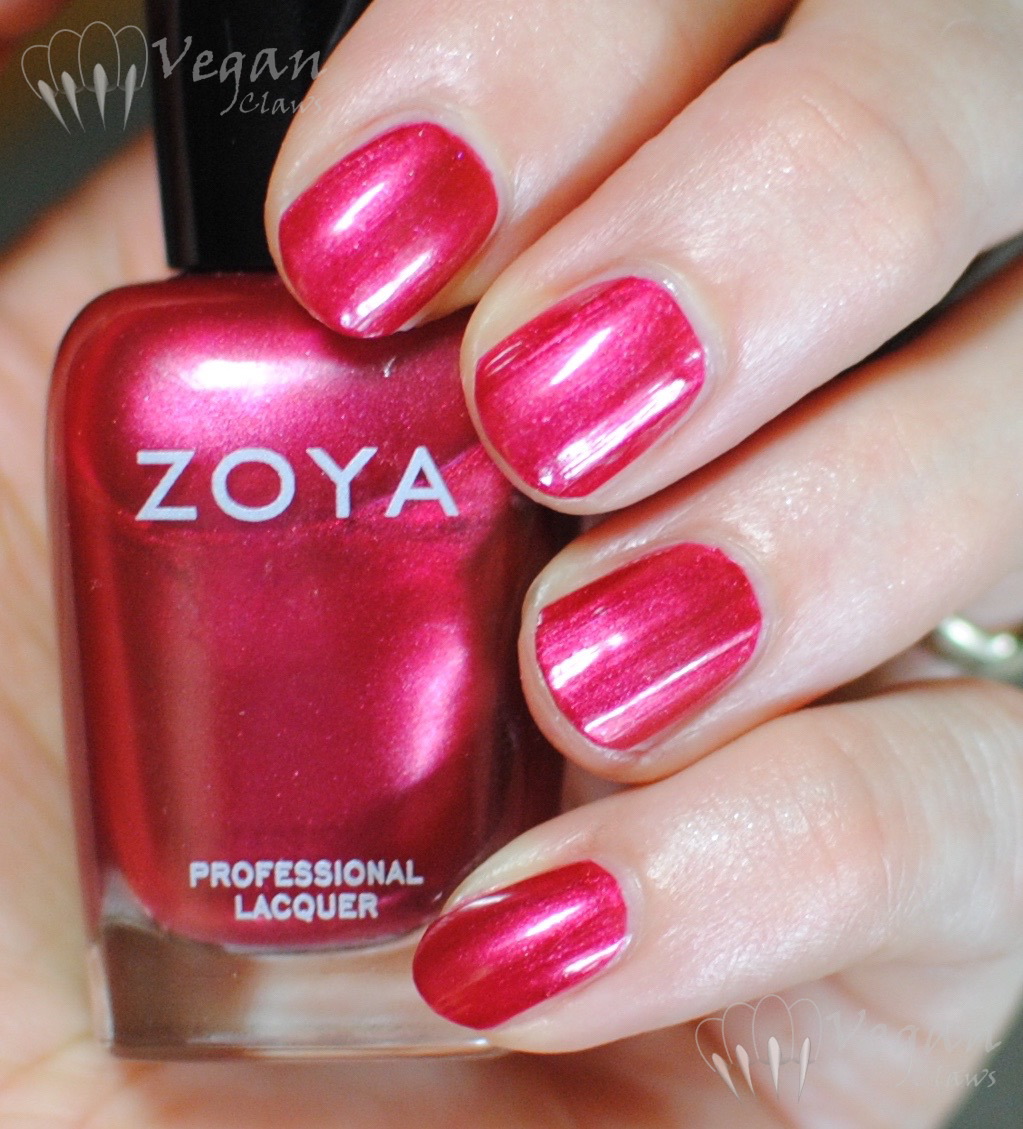
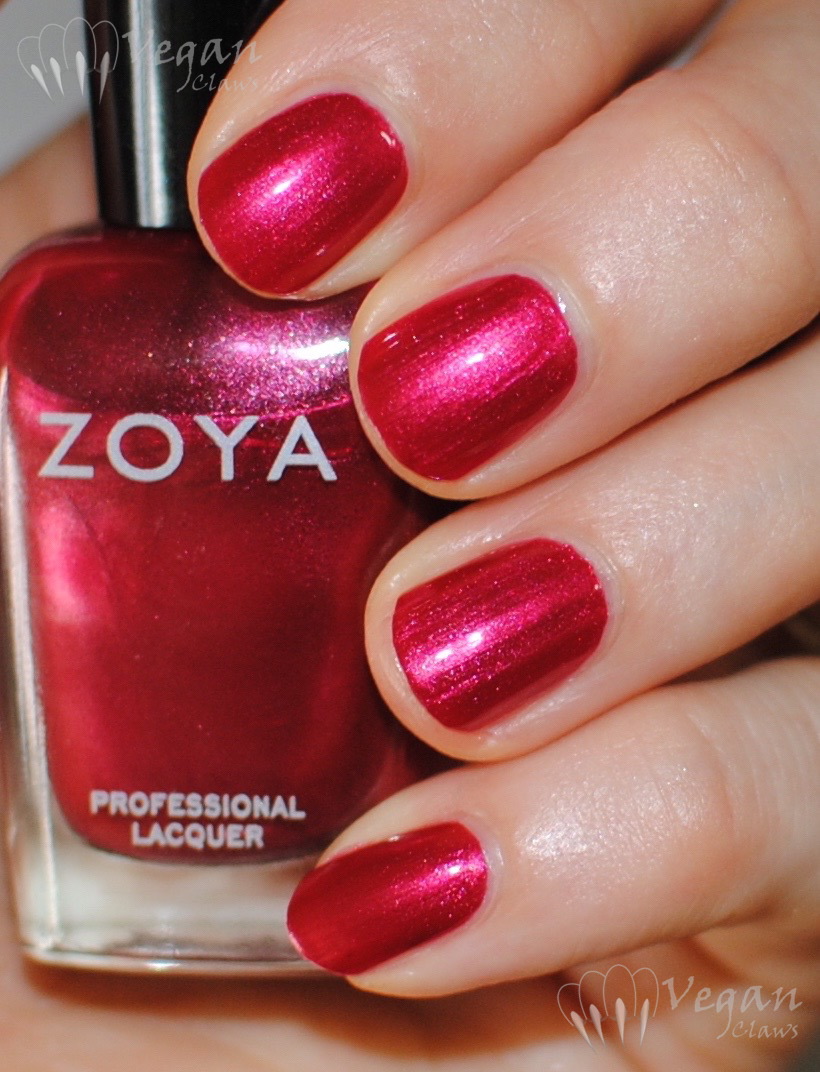
Rose Petals is a cooler pink, with pink shifting glass fleck shimmer, whereas the shimmer in Strawberry Fields is all tiny gold flakes and is less prominent once on the nail.

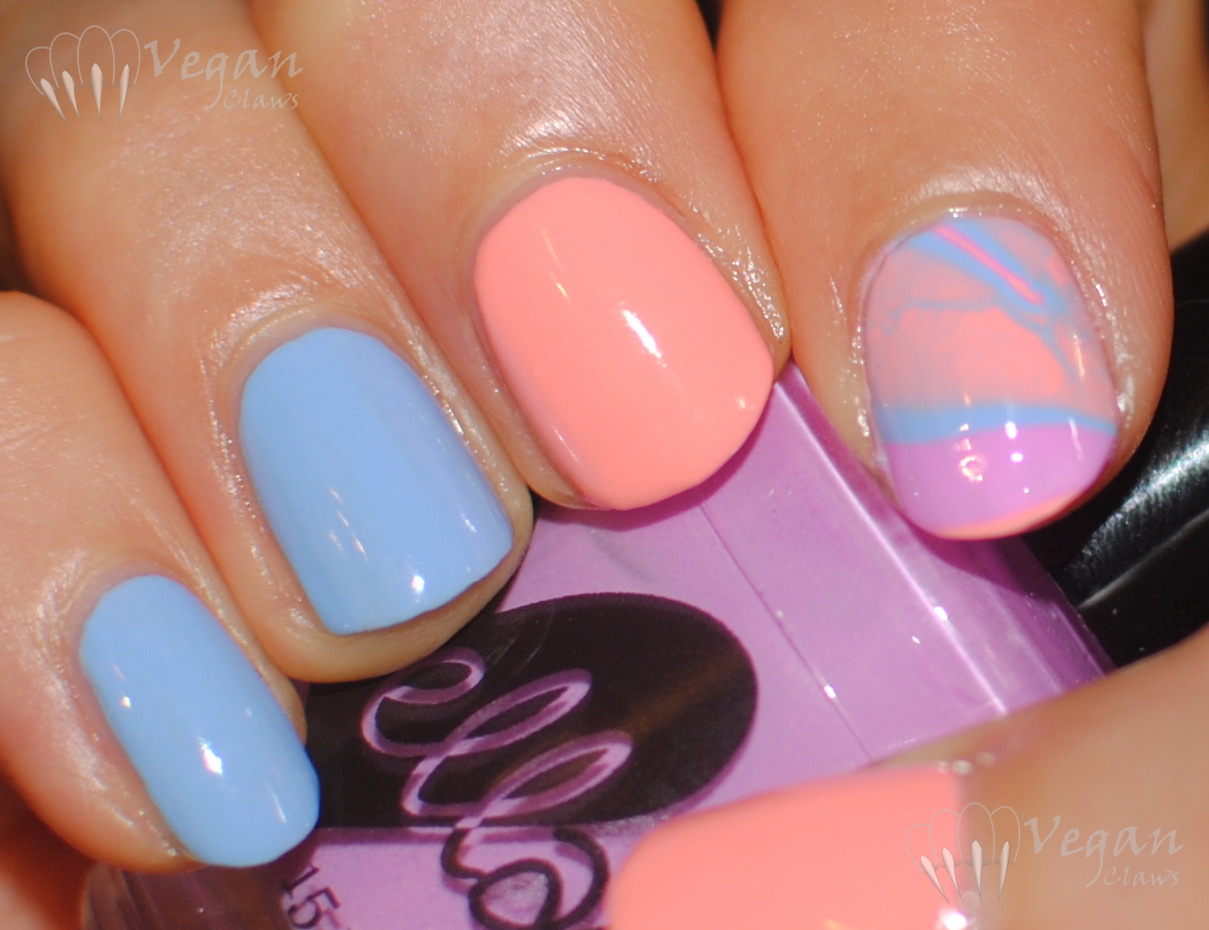
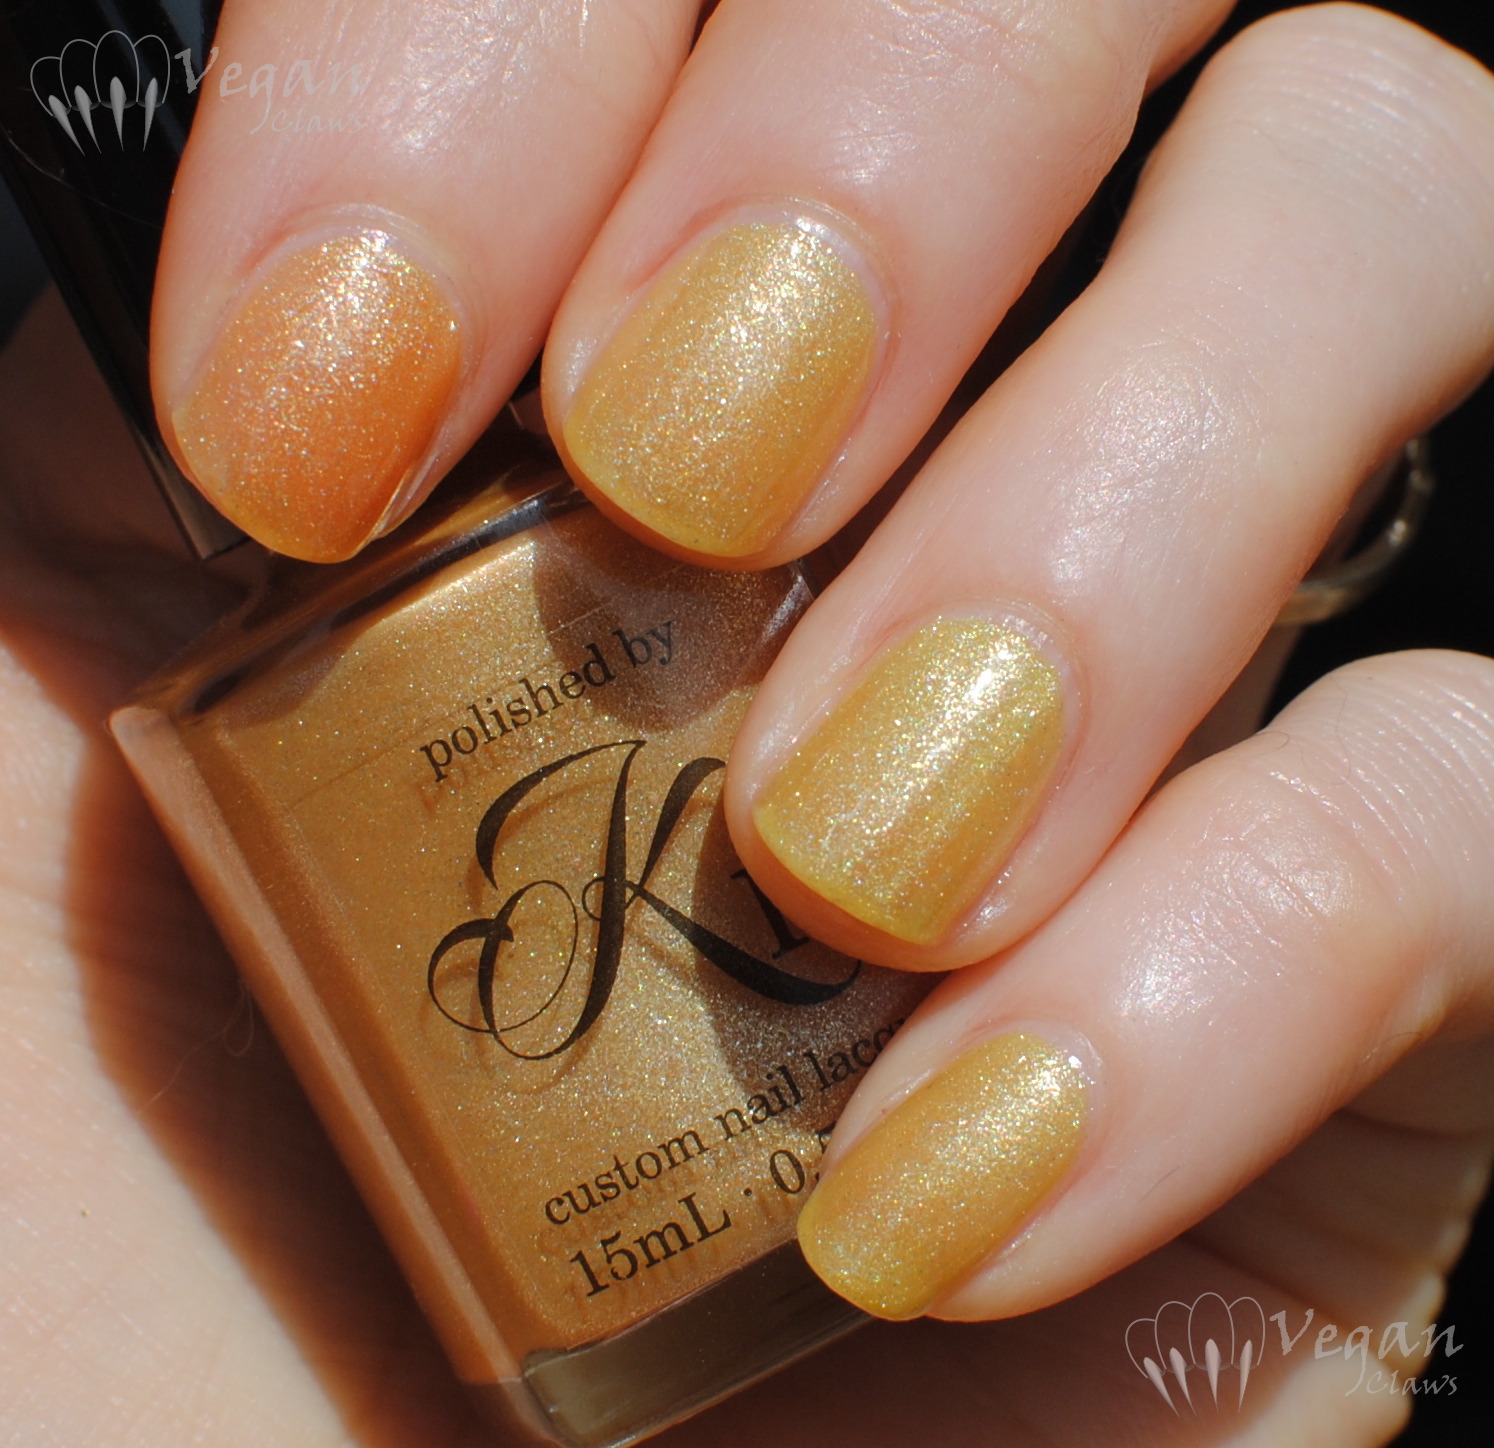
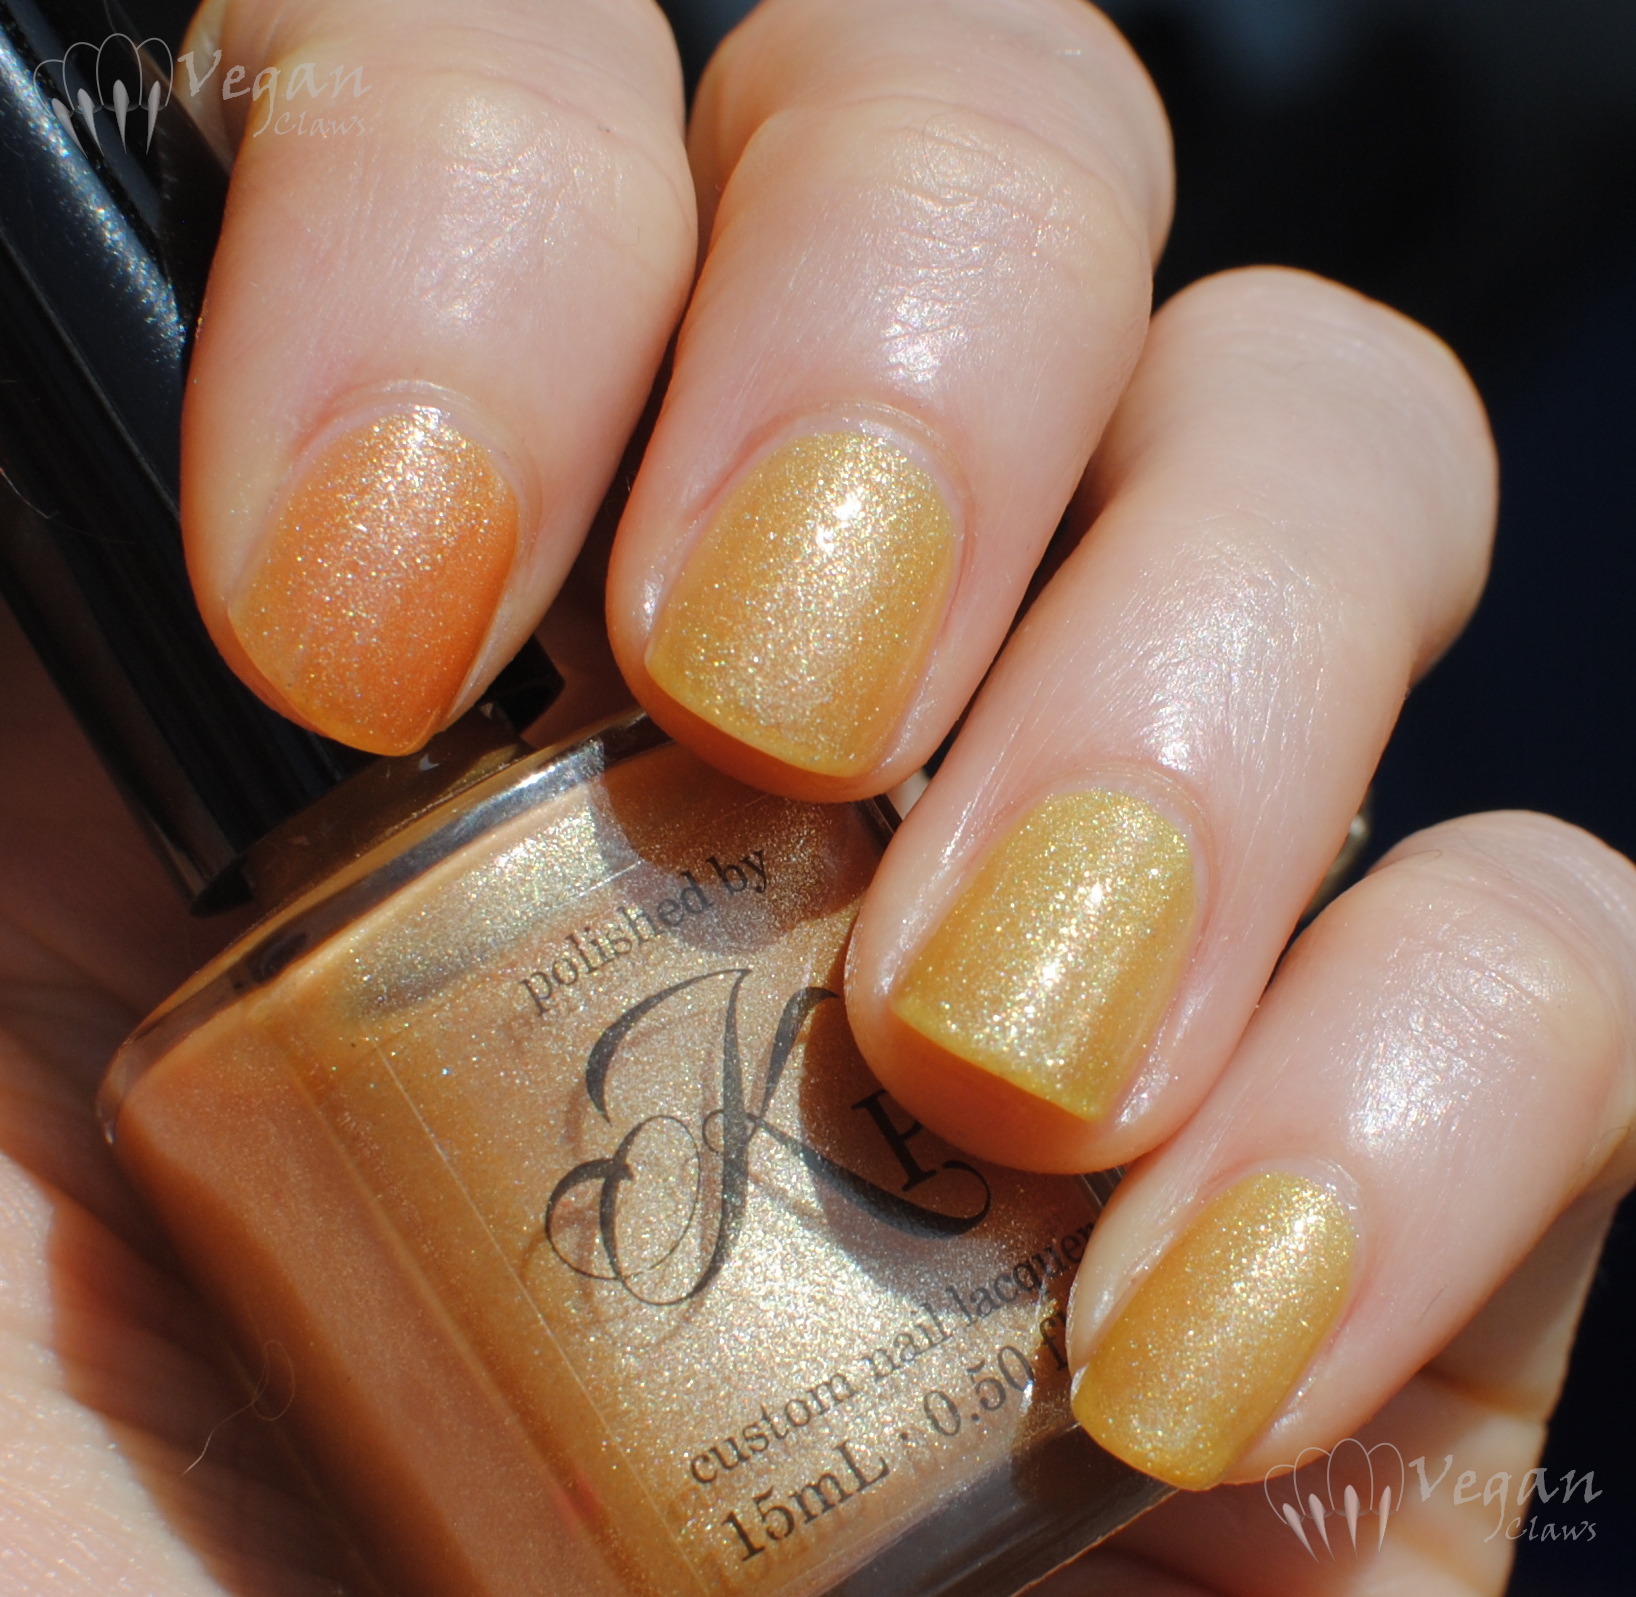
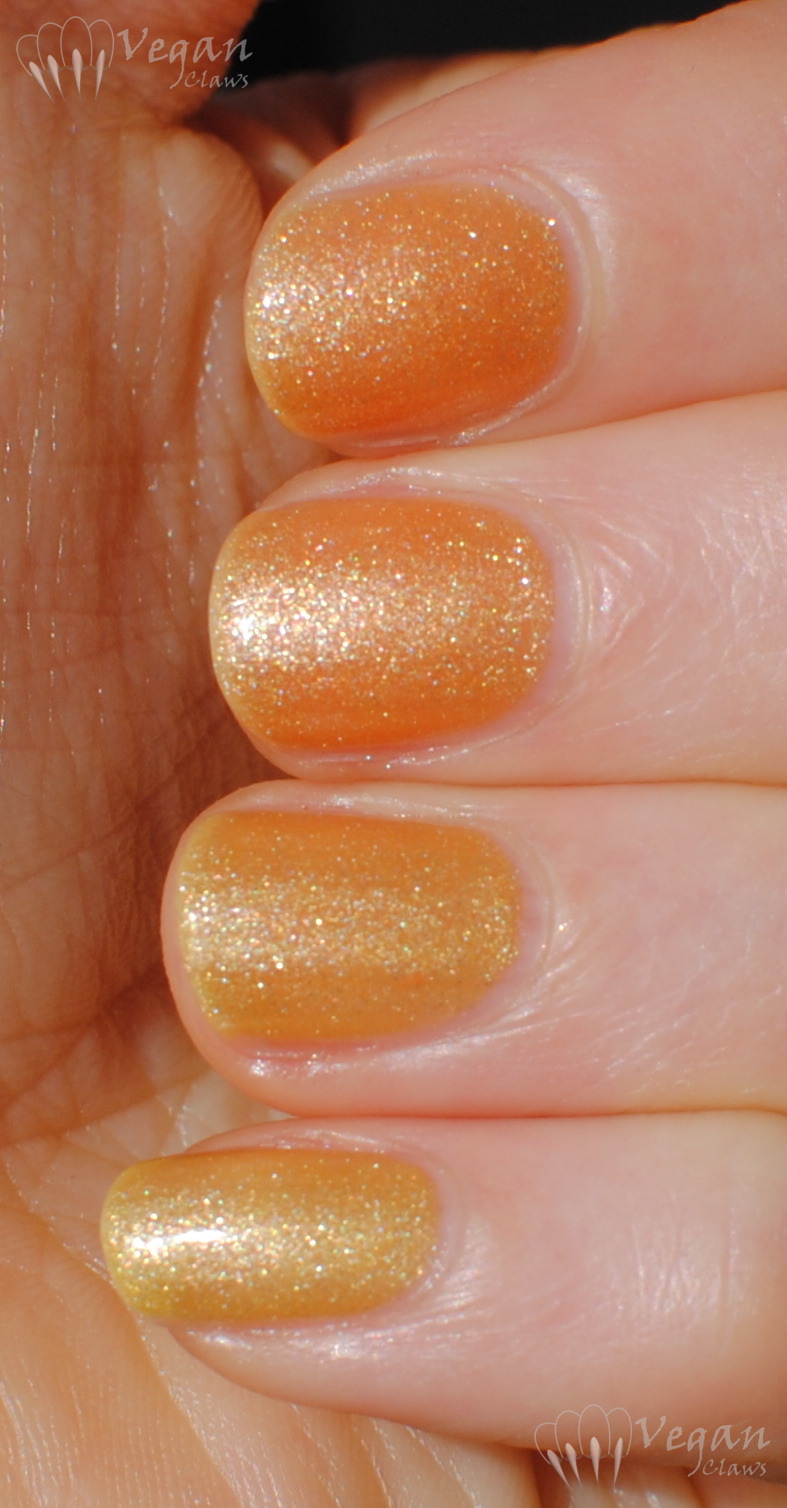
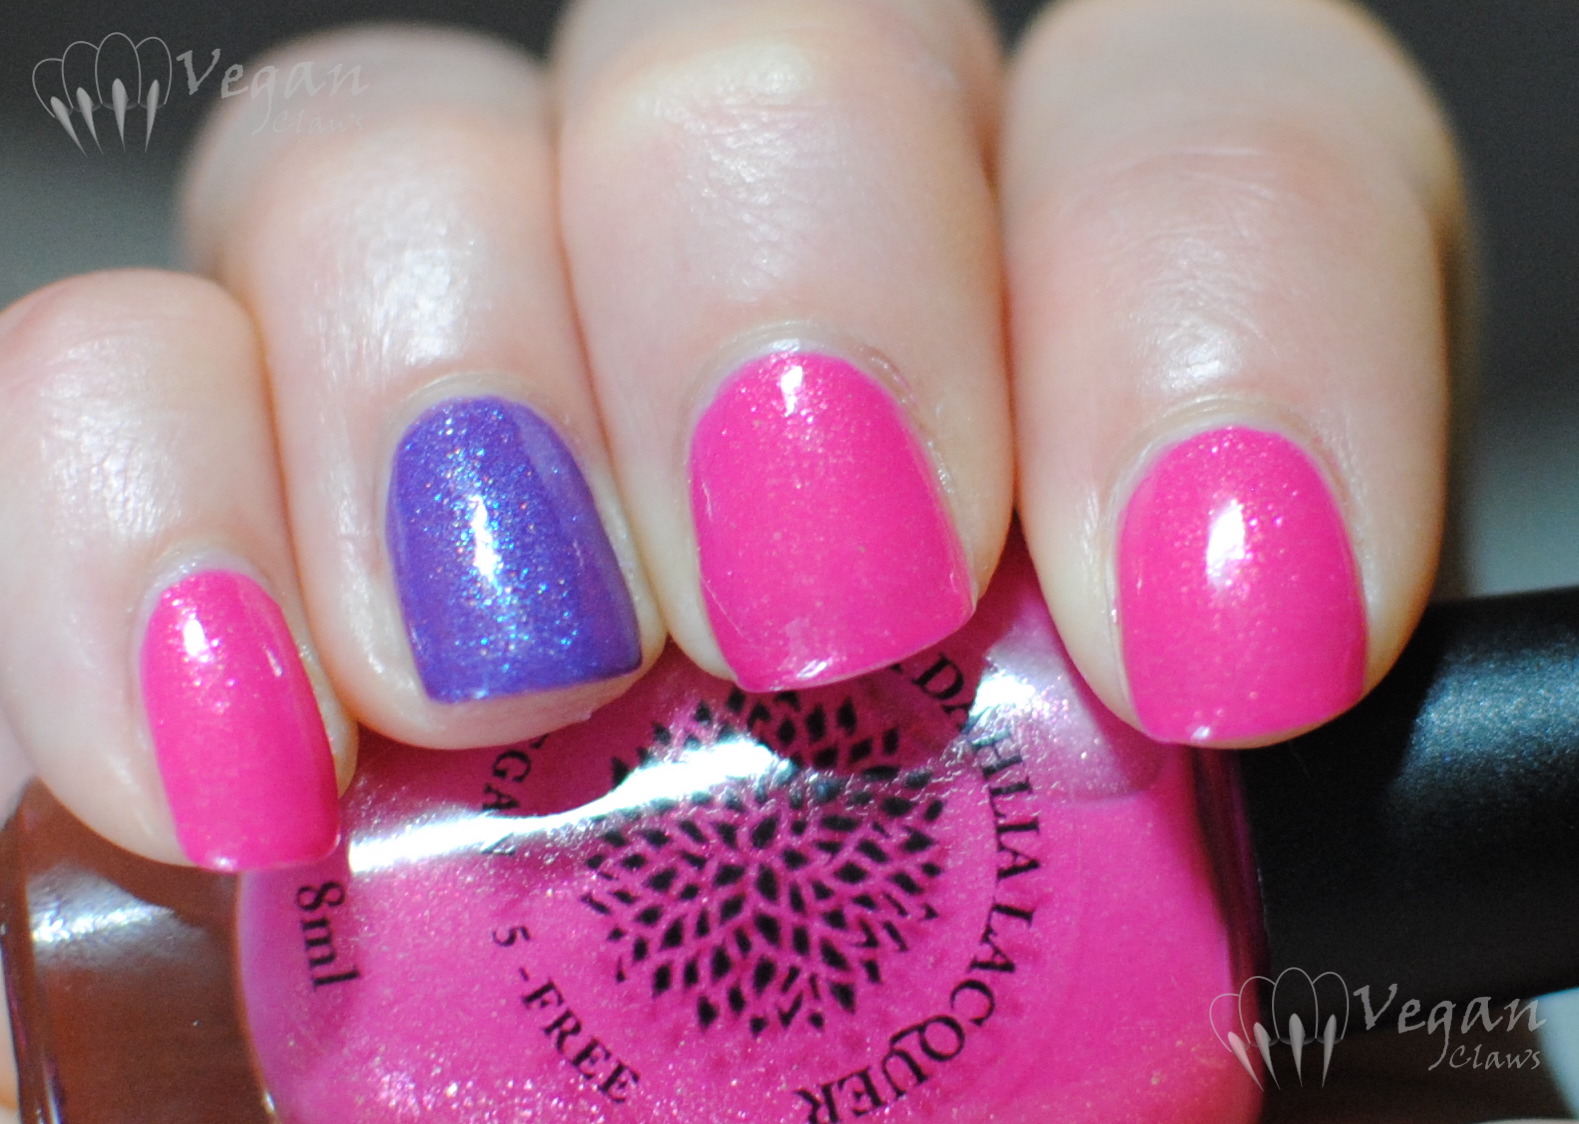
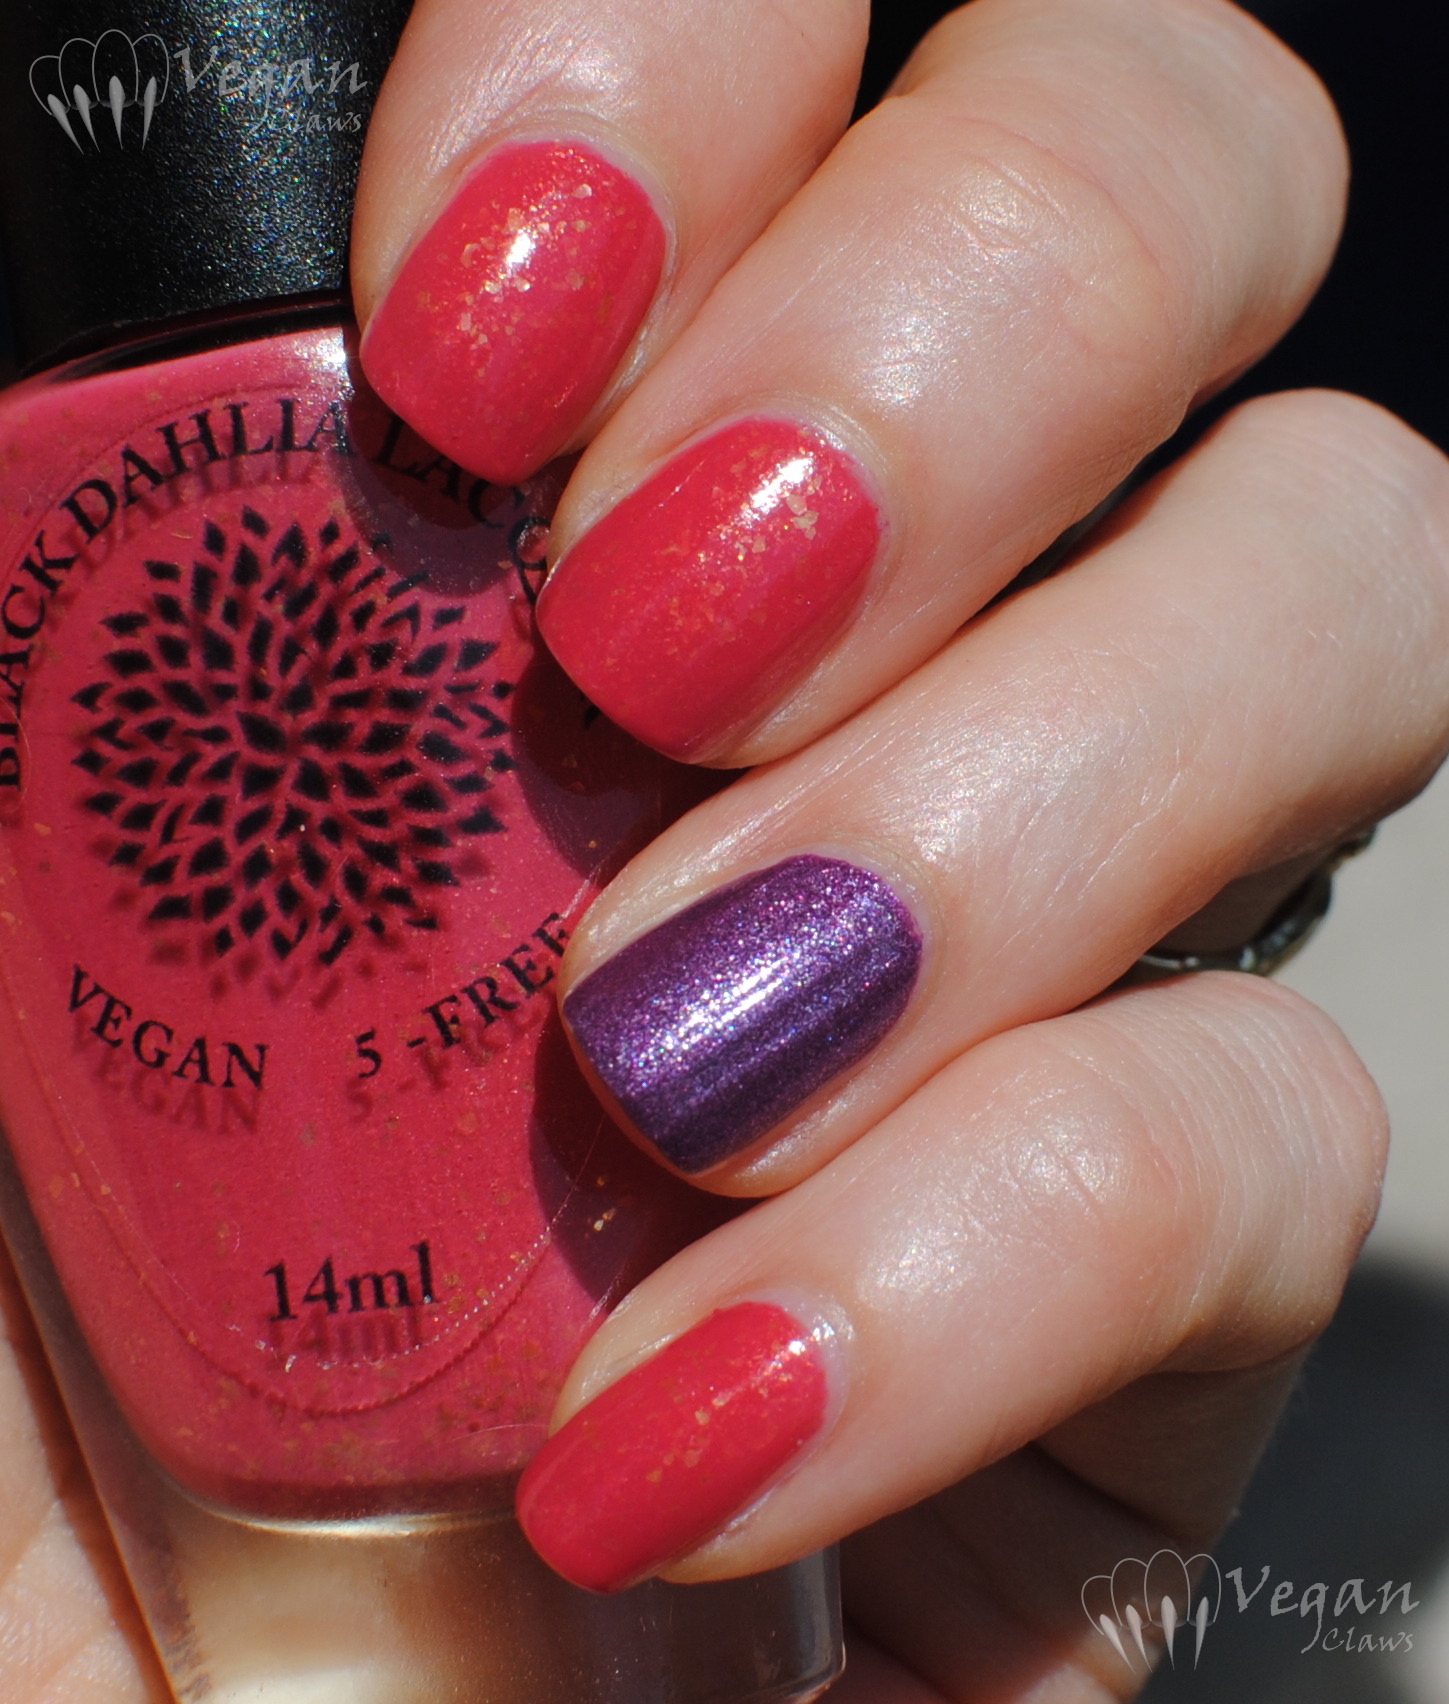
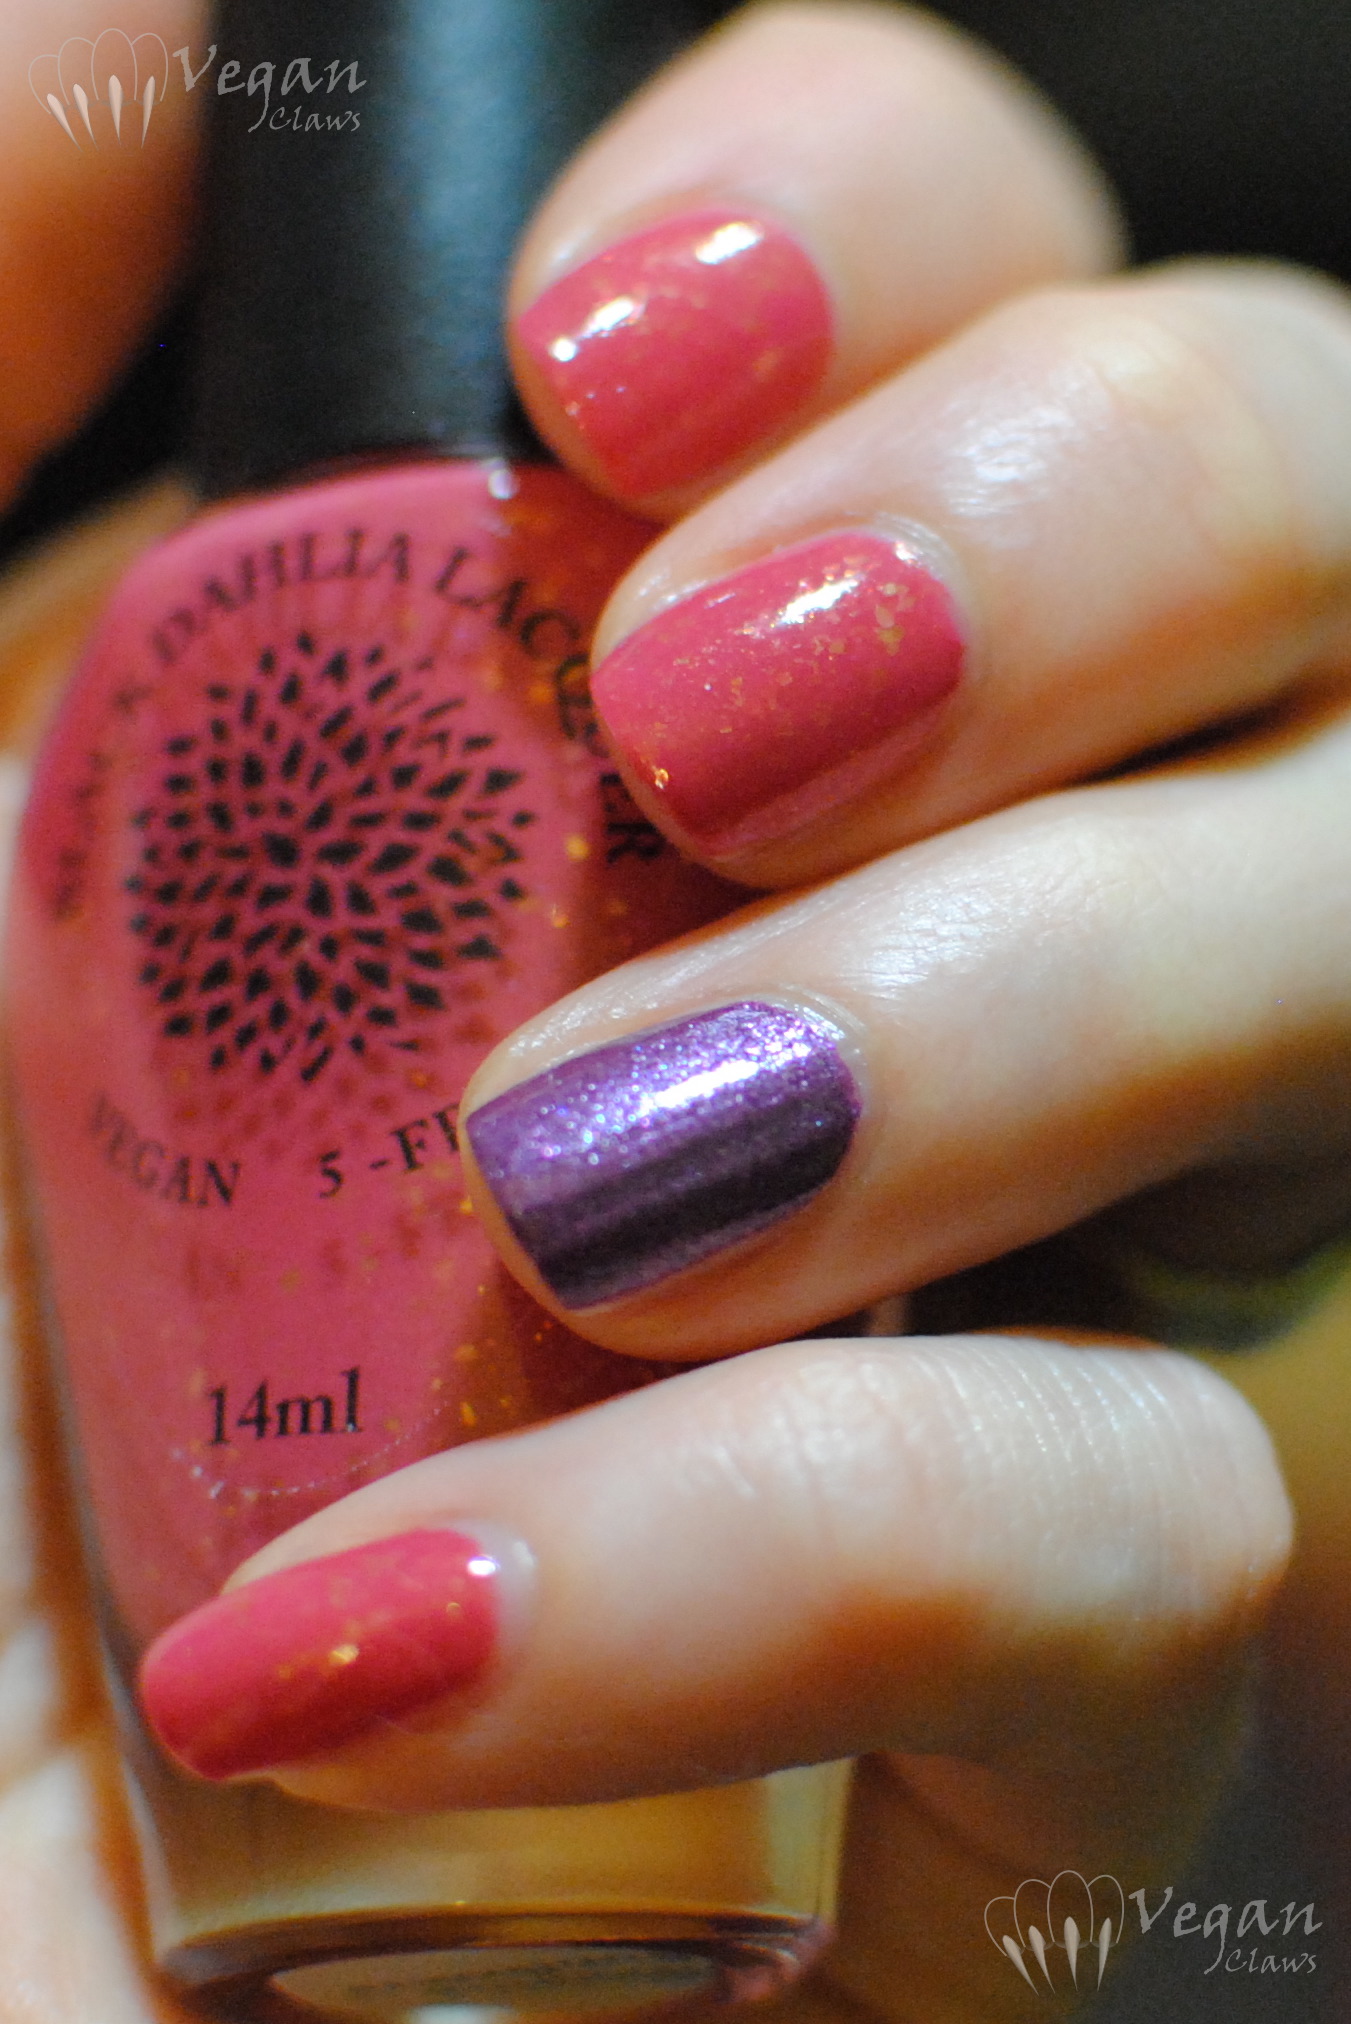
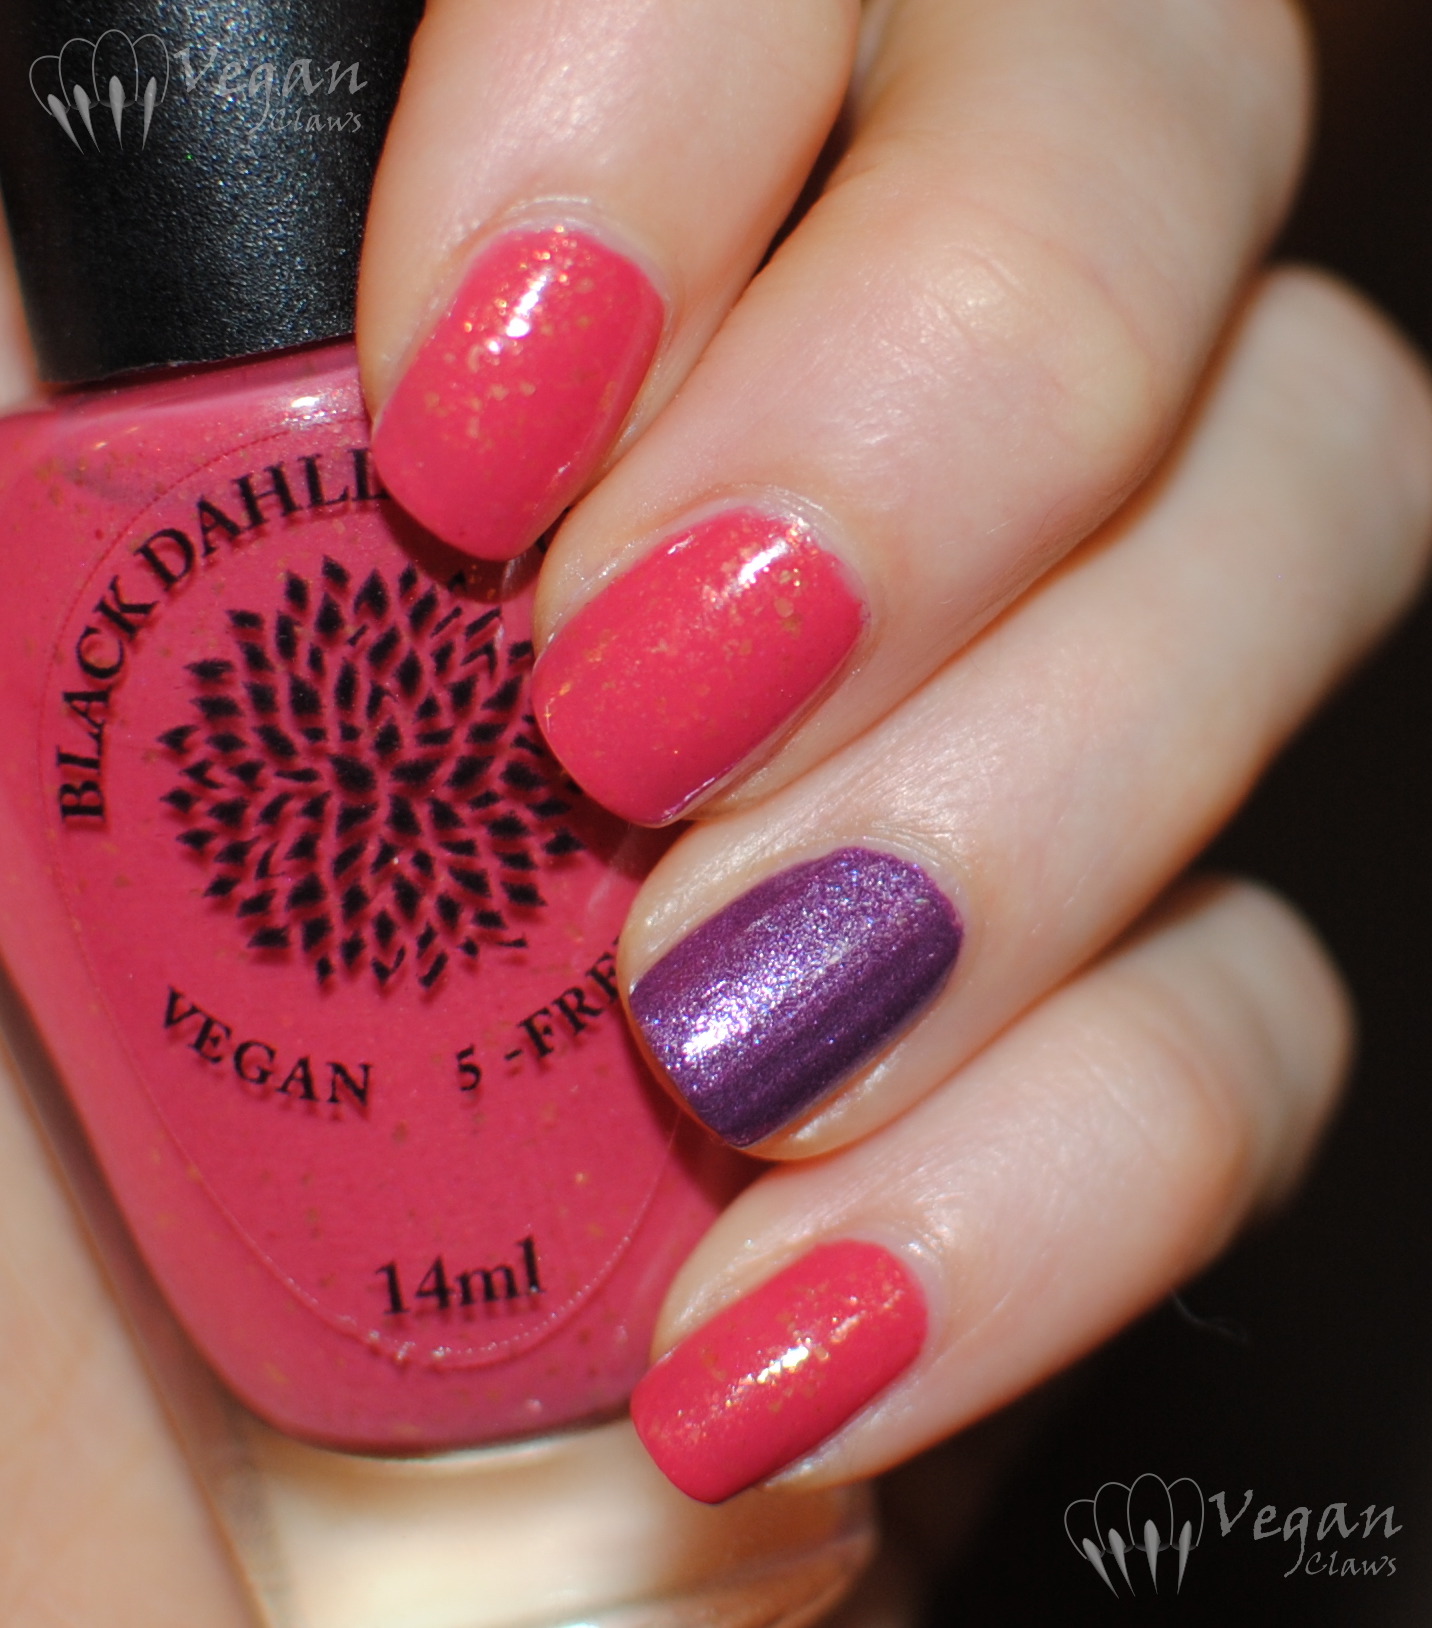
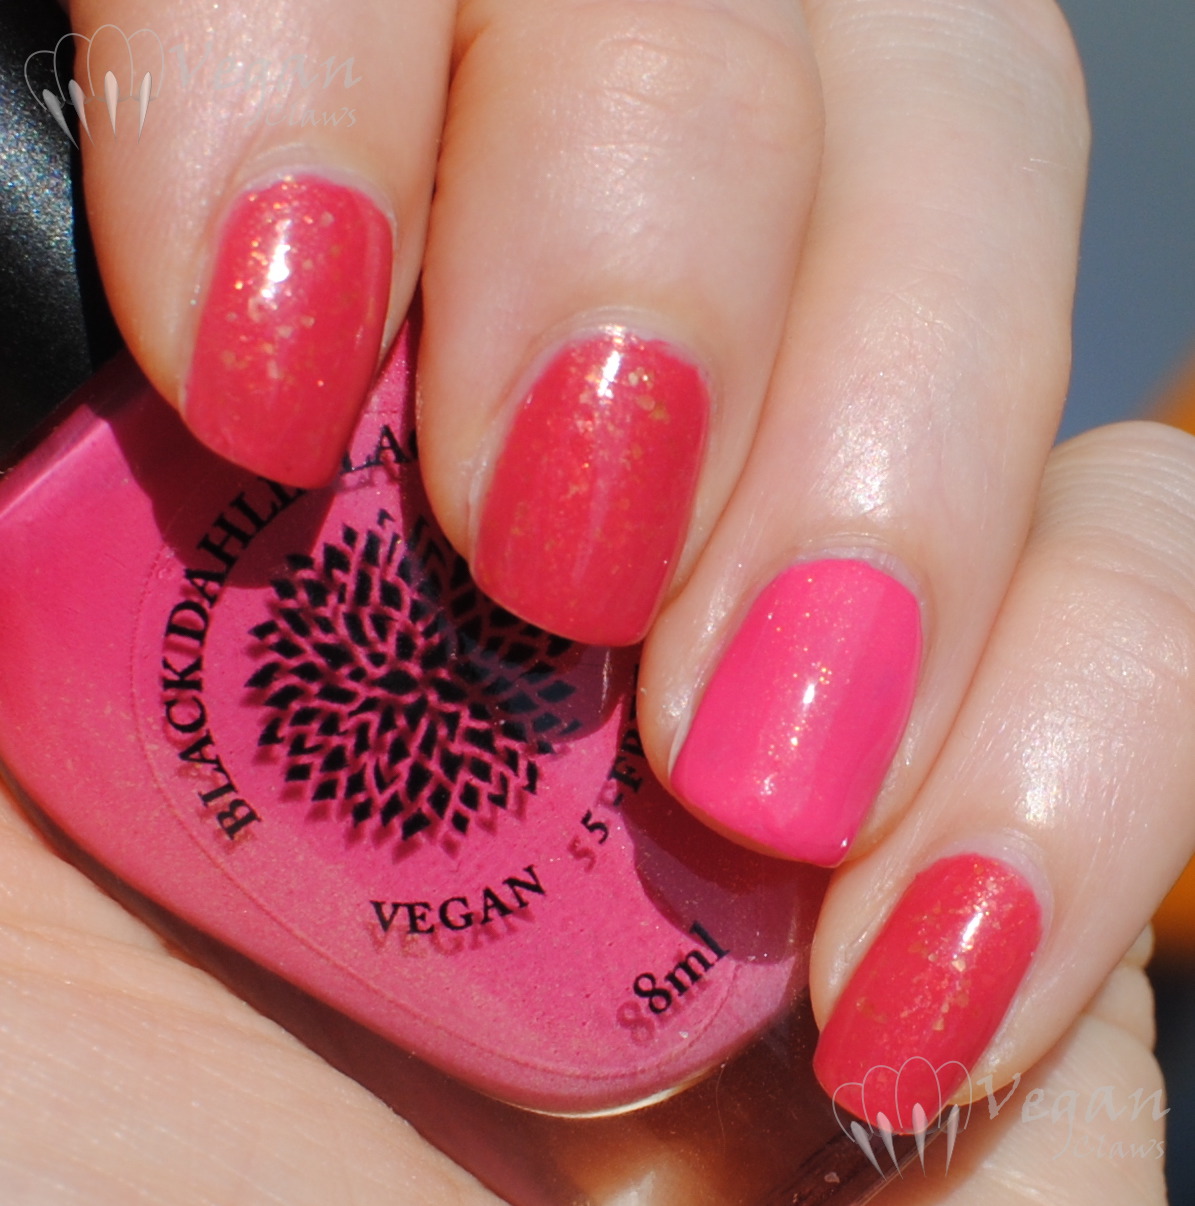
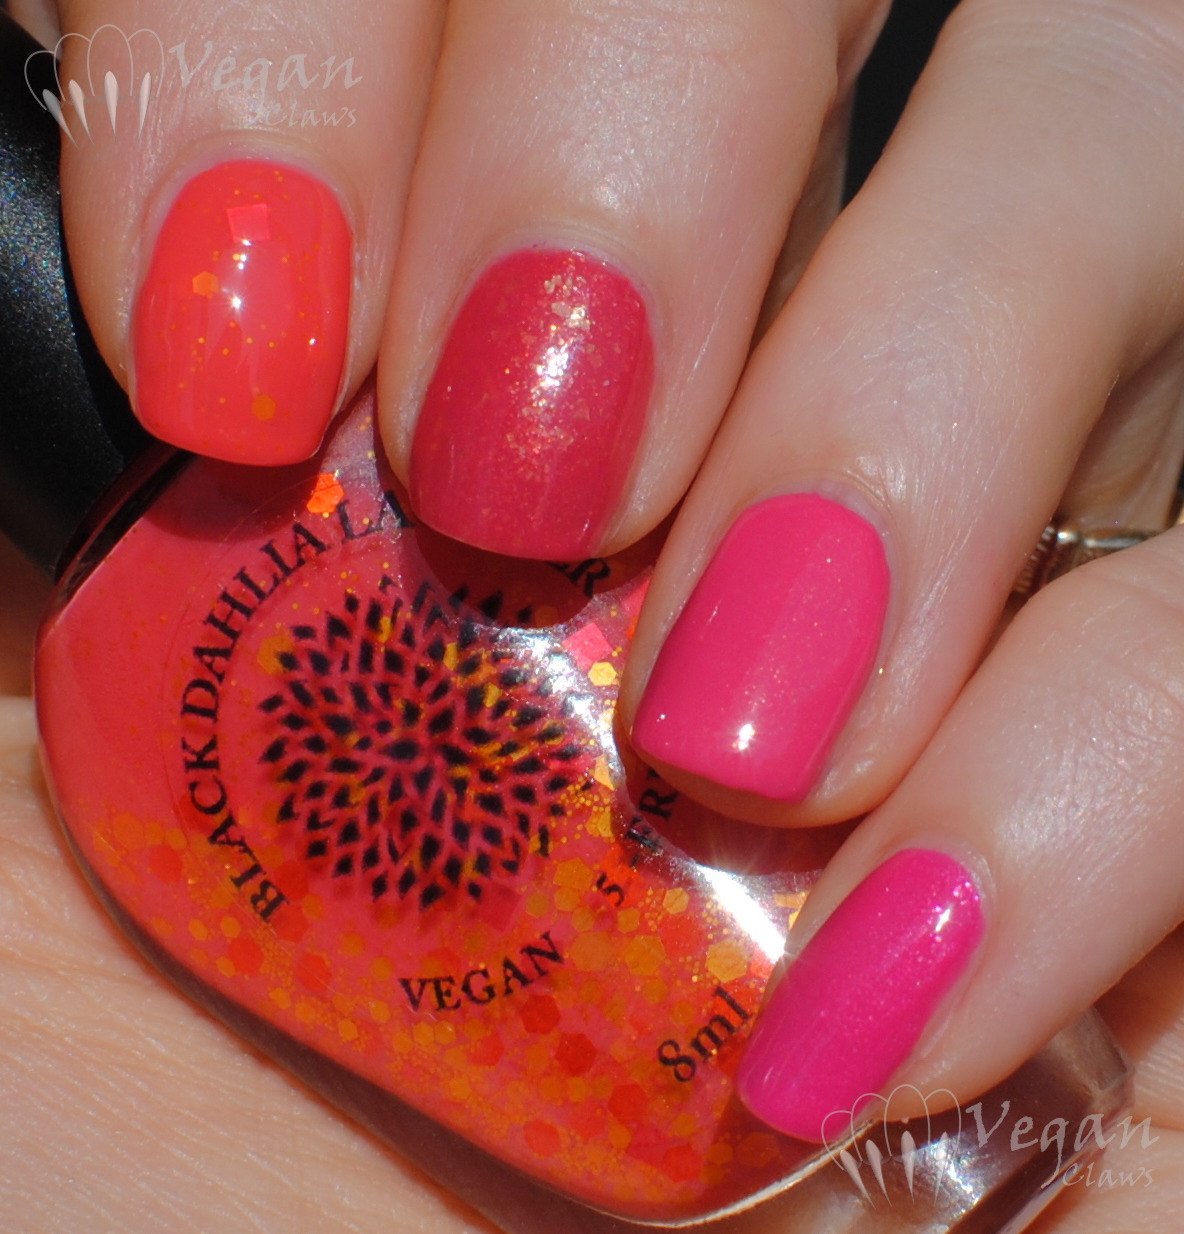
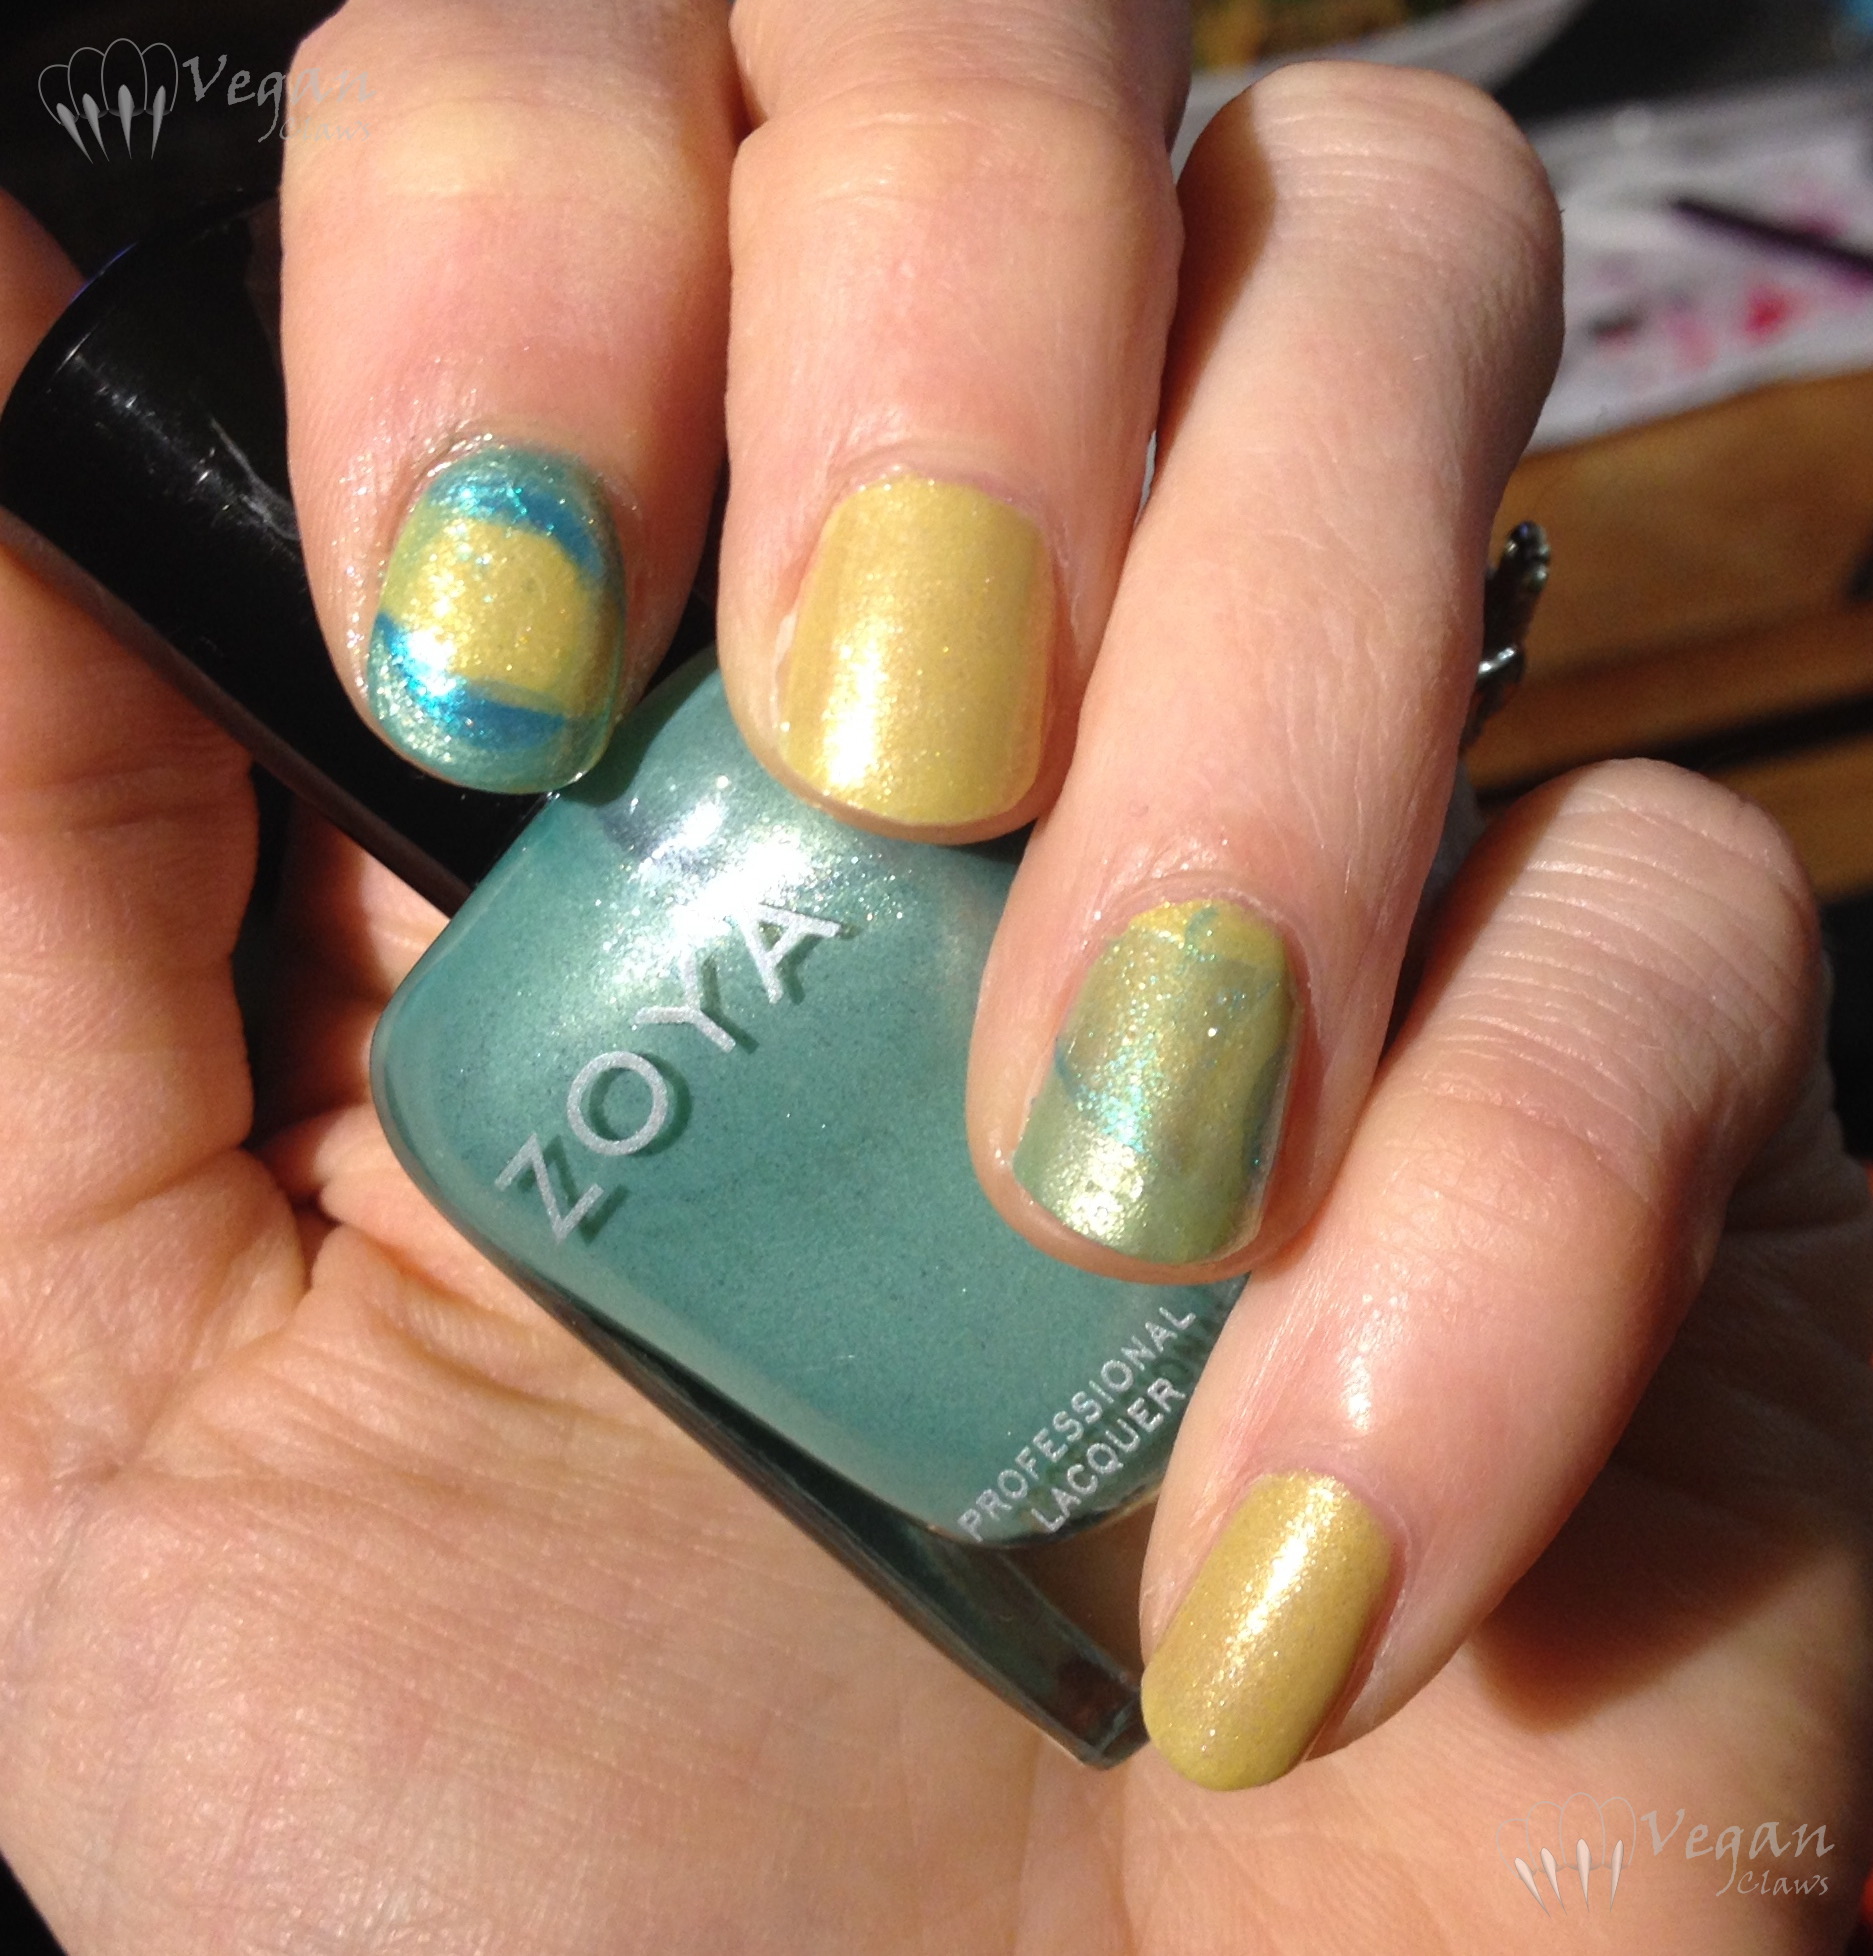
For the last version of the mani, I did an ombré/skittle-type thing, adding both Rose Petals and Dandelion Explosion, a coral crelly with peach and coral matte glitters, to the previous version. So here we have Part 5, index to pinkie: Dandelion Explosion (three coats – it’s also the bottle I’m holding), Blooming Sunflowers, Strawberry Fields, and Rose Petals:

blackdahlialacquer_dandelionexplosion_bloomingsunflowers_strawberryfields_rosepetals2

blackdahlialacquer_dandelionexplosion_bloomingsunflowers_strawberryfields_rosepetals

blackdahlialacquer_dandelionexplosion_bloomingsunflowers_strawberryfields_rosepetals3


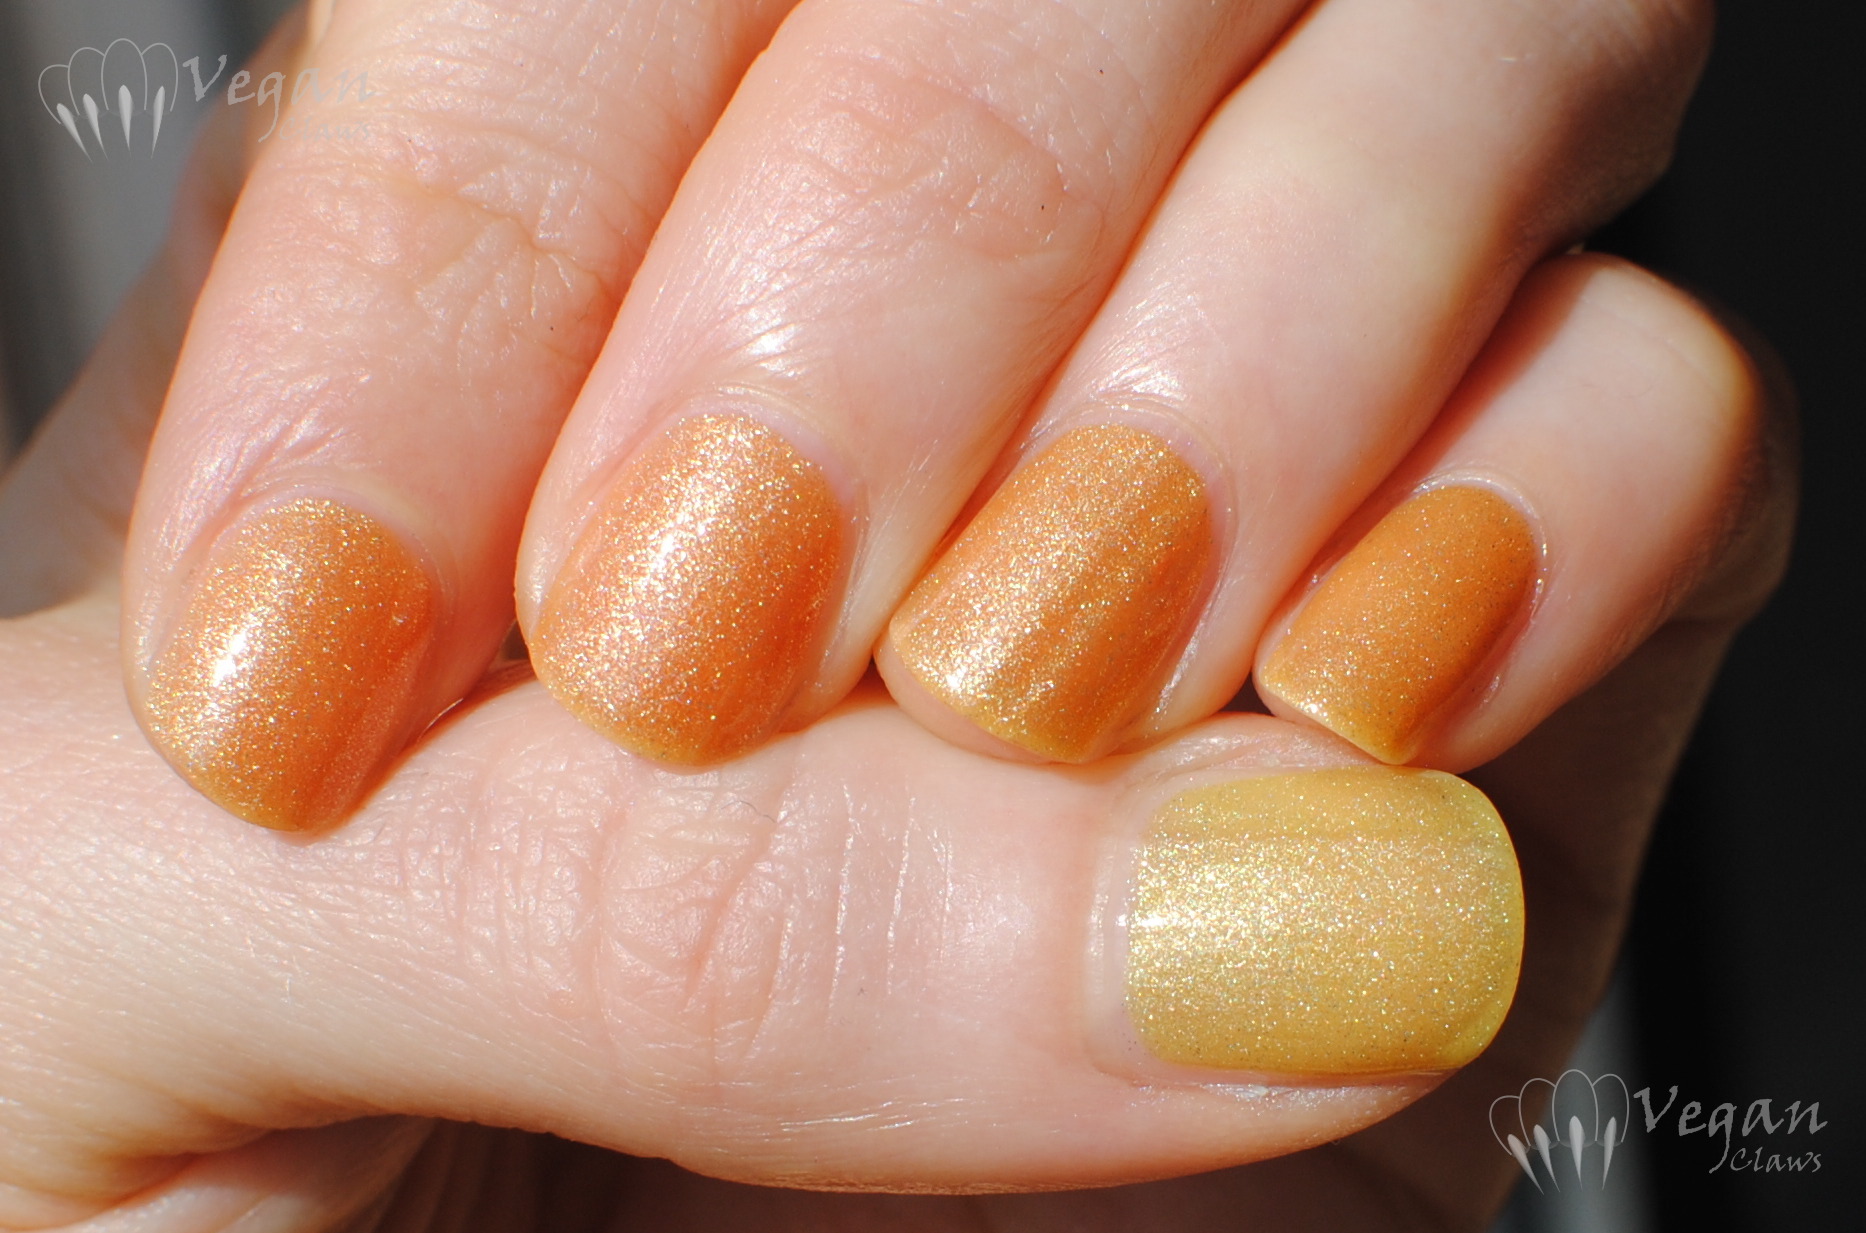
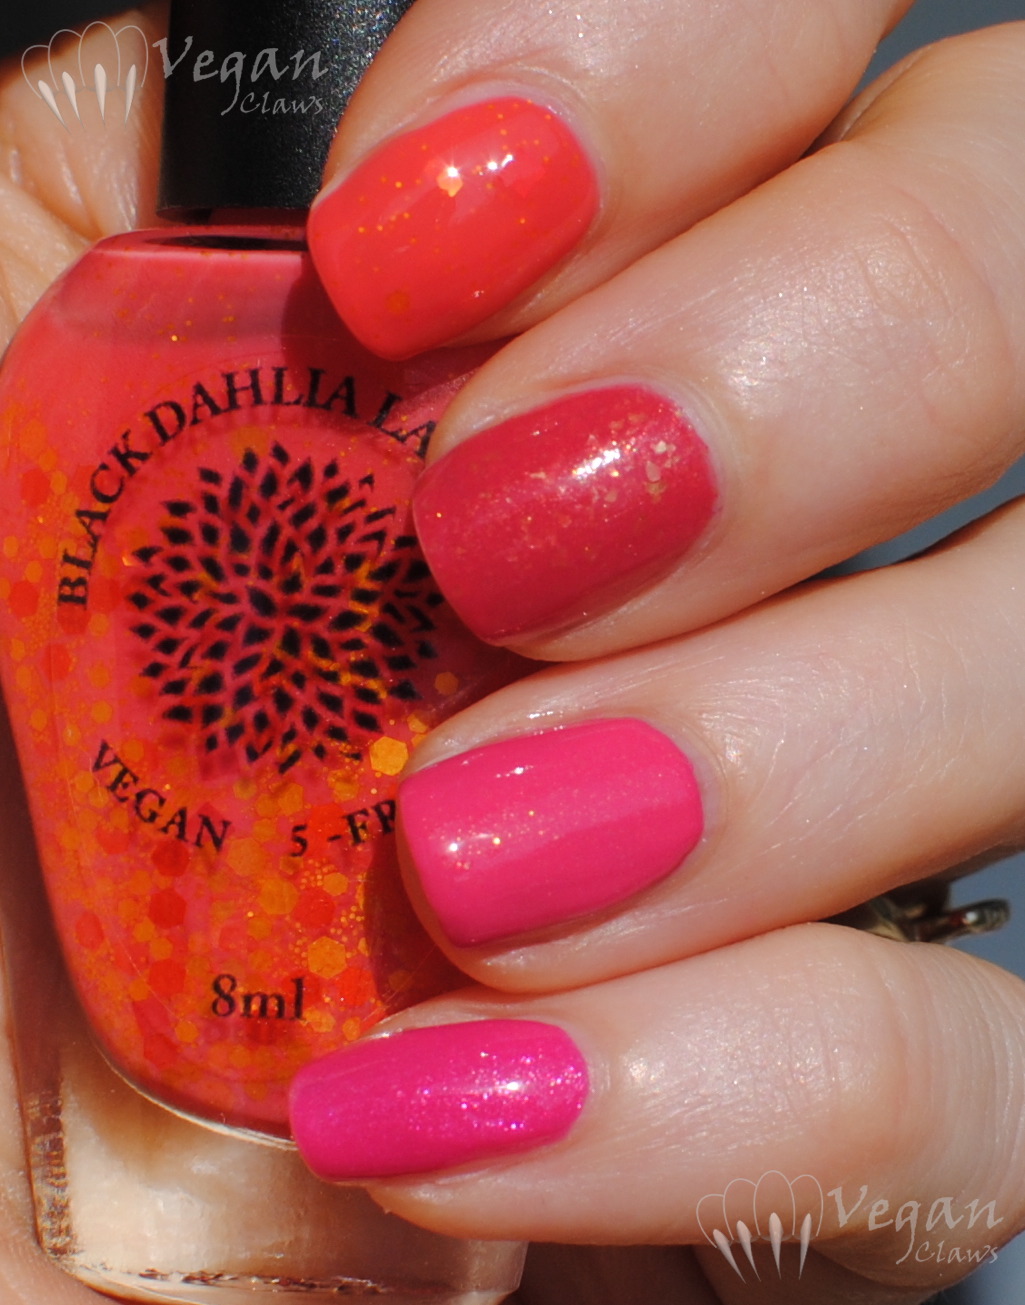
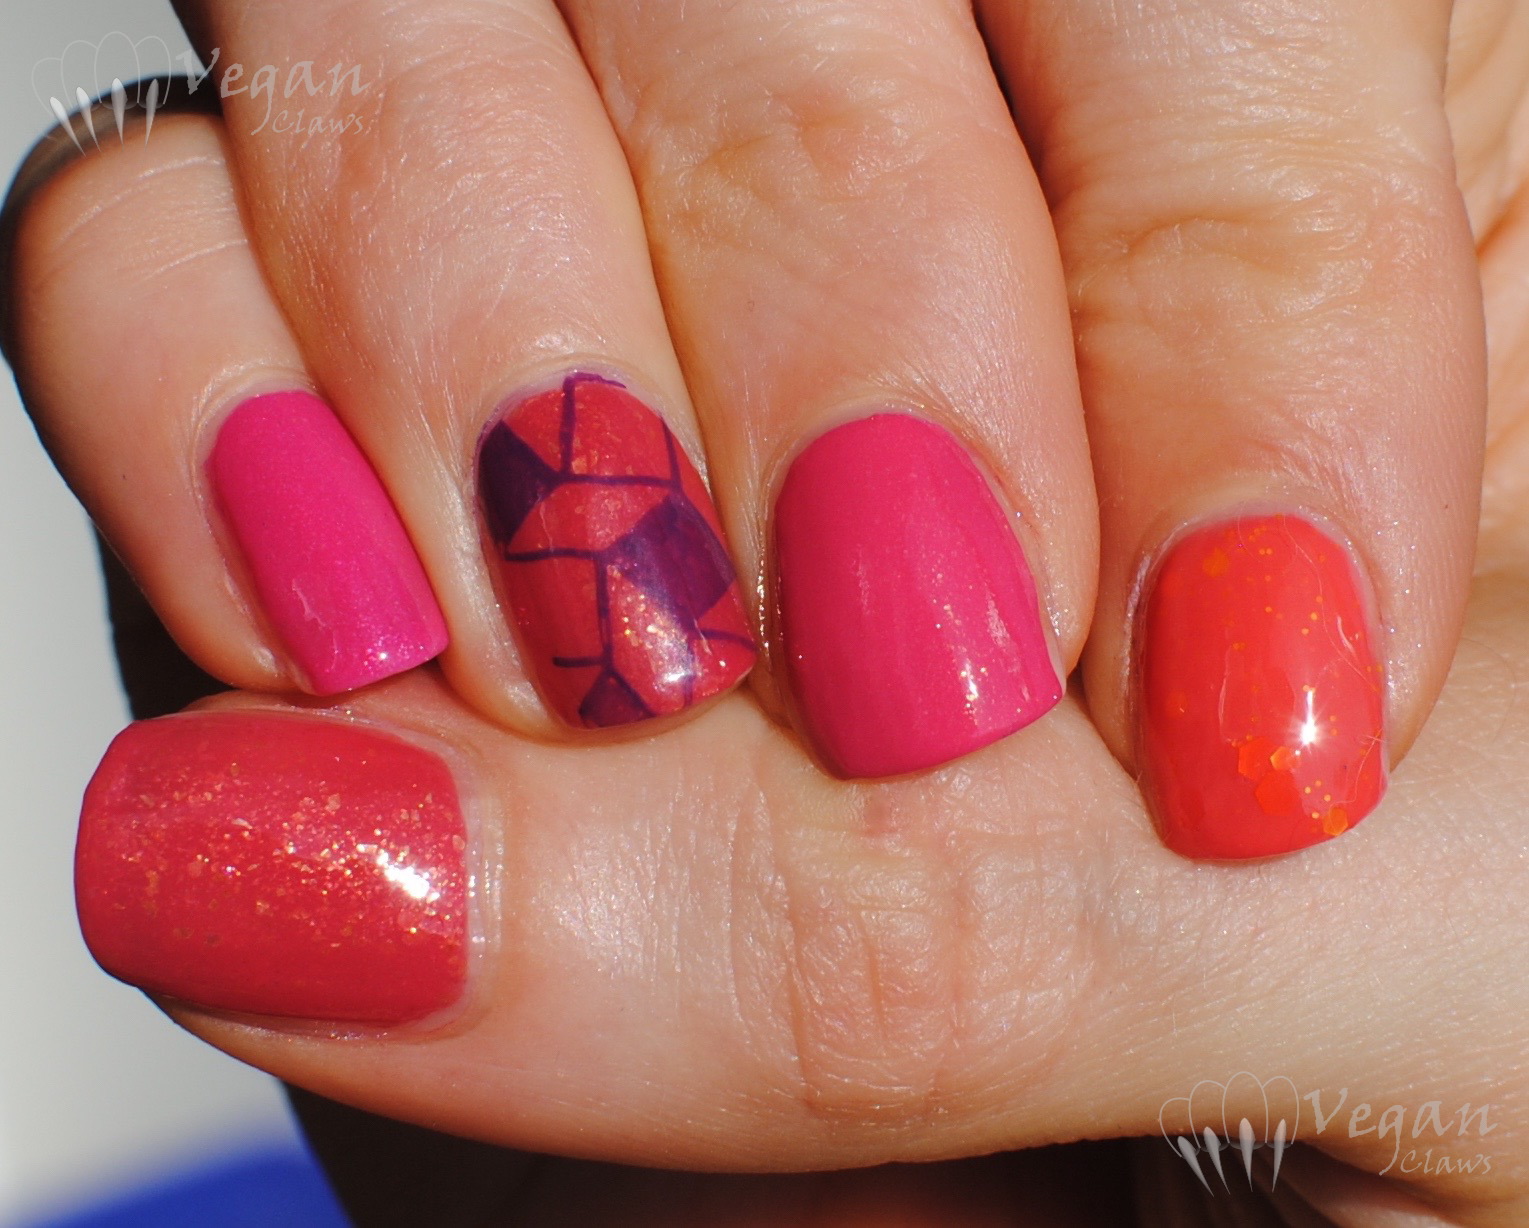
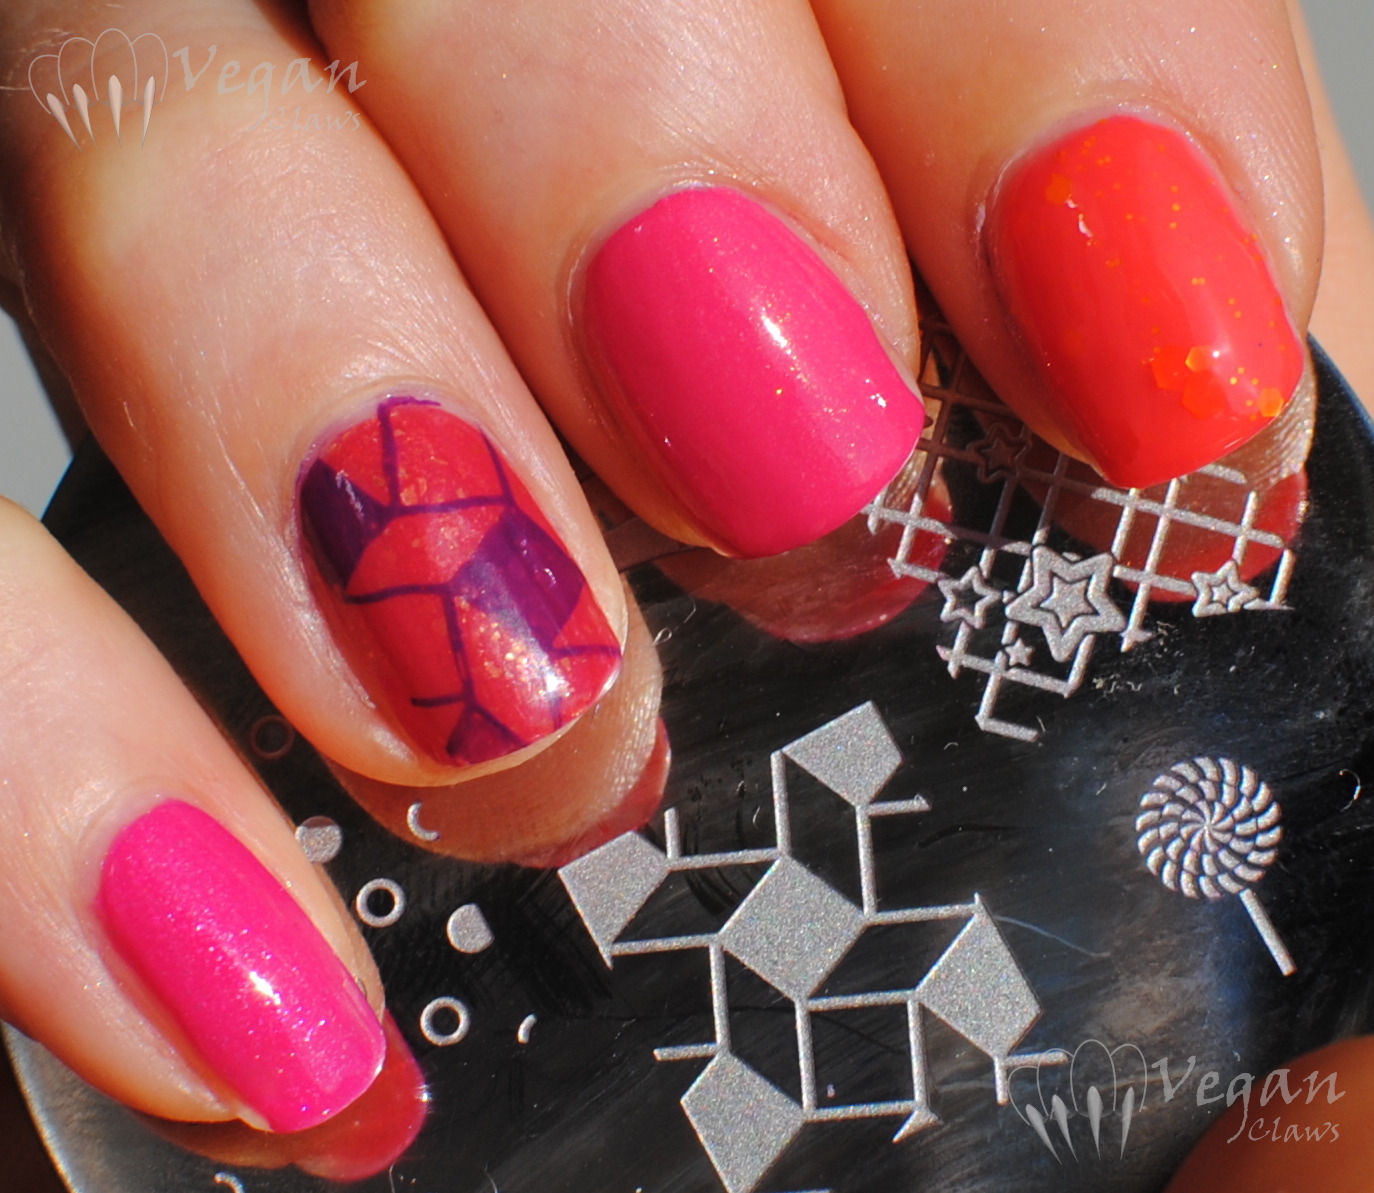
Part 5, right hand, thumb to pinkie: Blooming Sunflowers, Dandelion Explosion, Strawberry Fields, Blooming Sunflowers stamped with Fingerpaints Picturesque Purple, Rose Petals:

blackdahlialacquer_dandelionexplosion_strawberryfields_bloomingsunflowers_rosepetals_stamping3

blackdahlialacquer_dandelionexplosion_strawberryfields_bloomingsunflowers_rosepetals_stamping2

blackdahlialacquer_dandelionexplosion_strawberryfields_bloomingsunflowers_rosepetals_stamping

Milani Golden Sea, Zoya Dillon, and a failed watermarble attempt

Today I have a mani from a couple months ago to show you (trying to finish up with my backlog of posts before starting on all the more recent swatches I have!), as well as a fail from the mani that directly preceded it!

milani_goldensea_zoya_dillon2

The blue is Milani Golden Sea, an older shade, and the metallic/shimmery pastel green on my ring and pinkie is Zoya Dillon from last year’s spring collection. These first two photos are in sunlight taken with my phone.

milani_goldensea_zoya_dillon

Golden Sea has a metallic turquoise blue base with some gold shimmer and sparse, hard-to-tell-they’re-holo holo particles. I didn’t even realize that’s what they were until I did the water marble fail I’ll show at the end of the post, and saw them under the halogen light on the very thin film of polish. So, I wouldn’t call it a holo polish but it actually does have these tiny (smooth and flat, non-glitter) sparse holo particles! As always you can click on any photo to get a larger version; I think the particles show best in either the halogen shot below or the first sunlight ones…

In the shade:

milani_goldensea_zoya_dillon_shade

Under halogen light:

milani_goldensea_zoya_dillon_halogen

With flash:

milani_goldensea_zoya_dillon_flash

And here is my first ever attempt at water marbling, which did not work at all! It was really cold in the apartment a couple months ago when I tried it; that was probably my first mistake! The polishes dried on the cold water before I could do any marbling. The polishes I used were the two from the mani above plus Zoya Piaf, the shimmery yellow that was also my base polish. The first marble attempt is the one on my ring finger, where the polishes spread out super thin and dried that way. That’s where I saw that the particles in Golden Sea were actually holo. I kind of liked the effect even though I didn’t get to do any marbling, so I tried for another finger, the index, but for that attempt the polishes barely spread out at all so I got this ridiculously thick mess! It doesn’t show that well in the photo, since the angle is pretty much head-on, but it was like a big, thick, lumpy decal that I decided to just put on my nail anyway, haha! Planning to try water marbling again some time, now that the weather is warmer!

watermarble_fail