A vegan nail polish blog. A celebration of colour and light, as well as of justice for nonhuman animals.

Posts tagged ‘nail art’

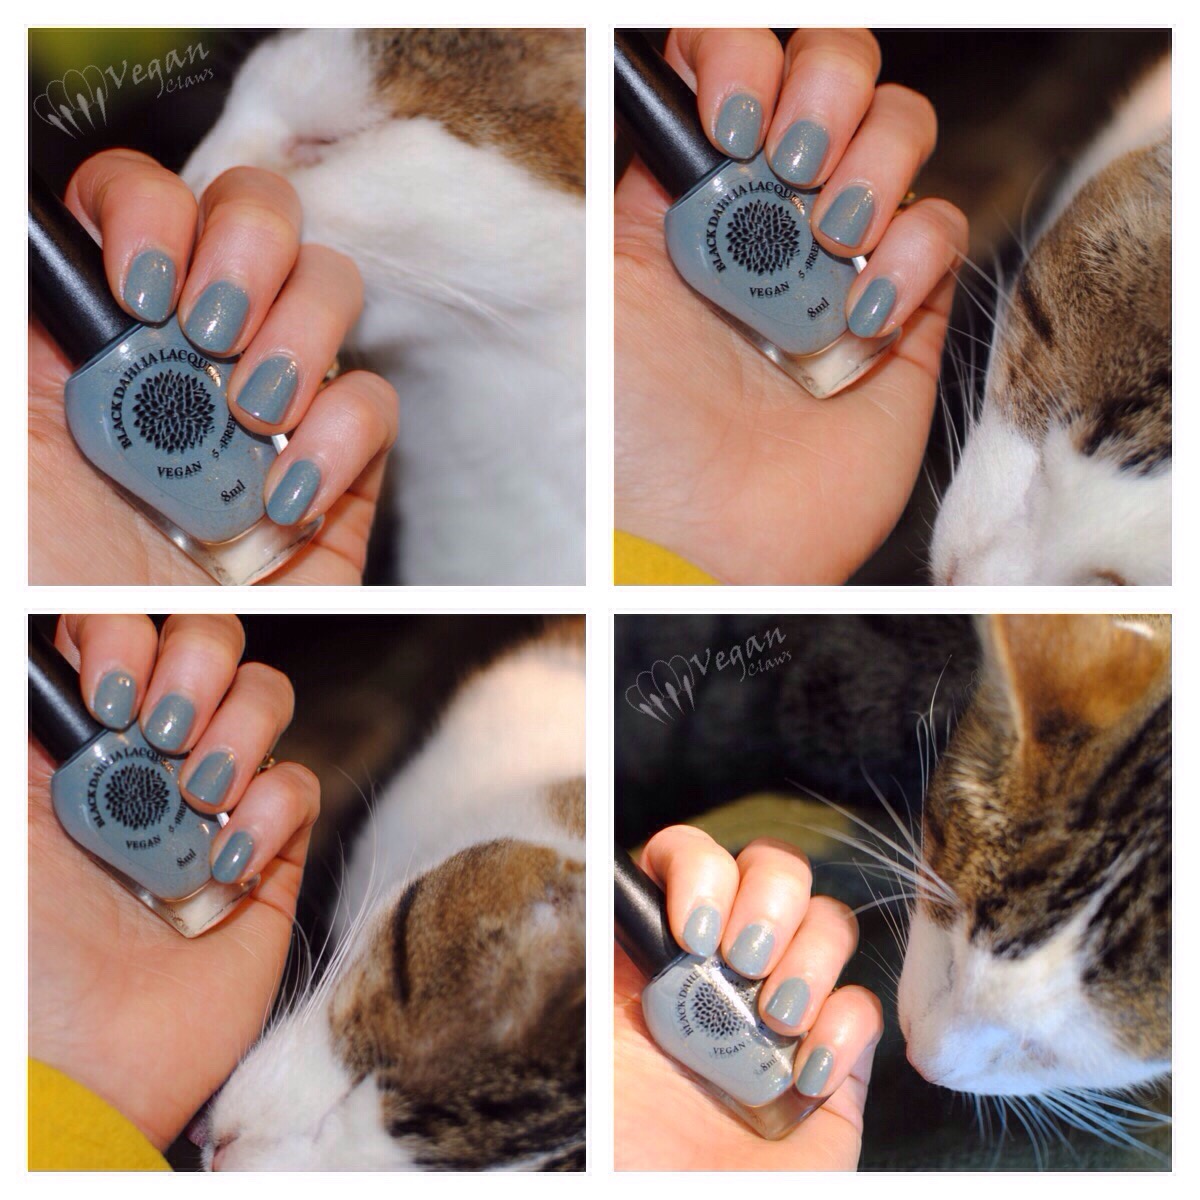
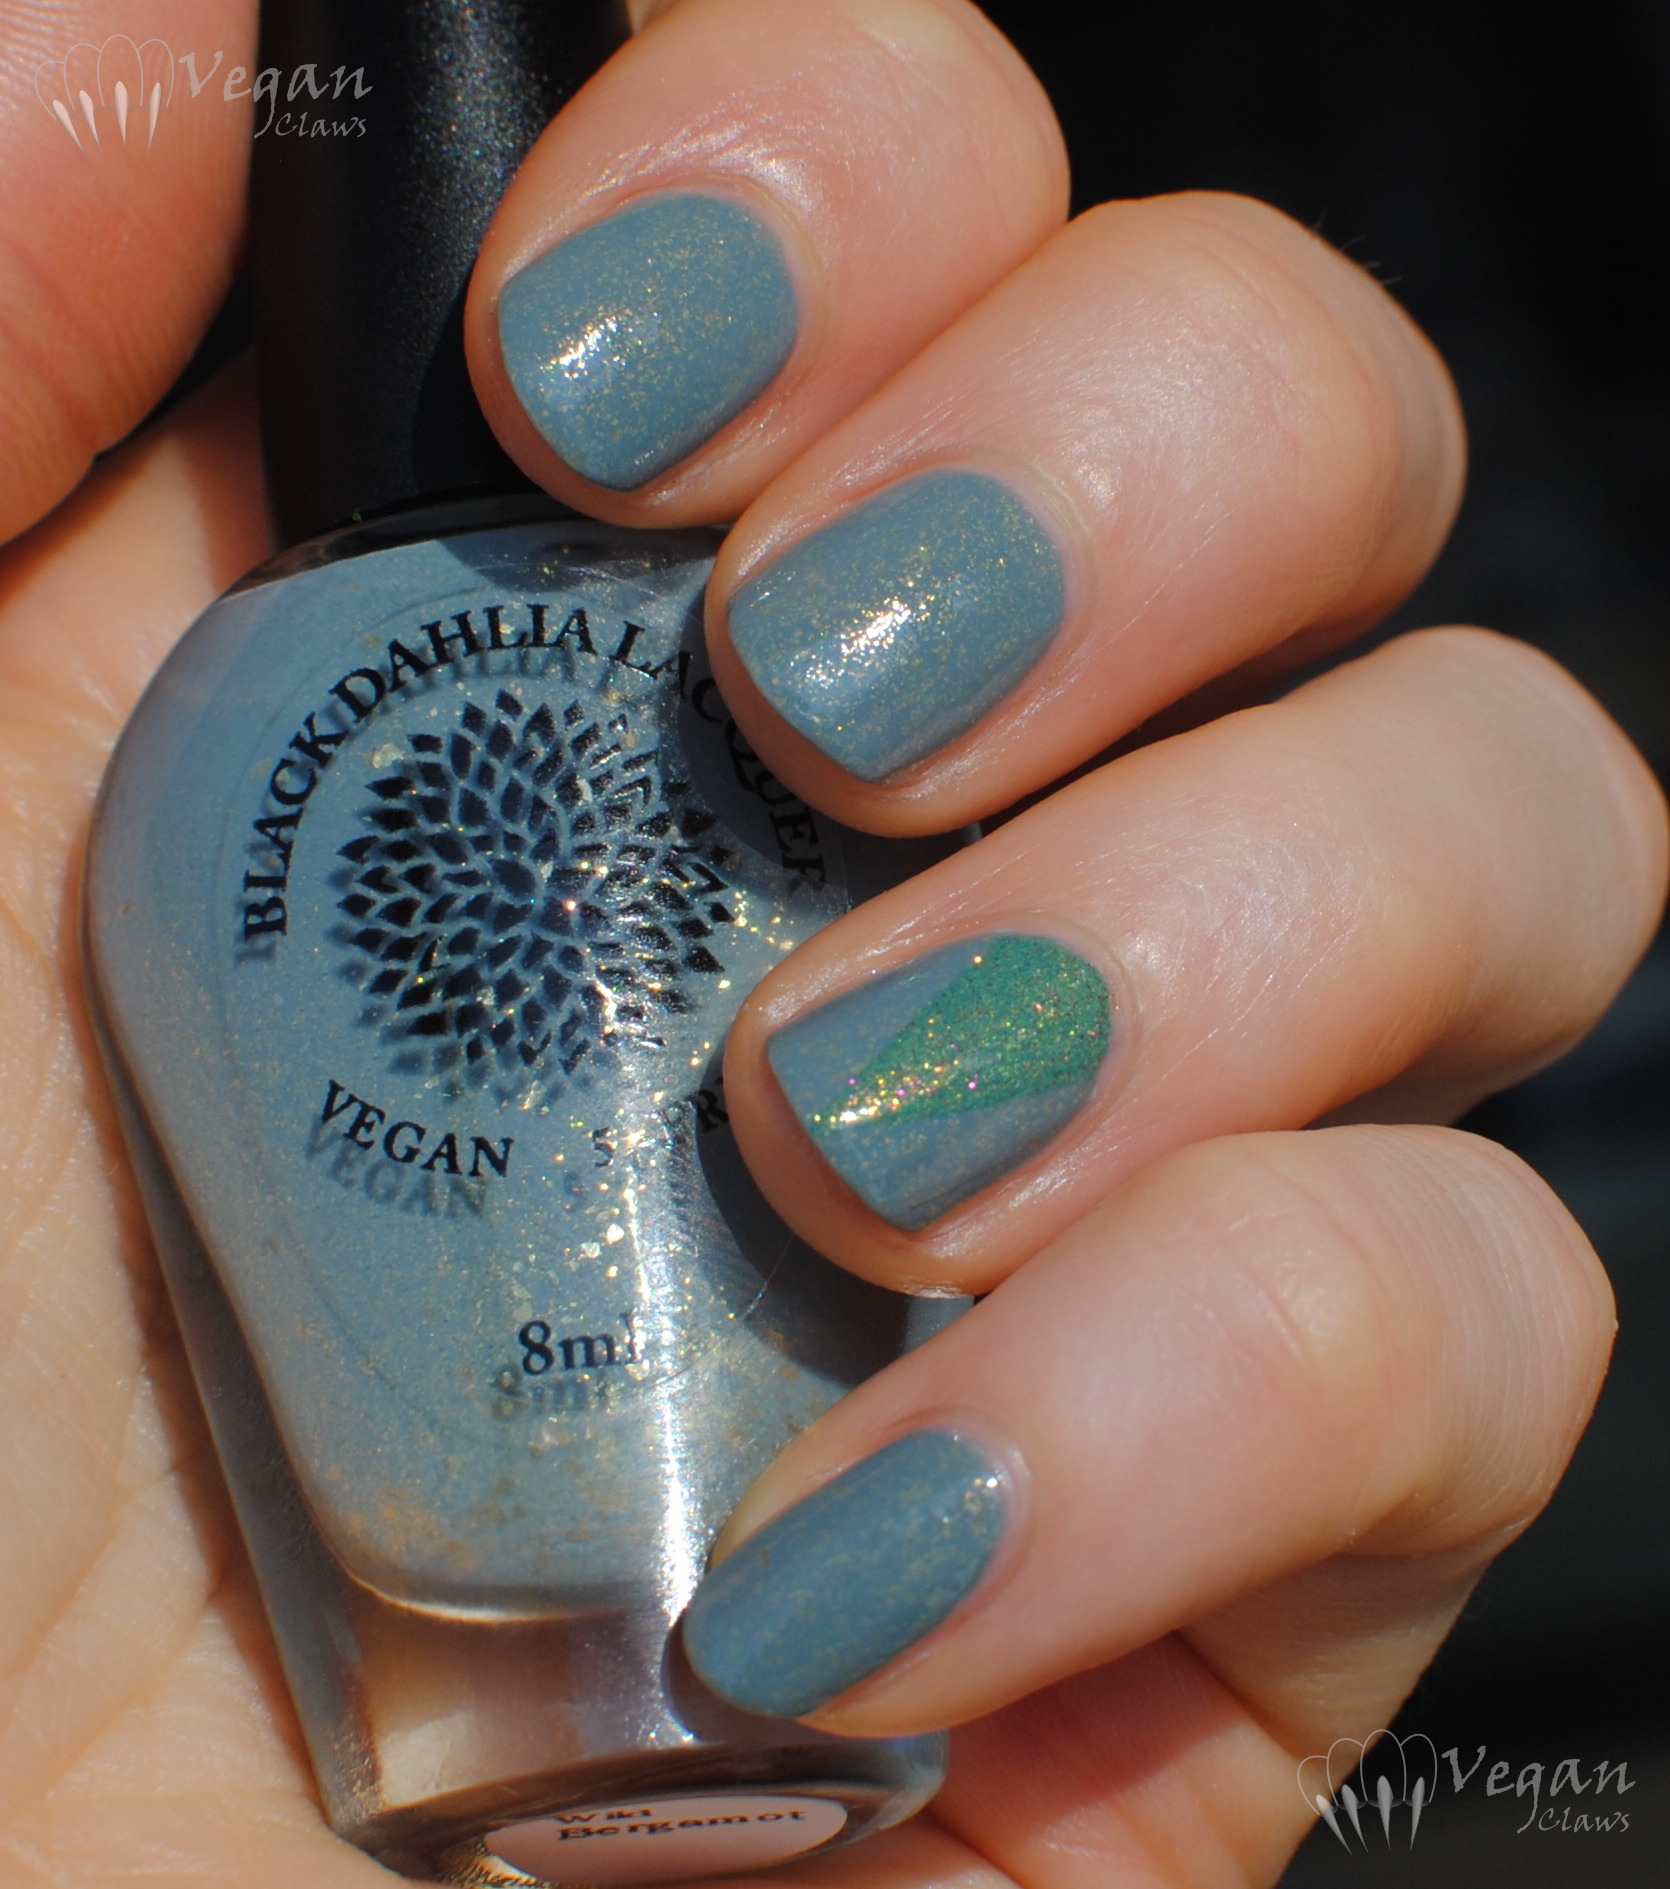
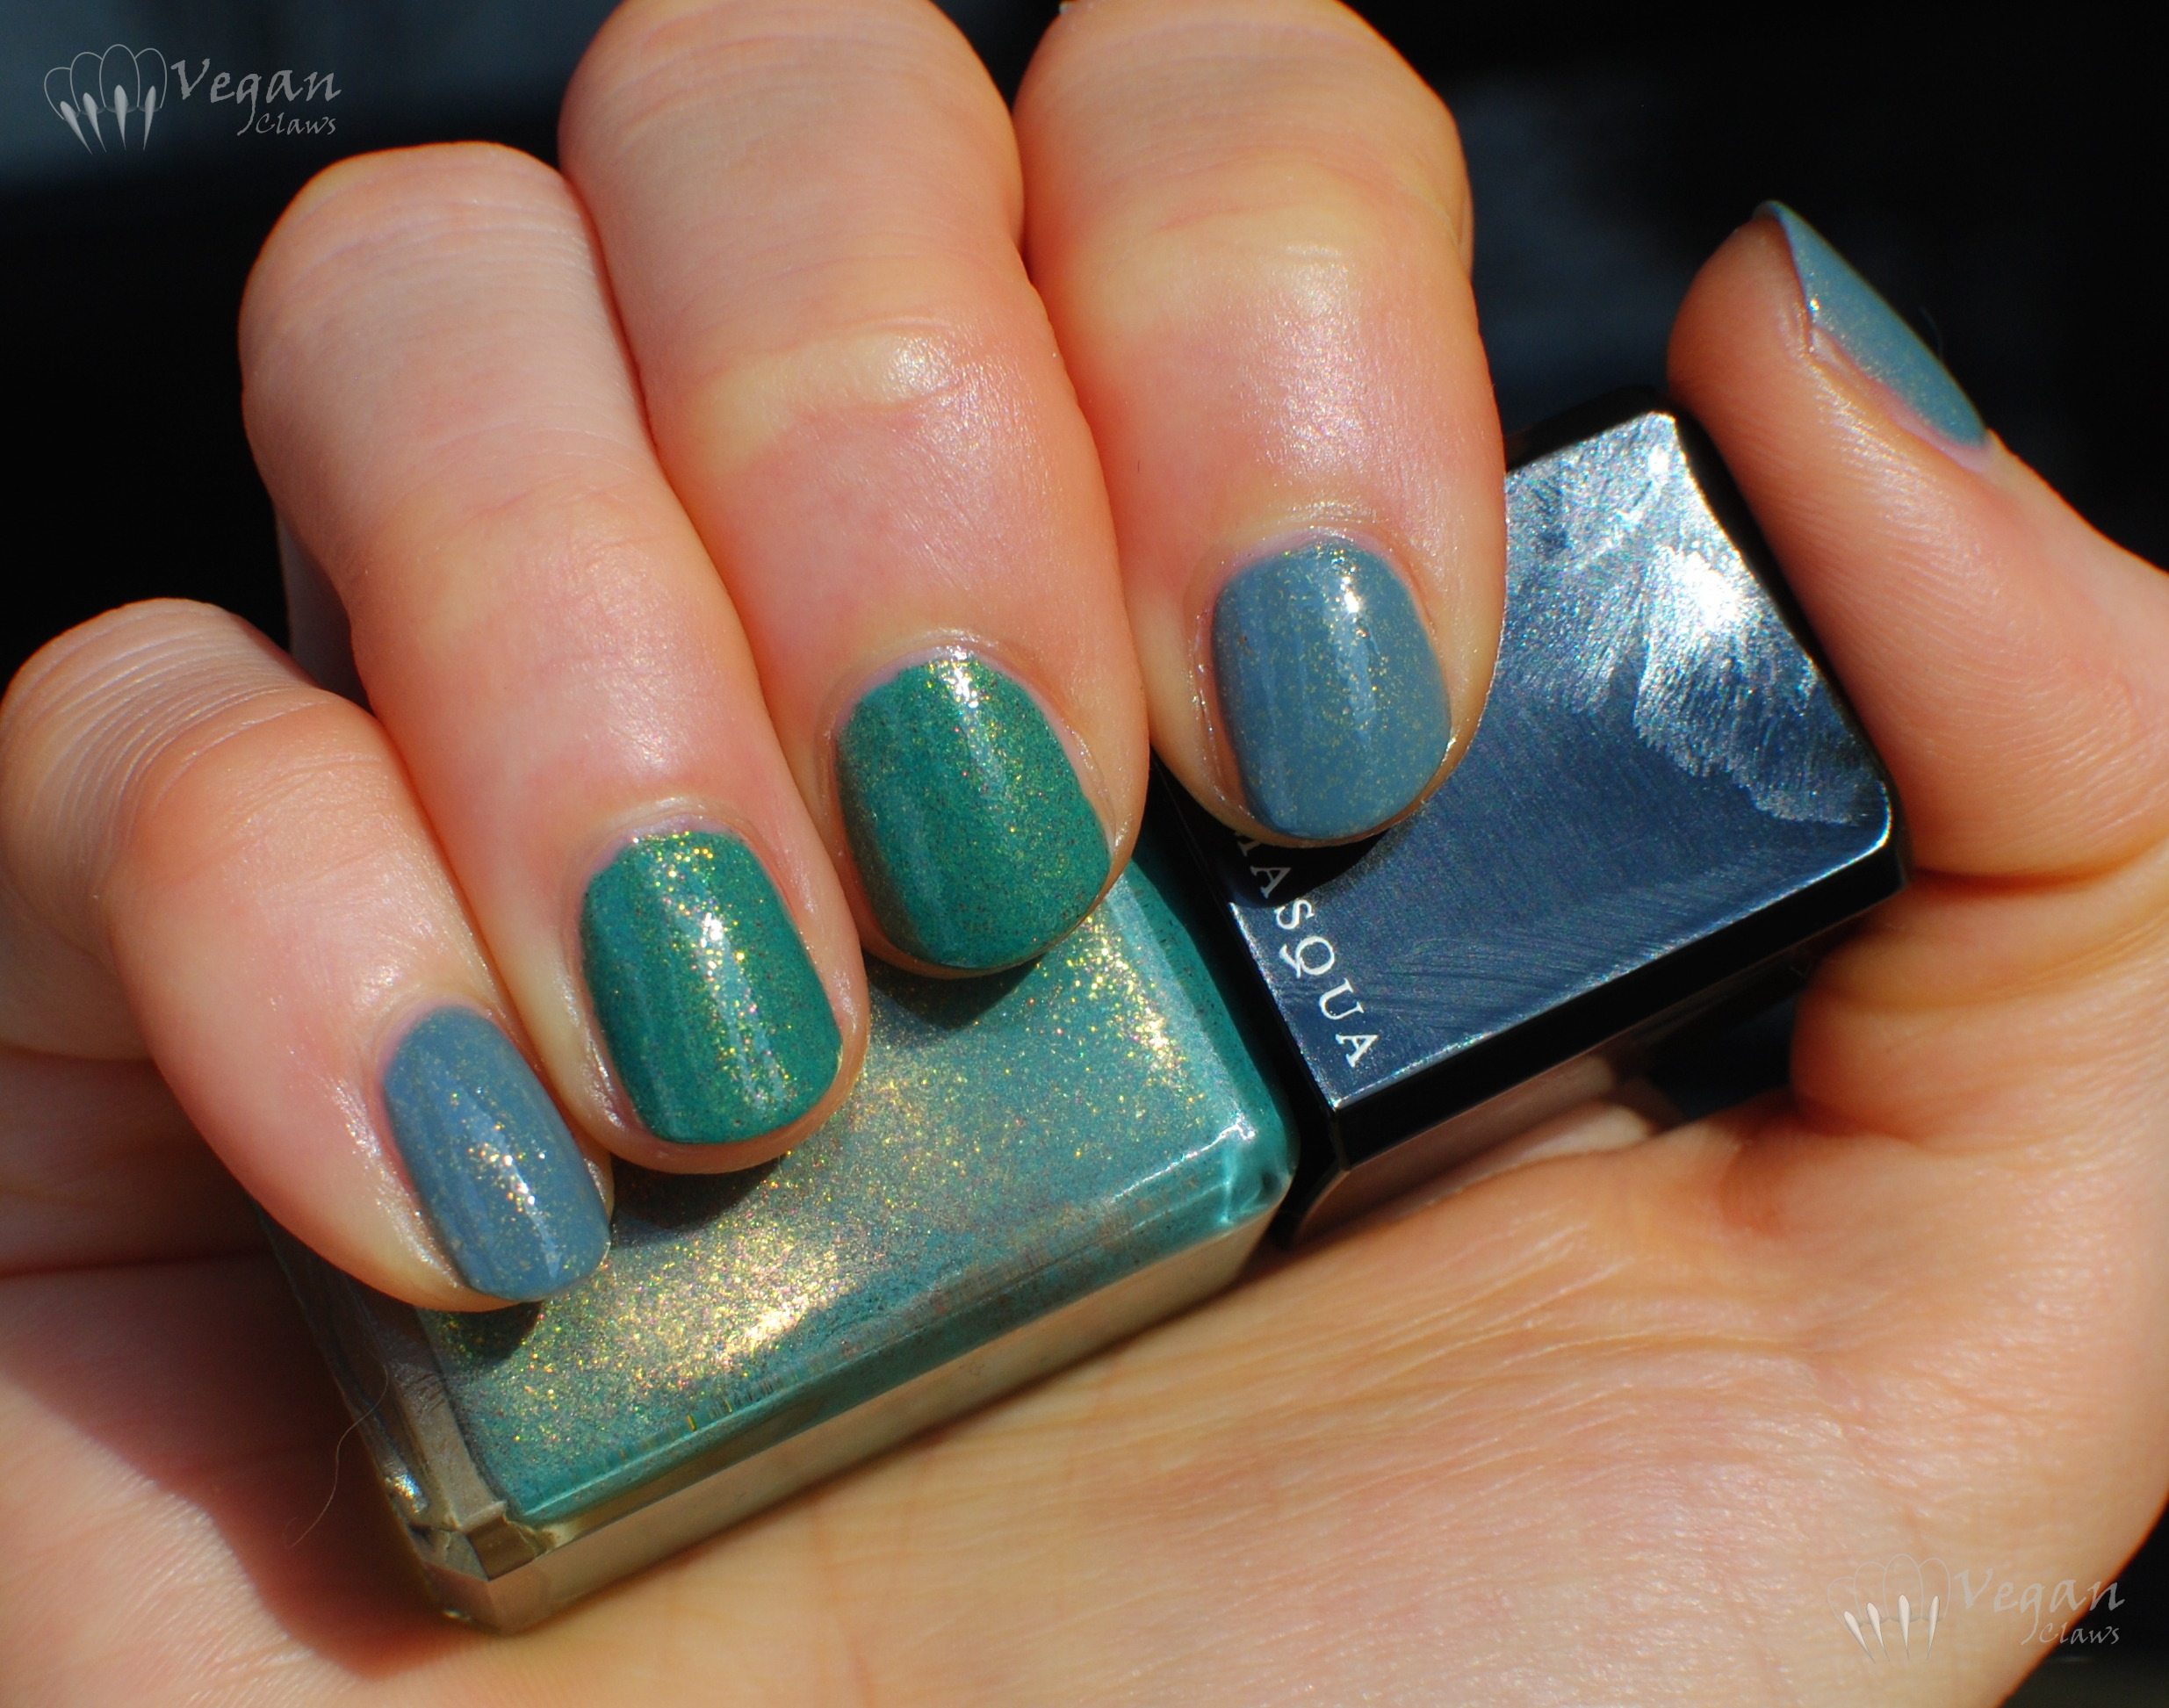
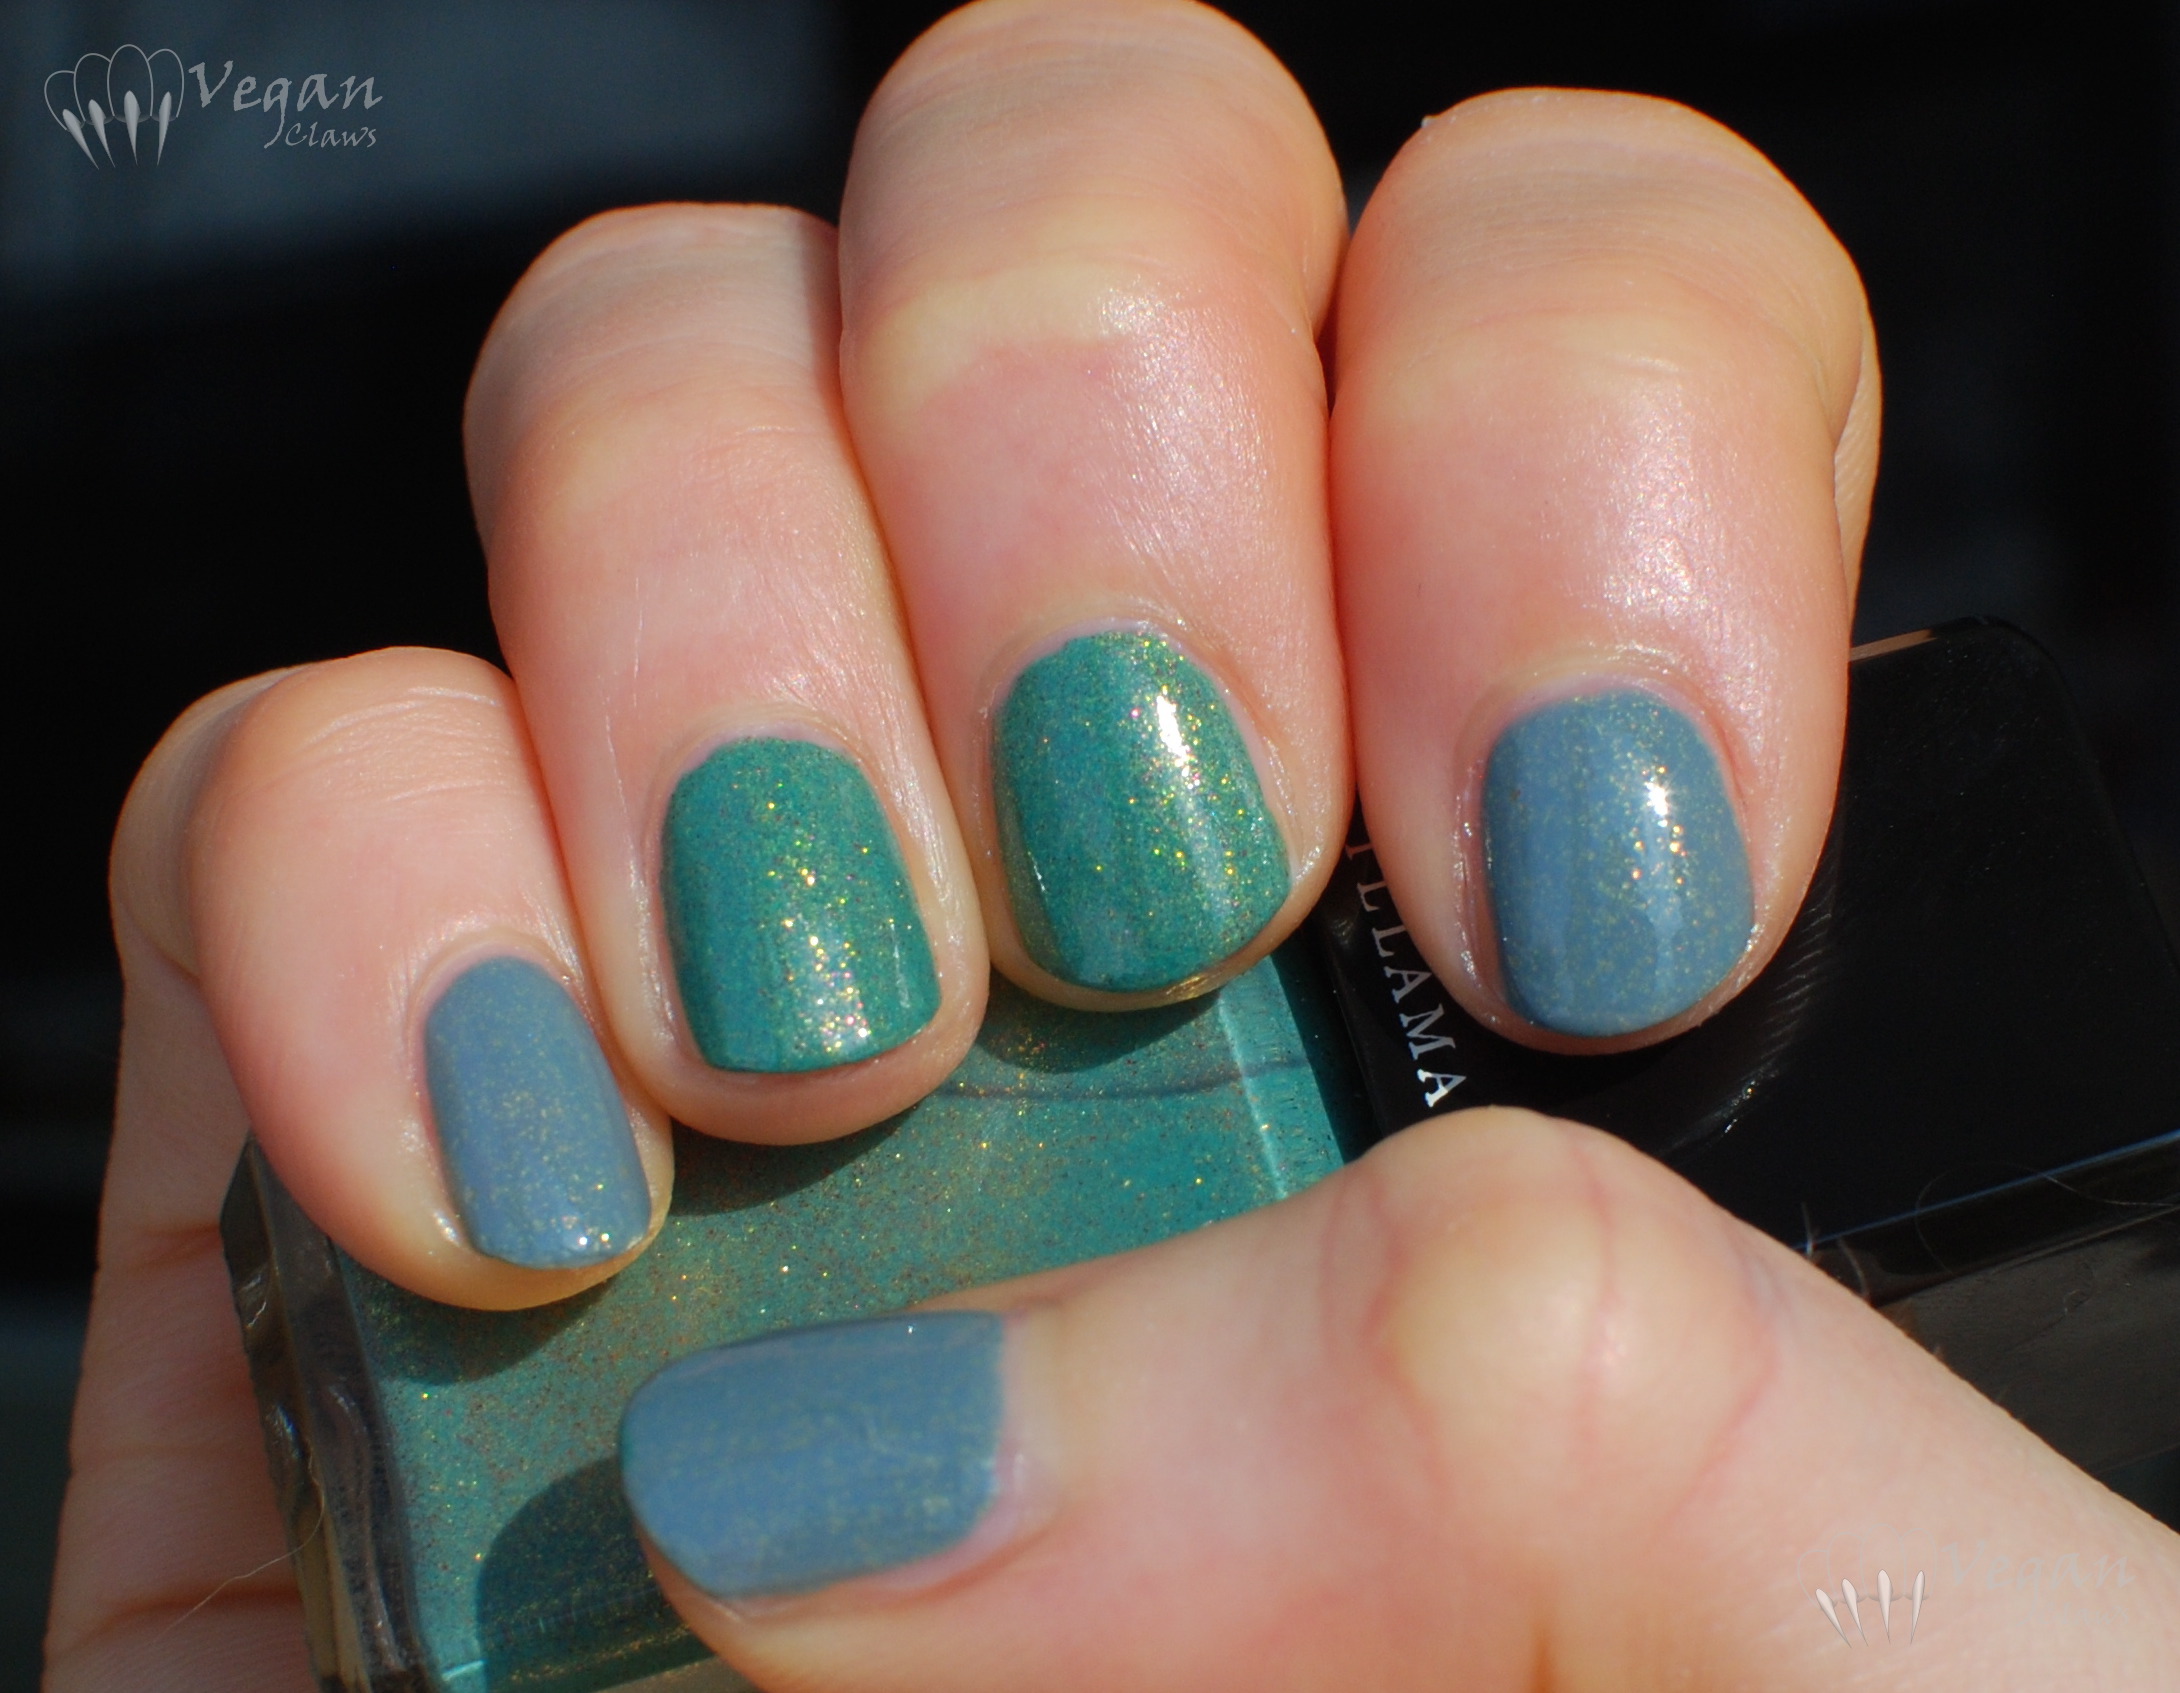
Two Grasshoppers and some stamping

I have a very spring-appropriate mani to show you today πŸ™‚

eatsleeppolish_grasshoppa_bbcouture_grasshopper7

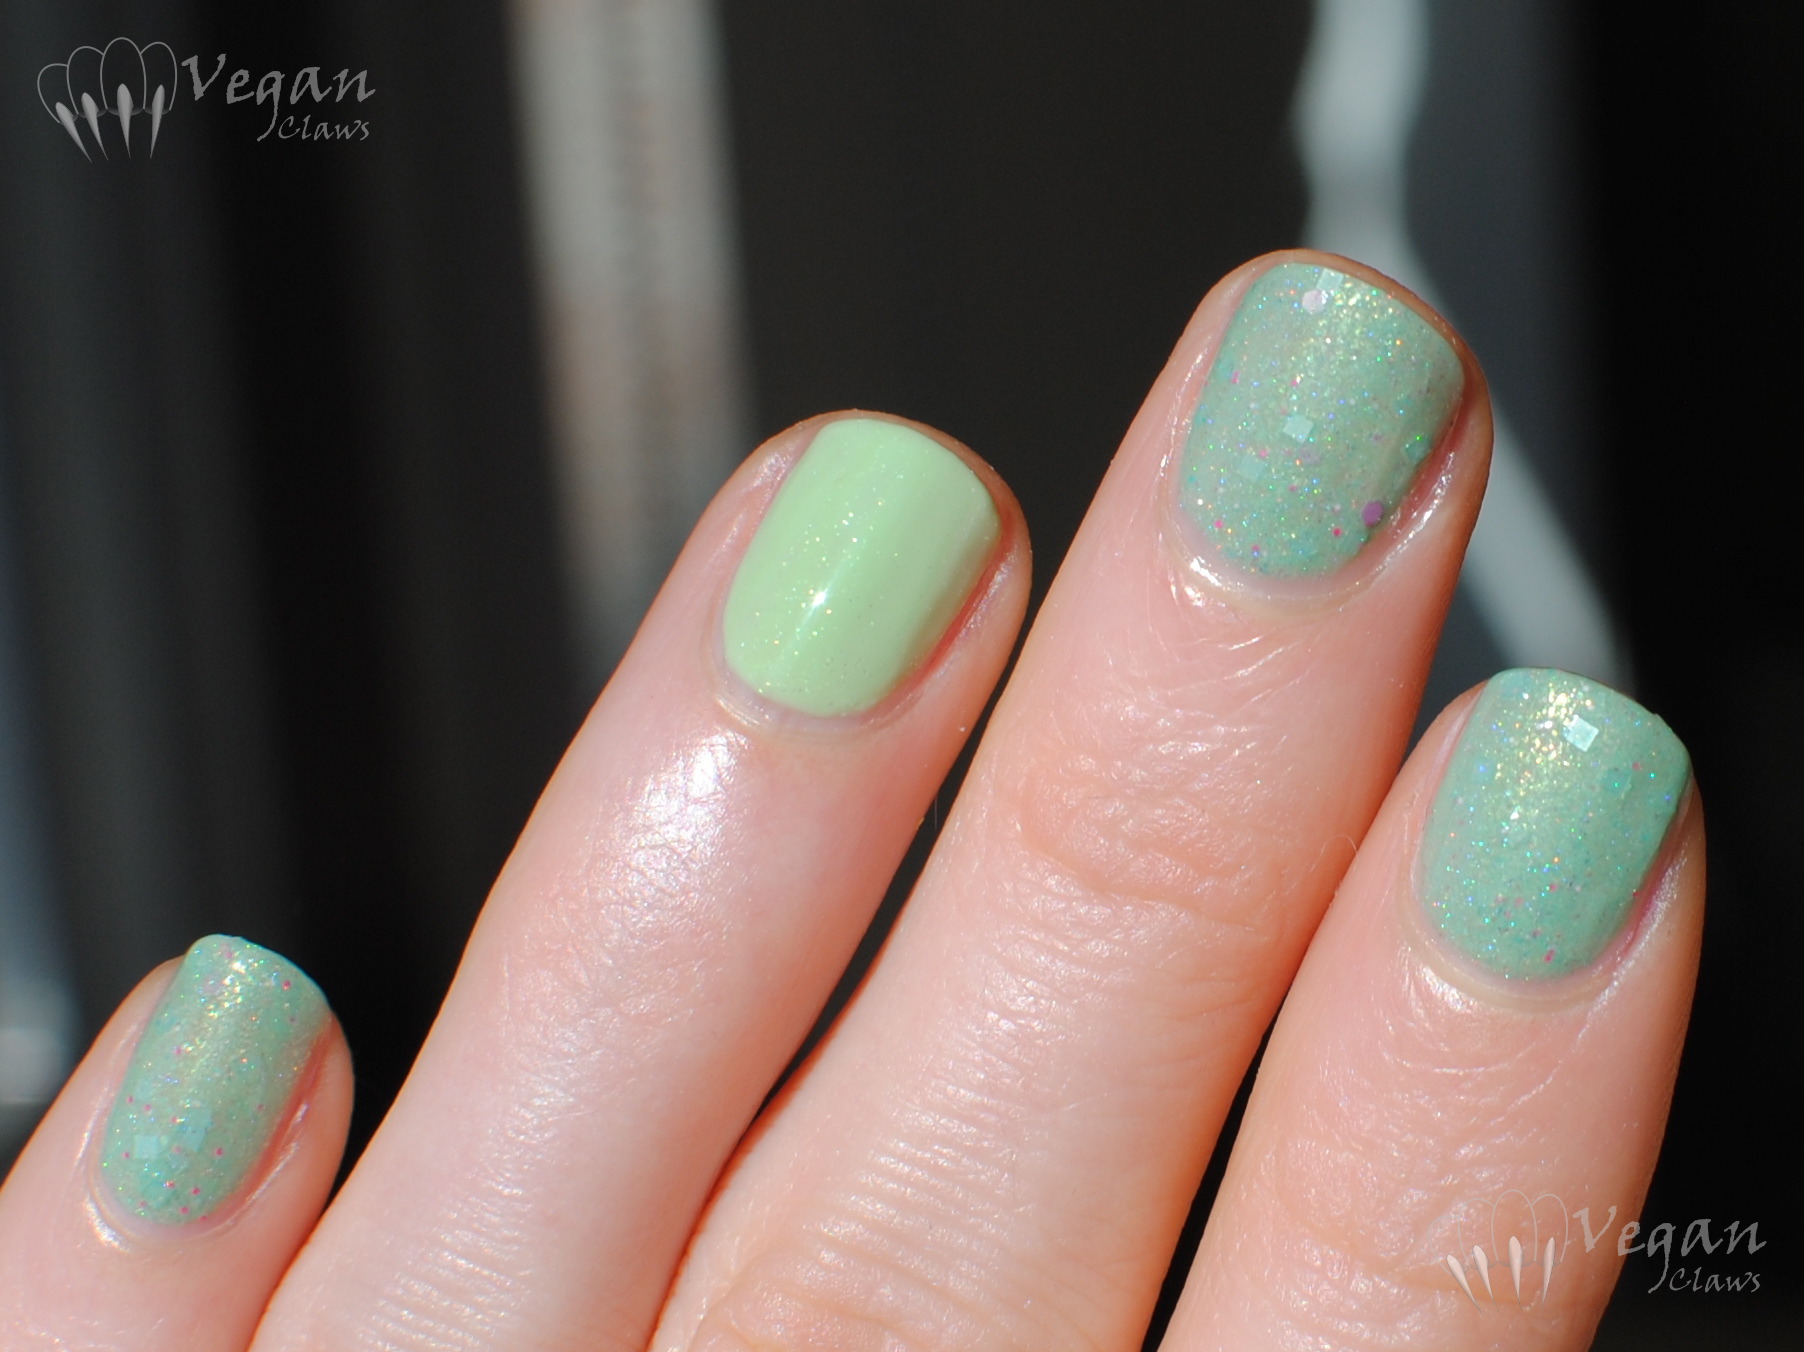
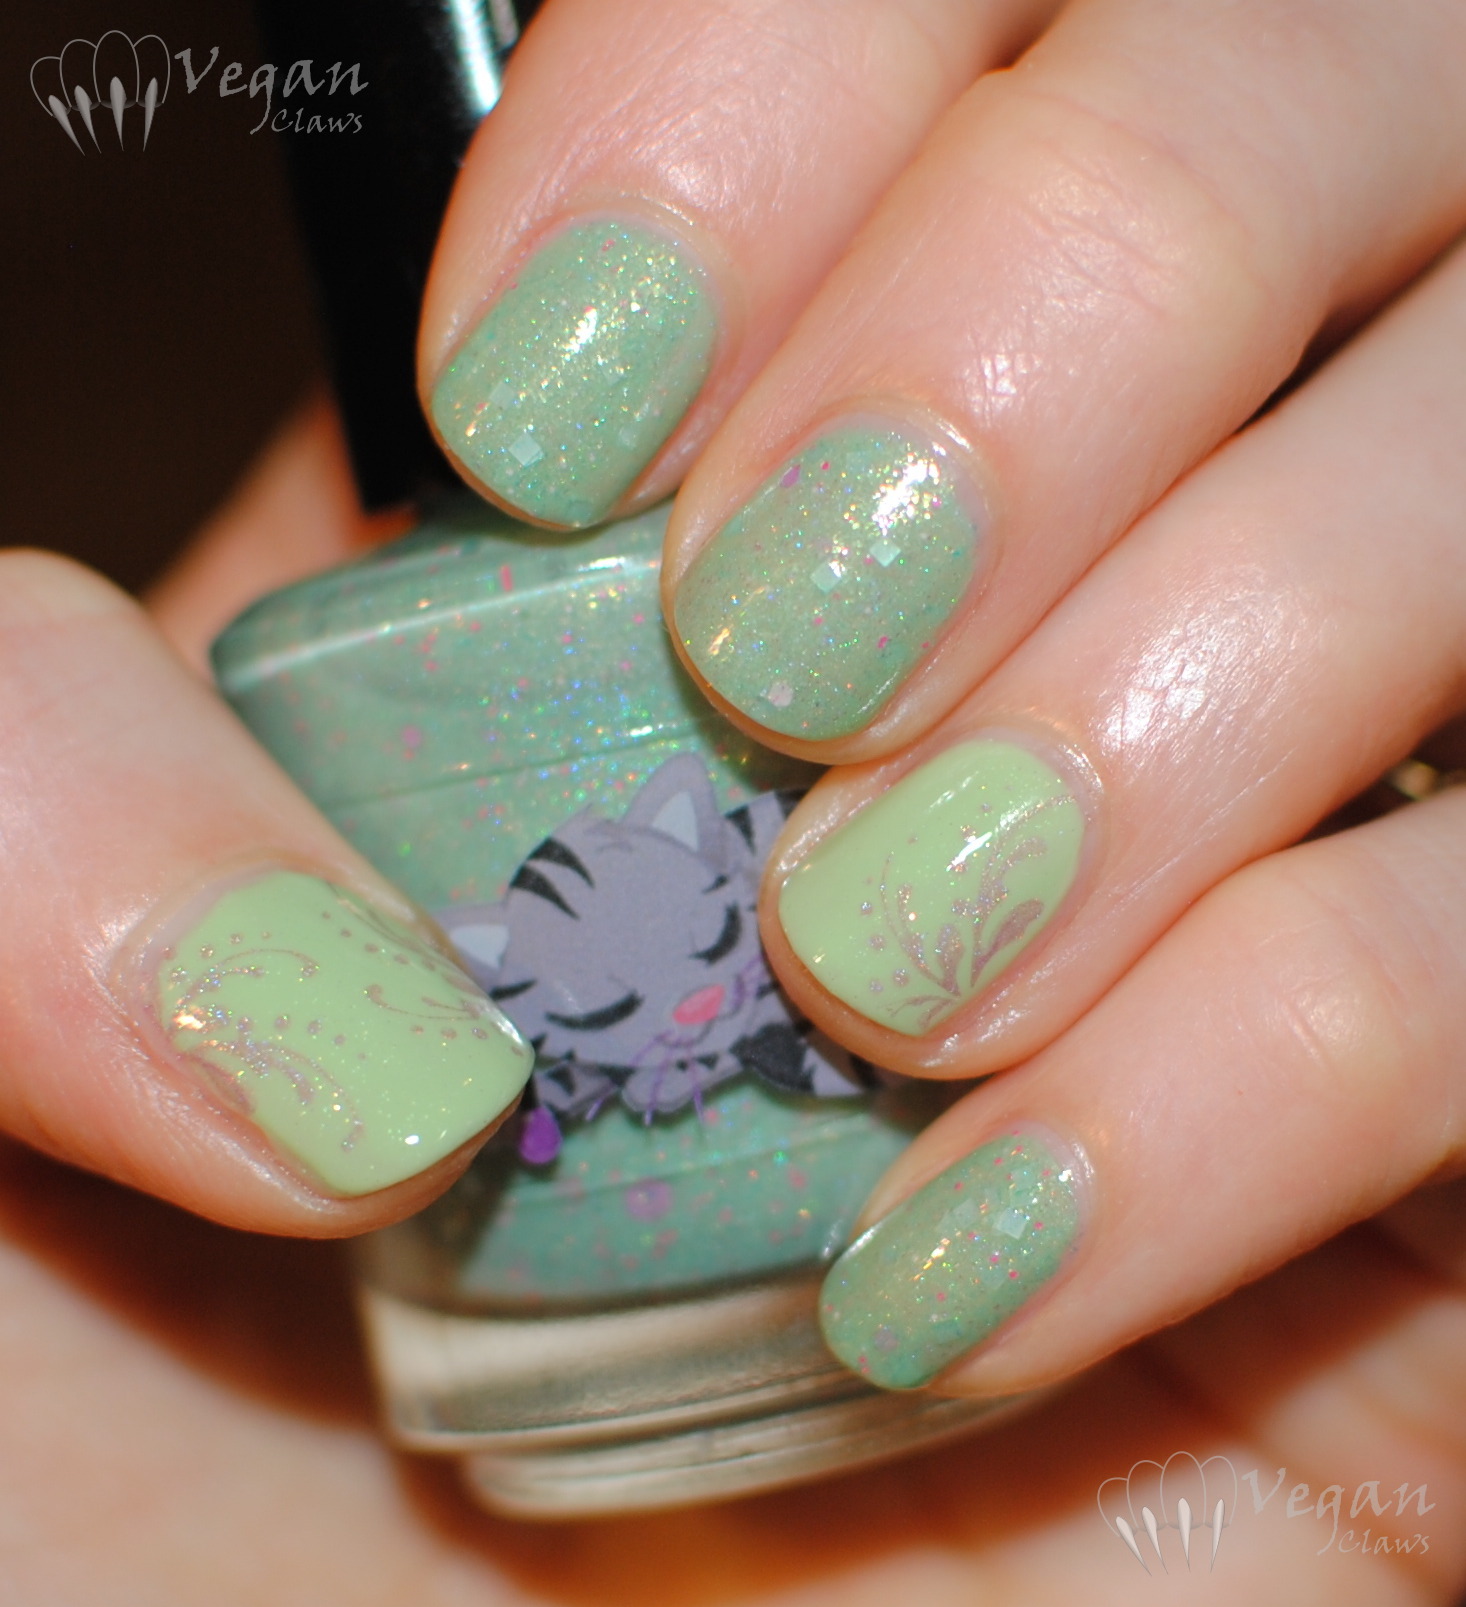
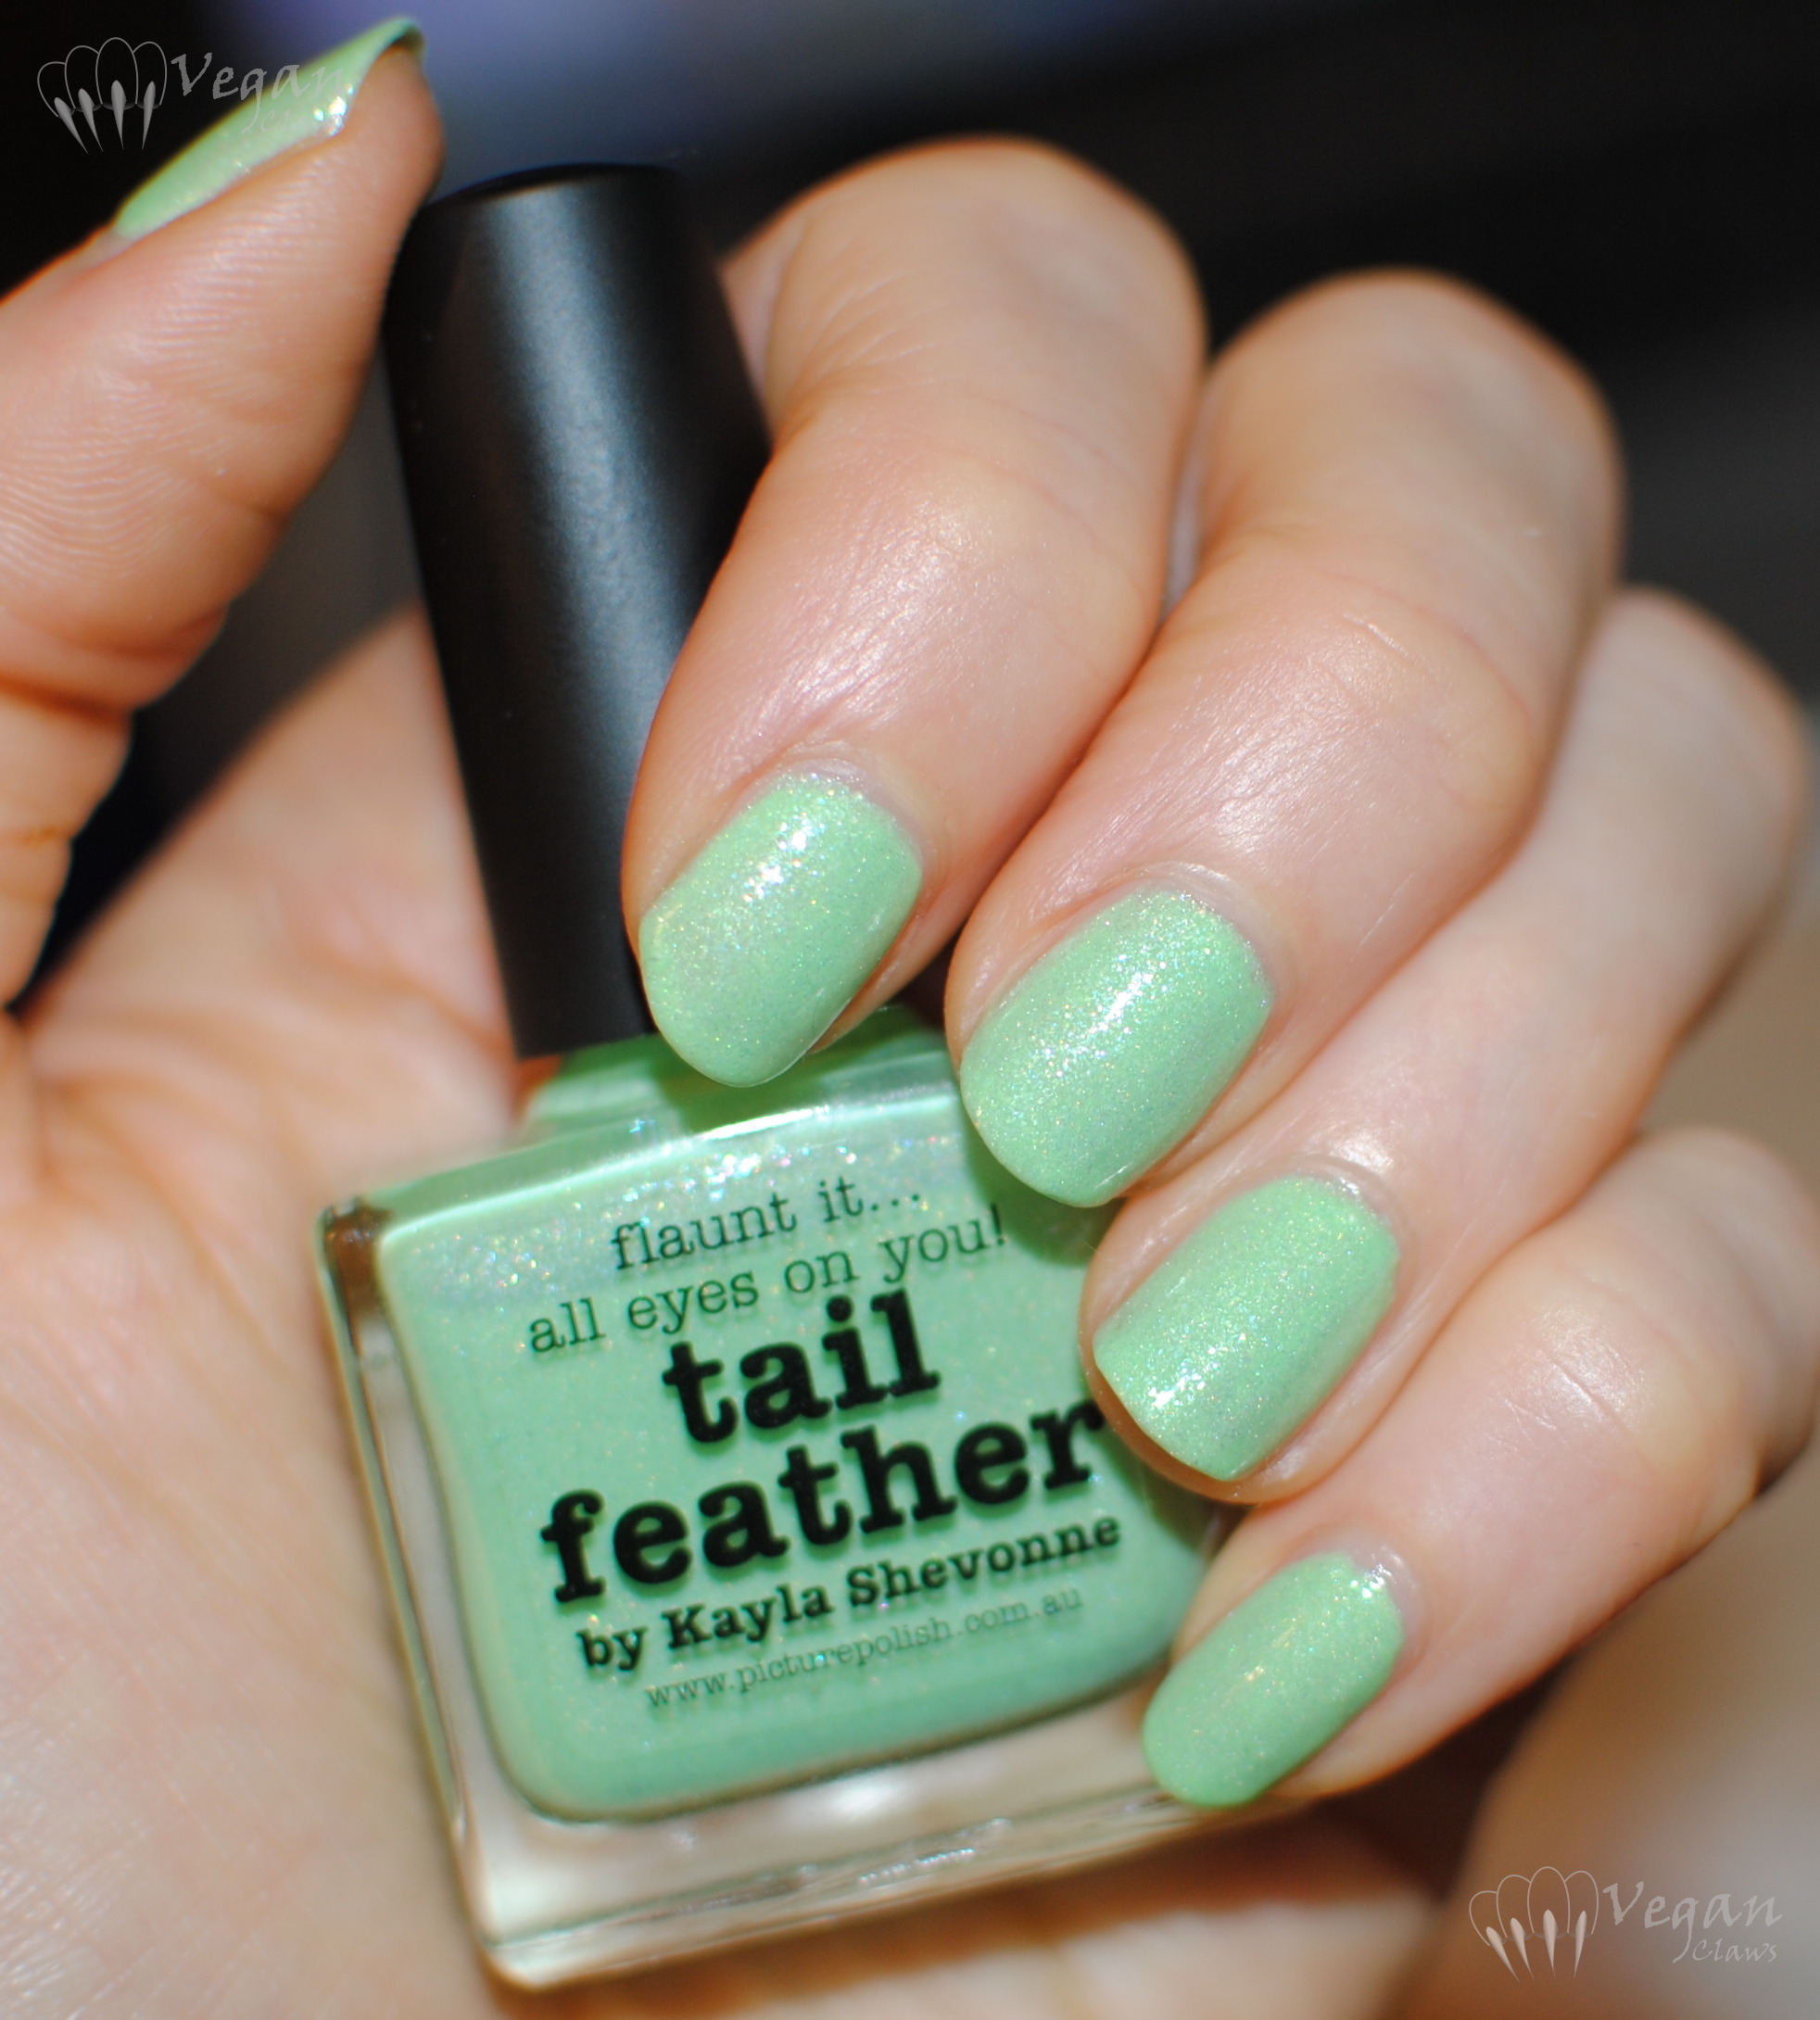
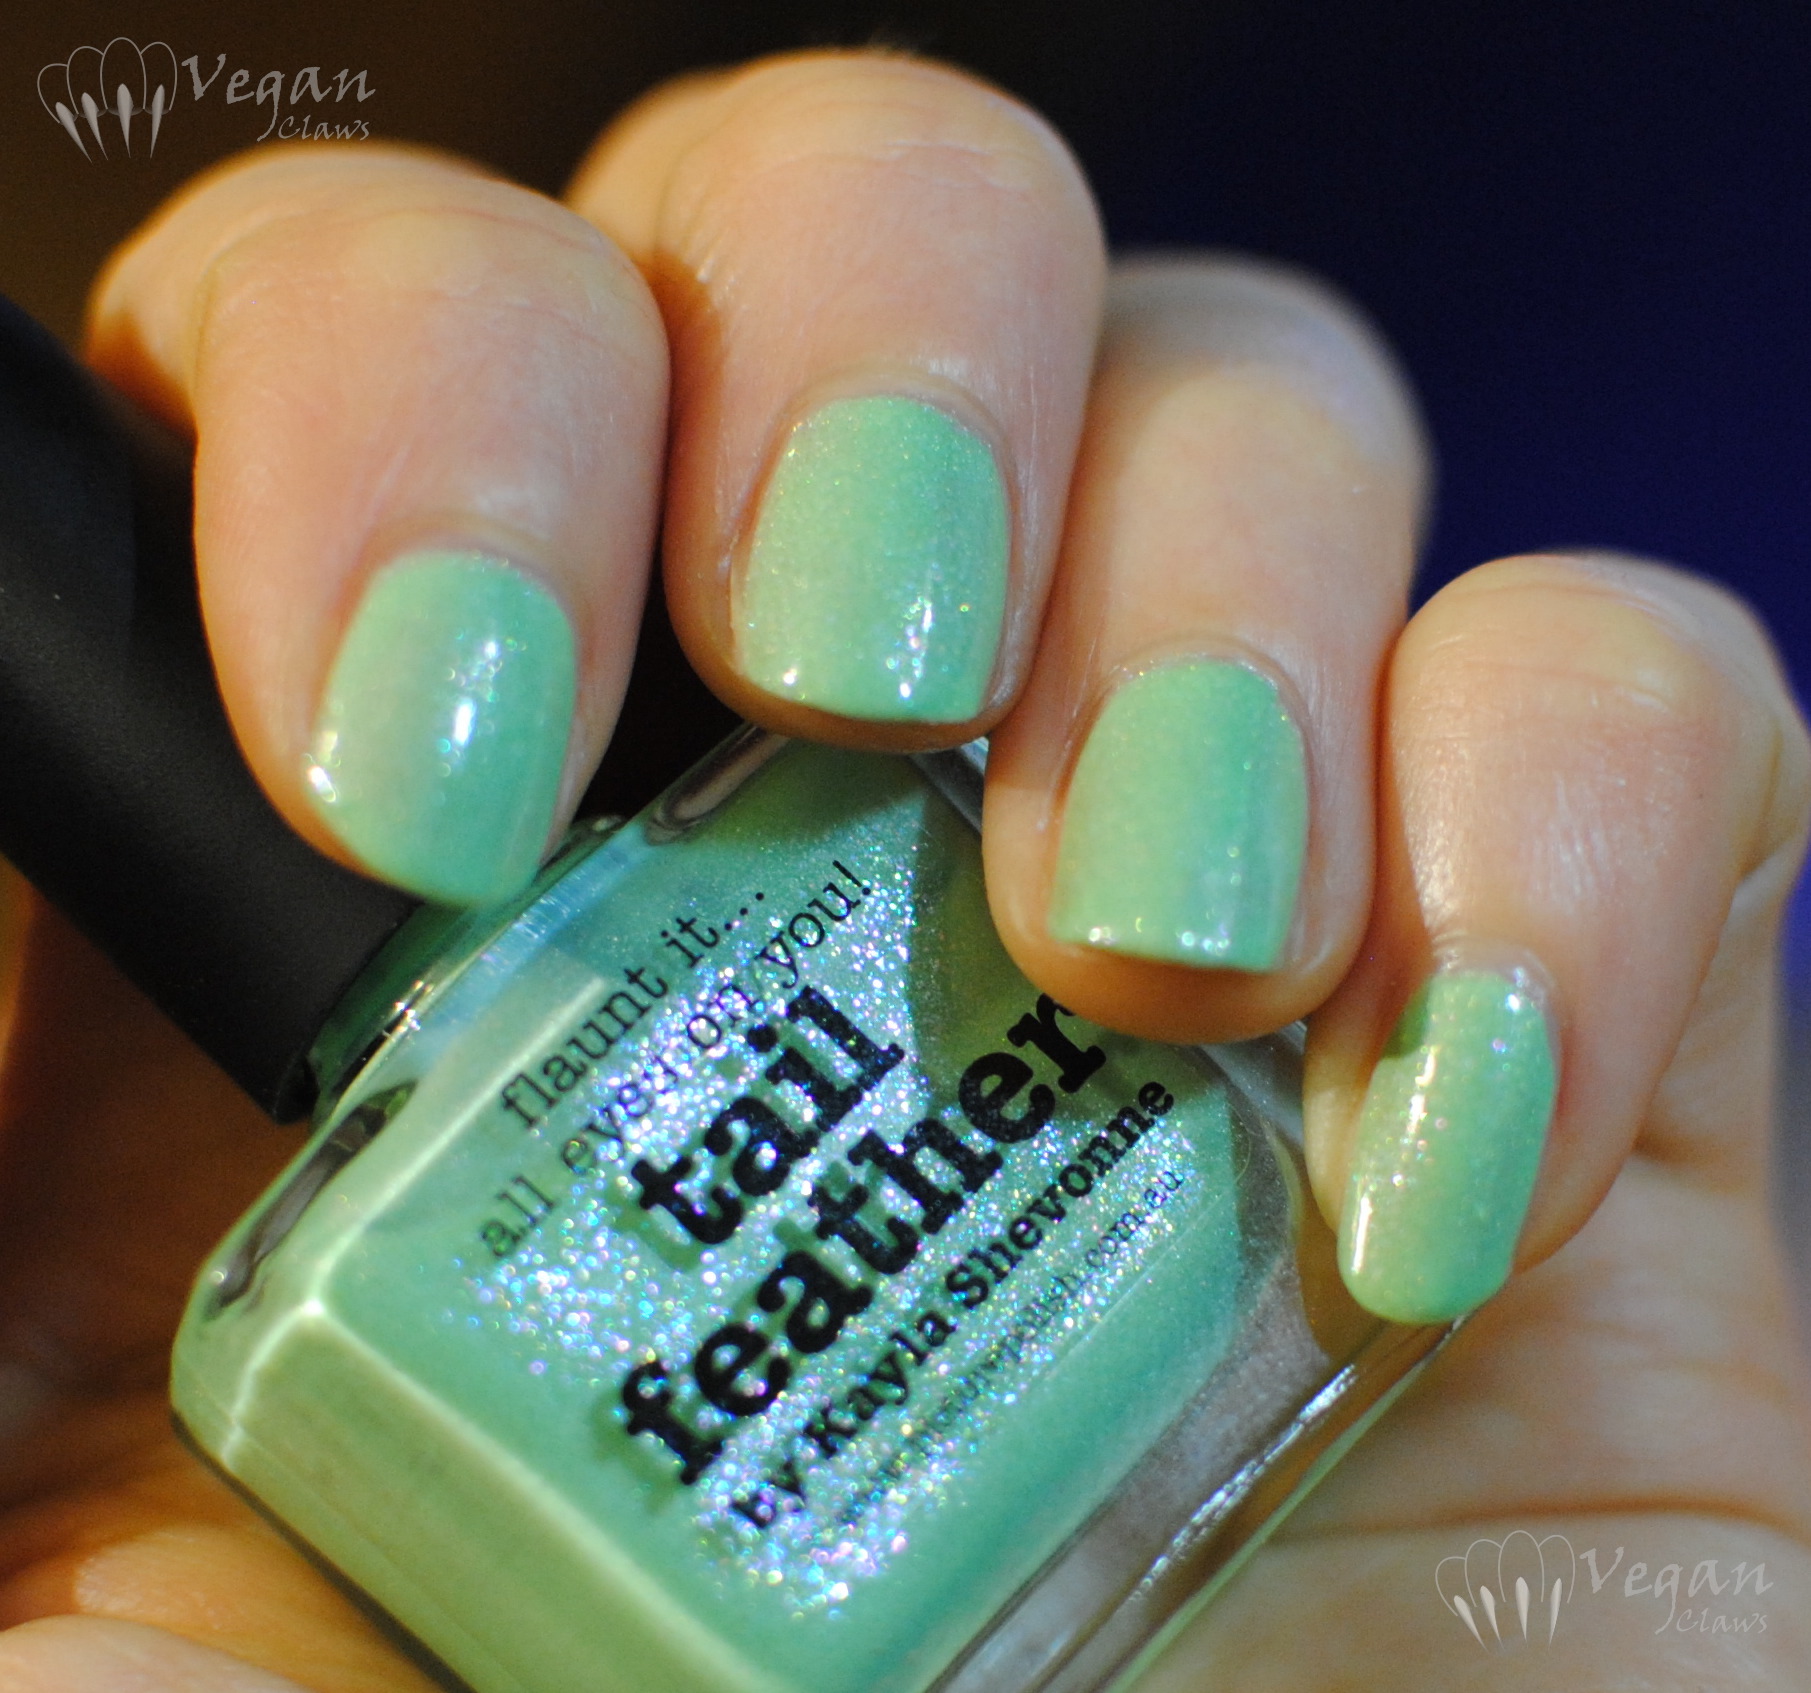
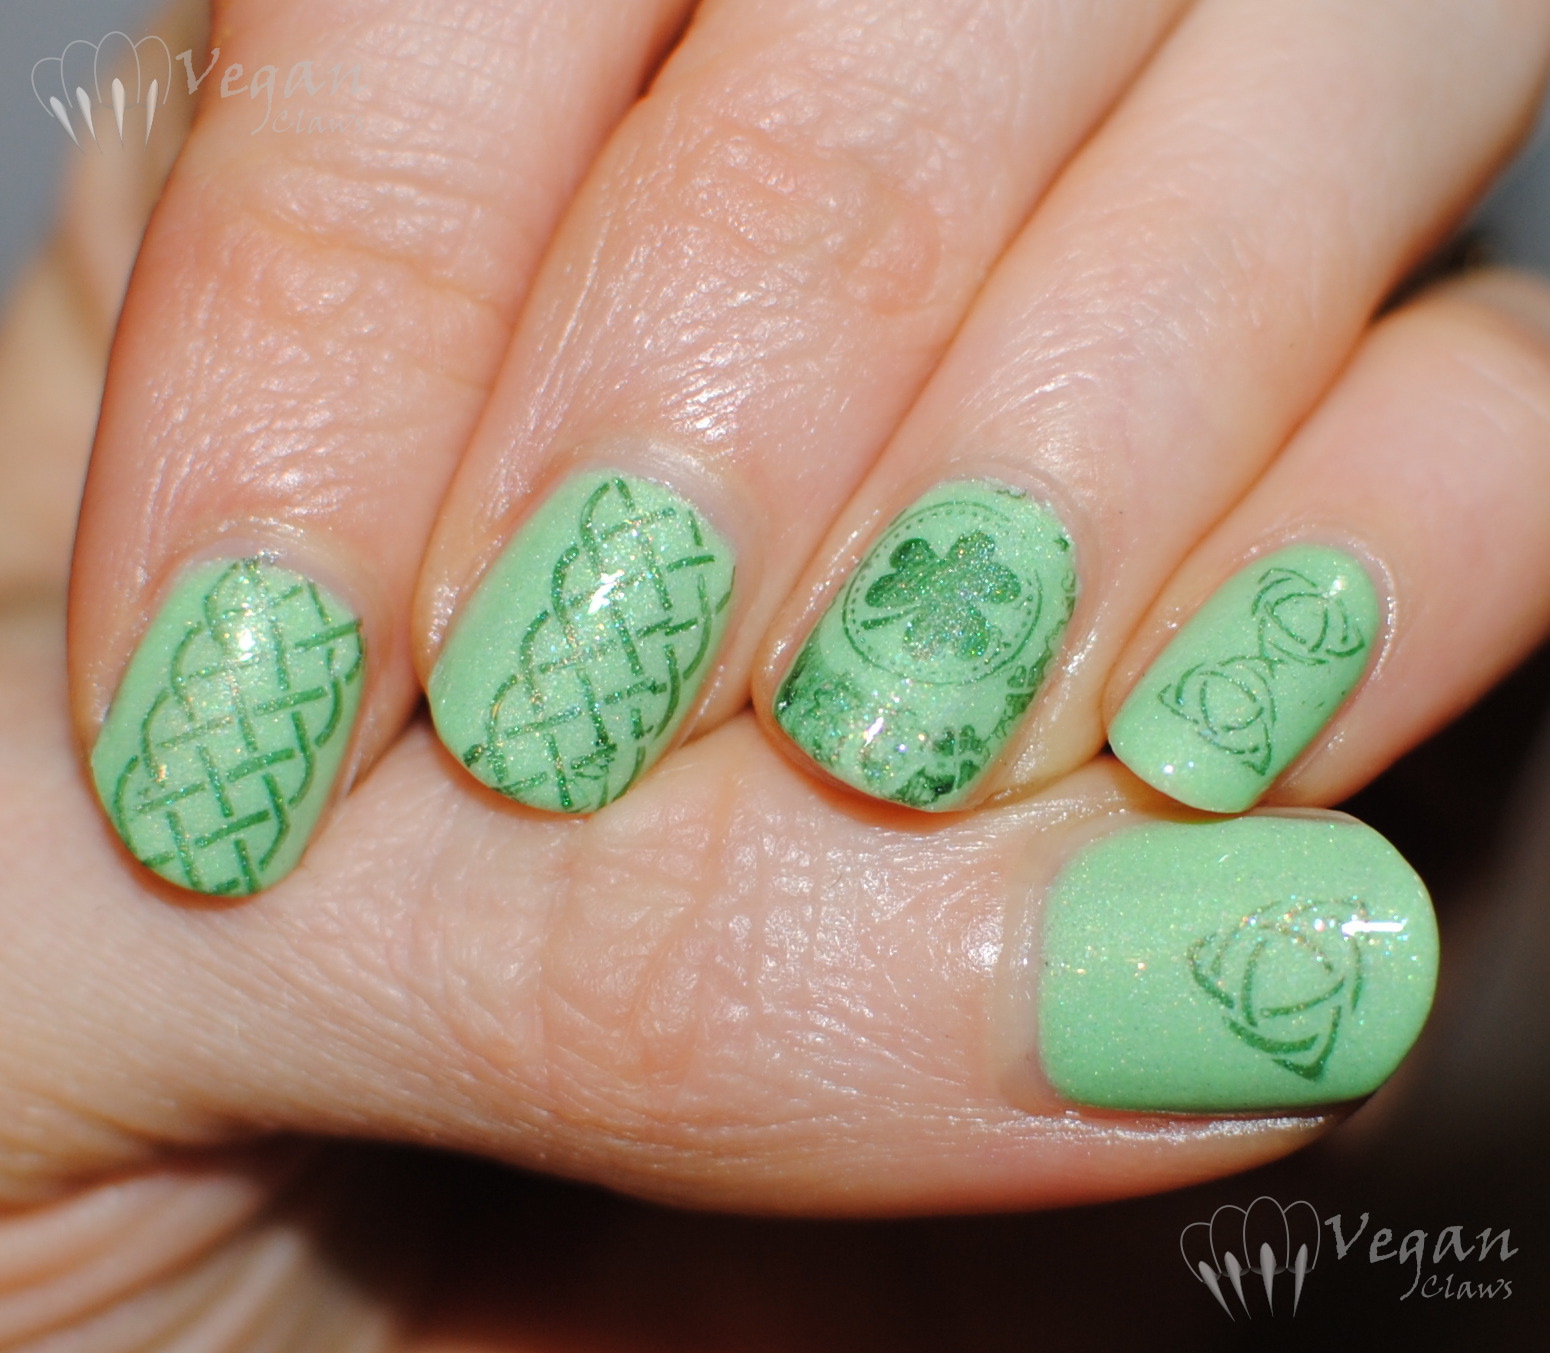
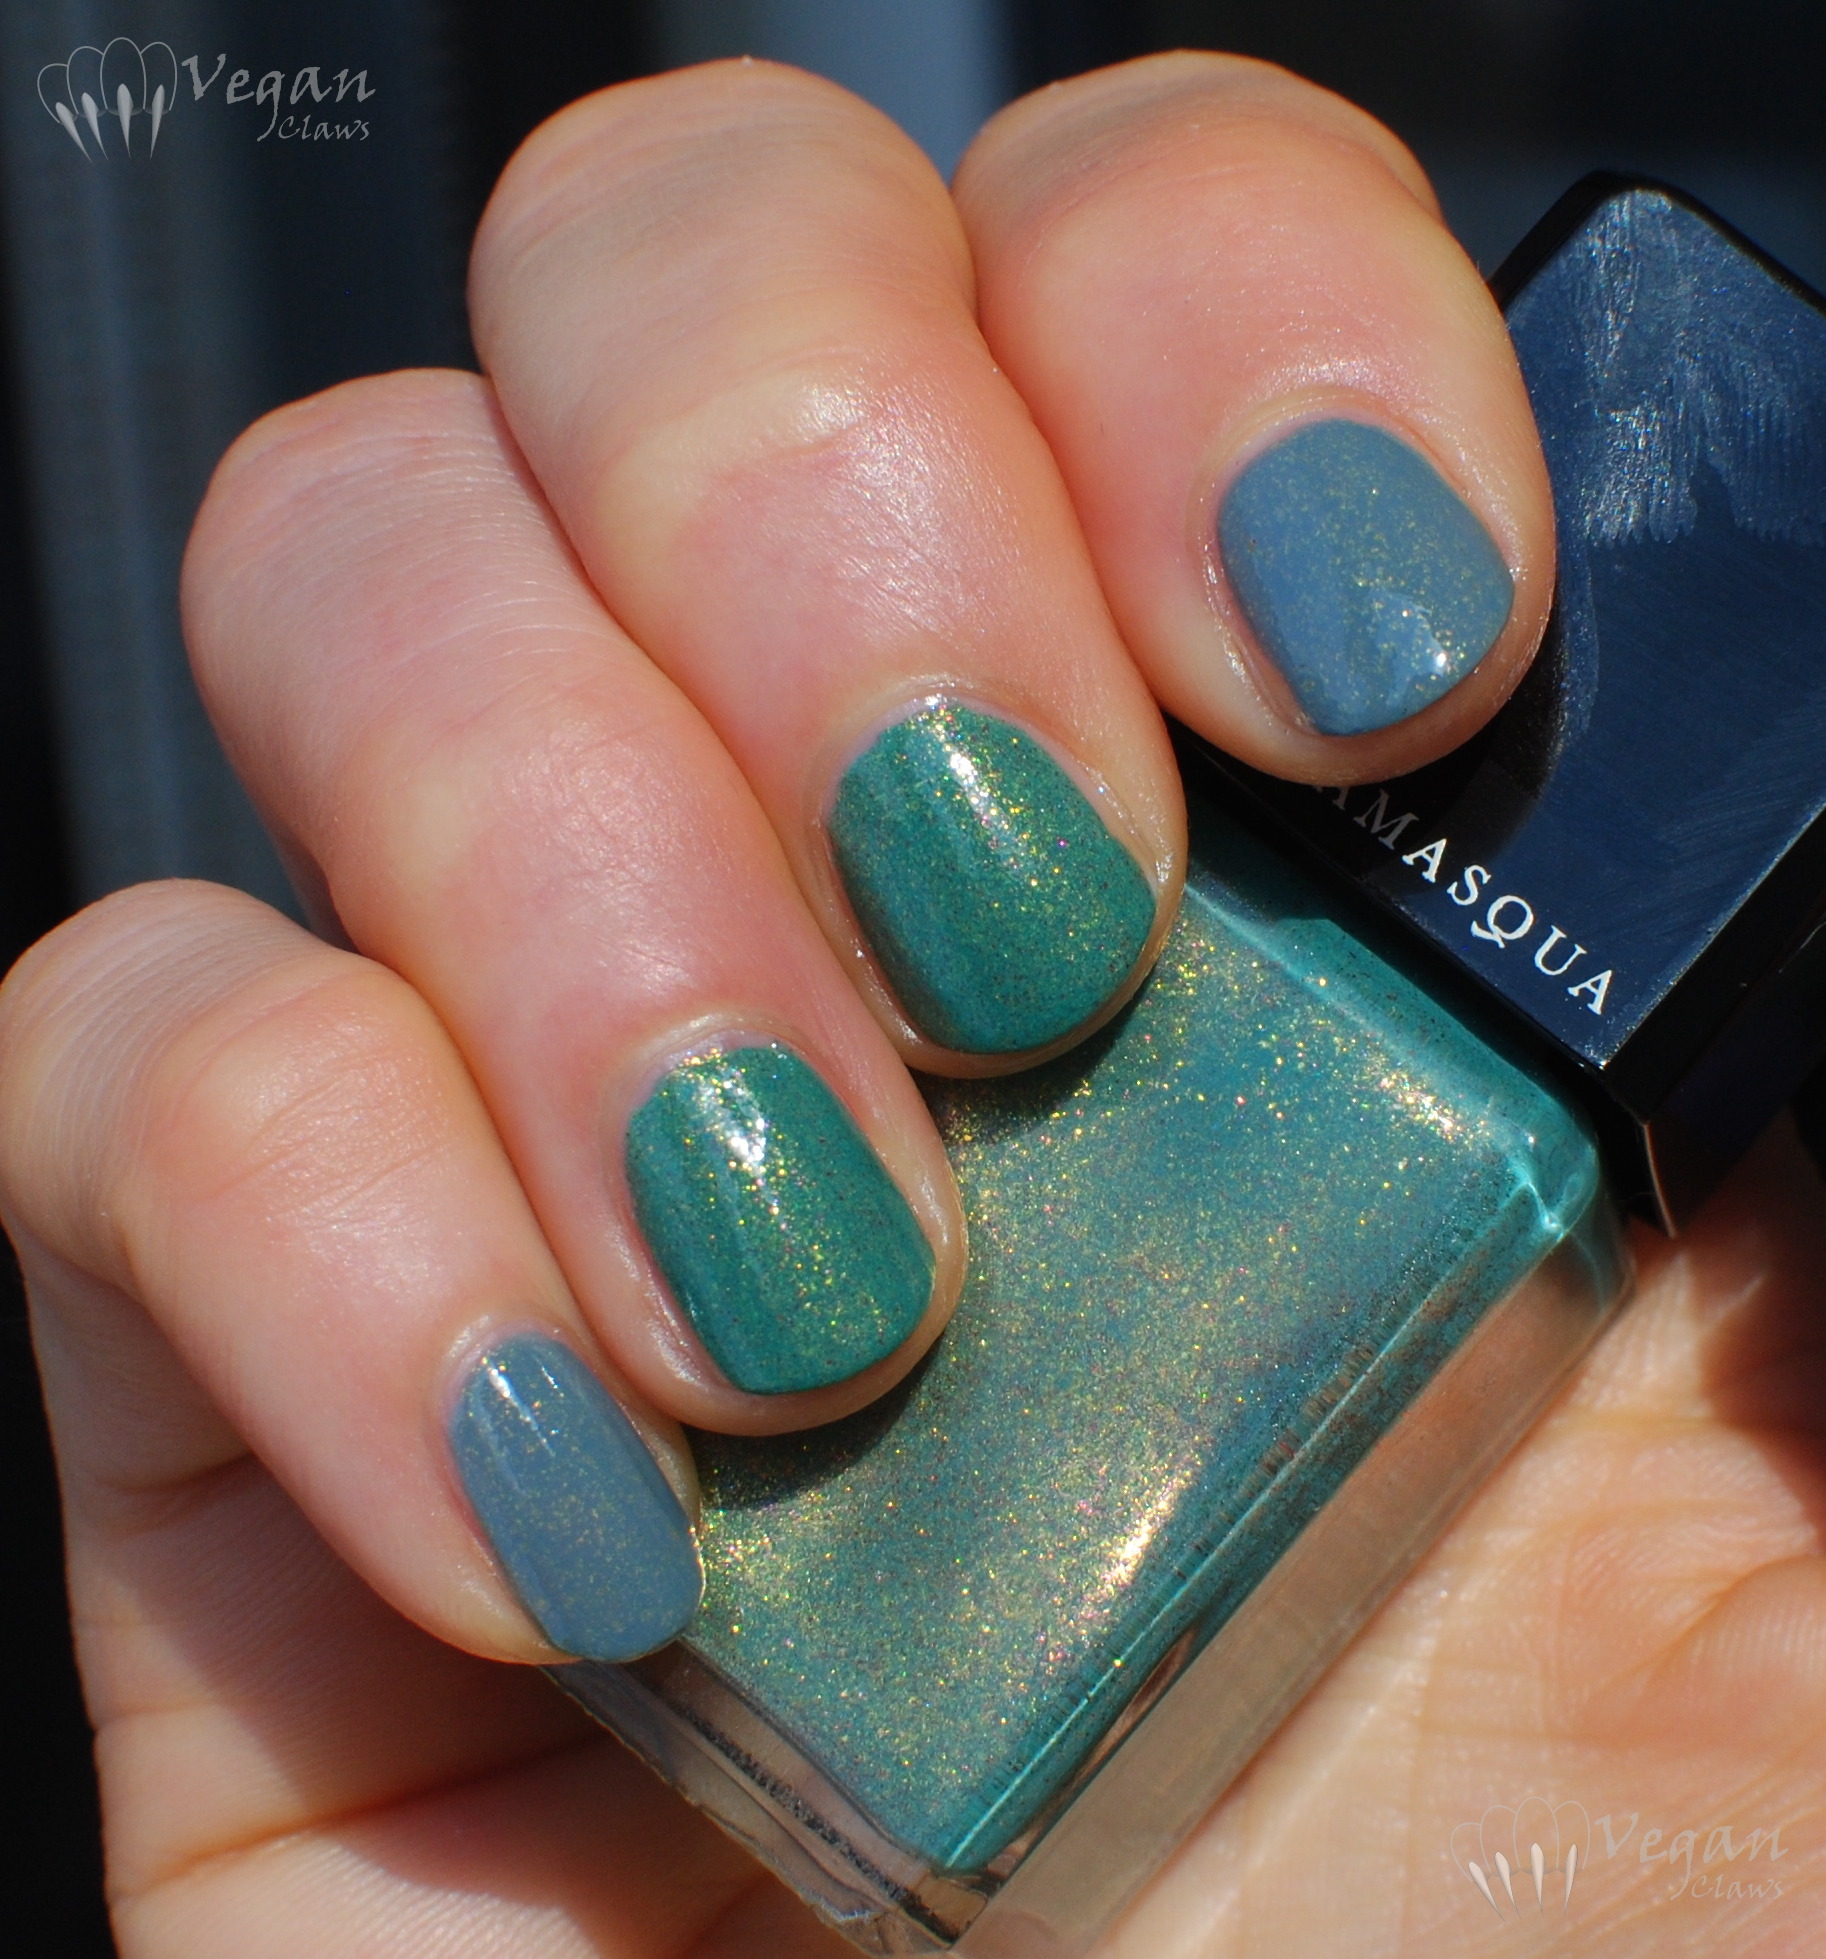
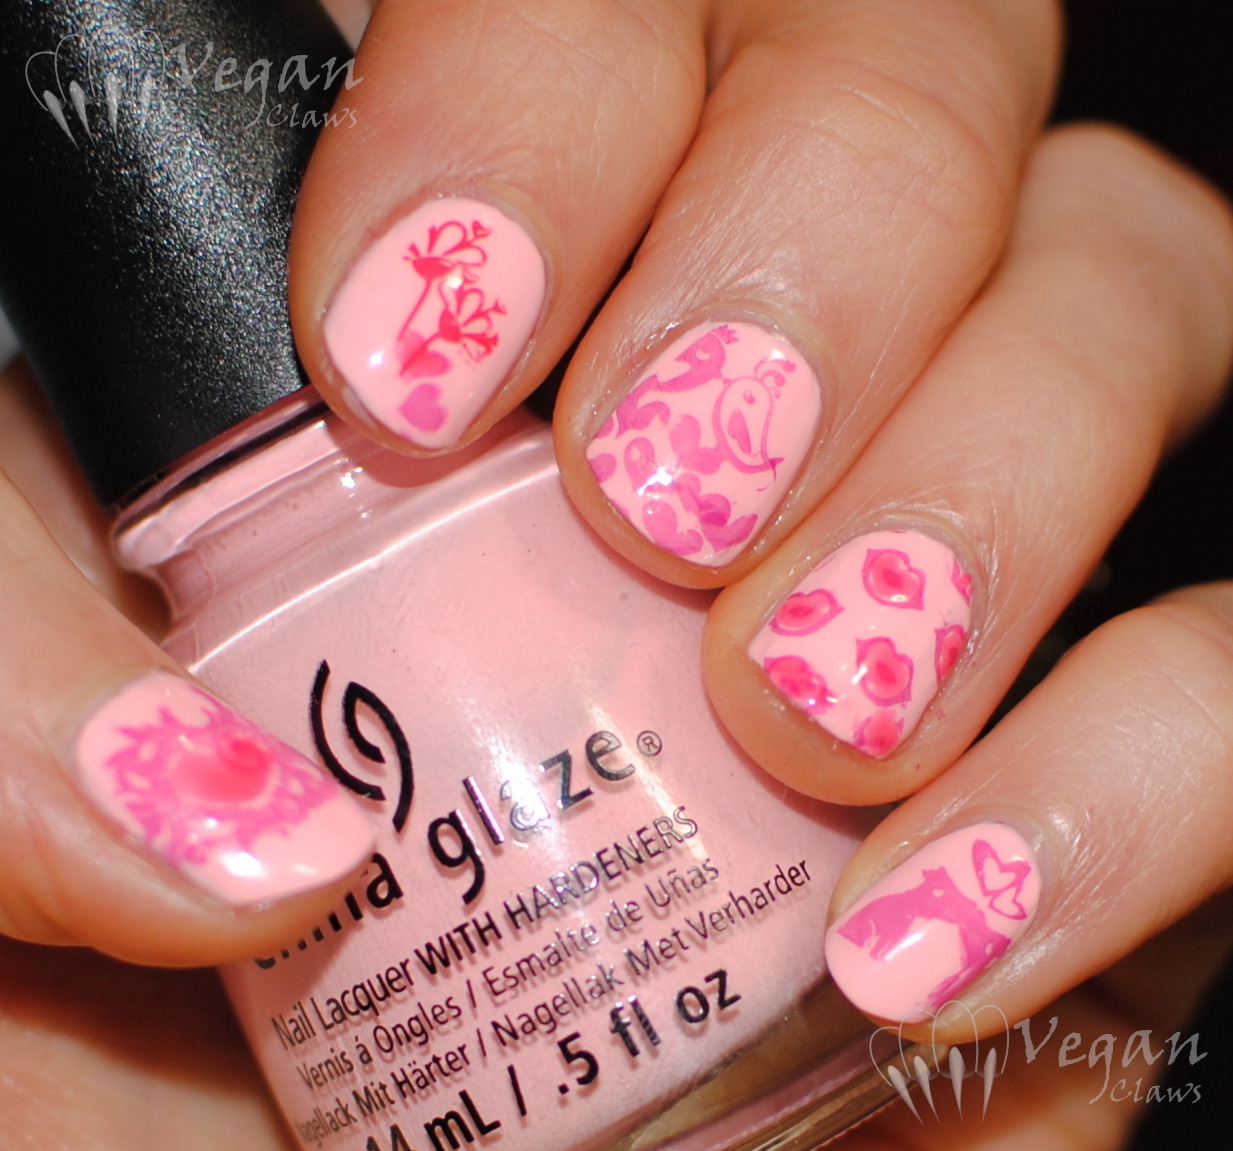
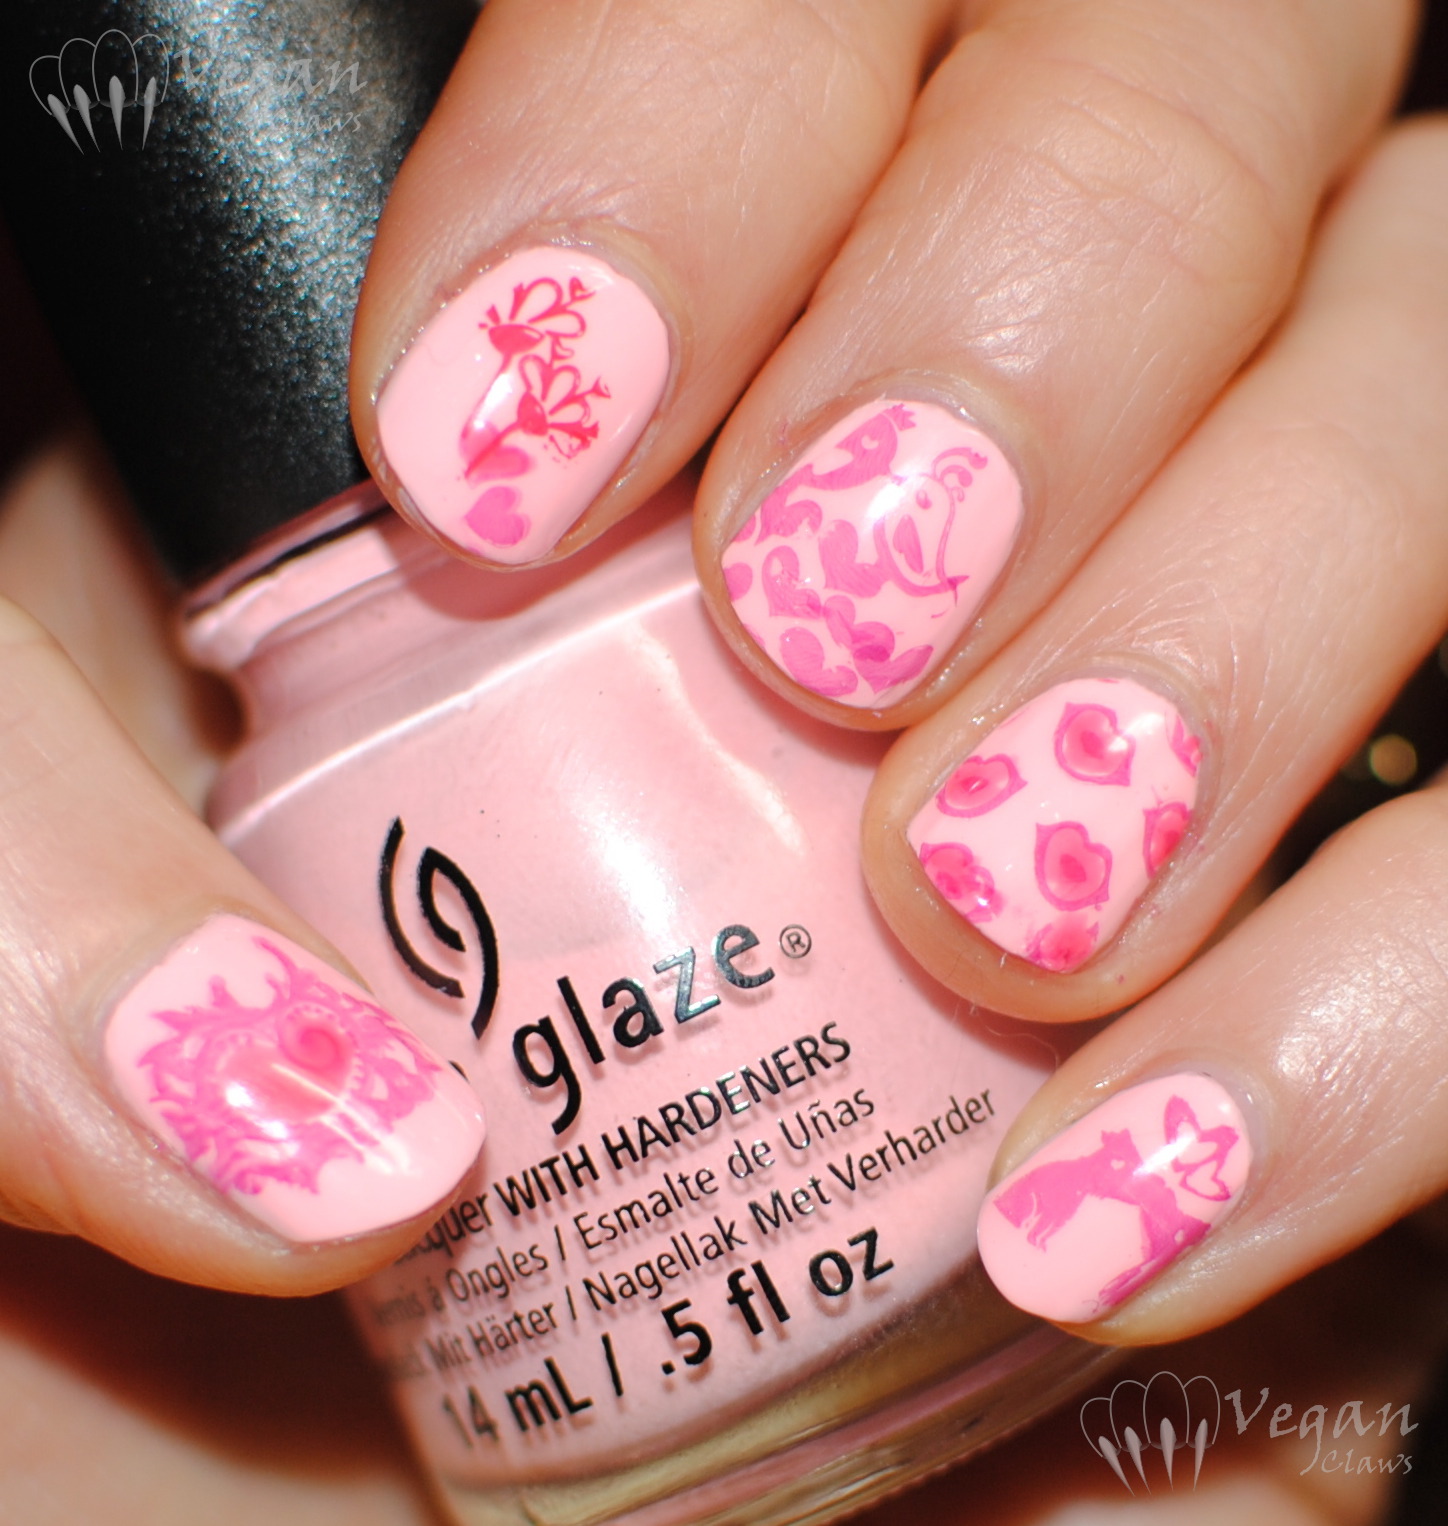
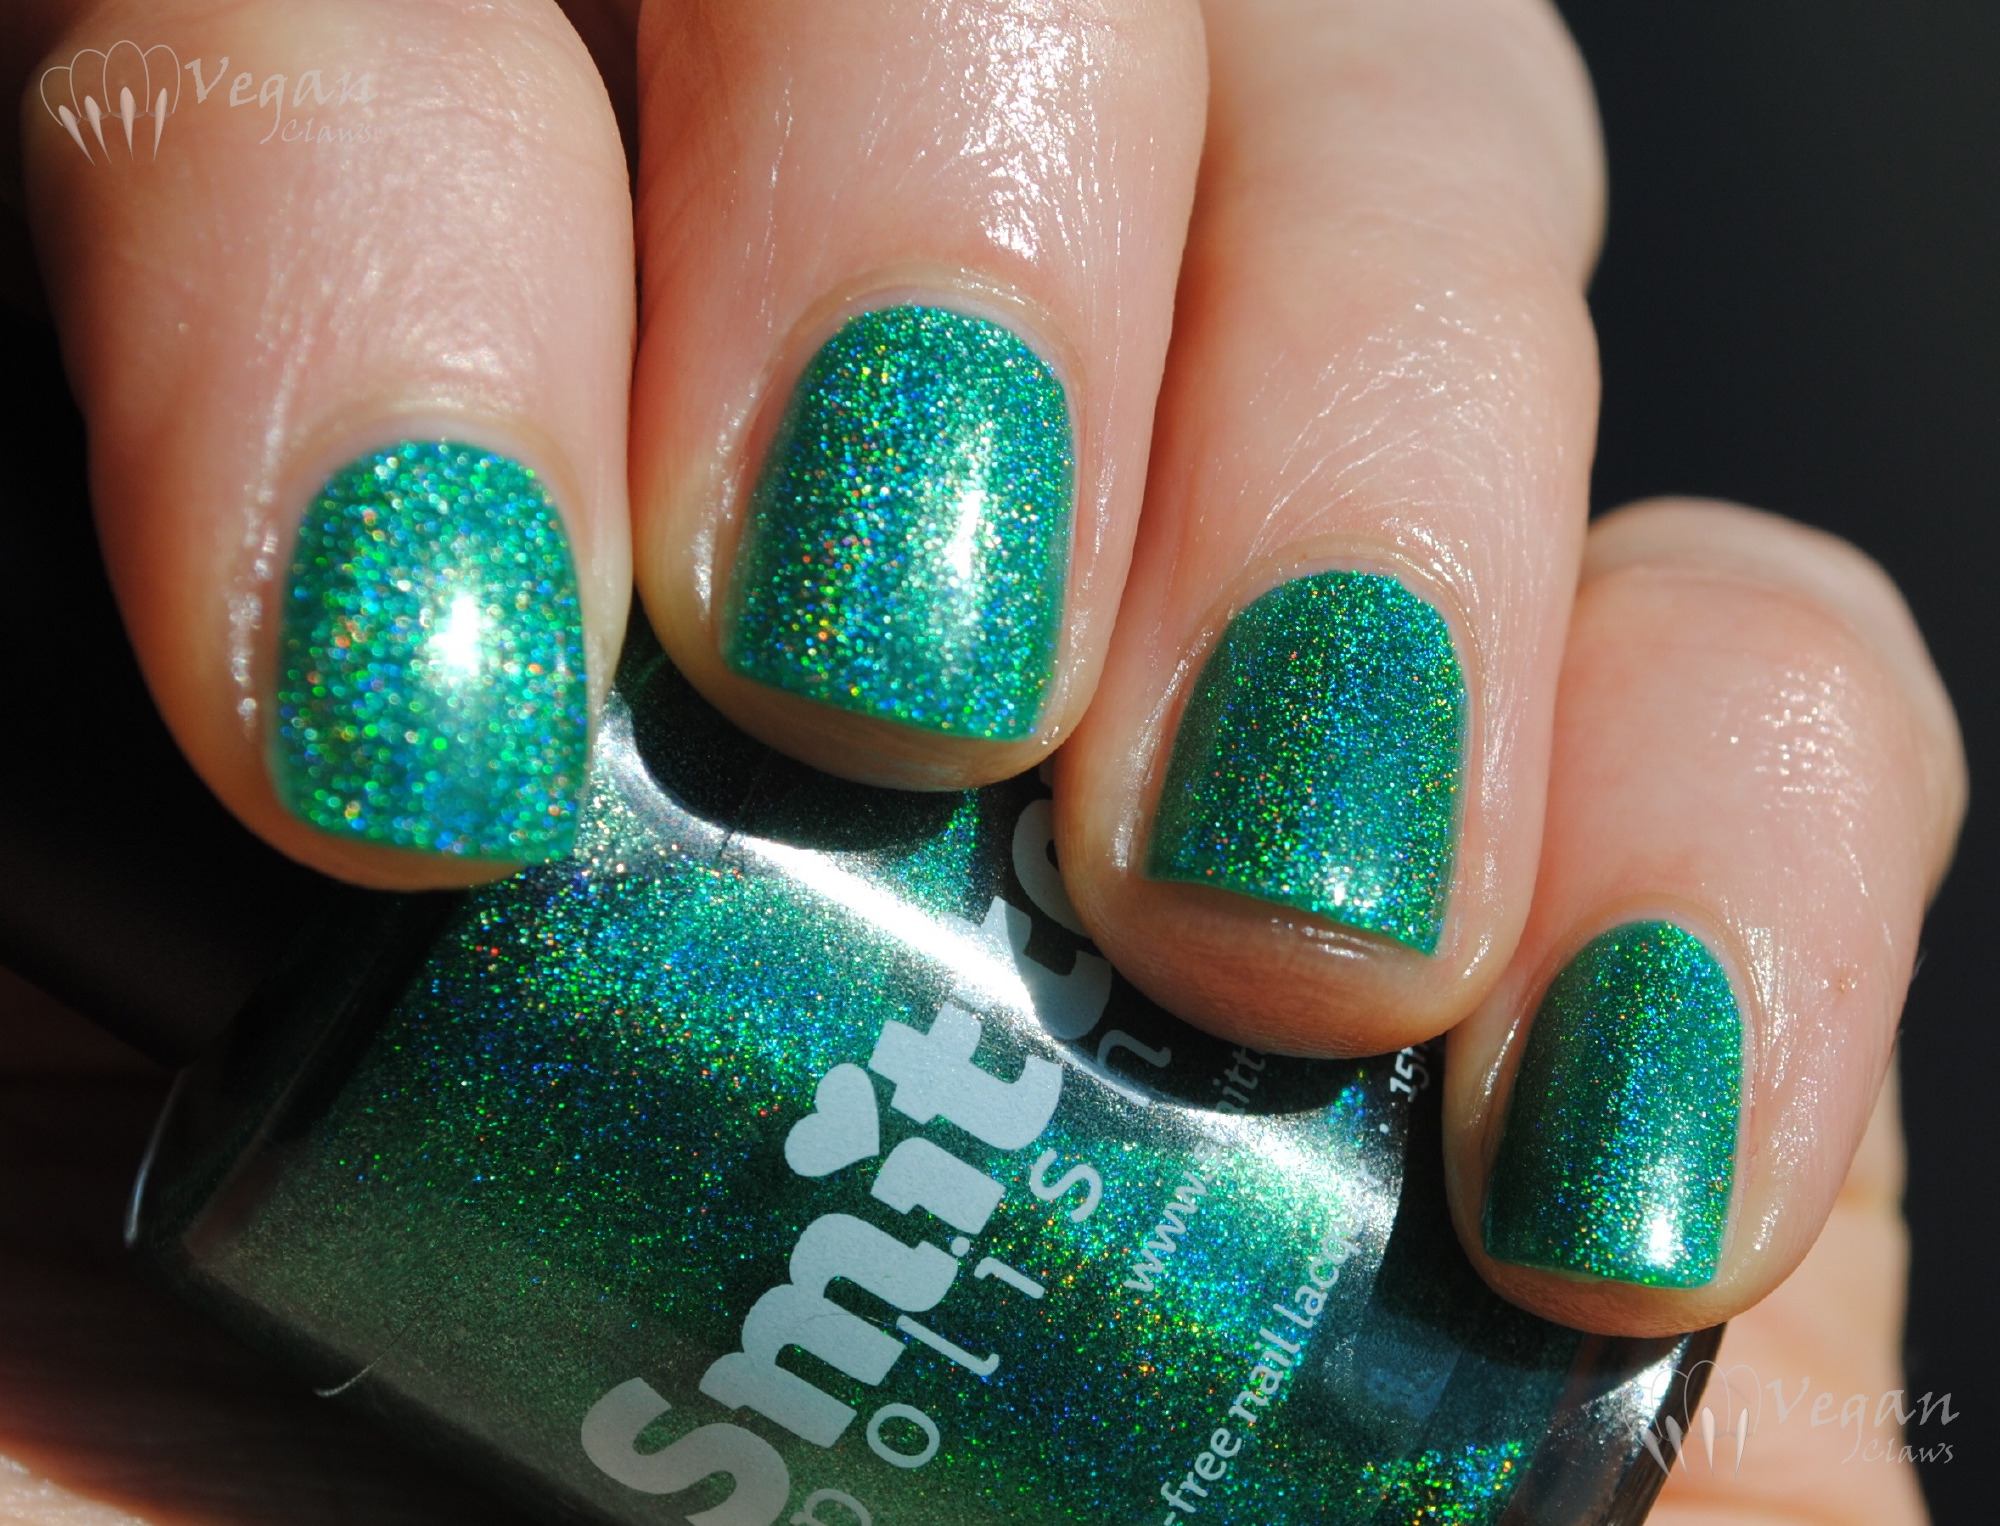
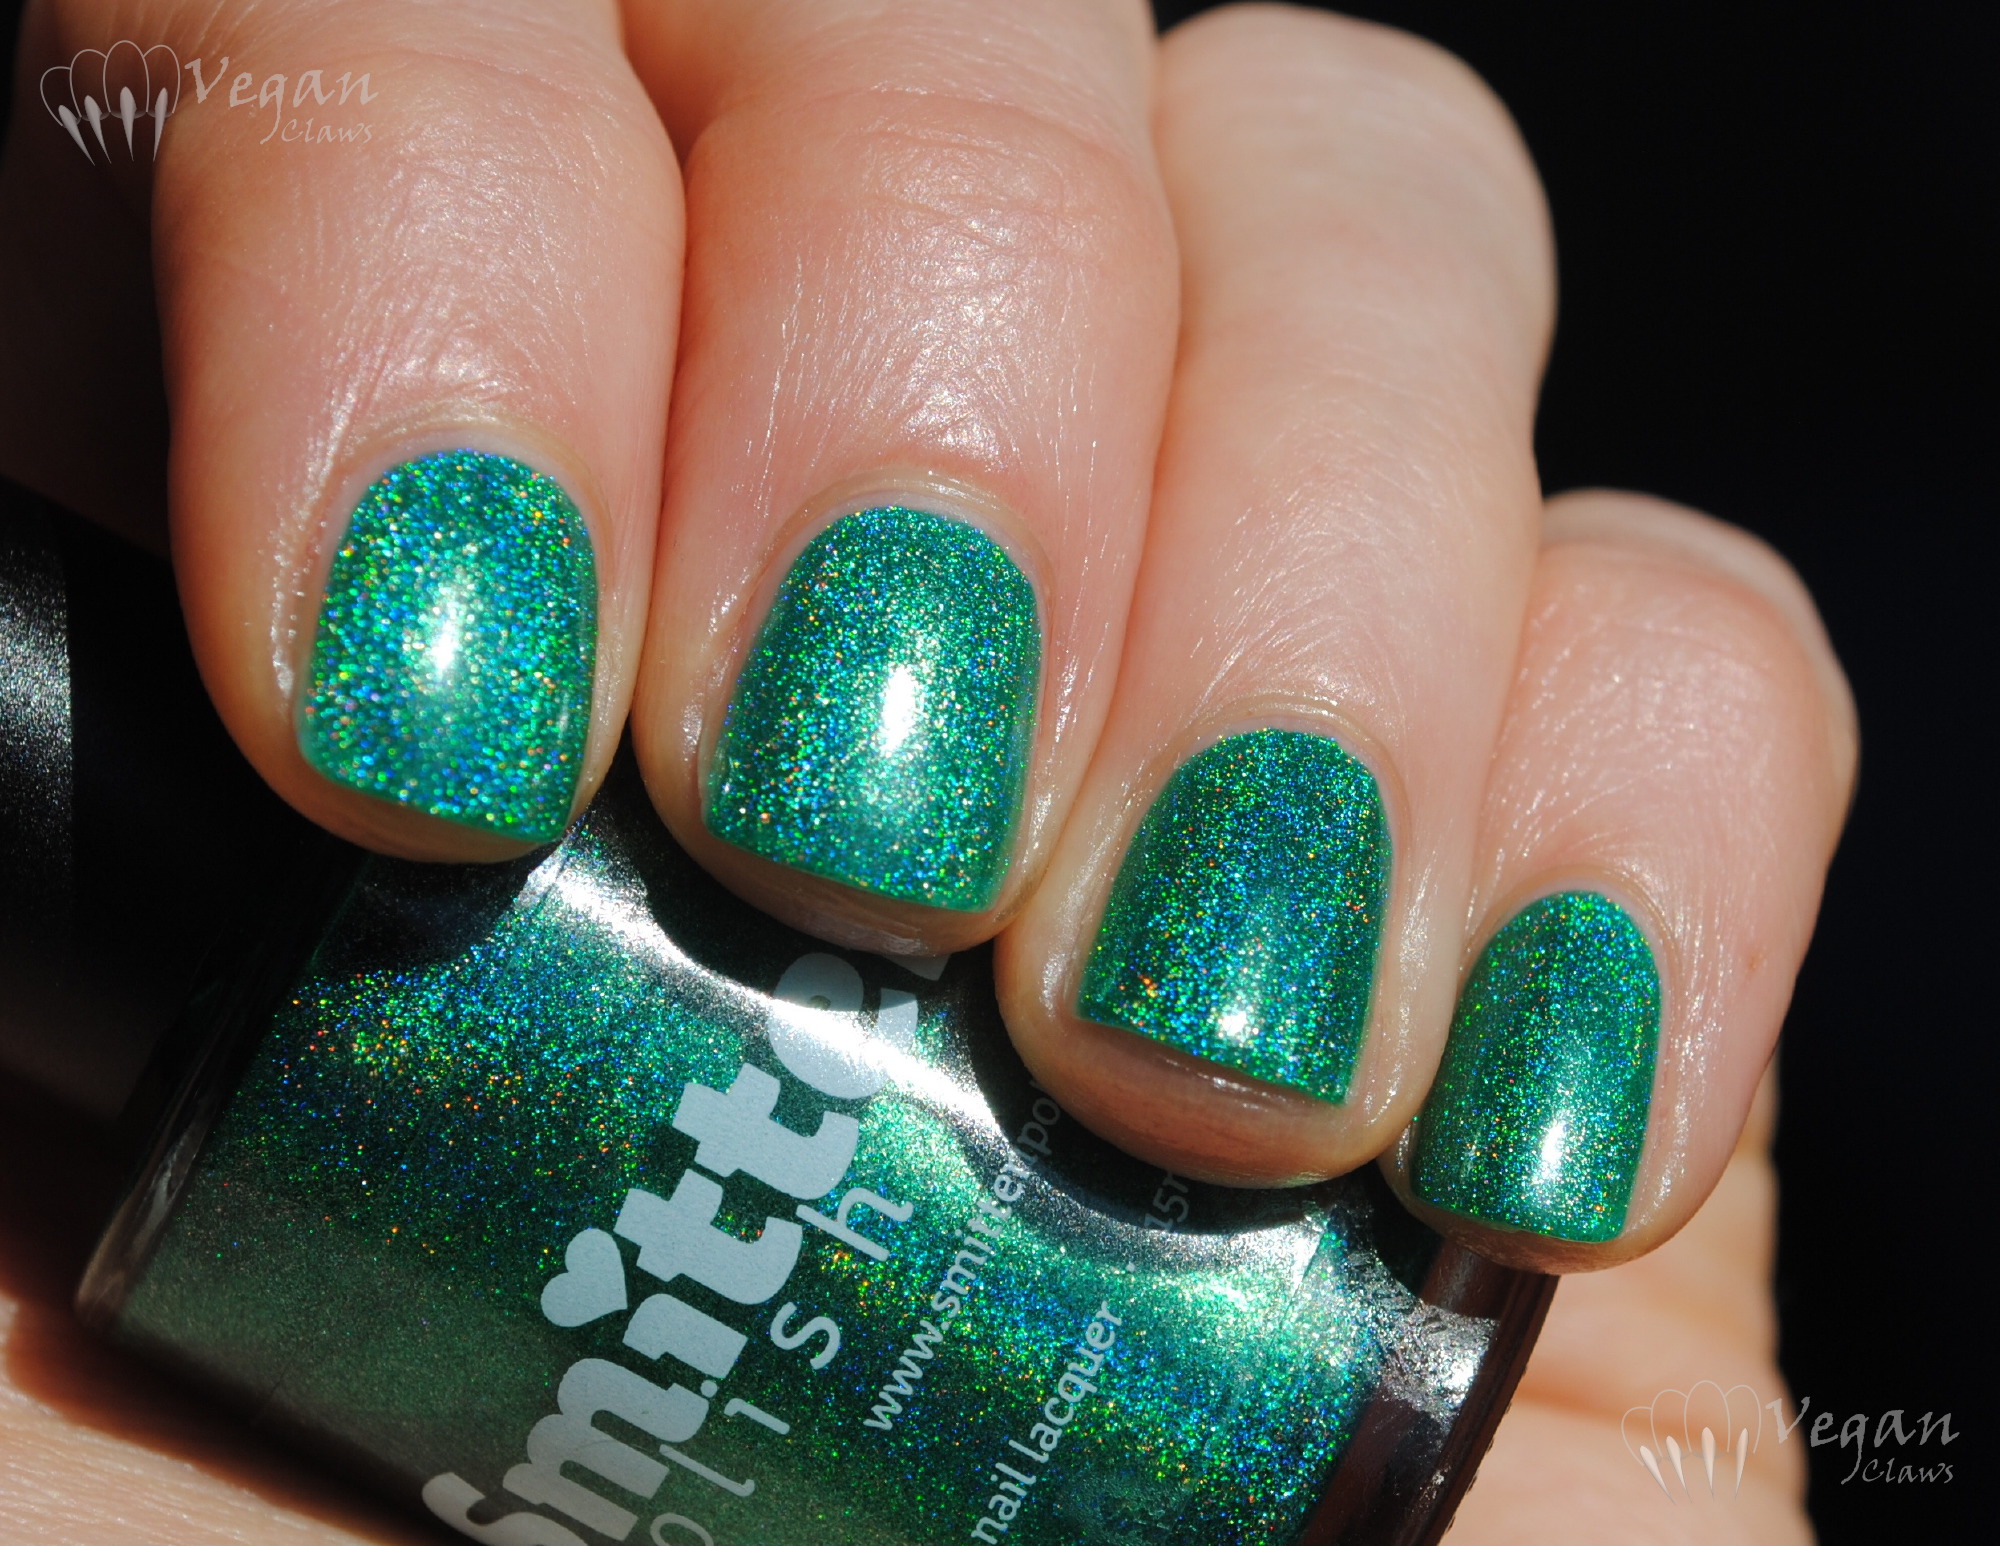
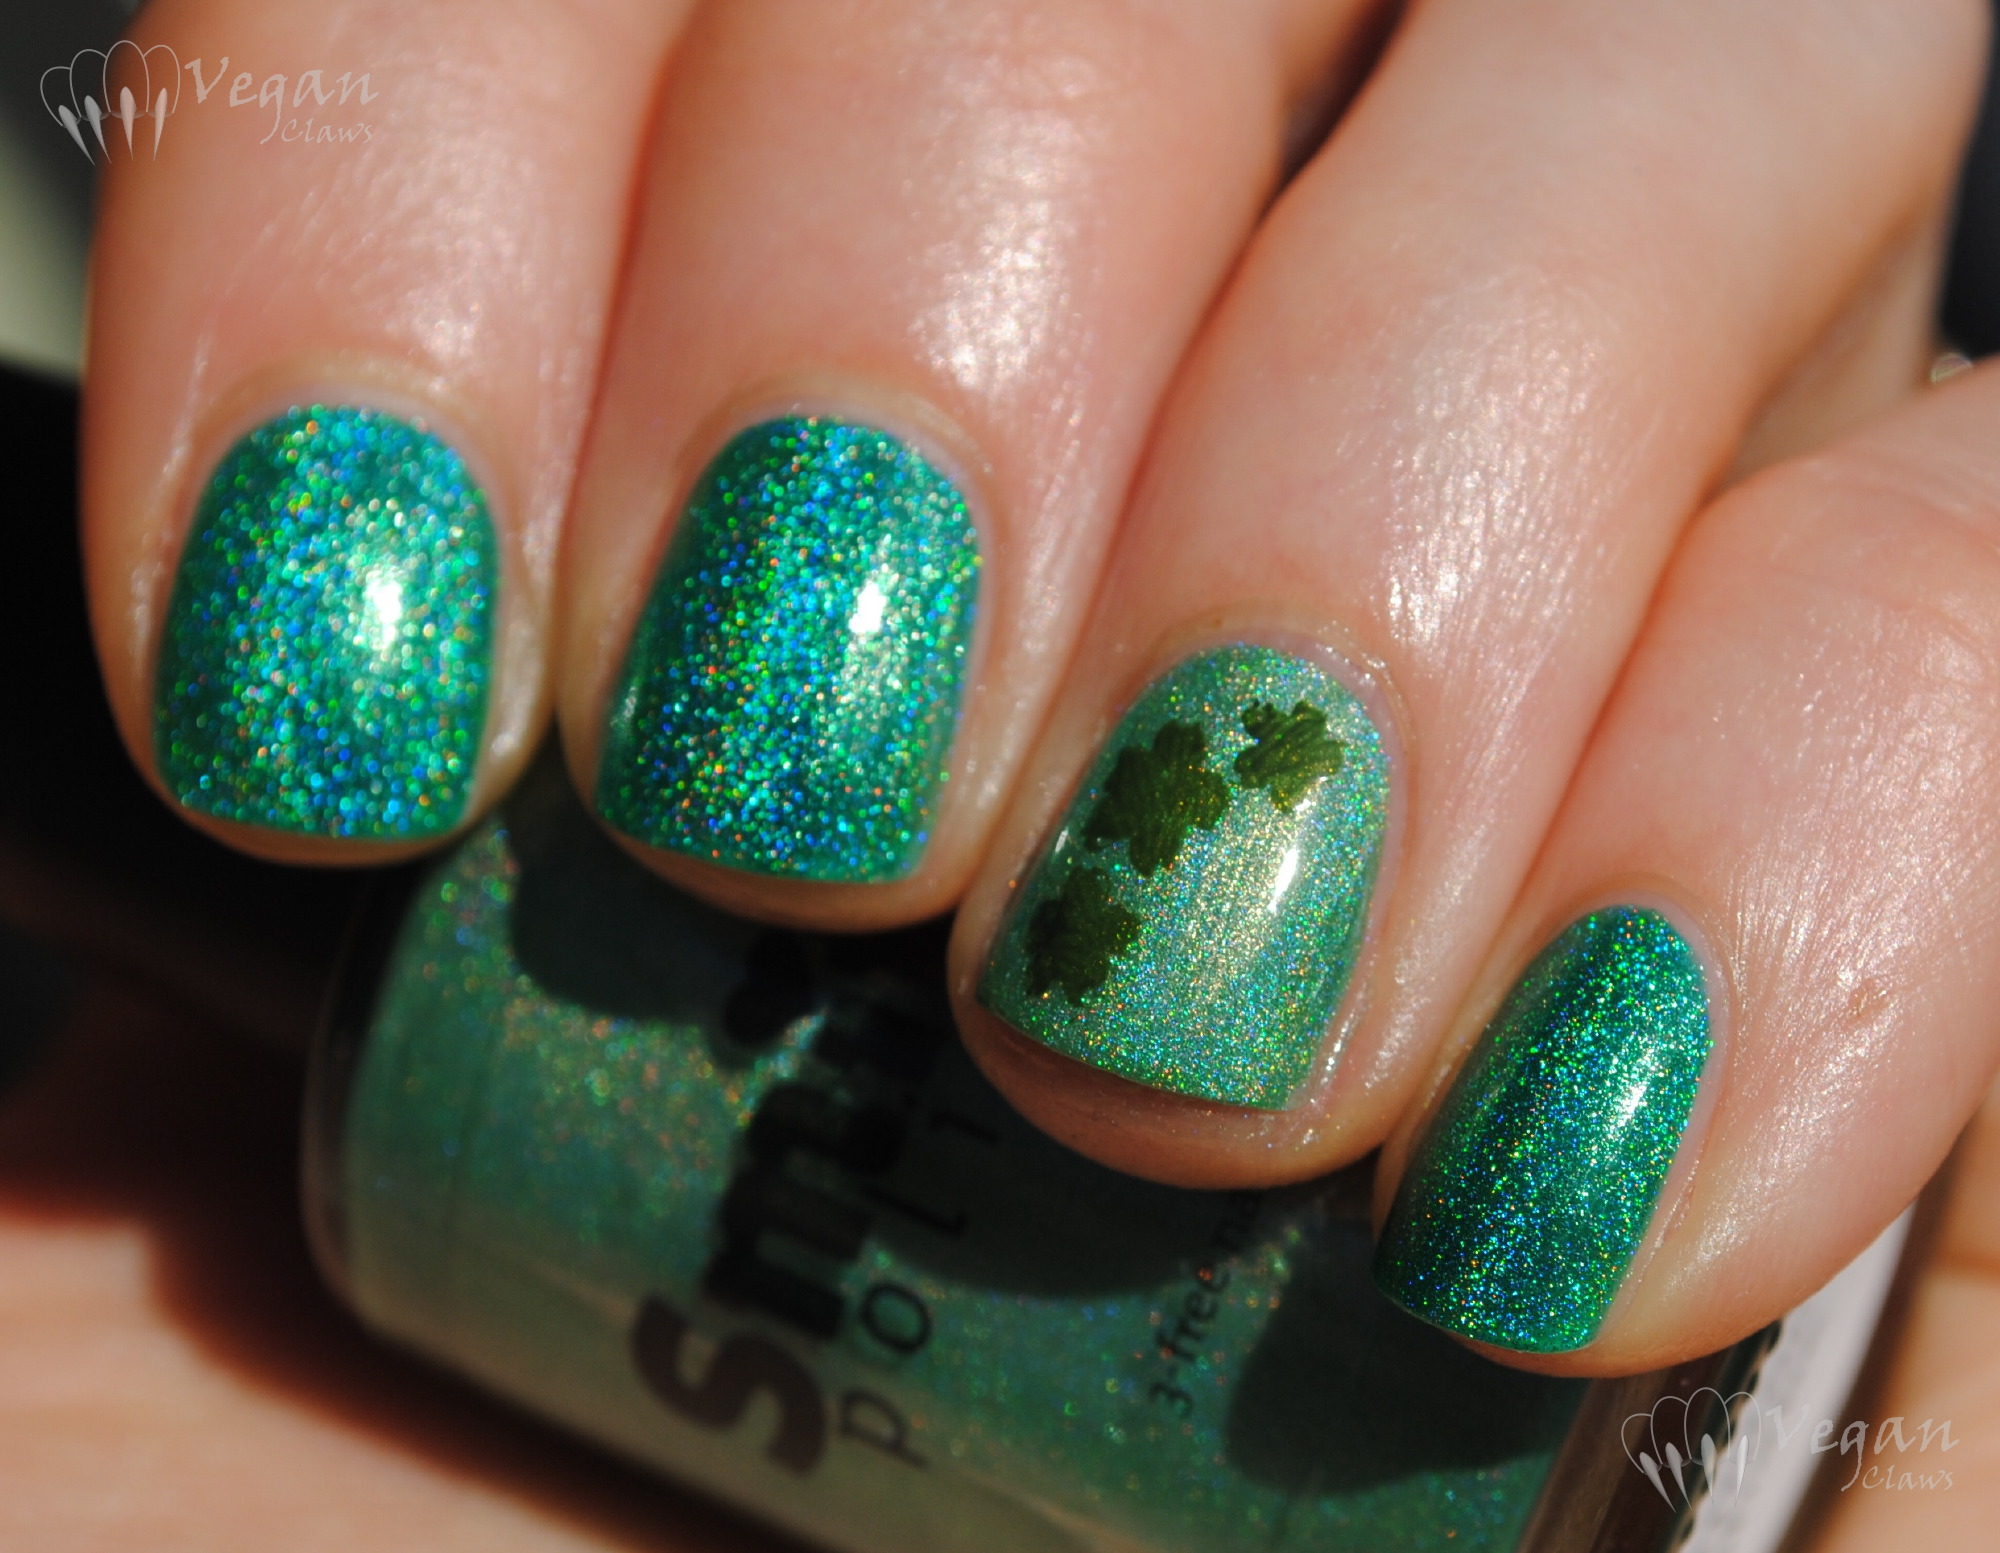
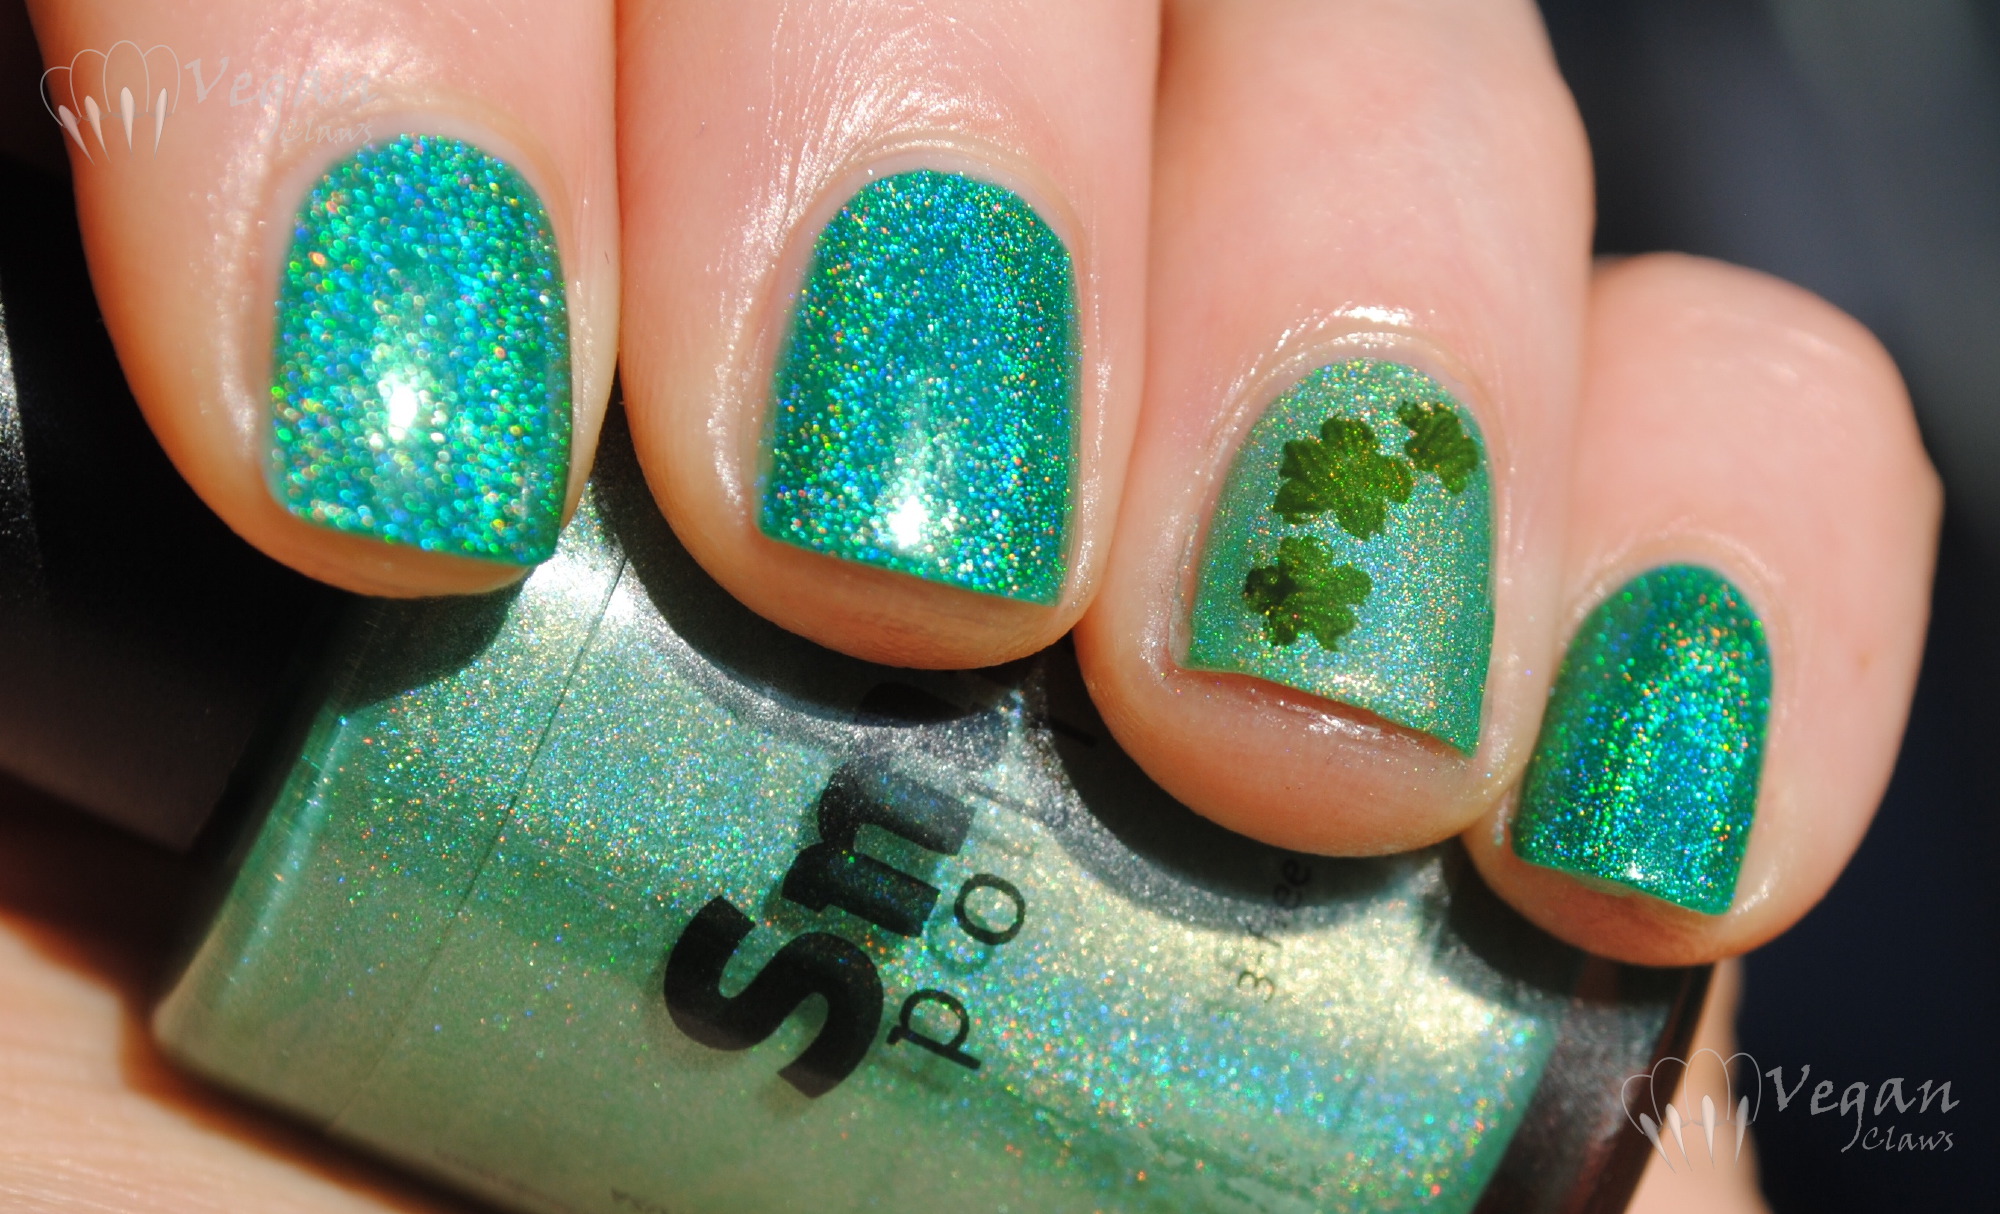
Grasshoppa’ by Eat Sleep Polish, the main polish in this mani, is unfortunately no longer available. It’s a great mint green with various shapes and sizes of pink and off-white matte glitters, lots of gold fleck shimmer, and the creme base also has holo although it’s hard to tell in most lighting what with everything that’s going on in this awesome polish! But the holo was quite apparent when I was riding the elevator at work, gotta love elevator LED lighting! πŸ˜‰

eatsleeppolish_grasshoppa_bbcouture_grasshopper6

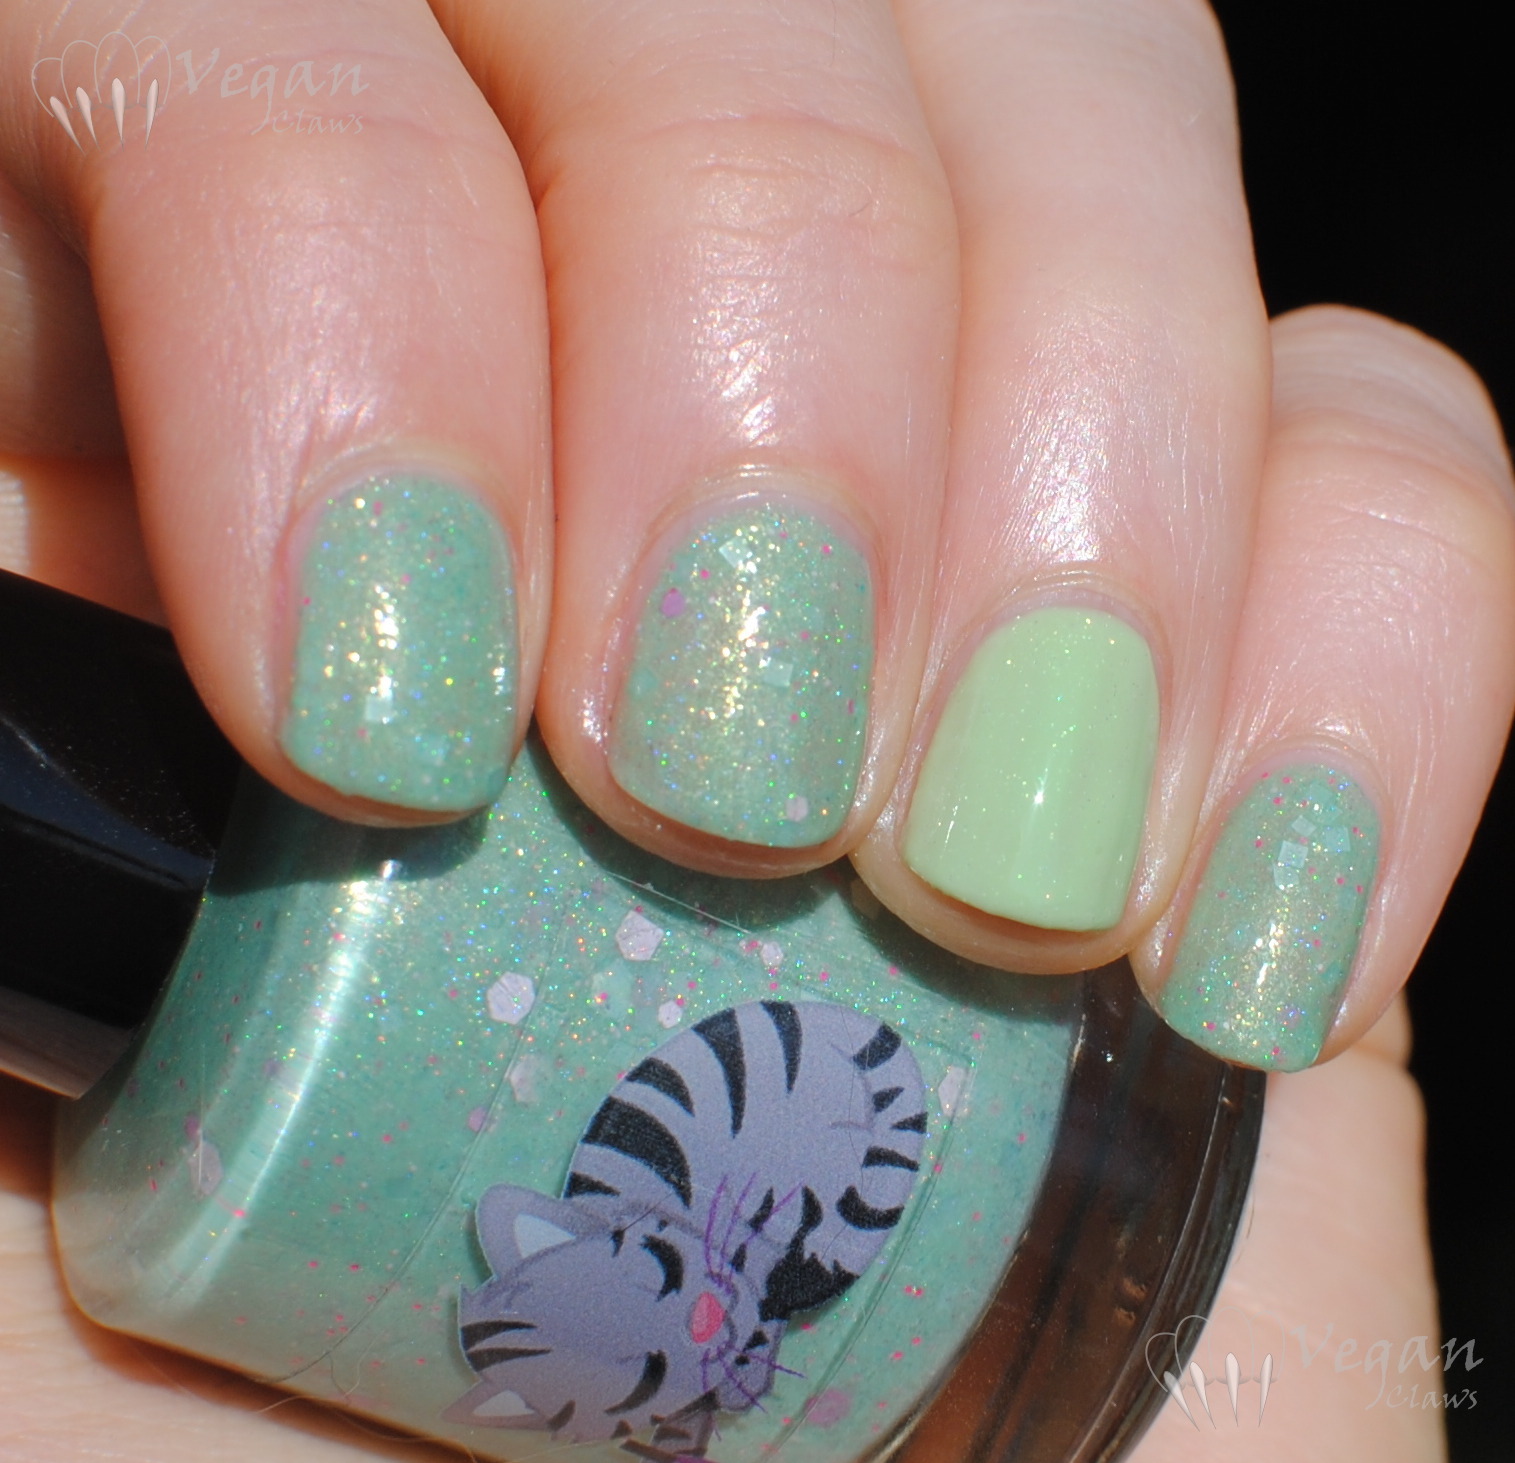
I used two coats of Grasshoppa’ plus top coat.

eatsleeppolish_grasshoppa_bbcouture_grasshopper5

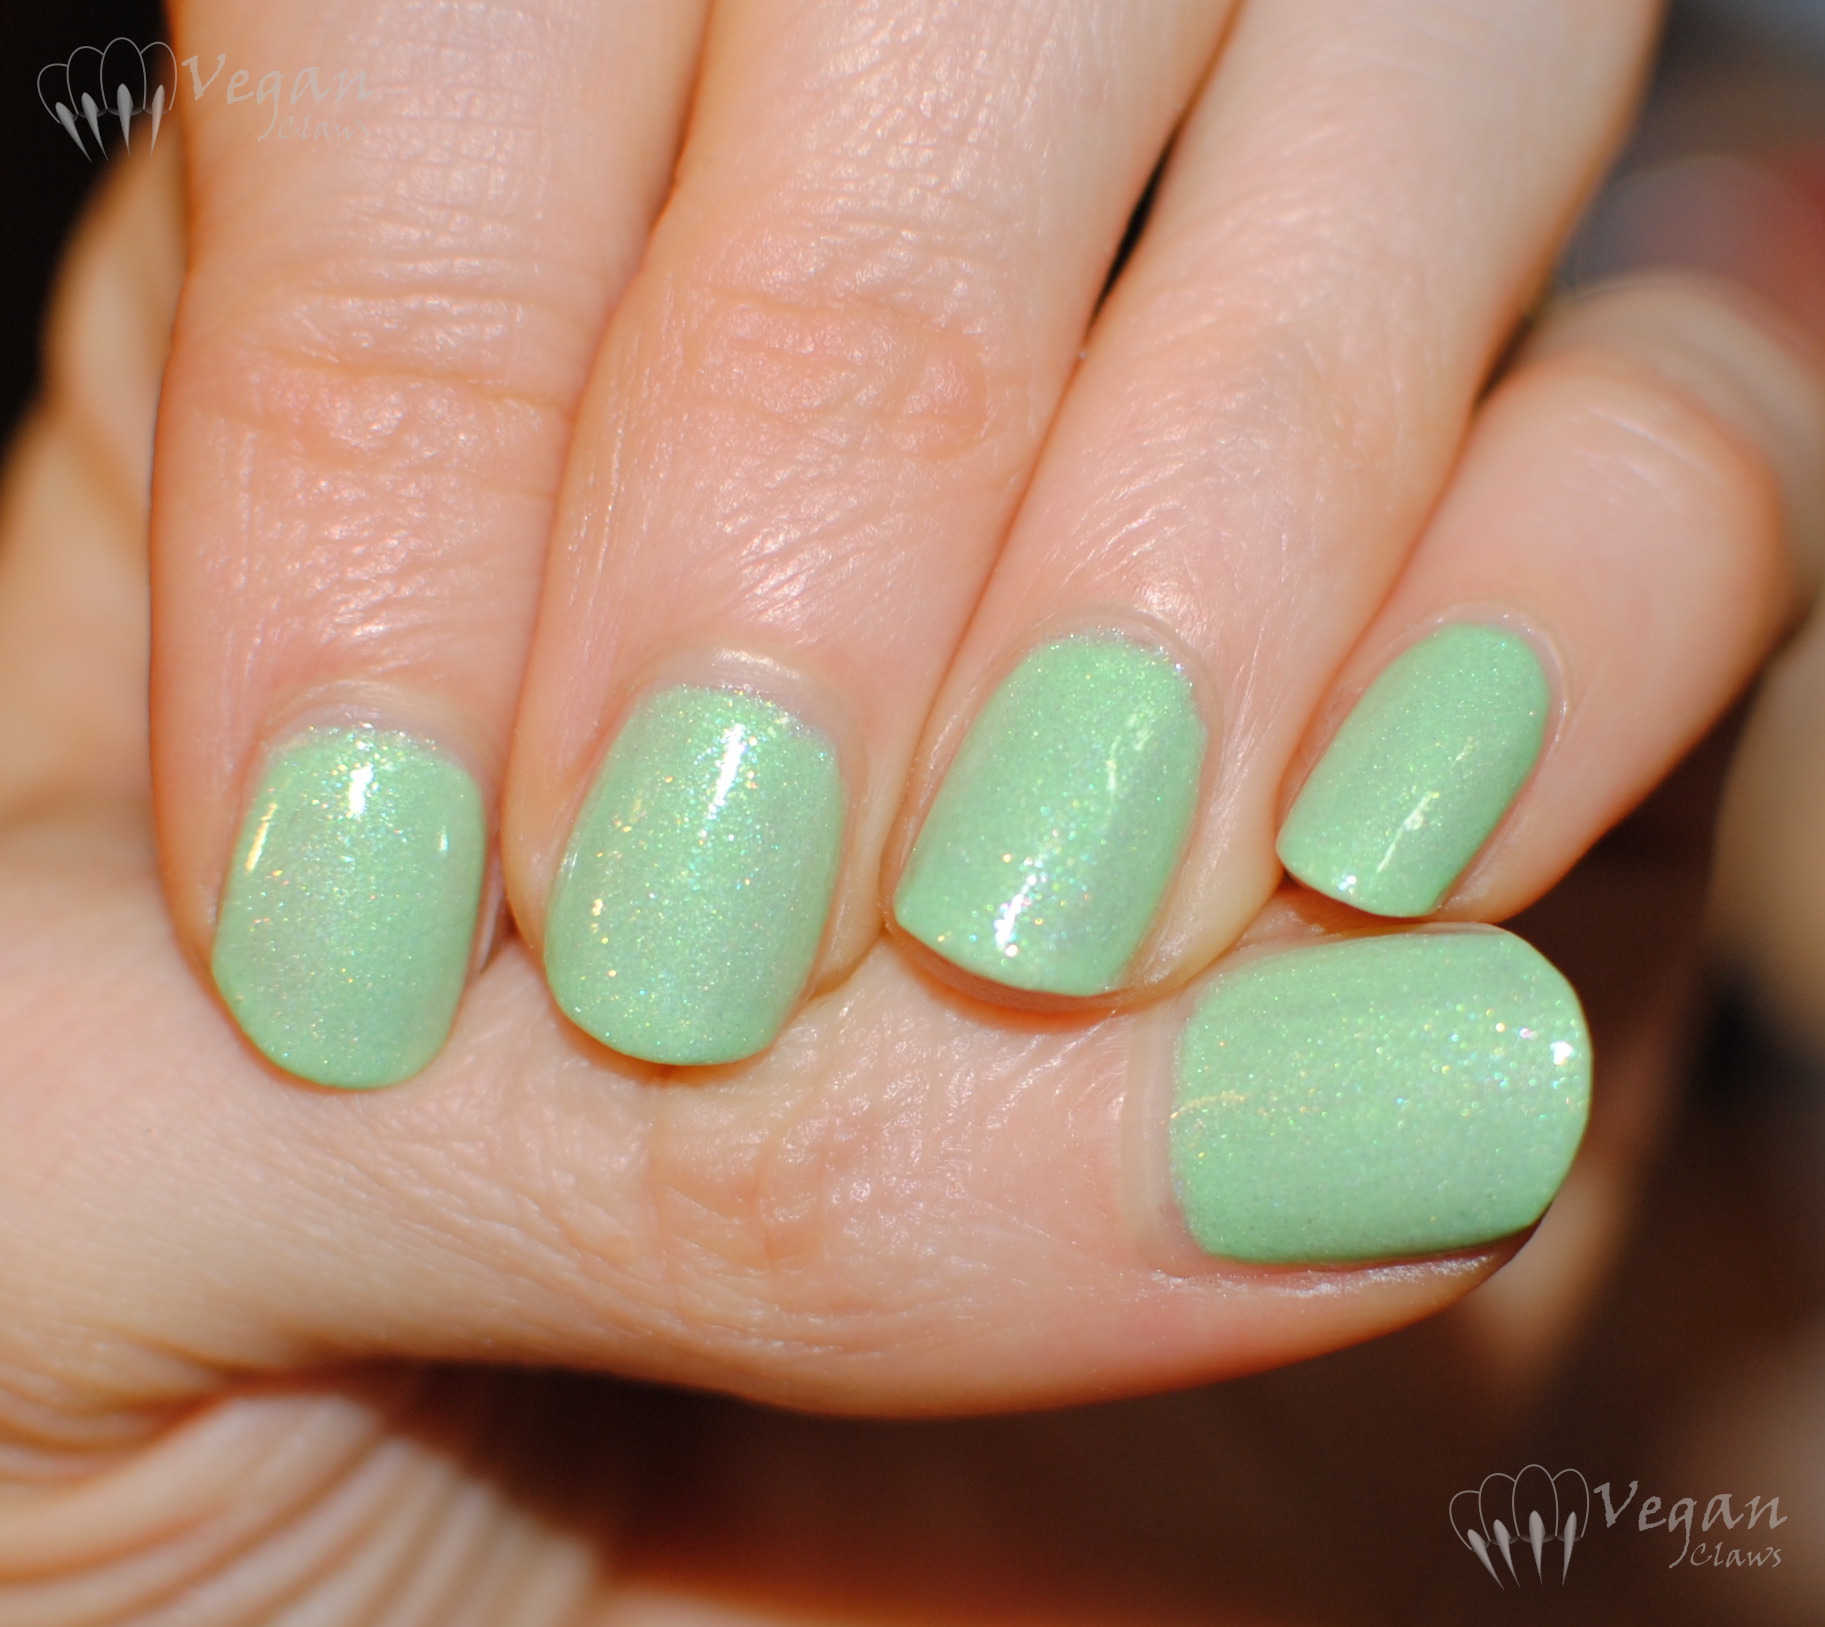
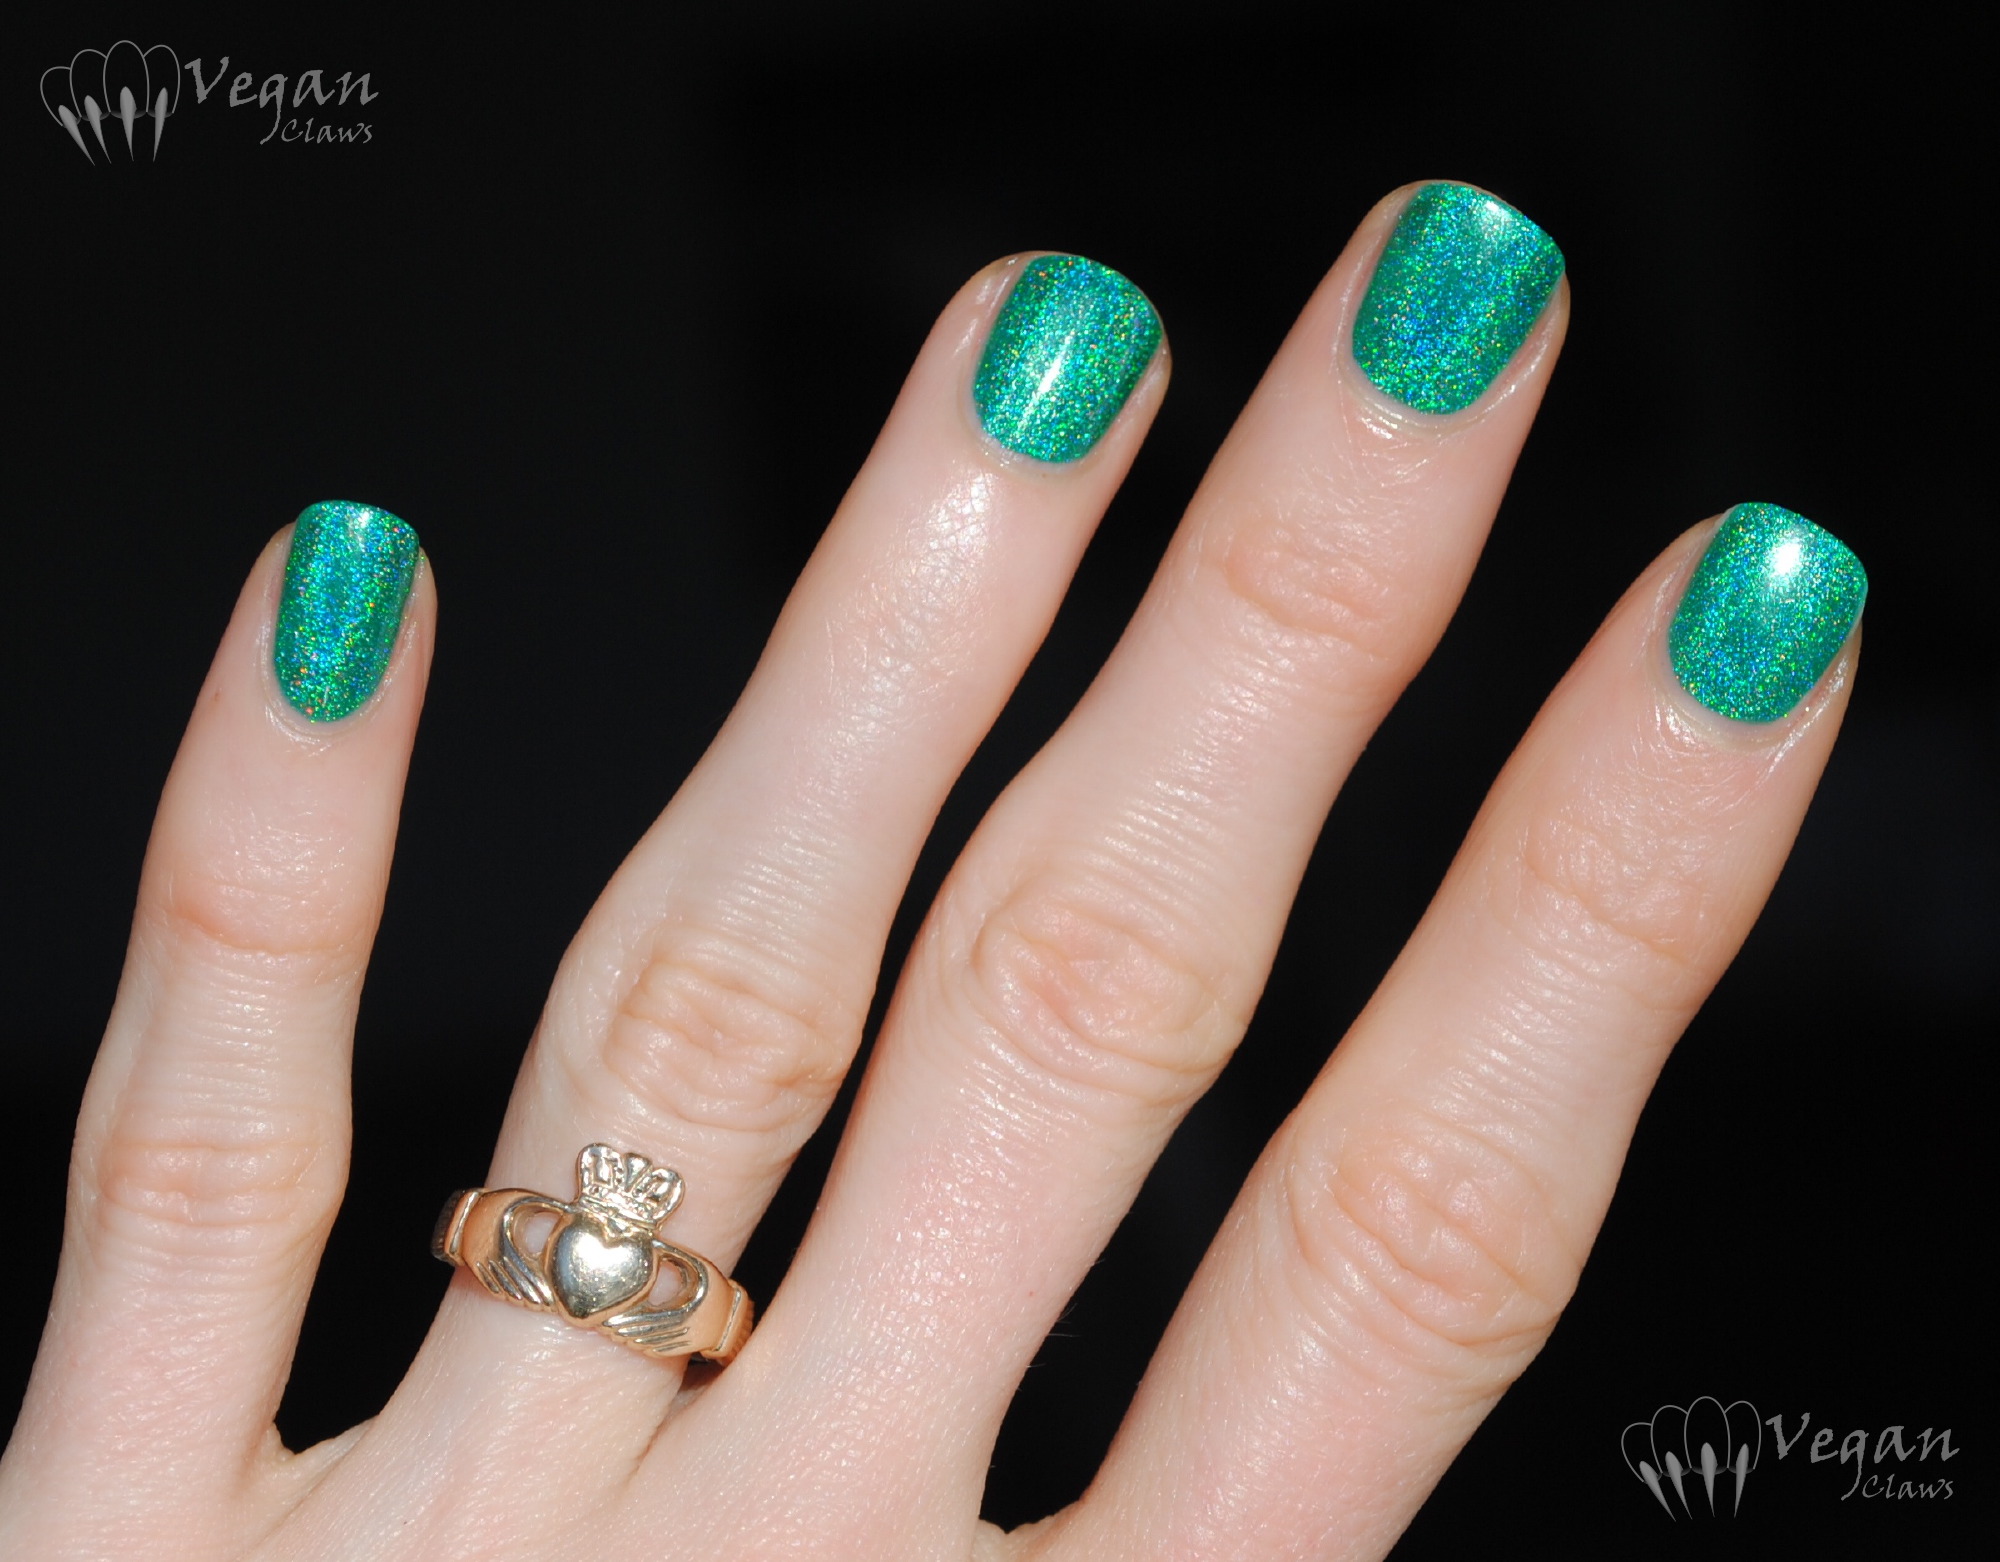
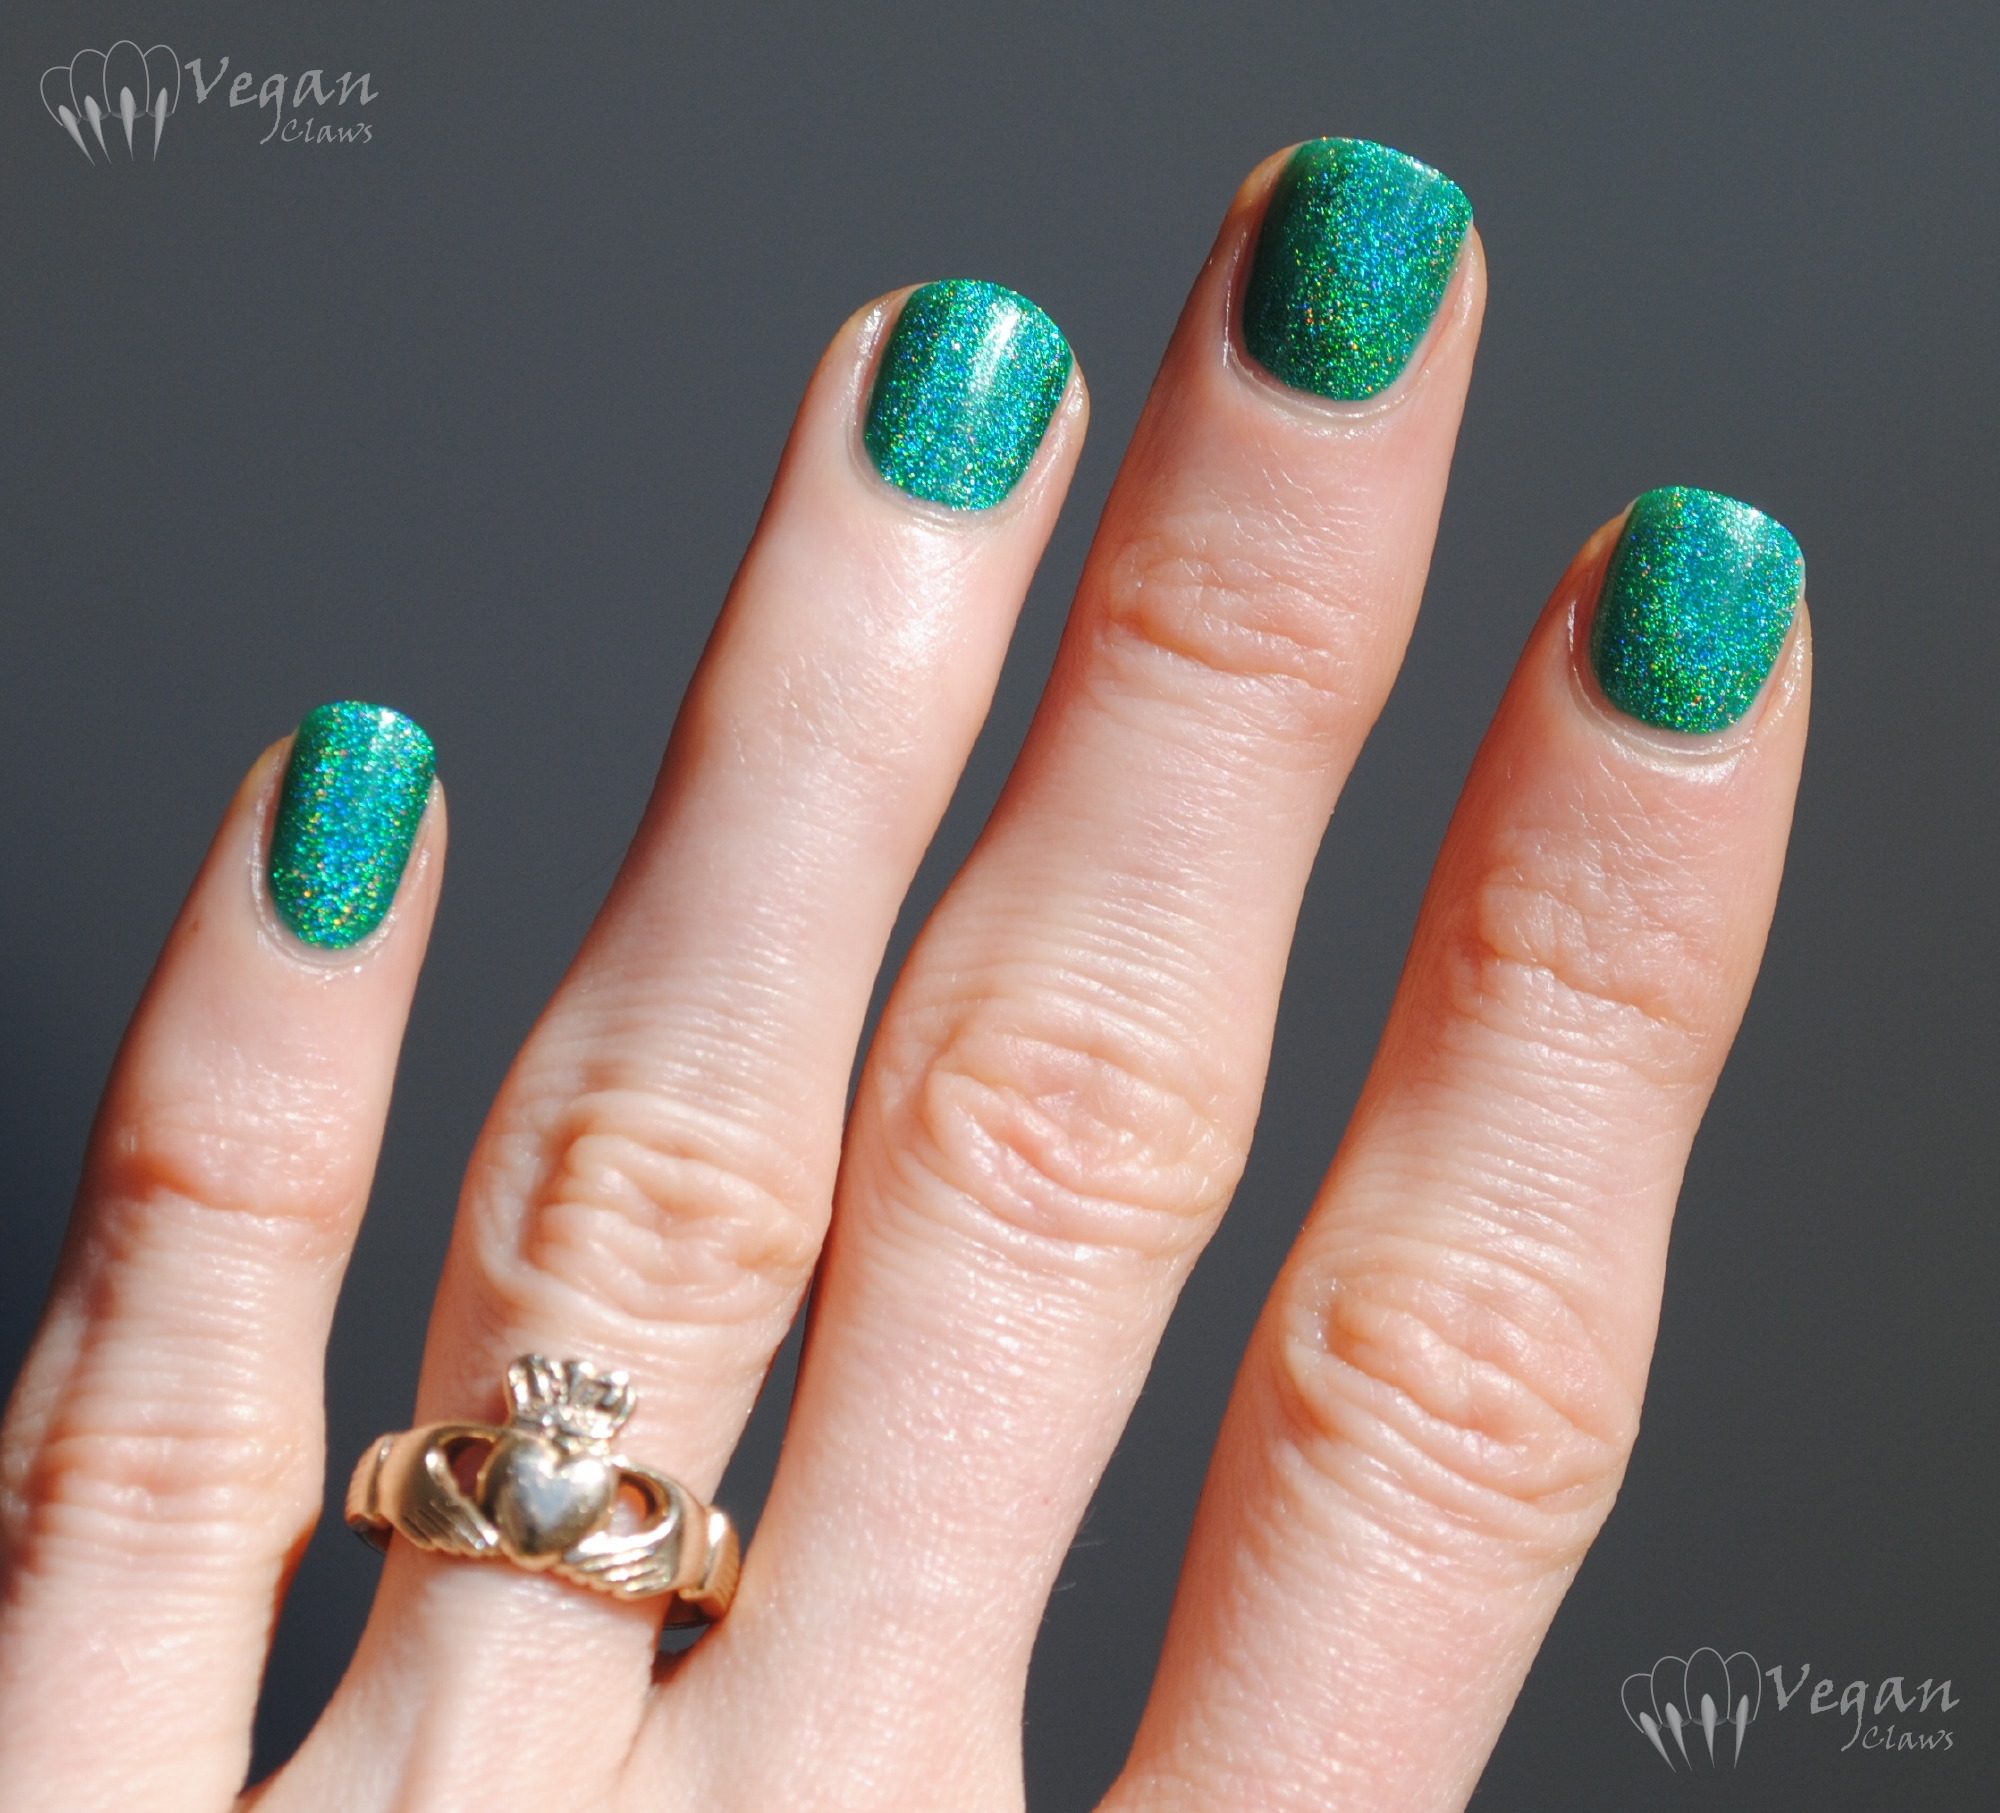
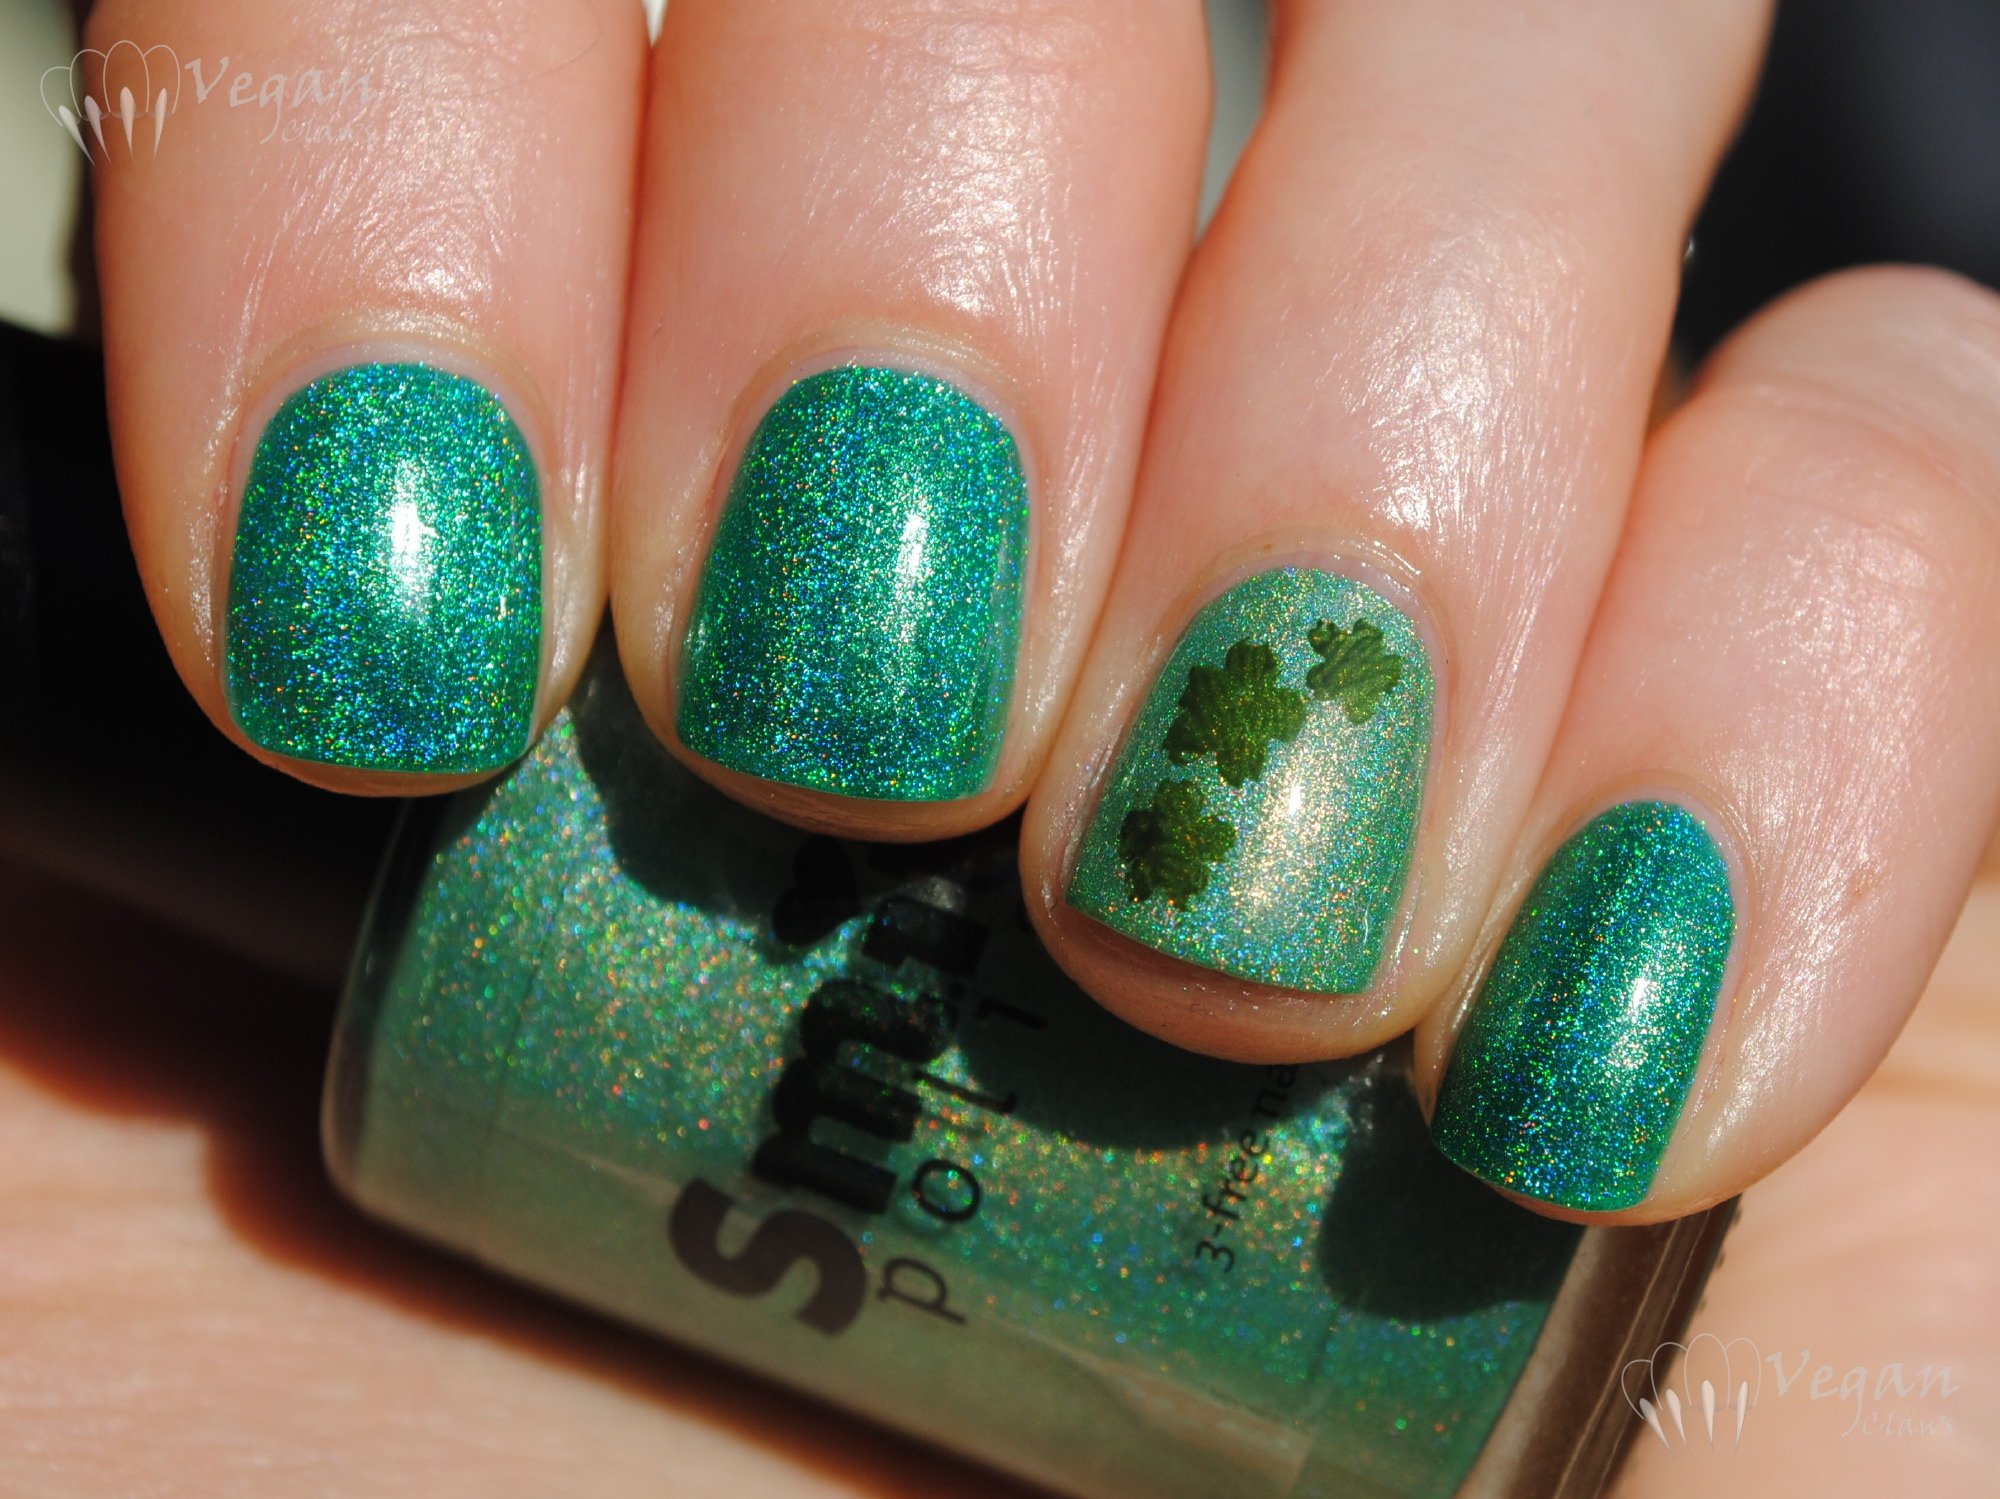
On my ring finger and thumb I used the second grasshopper polish, BB Couture Grasshopper.

eatsleeppolish_grasshoppa_bbcouture_grasshopper2

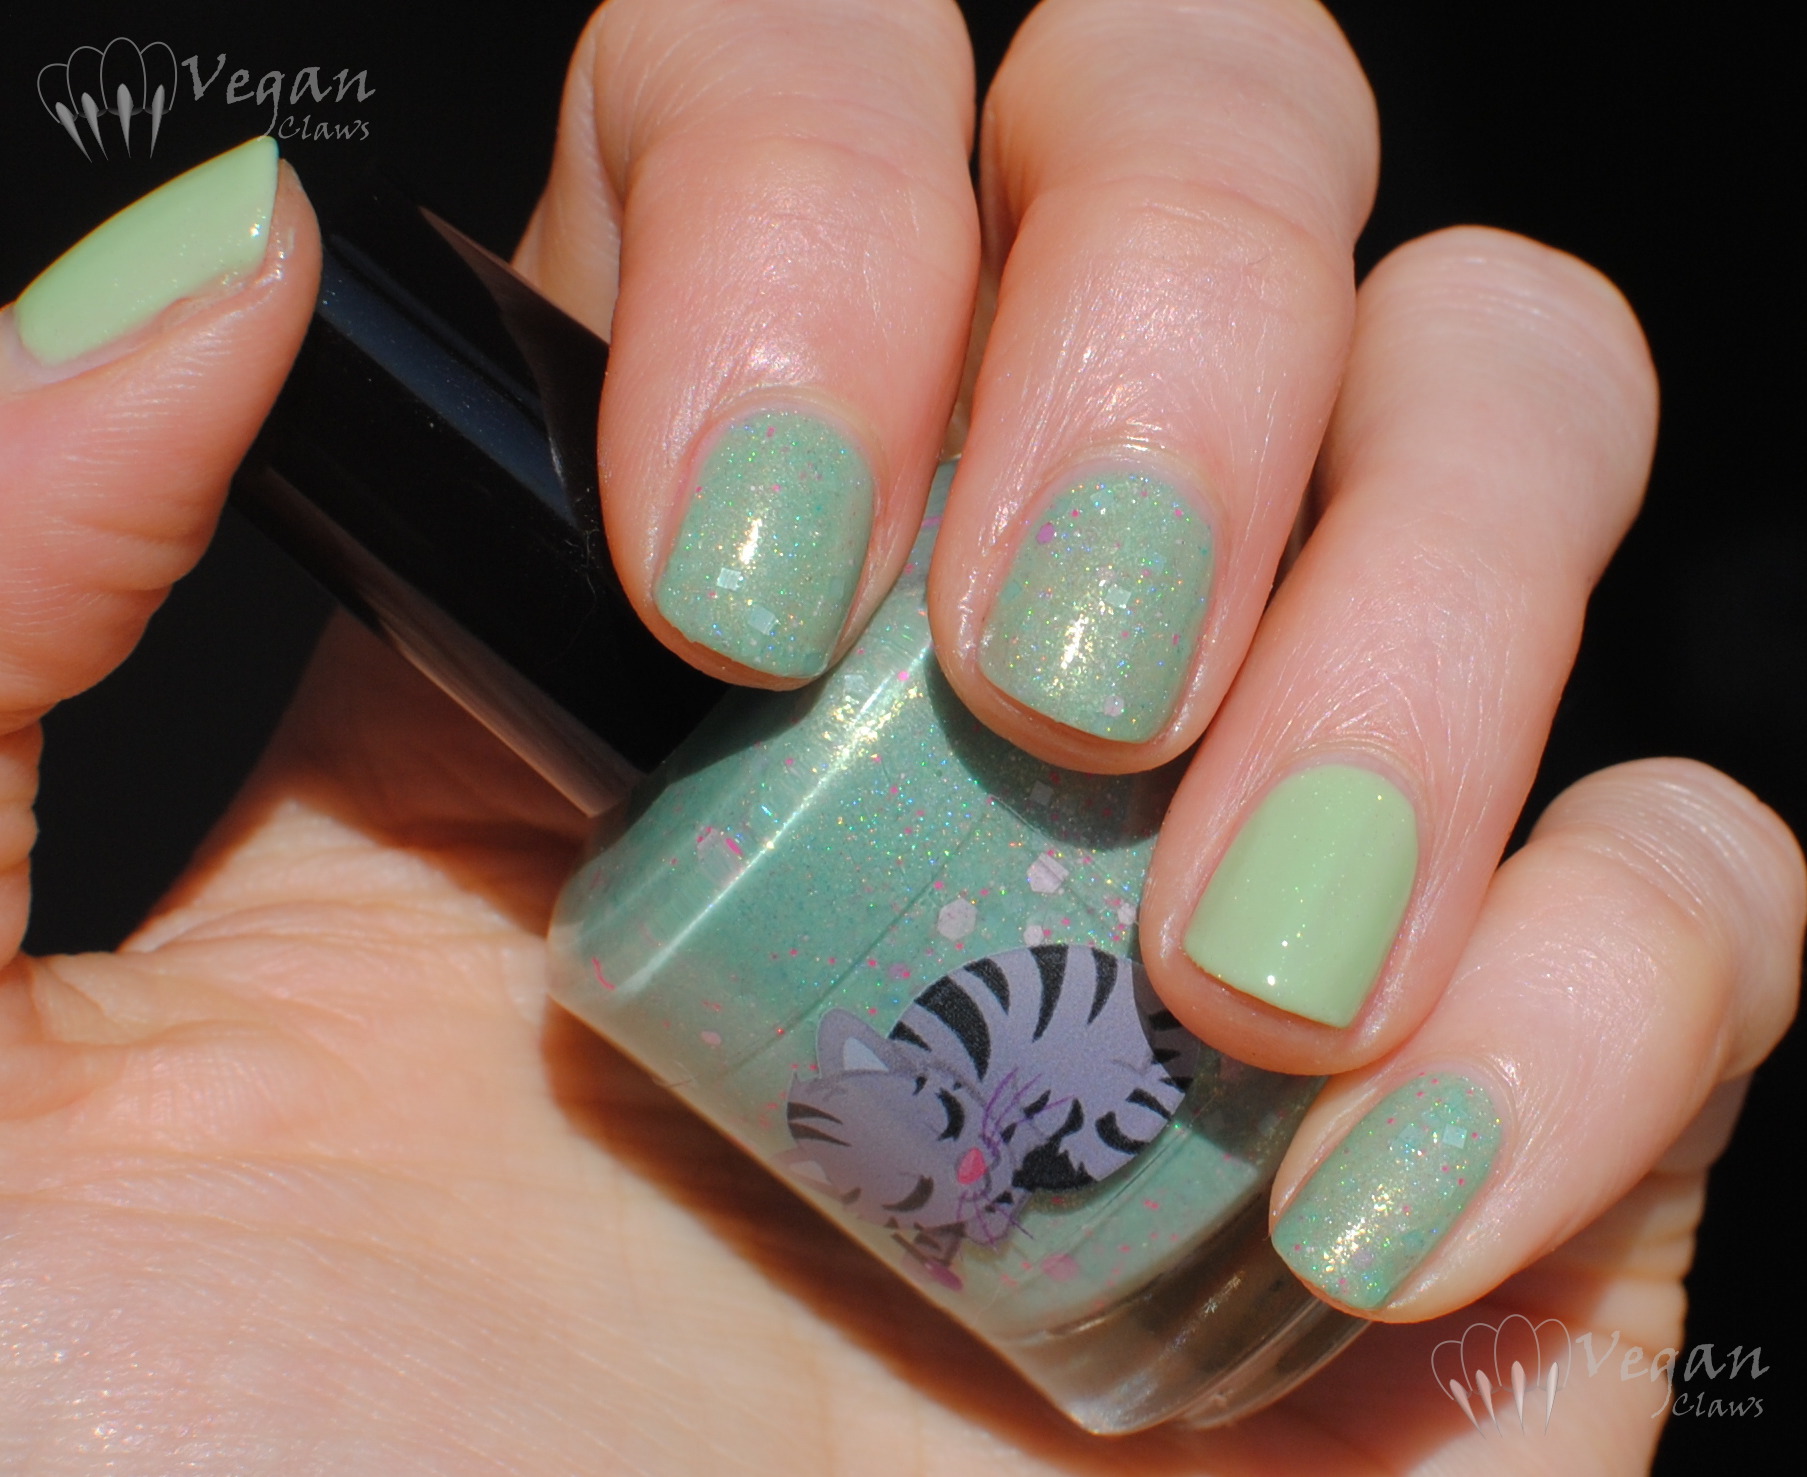
It’s a lighter more celery/yellow-toned green with some fine iridescent gold-green glitter in it.

eatsleeppolish_grasshoppa_bbcouture_grasshopper3

The BB Couture polish was kind of streaky and needed four coats plus top coat for complete coverage and evenness, but dry time was pretty good. I love this combo!

eatsleeppolish_grasshoppa_bbcouture_grasshopper4

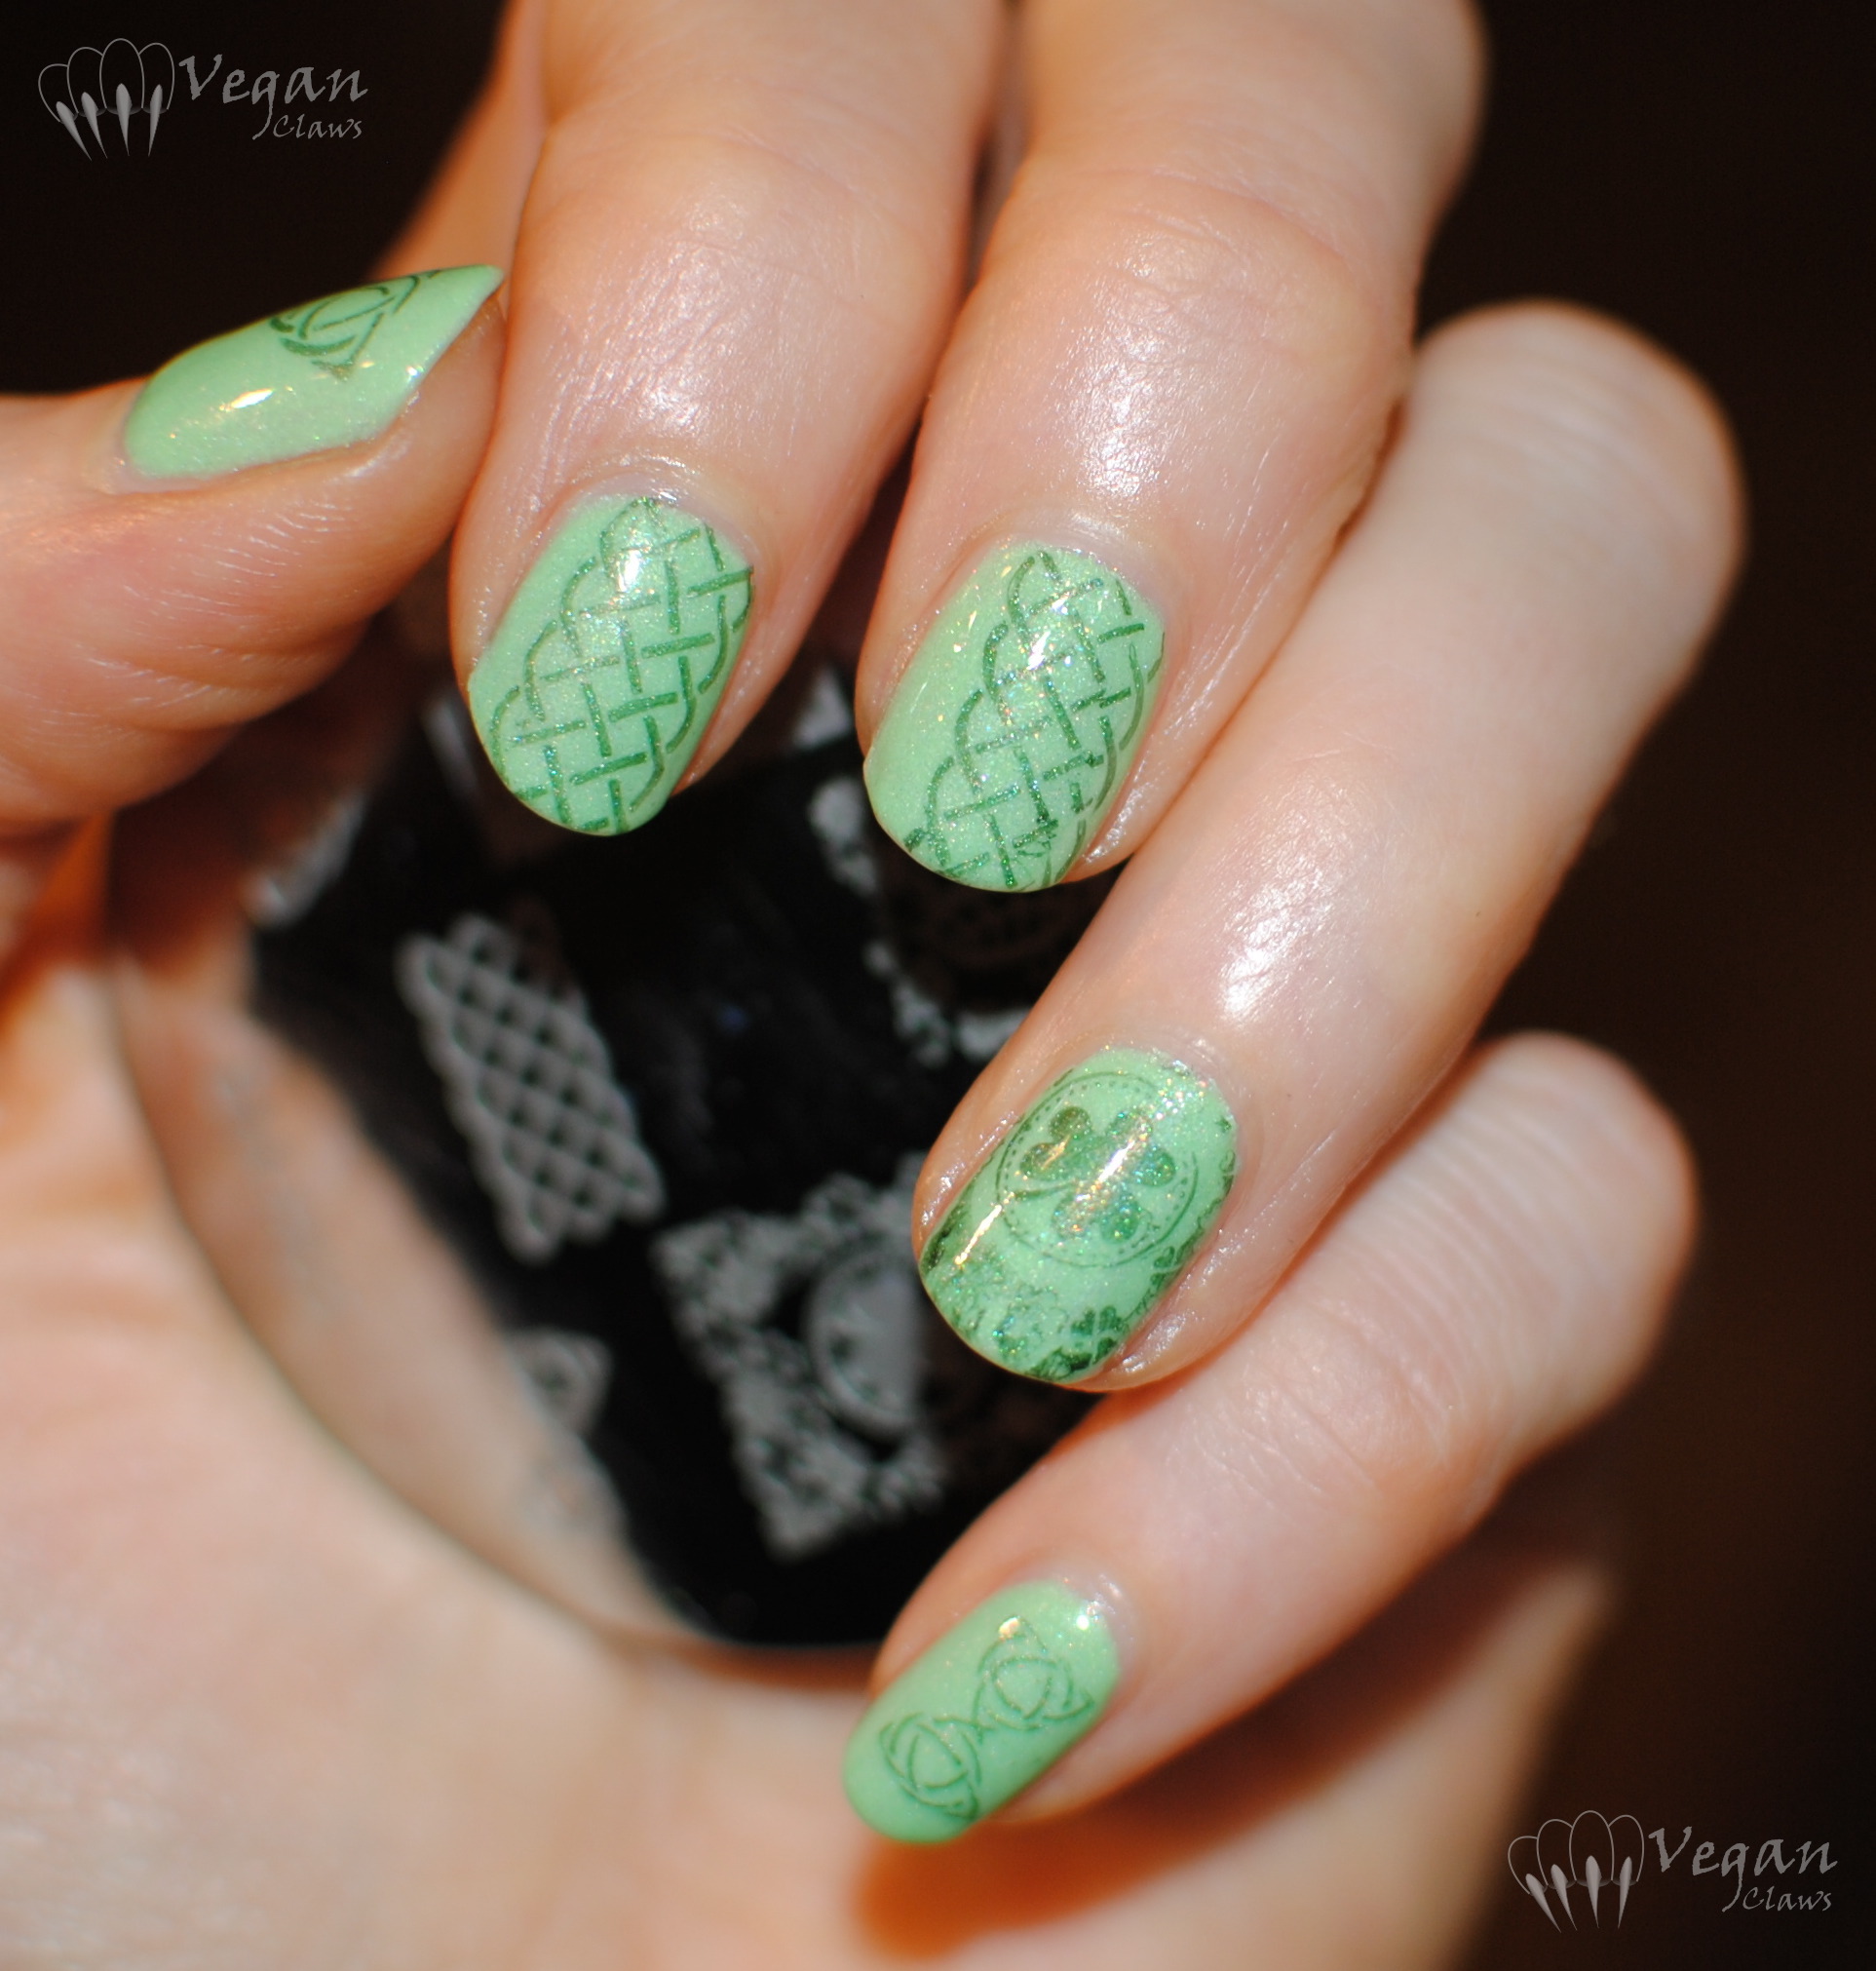
I decided to add some stamping to the accent nails. I wanted to coordinate with the larger pink hex glitter in Grasshoppa’ so I used Pink Tourmaline by Lacquer Lust to stamp with. It stamped quite well using my Messy Mansion rectangular stamper.

eatsleeppolish_grasshoppa_bbc_grasshopper_stamping2

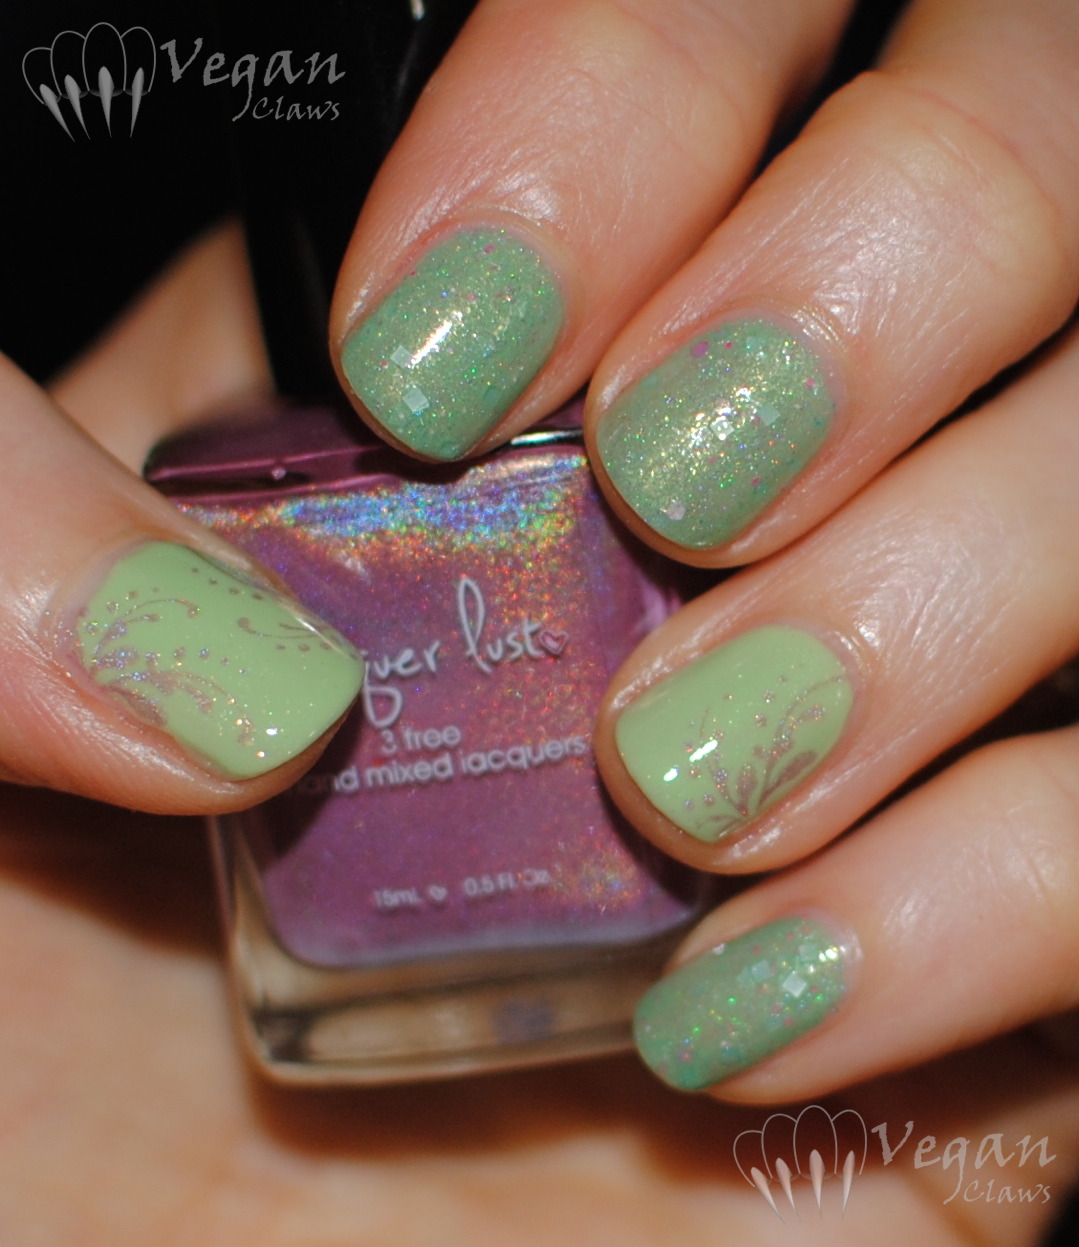
The design is from Bundle Monster plate BM-04. I stamped it once on each ring finger and twice on the thumbs, once on each side in opposite directions.

eatsleeppolish_grasshoppa_bbc_grasshopper_stamping

I love this mani so much! πŸ˜€

eatsleeppolish_grasshoppa_bbc_grasshopper_stamping5

Kiko Sugar Mat 454 and some simple tape art

This magenta glittery textured polish is Kiko 454 from the Sugar Mat line. Two easy coats. With flash:

kiko_sugarmat454_flash

kiko_sugarmat454_flash2

Under Ott lite:

kiko_sugarmat454_ott

In the setting sun (a bit too warm-toned):

kiko_sugarmat454_sun

The second day, I decided to add some very simple nail art by blocking off my nails diagonally with tape and adding one coat of P2 Lovesome. The base colour of Lovesome is a lighter pink-red than 454 so it doesn’t really show, but the gold glitter in Lovesome sure stands out! All photos of the combo with flash.

kiko_sugarmat454_p2_lovesome_flash

kiko_sugarmat454_p2_lovesome_flash2

kiko_sugarmat454_p2_lovesome_flash3

Picture Polish Tail Feather and stamping

Today I’ve got Picture Polish Tail Feather and some St. Patrick’s Day stamping!

picturepolish_tailfeather

Tail Feather has a minty, slightly yellow leaning pastel green base with very subtle scattered holo and less subtle multi-coloured glass flecks. All photos with flash except the bottle shot.

picturepolish_tailfeather2

Shown in three coats, no top coat. It was a little patchy over my ridgey nails but not too bad. This next shot shows off the multi-coloured glass flecks in the bottle.

picturepolish_tailfeather_bottle

I had to add a fourth coat in the morning because silly me thought that since the polish was so shiny on its own I would leave it without topcoat and go to bed, and I woke up with sheet marks. So that’s four coats of Tail Feather underneath the stamping in the rest of the photos.

picturepolish_tailfeather_bm-h05

I stamped using a-England Dragon, and Bundle Monster plate BM-H05 which the folks at Nail Polish Canada sent me. Had some trouble with centring the design on my middle finger, ah well… I still like how it turned out! πŸ™‚

picturepolish_tailfeather_bm-h05_1

Disclosure: the stamping plate in this post was provided free of charge by Nail Polish Canada.

Glitter Gal Suede and stamped accents

Today I’m wearing Glitter Gal Suede, a great creme-based taupe brown holo.

glittergal_suede_flash3

Two easy coats plus top coat shown here, with flash.

glittergal_suede_flash2

glittergal_suede_flash

Under Ott Lite:

glittergal_suede_ott

glittergal_suede_ott2

This is actually the second day I’m wearing this mani, and I got a couple of chipped nails on my right hand while doing some chores last night, so I decided to repaint those nails with a matching creme polish, Finger Paints Haute Taupe (2 coats although it’s almost a one-coater), and added stamping using Color Club Sugar Rays and an image from Messy Mansion MM13. With flash:

gg_suede_fp_hautetaupe_cc_sugarrays_mm13

Sugar Rays is a pale silvery taupe shimmer with pink-gold duochrome that works quite well for stamping! Under Ott Lite:

gg_suede_fp_hautetaupe_cc_sugarrays_mm13_

Edited to add: I was thinking that Haute Taupe reminded me a lot of something else I wore recently, Milani Teddy-Bare, so I did this quick comparison. Milani Teddy-Bare is on my index, FingerPaints Haute Taupe on my middle finger (Glitter Gal Suede on my ring and pinky, of course). Both were two coats – when I wore the Milani as a mani, I needed three coats and found the formula thin, but it must have had something to do with the weather or something, because that wasn’t the case when I did the comparison! Anyway, as you can see they are similar but Haute Taupe is significantly warmer toned.

milani_teddybare_fingerpaints_hautetaupe

Black Dahlia Lacquer Wild Bergamot and Illamasqua MΓ©lange

Black Dahlia Lacquer Wild Bergamot is a medium blue-grey creme with dense gold flake shimmer. Here it is shown with flash.

blackdahlialacquer_wildbergamot_flash

This was a ‘one-batch’ polish and I just checked and it looks like unfortunately it’s already sold out as it’s no longer listed in the Black Dahlia Lacquer store. 😦 BDL people, if there’s any one-batch polish that you change your mind about and add to the permanent collection, make it this one!! πŸ˜€ I love it that much! It’s a unique shade of blue-grey in my collection.

blackdahlialacquer_wildbergamot_flash2

Here it is shown in shade/overcast light:

blackdahlialacquer_wildbergamot_shade

Wade was hanging around at one point while I was photographing it, nudging my hand and then licking my wrist, so I made a collage πŸ™‚

20150308-170304.jpg

I added an accent V of Illamasqua MΓ©lange on my ring finger using scotch tape to make the V shape. The rest of the photos are in the sunlight that appeared a little later yesterday.

blackdahlialacquer_wildbergamot_illa_melange2

blackdahlialacquer_wildbergamot_illa_melange

On my right hand I did two nails in MΓ©lange. I love MΓ©lange as well, the gold and copper-pink flecks in the green are just perfection! I’d love to have a whole collection of shades with those flecks in them…

blackdahlialacquer_wildbergamot_illa_melange4

blackdahlialacquer_wildbergamot_illa_melange5

blackdahlialacquer_wildbergamot_illa_melange3

Black Dahlia Lacquer Austin City Limits

The next Black Dahlia Lacquer I have to show you is Austin City Limits, a light periwinkle/cornflower leaning blue holo with added gold holo microglitters and pink-purple shimmer flecks.

blackdahlialacquer_austincitylimits_flashott2

There was no sun unfortunately so these first photos are all with flash and/or Ott Lite.

blackdahlialacquer_austincitylimits_flashott

Two coats plus top coat, no issues with the formula.

blackdahlialacquer_austincitylimits_flash1

This photo is under halogen lighting:

blackdahlialacquer_austincitylimits_artificial

Shaded natural light:

blackdahlia_austincitylimits_shade

The pink-purple shimmer flecks were hard to capture in photos, but I think this photo I took at work does the best job of it (hey, fluorescent office lighting is good for something after all!):

20150302-120543.jpg

The second day I added stamping with my new Messy Mansion XL rectangular stamper, which I love and highly recommend! It’s squishier than the Konad stampers, plus the rectangular shape helps to get patterns on straighter.

blackdahlia_austincitylimits_stampingmm13

This is basically the first time that I’ve done a full-nail pattern on all ten nails, since I used to have so much trouble with patchy spots and getting them on straight.

blackdahlia_austincitylimits_stampingmm13_1

I stamped using China Glaze Gold Fusion (one of the magnetics, they’re great for stamping!) and the plate is Messy Mansion MM13. I’m excited to do lots more stamping with this new Messy Mansion stamper! πŸ˜€

blackdahlia_austincitylimits_stampingmm13_

Kunimitsu Nail Potions Classic Tabby layered over Milani Teddy-Bare

March Fo(u)rth and conquer! Today I’ve got another cat-themed Kunimitsu polish to show you – Classic Tabby!

kunimitsu_classictabby_catstamp2

This is two coats of Classic Tabby, a clear-based glitter topper, over Milani Teddy-Bare. The cat stamp on my thumb is from plate HB49 and is done with Kleancolor Black.

kunimitsu_classictabby_catstamp

I used three coats of Teddy-Bare as the base, as I found the polish to be a bit thin and runny. Here it is on its own before the topper, but note that the first two photos are the most colour accurate – it’s definitely a taupe brown, not a chocolate brown as it appears in the rest of the photos. Sorry about that, the rest of them were taken in late-afternoon sunlight whereas the two above were taken the following day around midday.

milani_teddybare

Kunimitsu Classic Tabby contains various sizes of metallic brown, metallic burgundy, and matte black hex glitter, as well as tiny matte black bars (“hairy” glitter, very appropriate for the cat theme haha).

kunimitsu_classictabby2

I didn’t have any trouble with placing the glitter, it spread quite nicely, even the tiny bars which I was worried might all line up in the same direction, but that didn’t seem to be the case!

kunimitsu_classictabby

Now, he isn’t technically a “classic” tabby (just stripes instead of swirls/”bull’s eye” pattern, so he’s a “mackerel tabby”), but this polish and layering combo makes me think of my handsome Wilbur:

wilbur

❀

wilbur2

We do have a true classic tabby in our clowder also – beautiful Seymour is a classic tabby but with white as well:

seymour

Look at his adorable toe pads! ❀

seymour2

China Glaze Spring in My Step and Valentine’s Day Stamping

Happy Valentine’s Day! This mani started out with a polish I like a lot, Spring in My Step from China Glaze.

chinaglaze_springinmystep

Four coats plus top coat. The four coats are needed, but the formula is thin so it doesn’t seem too thick on the nail, and it dries super quickly. Like, quick enough that this polish and the others I have from this collection (last spring’s City Flourish) are among those I would choose when rushing to cover up naked nails before leaving for work in the morning! I know a lot of people hated the formula of the pastels in that collection, but I loved it!

chg_springinmystep_stamping2

I then added some stamping using Bundle Monster plates BM-H16 and BM-H17. I received both of these plates as gifts from the people at Nail Polish Canada, H16 last year and H17 this year. I think they send them out to regular customers or something. Thanks NPC! πŸ™‚

chg_springinmystep_stamping1

The polishes I used for stamping were Kleancolor Iridescent Fuchsia (which is a ridiculous name as it’s not in any way iridescent, it’s a straight creme polish!) and Red Alert. Someday I hope I’ll get the hang of stamping so that the whole images will transfer without gaps and smudges πŸ˜‰

chg_springinmystep_stamping

I coloured in a few of the stamps using OPI Guy Meets Gal-veston, a coral pink jelly polish.

chg_springinmystep_stamping_bmh17

Here’s a close up of the thumb stamp, since it didn’t show up very well in the other photos.

chg_springinmystep_stamping_thumb

And here’s the right hand – here, I coloured in some of the stamps using OPI Houston We Have a Purple, another jelly from the Texas collection.

20150213-102811.jpg

Disclosure: the stamping plates used in this manicure were provided free of charge by Nail Polish Canada.

Smitten Polish Claddagh and Shamrock Shake

I have two great Smitten Polishes to show you for St. Patrick’s Day!

This is Smitten Claddagh, a beautiful bright blue-toned green linear holo!

Smitten Polish Claddagh

Two coats, great formula.

Smitten Polish Claddagh

Here is one of the reasons I wanted Claddagh – to go with my ring πŸ™‚

Smitten Polish Claddagh

Smitten Polish Claddagh

For today’s mani I did an accent nail using Smitten Shamrock Shake, a lighter, minty green with holo. Then I added a stamp from Bundle Monster plate BM12 using Kleancolor Military Green. Let’s just pretend the stamp is of shamrocks and not five-petaled flowers stamped in green, ok? Haha. It was the closest thing I had in terms of stamping designs…

Smitten Polish Claddagh and Shamrock Shake

Shamrock Shake is also a two coater. Its formula was thicker than Claddagh making it a little harder to work with but not too bad.

Smitten Polish Claddagh and Shamrock Shake

When the light shines directly on it, it also looks like it has a very fine golden metallic shimmer to it. Love it!

Smitten Polish Claddagh and Shamrock Shake

Valentine’s Day mani featuring LA Girl Sand Blast polishes

Sorry for the lack of posts lately, things have been busy! And now, I’ve got a cold, blech, but anyway…

I signed up for Nail Polish Canada’s Valentine’s Day Nail Art Challenge, and here is the mani I did. Two versions of it, actually, as I added some stamping later!

Milani White On the Spot with gradient of LA Girl Sandals and Sand Dune

I started with my favourite plain white polish, Milani White On the Spot, and then sponged on a textured gradient using two LA Girls Sand Blast polishes, Sandals (pink) and Sand Dune (red).

Milani White On the Spot with gradient of LA Girl Sandals and Sand Dune

I originally wanted the heart on the middle finger to be a sort of reverse-gradient with the two colours in the opposite order, but it didn’t quite work out that way, so I dabbed on some more white after removing the heart shape I had cut out of masking tape.

Milani White On the Spot with gradient of LA Girl Sandals and Sand Dune

I like how it ended up even though it wasn’t what I had originally planned.

Milani White On the Spot with gradient of LA Girl Sandals and Sand Dune

Later, I added some stamping using Bundle Monster plate BM-H16. I received this plate in the mail recently from Nail Polish Canada.

Milani White On the Spot with gradient of LA Girl Sandals and Sand Dune

The note in the package didn’t mention the blog so I’m not sure if it was sent for review purposes or just as a thank you for spending so much money in their store (ha ha!) or what, but either way I thought it was very sweet! Thanks, NPC! πŸ™‚

Milani White On the Spot with gradient of LA Girl Sandals and Sand Dune

The roses design on the ring finger didn’t really turn out so well what with the bumpy textured base polish, but I like how the flowers on stems on the other fingers look!

Milani White On the Spot with gradient of LA Girl Sandals and Sand Dune

The first, simpler version with just the gradient and speckled/sponged heart is going to be my entry for the challenge. You can visit the Valentine’s Day Nail Art Challenge page here to vote for your favourite!

Disclosure: the stamping plate in this post was provided free of charge by Nail Polish Canada.